
This LCD display self mounting instruction has not so much to do with overclocking but it made fun to me to install and set up the display so that I don?t want to withhold it from you. (LC display would be the right expression as it is called already Liquid Crystal Display, but it sounds strange to me)
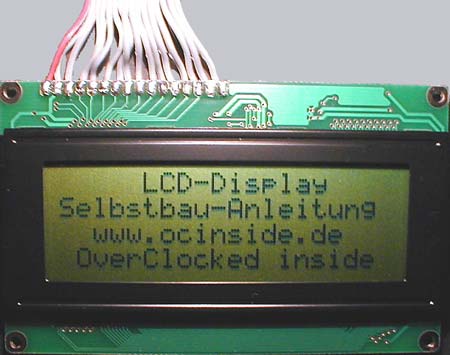
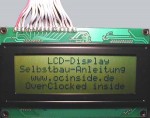
What is finally shown on the display and if you mount the display in a 5 ¼ ” front blind of the PC cover or – that?s what I am doing – place it in a MP3 player project (at this time only available in german), is all the same and is depending on your own wishes.
There is no limit within the phantasy concerning the use of a display. You can use it for title display of music, display of DVD, Video CD or music CD titles as well as a mean for monitoring programms like e.g. mainboard monitor or similar in order to control the temperatures and the fan speed – or you can use it only for a normal text display.
Tools for a HD44780 compatible LCD display you can find sufficiently in the Internet.
But first of all let me come to the components which are necessary for this instruction.
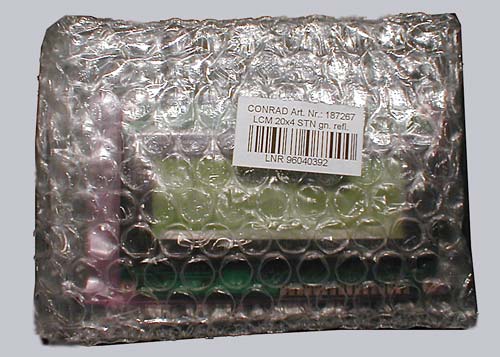
Firstly we need a HD44780 compatible LCD display where we have the choice between several models. To begin with a small cheap display with 8 digits on two rows (8×2) up to 40 digits on 4 rows (40×4), e.g. Conrad Elektronik is offering different displays at this page (german one). Additionally you have the choice if you want to have a display with background lighting or the somewhat cheaper displays with a reflecting foil.
In my case the choice has been unfortunately!!! limited as Conrad Elektronik in Germany did not have my required 20×4 LCD display with background lighting in stock 🙁 And with this instruction the stock surely will go down even more. But maybe an employee of Conrad Elektronik reads this page and sends one with background lighting to me 😉
As most of the tools are suitable for the 20×4 display I would prefer this one, whereas the one without lighting costs approx. 30 Euro and that one with lighting approx. 35 Euro.
Additionally we also need the following accessories: 1x ribbon cable with 16 wires (hard disk or floppy cable), 1x “male” 25 pin Sub-D plug (e.g. can be desoldered from a printer cable which is no more used), 1x “male” 4 pin power supply connector socket with cable (it is possible to pinch it off from Y-adaptor cables, 1x rotary poti or trimmer with 10 K Ohm, 1x rotary poti or trimmer with 100 Ohm (in fact only necessary with lighting displays) (1x small piece of euro circuit board / PCB would be suitable for soldering the rotary potis, but it is not imperatively necessary)
And one soldering iron with 30 Watt max. and some tin to solder.
When we have all together we can already begin with the additonally preparation.
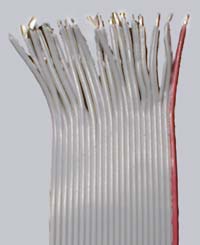
Firstly we can cut off the two plugs from the ribbon cable by a proper working pair of scissors:
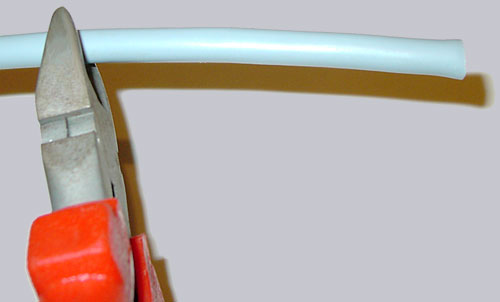
After that you have to strip 16 wires and tin it with some tin-solder at the soldering iron (I still need some more wires for my IR receiver and one LED)
Here’s the new solder guide for the Fanshop Displays …