

Installation …
First of all every user needs to be clear about the installation being different for different video card models, especially if those are not in reference design. Therefore a cooler change on a video card should not be done by completely unexperienced users.
First step is to get rid of the old cooler. Our MSI GTX960 lets us do this by just removing 4 screws. This damages a seal which could lead to problems in warranty cases.
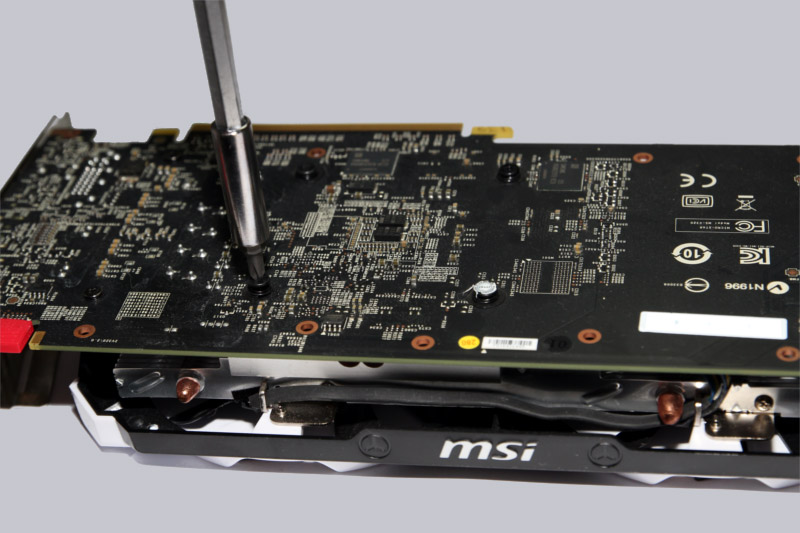
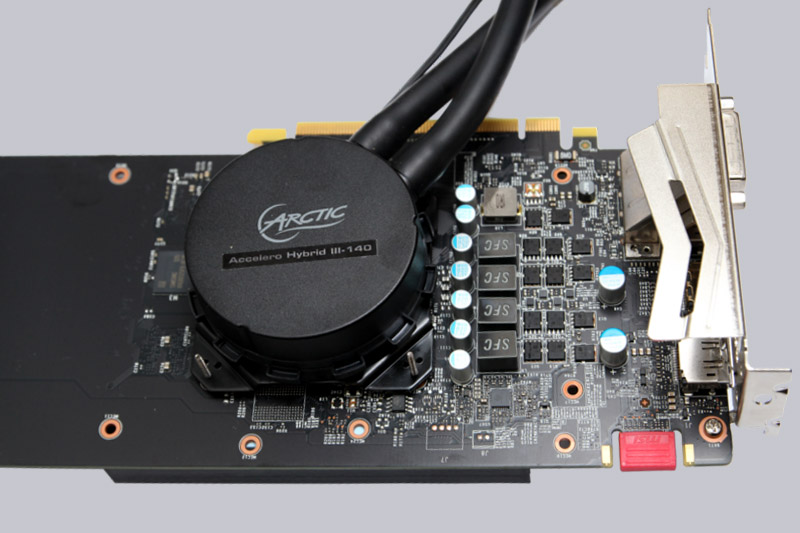
Next we carefully loosen the power connector and remove old thermal paste from the GPU.
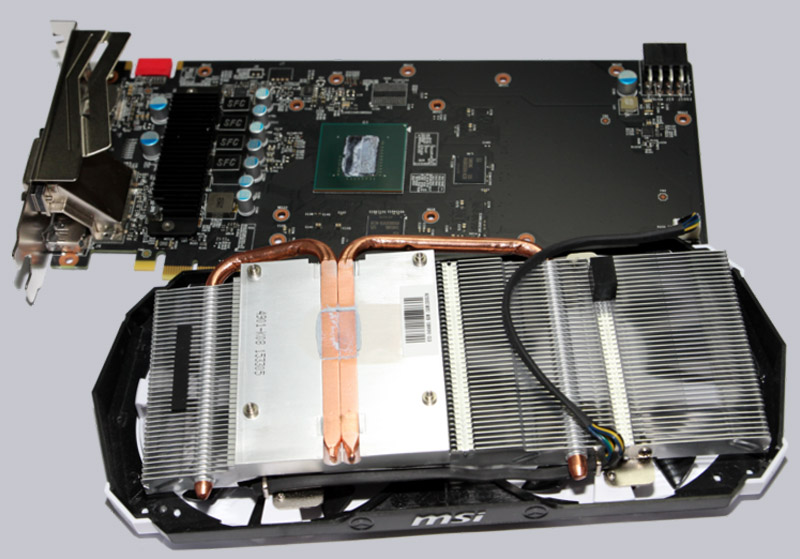
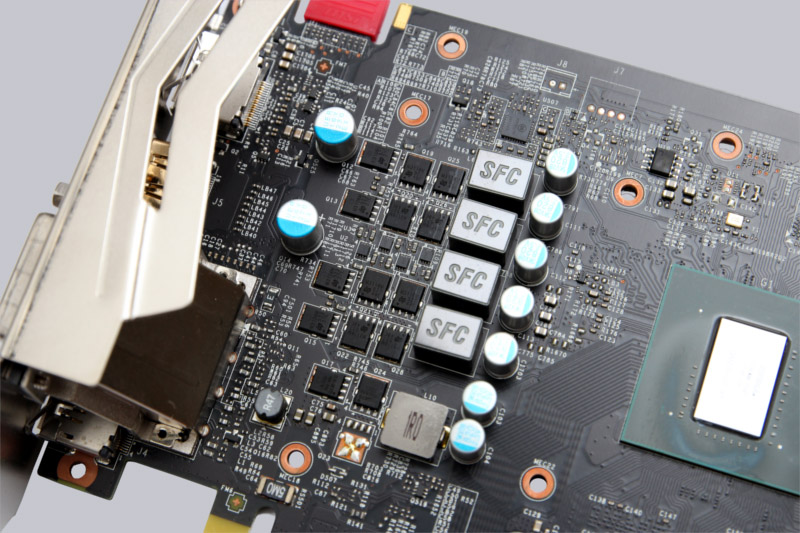
There are some voltage transformers under a separate heatsink.
After applying some thermal paste we get to the hardest part. We need to screw pump, PCB and backplate together simultaneously. Because of the metal springs the screws will reach the thread only after applying some pressure and because of the tubes the pump has the tendency to rotate away from the PCB.
When you reached the correct(!) thread with all screws, they have to be fastened alternating diagonally turn by turn. This way the pressure to the GPU will be consistent.
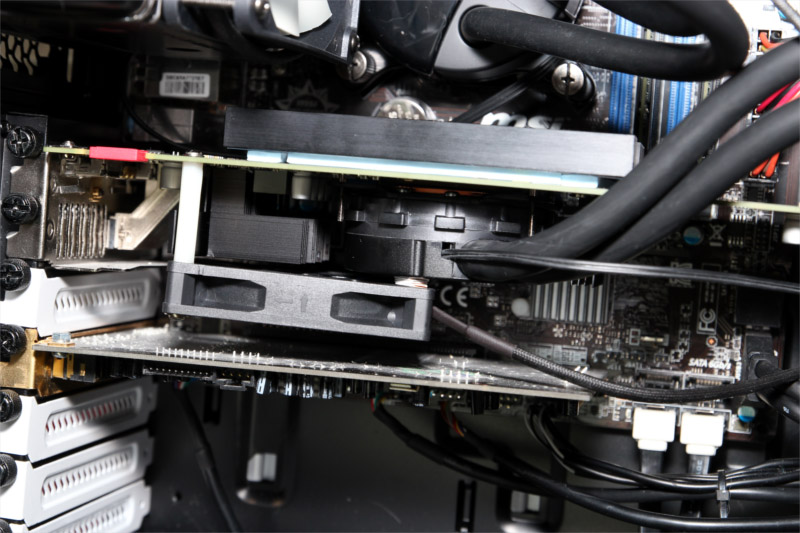
Of course the pump should be rotated correctly, otherwise the tubes could collide with the mainboard – as shown below – or on other video cards with the VRM heatsink.
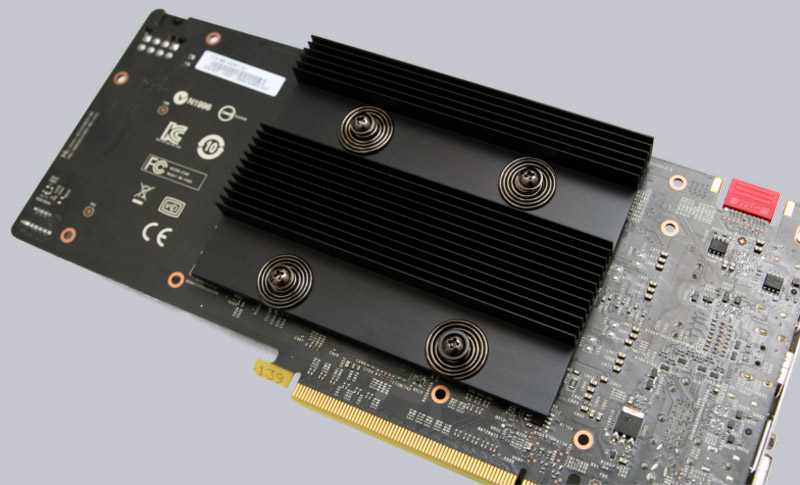
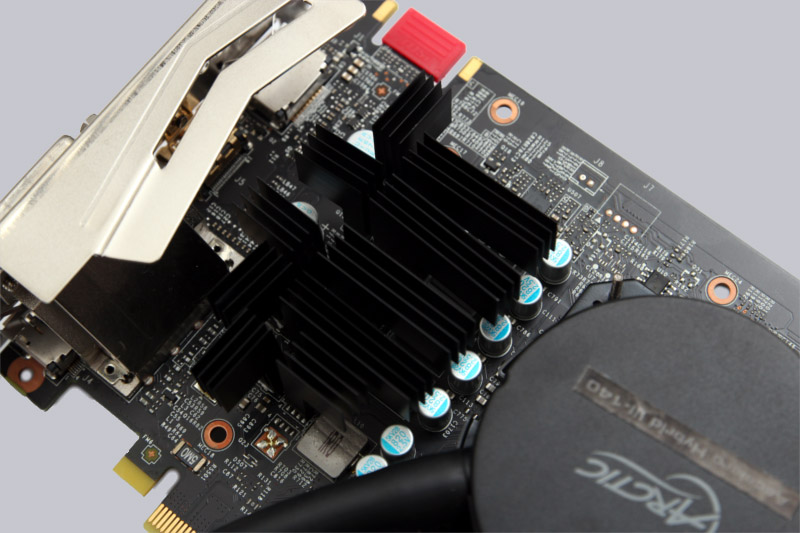
Because we tested the “generic” version of the Accelero-III no special fitted heatsink is supplied. Therefore we have to attach many small heatsinks with thermal adhesive.
Because of the supplied 80mm cooler we could have kept the small heatsink for the voltages transformers, but for testing we replaced it with some more small heatsinks supplied by Arctic.
While mounting those we experienced some difficulties because of the very pasty adhesive which was very stringy like pizza cheese and is hard to remove. We recommend applying it with a cotton swab or similar tools.
After the recommended 60 minutes of waiting the heatsinks were attached sufficiently if enough adhesive was used beforehand. Removing them afterwards is possible but needs some force (and courage) and will leave some residues.
There is another disadvantage not having a fitting VRM cooler for your card. The 80mm fan cannot be attached to the cooler. Instead it is mounted in an adventurous way to the PCB. Because of a small gap to the pump of just a few millimeters we improvised and supported the fan additionally with a small piece of cardboard.
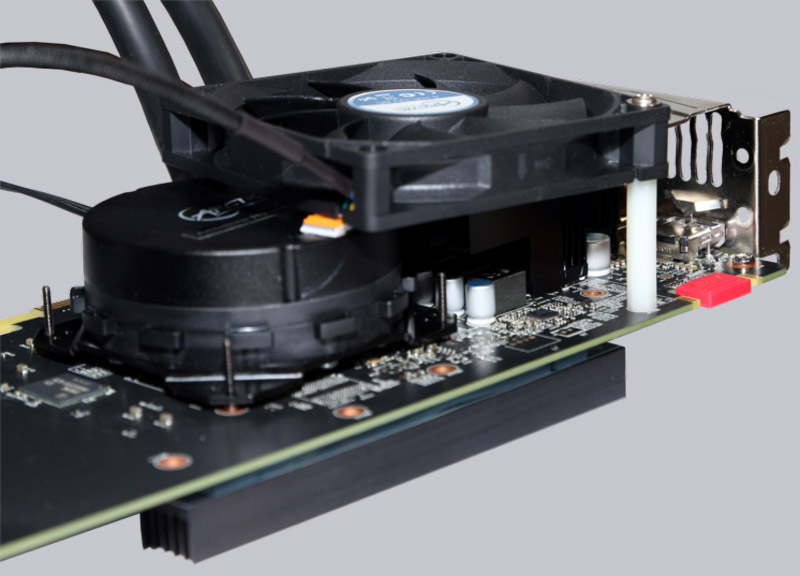
Arctic designed the connectors in a way so that the small fan is directly connected to the video card and the big 140mm fan can be connected either to the mainboard or also to the video card through a Y-cable.
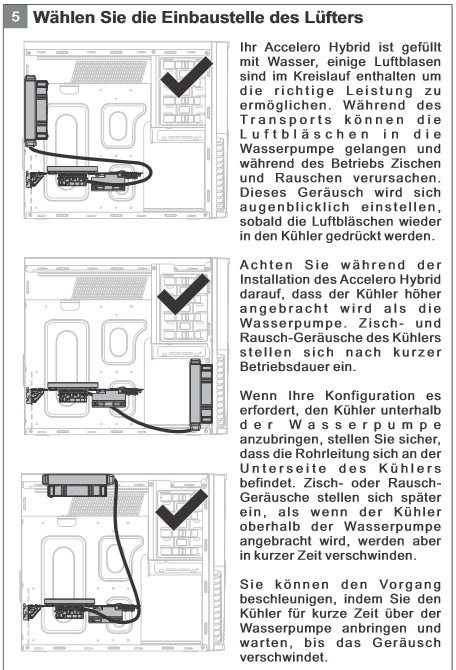
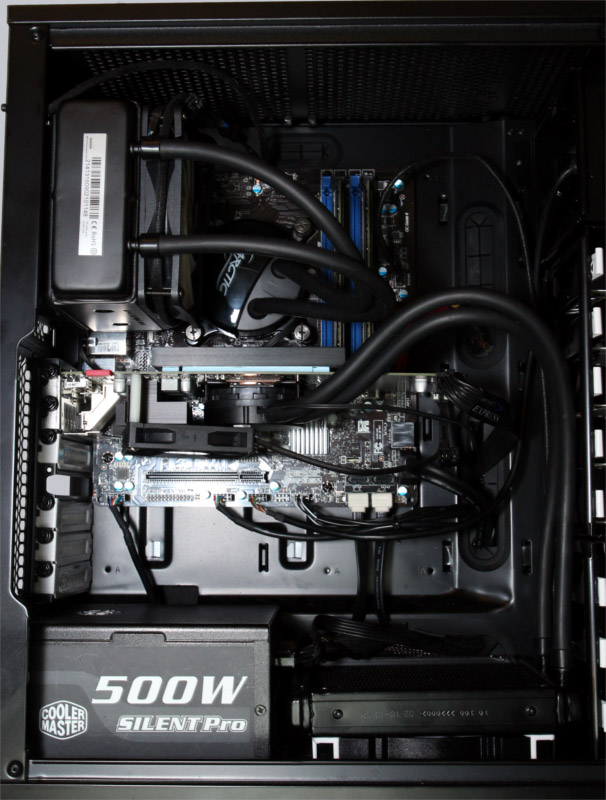
All-in-one systems always make you decide where to put the radiator. The relatively long 420mm tubes give you a lot of reach. To help you, Arctic gives you some choices in the manual as well as the hint to mount the radiator on a higher level than the pump, so air bubbles can accumulate there. Another choice you have to made is if the air should be moved out of or into the case. This lets you control if you want maximum cooling for your video card or for the rest of your system.
Bravely we decided to ignore must of Arctics recommendations and put the radiator in the bottom of the case. Because of the dimensions of 170 x 140mm you should carefully measure beforehand if you can find a suitable place for the radiator. We just needed to watch out for some PSU cables in our build …
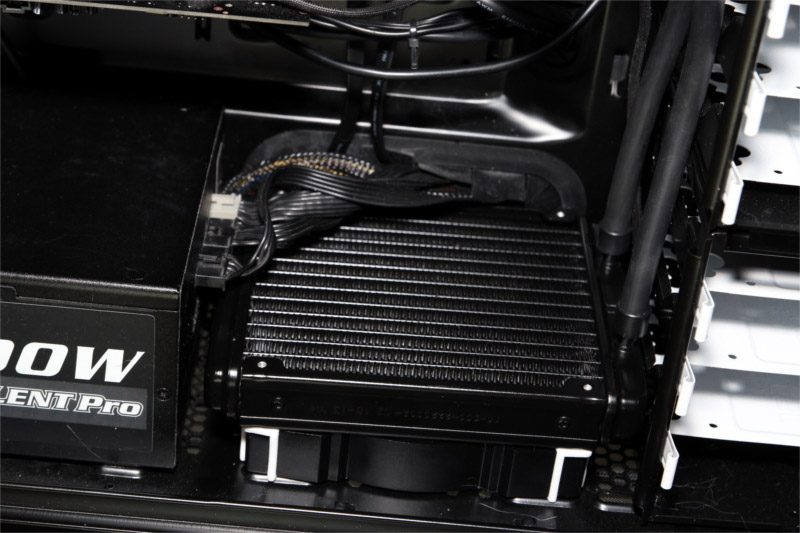
… other than that the radiator fitted perfectly.
Because of the additional fan our video card grew from dual-slot to (nearly) triple slot. So we did not save any space by changing the cooler. But we still had enough space for a PCI card in slot 4.
Arctic Accelero Hybrid III-140 setup and test results …