
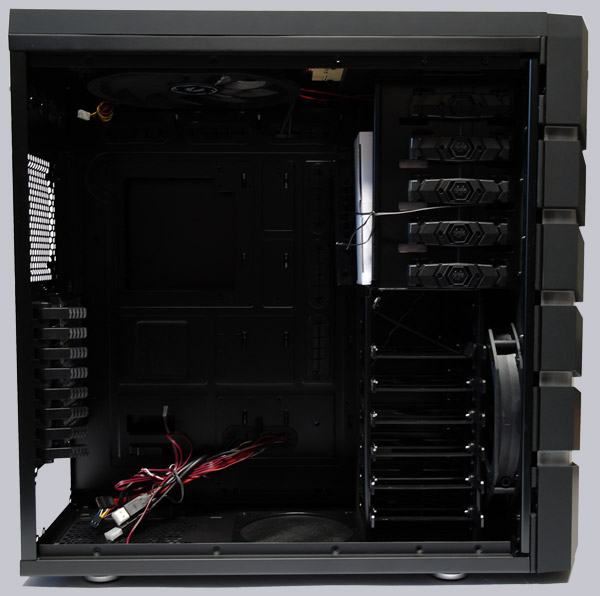
Let us now take a view inside of the BitFenix Colossus Venom. The BitFenix Colossus Venom is completely black coated even in the chassis and all plate edges are very well deburred, folded and rounded. One can work thus without any problem for longer time without wounds in this enclosure. BitFenix has integrated so many nice features, you shouldn’t miss. Snap-In drive locking mechanism, dozens of cable routing grooves, labeled motherboard tray holes and a large space to mount the CPU heatsink from the motherboard back side are some helpful of these gamer-chassis details. BitFenix thus not just pay attention to the design, but offers also inside of the case a lot of interesting features.
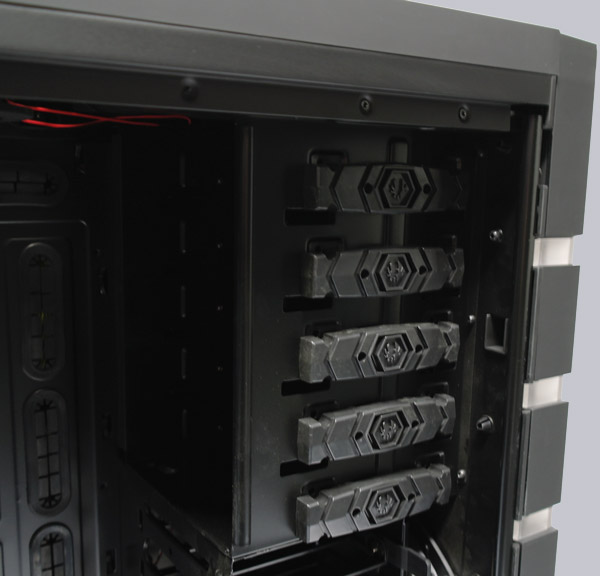
In the case it is possible to mount up to five 5.25″ drives. Just press and slide the drive locking mechanism.
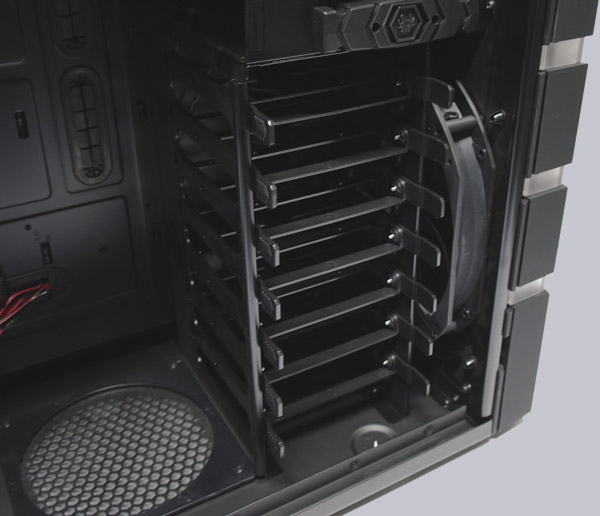
3.5-inch drives are very simple to install, however screws are needed for 2.5-inch drives. Up to seven disk drives can be installed with the special, flexible plastic drive assembly rails. In order to install a drive, remove the drive assembly rail from the HDD cage, bend the rails to the side and insert the desired 3.5″ HDD. The vibration damper at the pins peeking laterally into the drillings of the disk drive to fix them. Without drive assembly the mounting plates are however quite wobbly, which one could optimize some more. But it’s also possible to hold them with a screw. The colossus 230mm fan in the front is silent, but its possible to get vibrations in the PC.
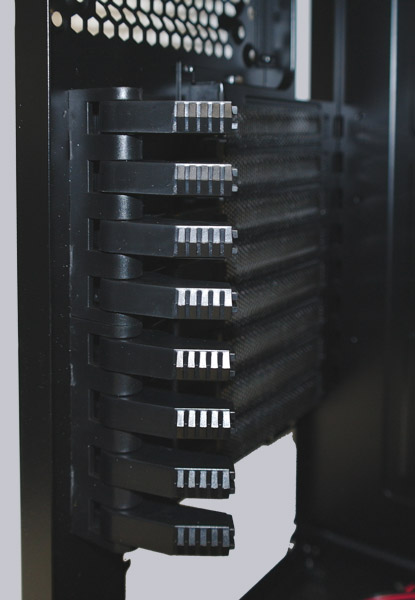
The assembly up to eight extension cards is also very simple. Lever up, insert the card, lever down – that is it. Thanks to the provided lockdown straps it is no problem to secure long video cards. The strips can be installed at the motherboard tray to hold the cards.
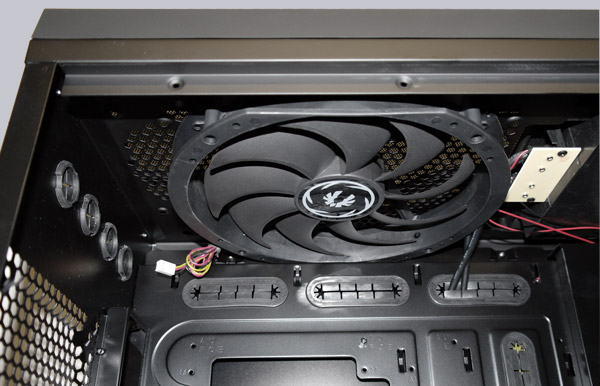
Here is again the upper 230mm fan, which blows warm air out of the PC. If this fan together with the front 230mm fan is not enough for you, it is possible to install an additional 120/140mm fan at the back. By the way, BitFenix provided most fans with removable dust filters.
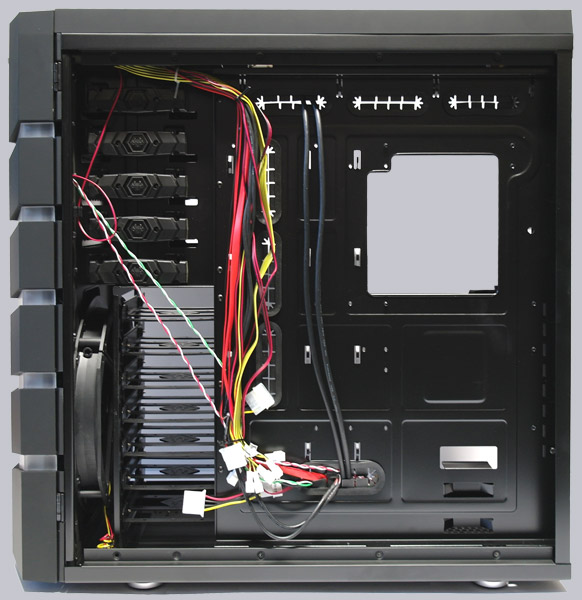
Here is the backside of the motherboard tray with the enormous cut-out for a simple CPU heatsink assembly and a few rubber grommets for routing the cables. They are rubberised in order to protect the cables and hold them, however some of these rubbers were falling down during the PC assembling.
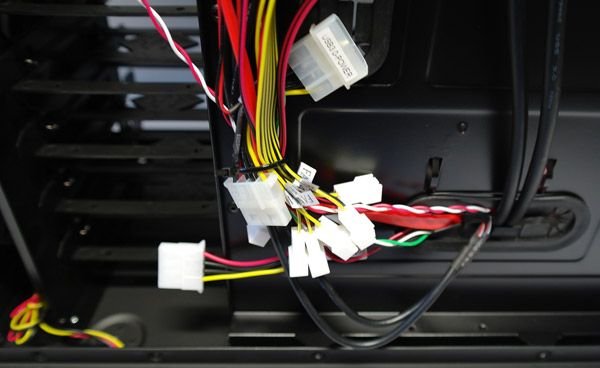
Here you can see again the fan connectors, the power connection for the fan controller, the connections for all fans to the fan controller, the USB 3.0 power connector and the cables for the LED lighting, which are attached to the two side panels. It looks a bit cluttered, but of course it is possible to route these cables much better and this is a view behind the motherboard tray.
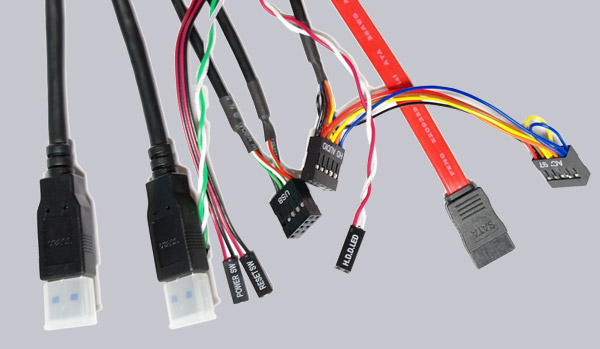
All plugs of the I/O panel connectors, power button and reset button are perfectly labeled. The two USB plugs and the audio plugs are each build in one block, whereby the audio connector offers an AC’97 and a HD audio pin allocation. So it is not necessary to connect each pin to the motherboard. Nevertheless one should compare the pin allocations of the plugs with the motherboard manual before the installation. Very tricky are the USB connectors. In order to make external USB 3.0 connections possible, BitFenix integrated the USB connections quasi as extension into the chassis. And who needs only external USB 2.0 connections, can use the provided USB Y-adapter for the connection to an internal USB port.
The side panels are relatively heavy, because they are tricky lit with the Colossus Venom chassis. In the upper left of the picture one can see the connection for the LED lighting, mentioned before.
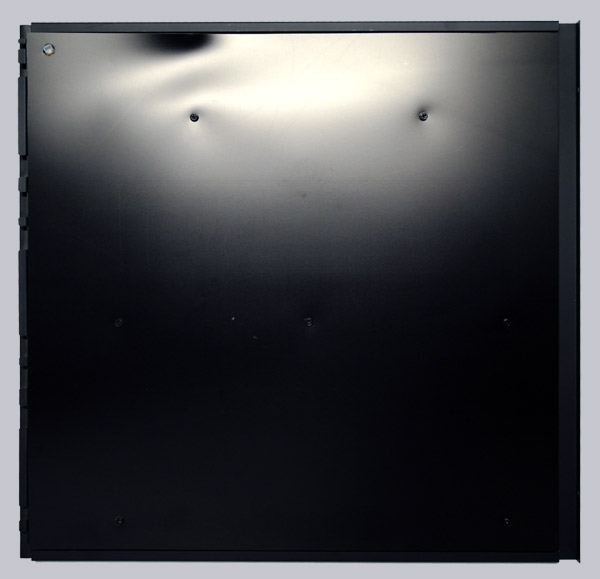
If one unscrew the protective plastic film, one can discover very well the technology, with which the side panel is lit.
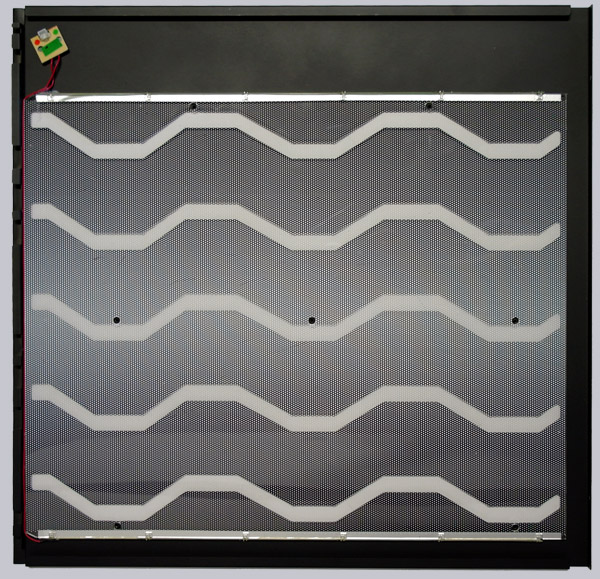
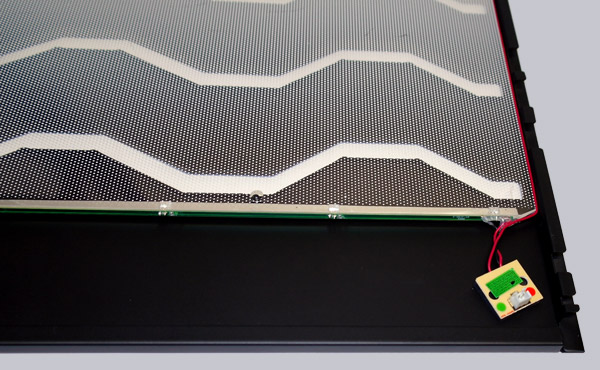
Here is a picture of the power connection and the LEDs, which were integrated laterally in a special pane, with which the LED light is laterally broken to be visible. All is masked with mirror tape, so that less light is lost.
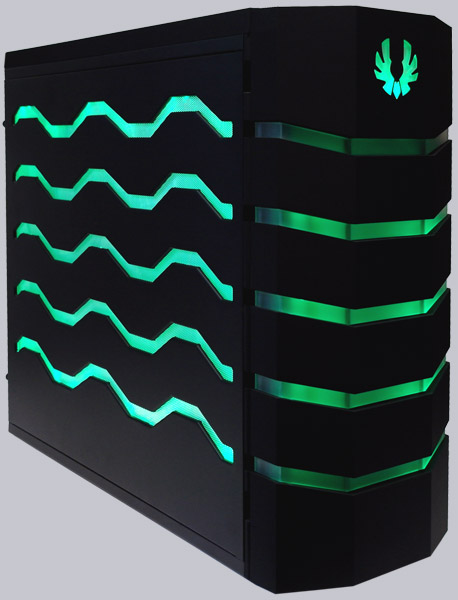
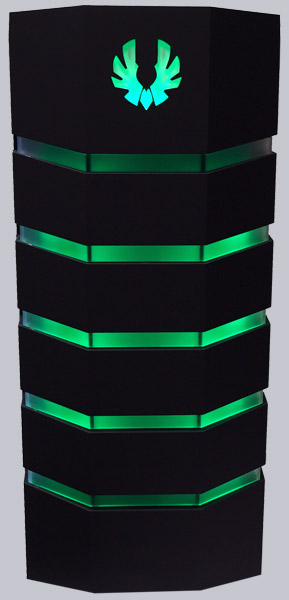
The result is awesome! After everything is attached and switched on the lighting over the upper button, both side panels, the BitFenix logo and parts of the front light up green.
Here is again a picture of the LED lit front door, which did not succeed completely so smooth as the lighting of the side panels. With the right button on the chassis top one can let the lighting pulsate slowly.
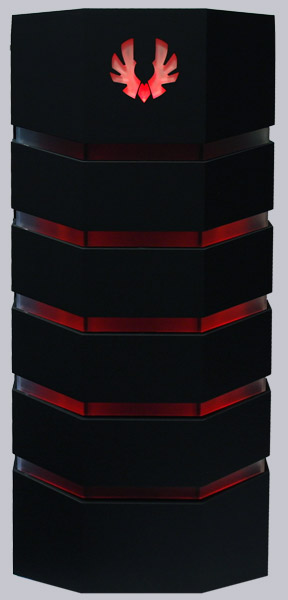
And with the button beneath it, one can change the color from green to red. The red lighting of the Venom case was not completely as bright as the brilliant green lighting, but it doesn’t matter for which color one decides (by the way it is also in blue available), it looks really great.
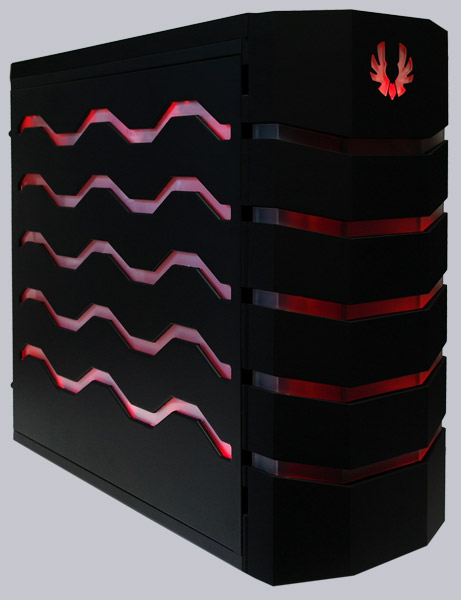
Here is again the red lit up front door of the BitFenix Colossus Venom chassis.
Result and general impression of the BitFenix Colossus Venom Case …