
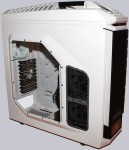
Lets continue our test with the inside of the case. When opening the cases you can already see how much space you have for your hardware. Thanks structured layout it is easy to mount the components without having to take advantage of even the last corner.
By default, located in the front there are the two transversely-mounted hard drive cages.
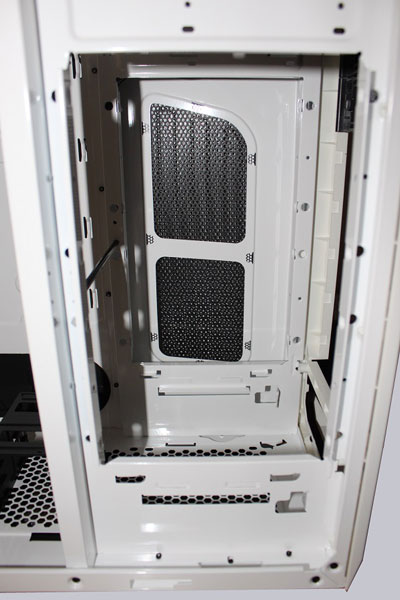
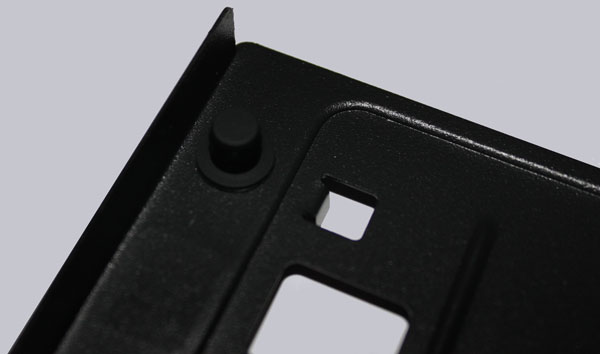
These are equipped with 4 rubber knobs on the sides which are decoupling the mounted hard drives from shocks.
With just a few bolts to be loosened and about 5 minutes of work, it is possible to rebuild these cages in the longitudinal position to significantly improve the air flow. When removing the accessory box and both cages it is possible to mount a dual radiator and even a water pump in the front.
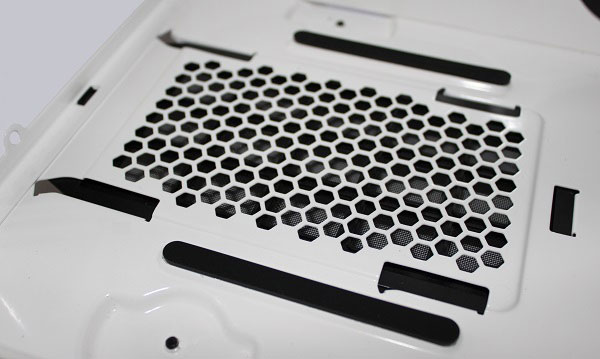
The power supply is mounted at the bottom of the case. Aided by the rubber bushings of the backplate a very good cable management is therefore possible. To protect against scratching some shiny Power Supplies CM has equipped the floor with two rubber rails. Also the ventilation is ensured, since the fan holes in the bottom helps the PSU fan to pull fresh air from under the case.
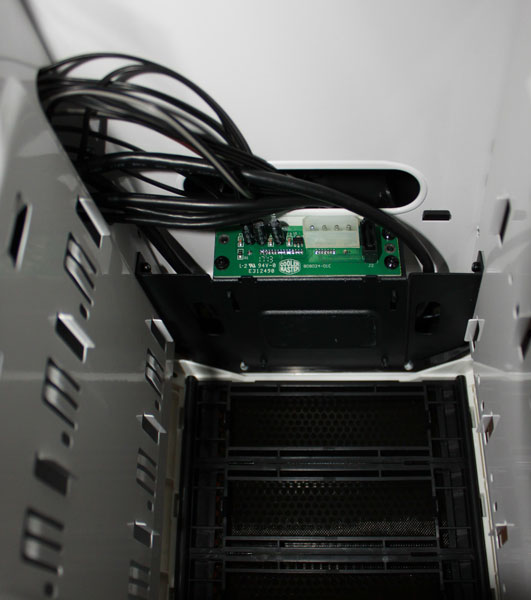
Optical drives can be easily mounted in one of the upper bays. Also the HDD installation is very easy. The mounting rails included with this set are bendable and so facilitate the mounting of hard drives. The X-Dock has the ability to hold a 2.5 inch hard drive or SSD. For this purpose, the back of the X-dock must be connected to a 4-pin Power Cable and a SATA connector cable.
Furthermore, a total of 4 fans have been installed …
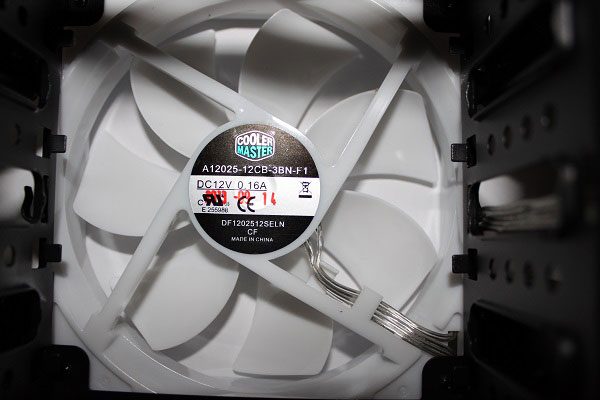
Two 120 mm fans provide fresh air intake from the front. These are located in the two hard drive cages and are blowing mounted.
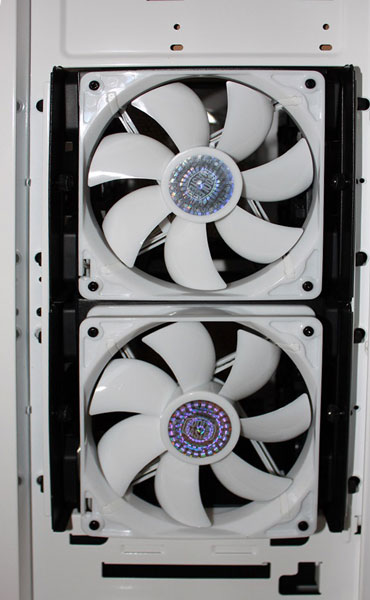
That means you convey the air from the front, passing the installed hard drives, into the case.
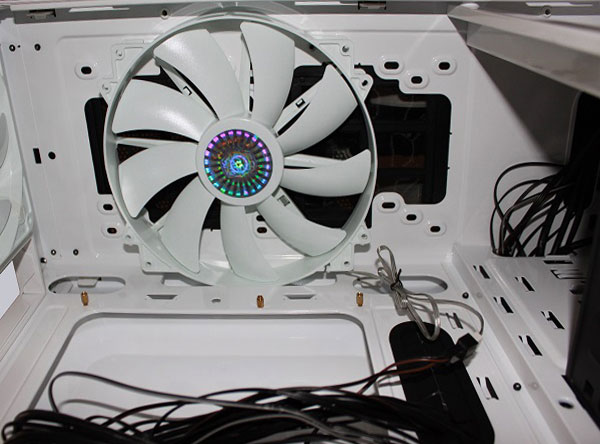
Another 140 mm fan is mounted at the back and transports the warm air from the CPU cooler directly to the outside.
But the real beauty is located at the top. It is a 200 mm fan which is also mounted suction. As everyone knows, hot air always rises to the top, which this fan transports through the upper air slots.
All fans can be very well controlled by the integrated fan controller, and ventilate the housing on low settings more than adequate. It is also possible to mount two additional 120 mm fans at the bottom of the case.
You can also replace the 200 mm fan at the top by two 120 mm fans which, for example can cool a top-mounted dual radiator. The ability to be able to remove the lid facilitates assembly of said components enormous.
Taking the right side portion of the case off you can gain access to the “backstage” area. Here you can lay cables without seeing the from the outside. There is also a big hole behind the CPU that makes the mounting of CPU coolers much easier without removing the Mainboard.
A better heat dissipation in the CPU area is, of course, another effect.
Result and general impression of the CM Storm Stryker Case …