
Layout, design and features …
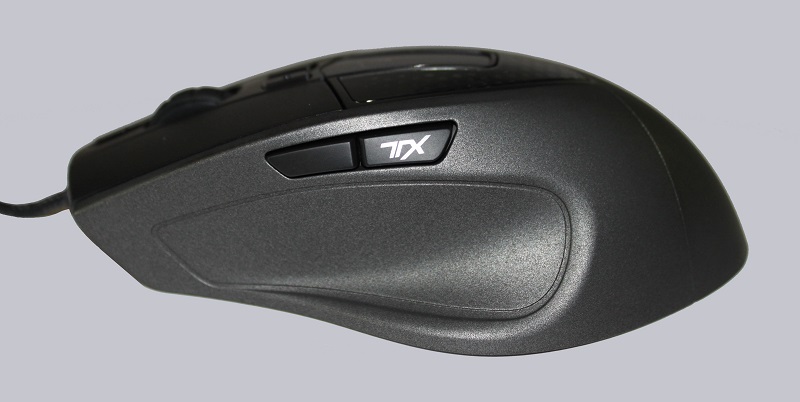
Cooler Master has created with the Sentinel III a mouse, which is suitable for gamers with Palm Grip. The player puts his hand flat on the mouse to perform movements on the surface.
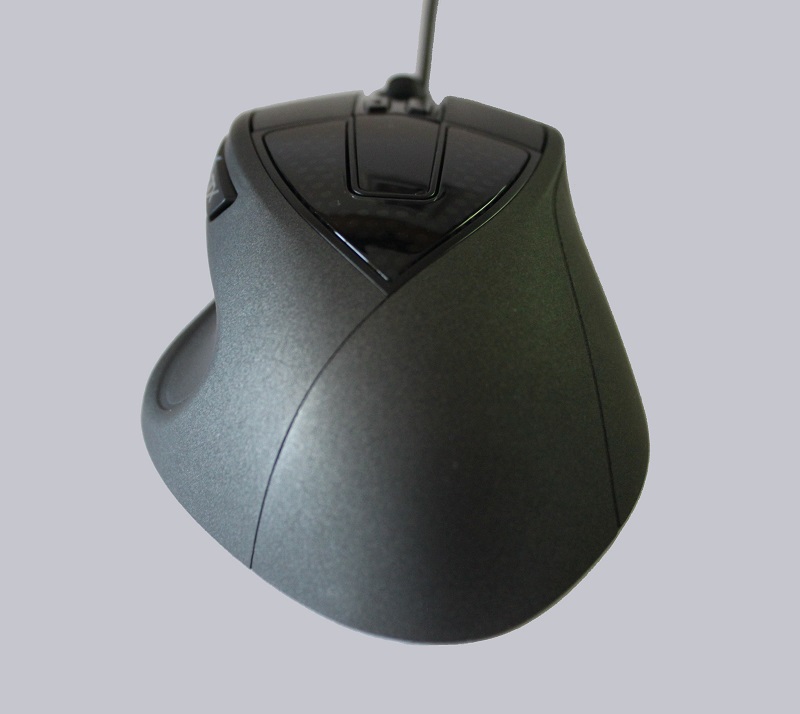
This results in a smaller thumb rest, which is ideally suited for this grip type.
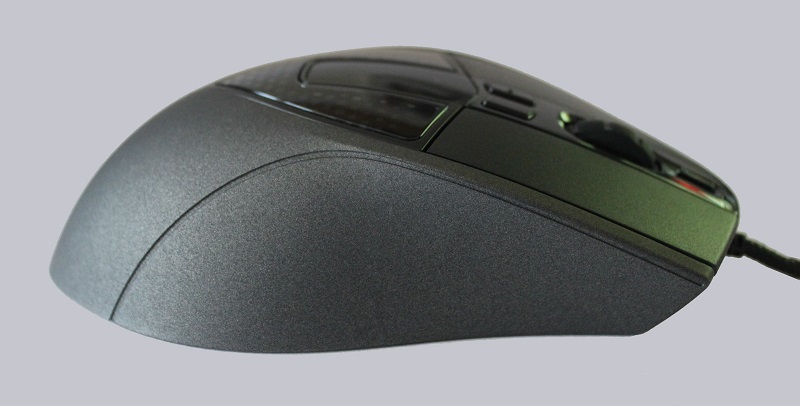
Also in the side view can be seen that the Sentinel III has a flatter shape than their claw grip counterparts.
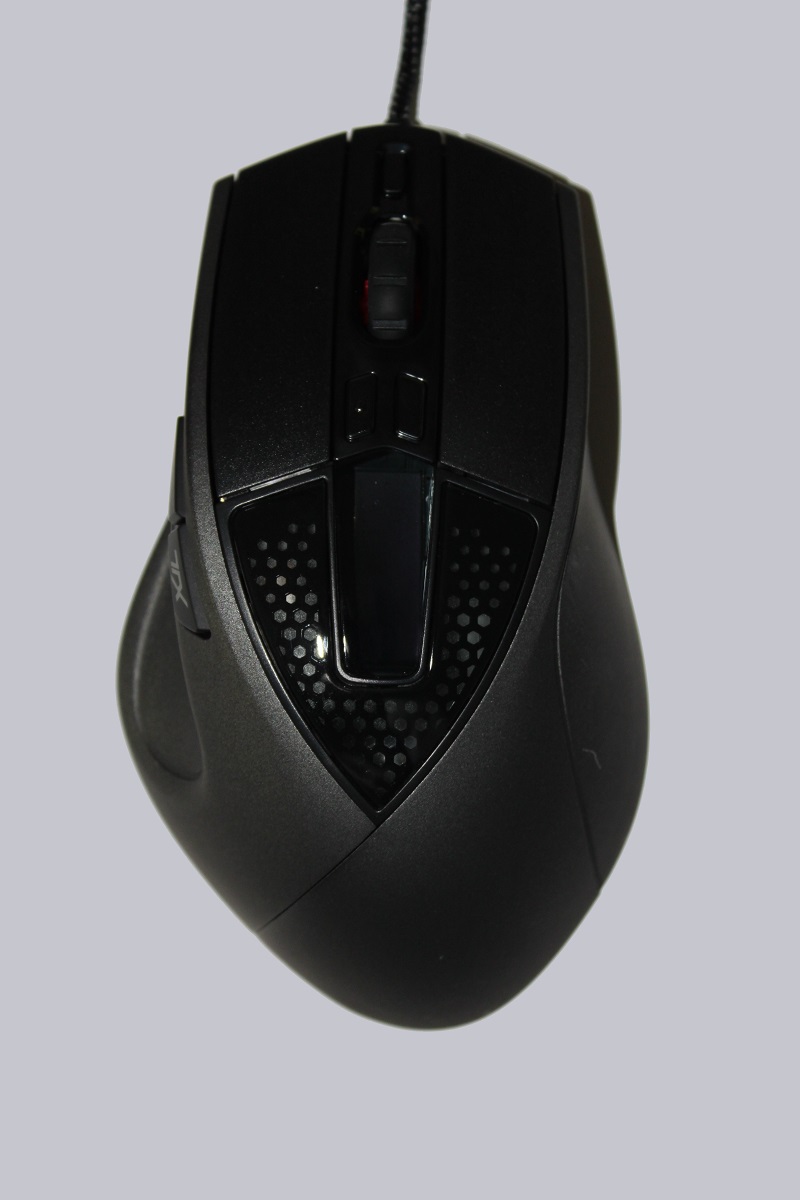
On the other side you can see the two thumb buttons, one of them is the Storm TX button. This provides the ability to access the secondary function of each key.
The remaining buttons are located at the usual positions, with one exception. The button on the front end. By default you can switch profiles with this button.
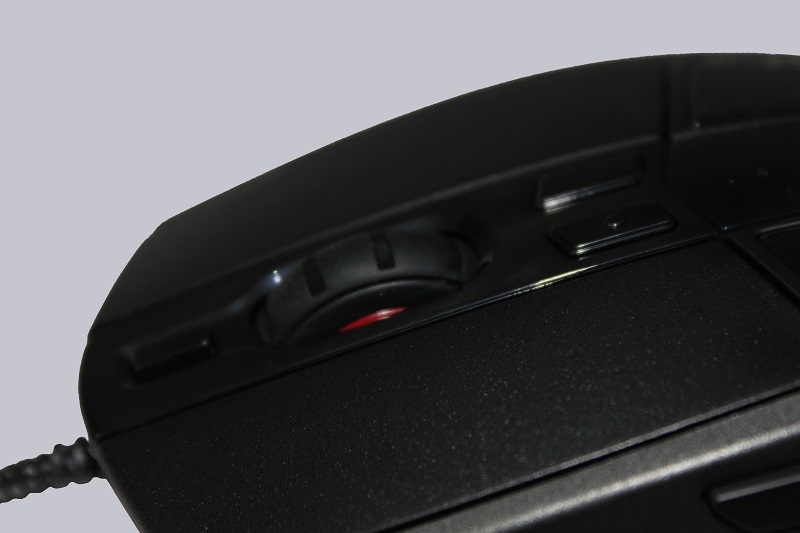
Approximately centrally on the mouse, however, is the highlight of the Sentinel III Gaming Mouse. The O-LED display, which consists of two parts. On the one hand the current DPI value is displayed, on the other hand you have the possibility to apply your own logo on a 32×32 pixel large area. By default the Cooler Master logo is deposited. Unfortunately, it is always just a few seconds active after switching, so one can not long enjoy the beautiful OLED display. But for a nice permanent LED lighting, the mouse has two light shafts on the frontside.
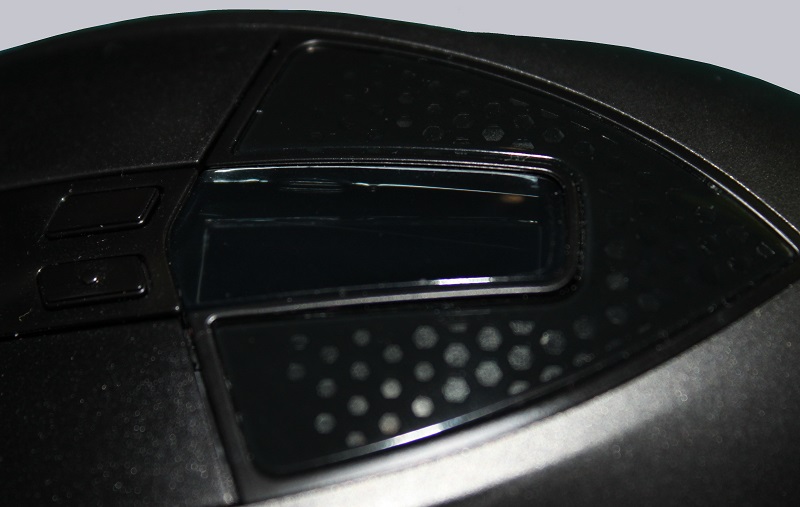
Here’s our OCinside 32×32 logo for the tiny OLED Display of the Cooler Master Sentinel III Gaming Mouse.
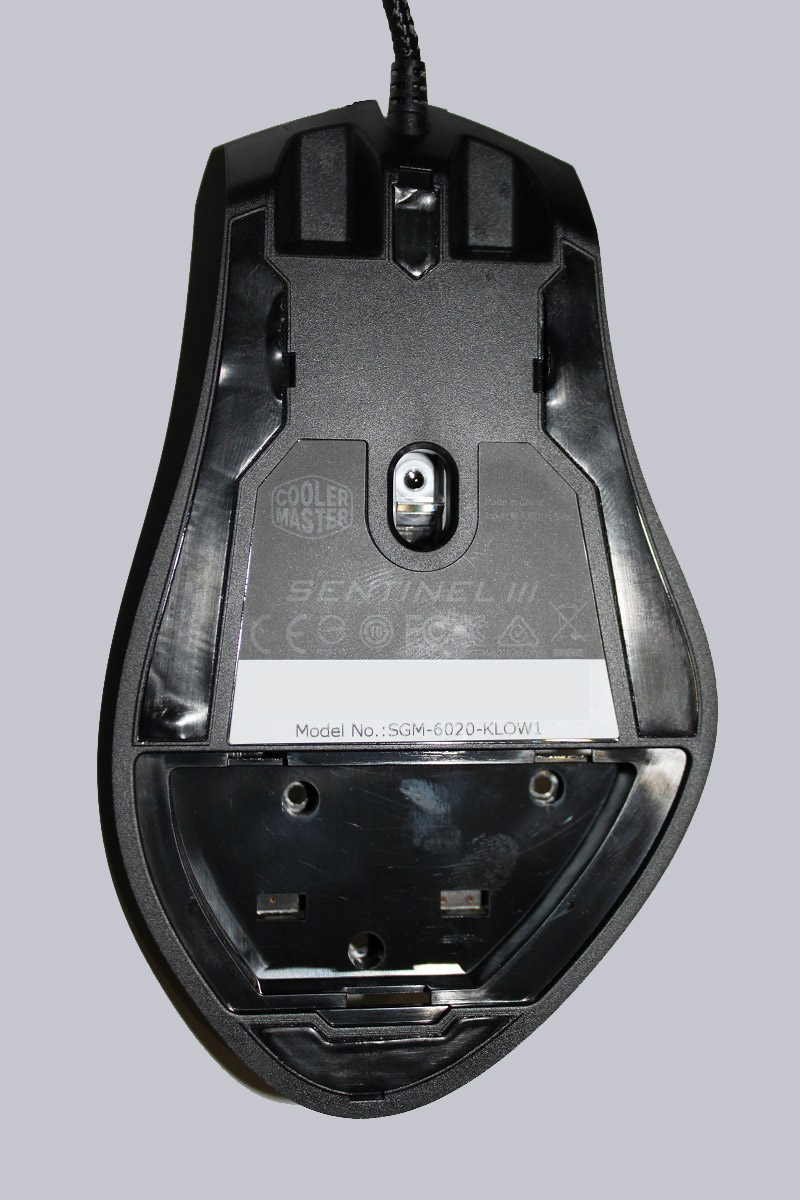
Let us take a look at the bottom of the Cooler Master Sentinel III.
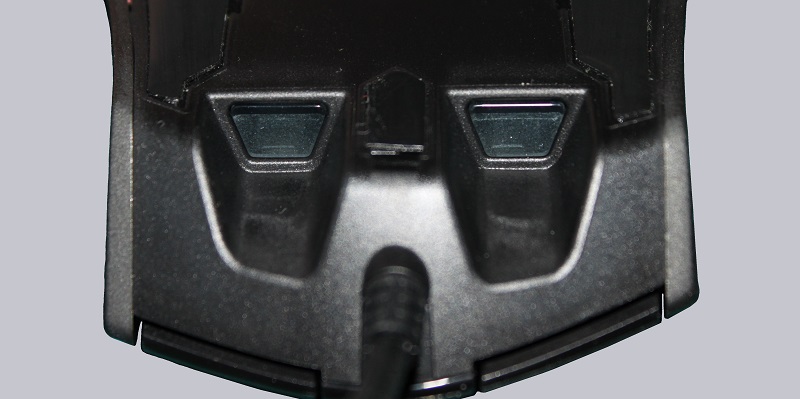
It is good to see here, that the mouse has two smaller sliding feet and two large lateral feet.
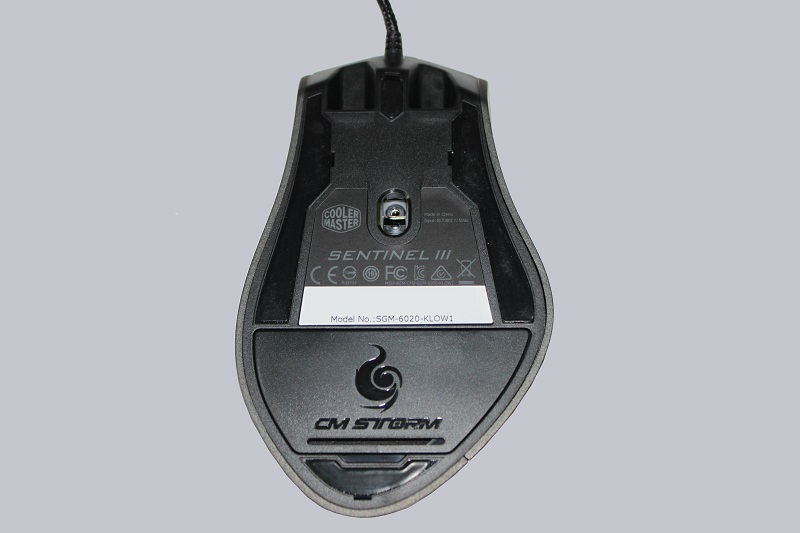
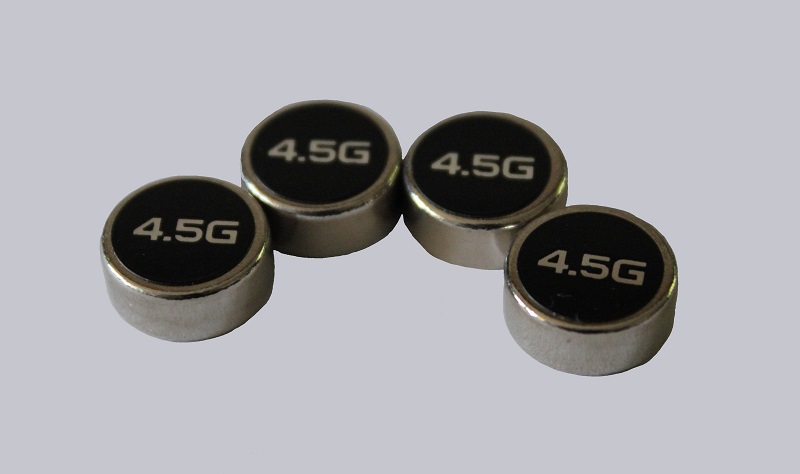
Behind the cover at the bottom …

… there is the compartment for the weights.
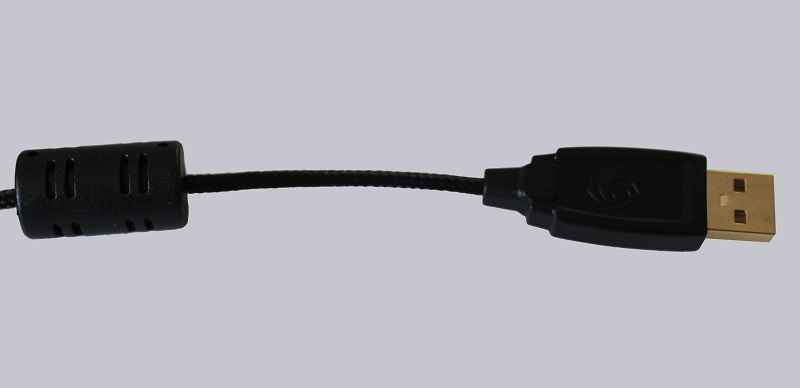
The Sentinel III is connected via a 1.8 m sheathed cable, including standing wave barrier and gold-plated USB connector.
Now we take a look at the interior of the gaming mouse. To open the mouse, we carefully remove the upper third of the side sliding feet. Among them are two screws that we removed. Then we open the cover of the weights and carefully remove the foam inlay.
Among them are three more screws. After removal the mouse is easy to disassemble.
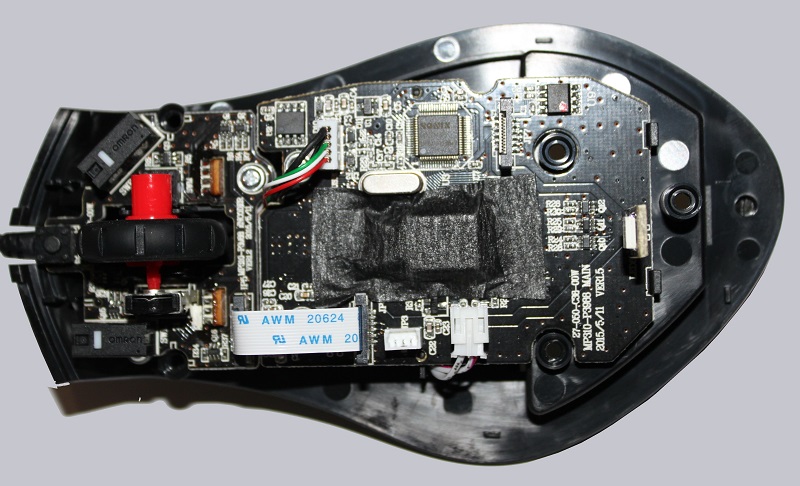
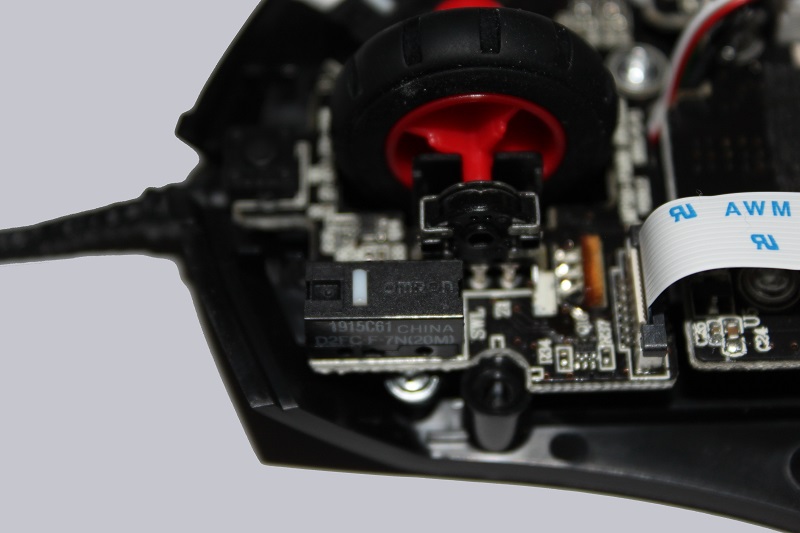
Except for a few flux contamination on the board, the processing in the interior is impeccable. The left and right mouse button have Omron switches with a life of up to 20 million clicks.
The software …
Now we come to the software, with which you can make all the mouse settings. However, this is not possible as long as the Sentinel III is not yet connected.

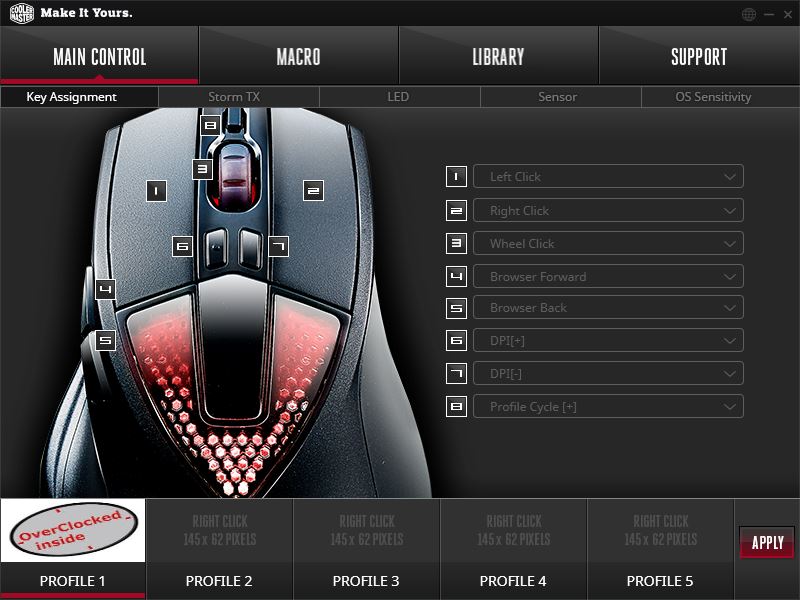
Once you did that, you will be welcomed by the software with the home screen, where you can also perform the key assignment.
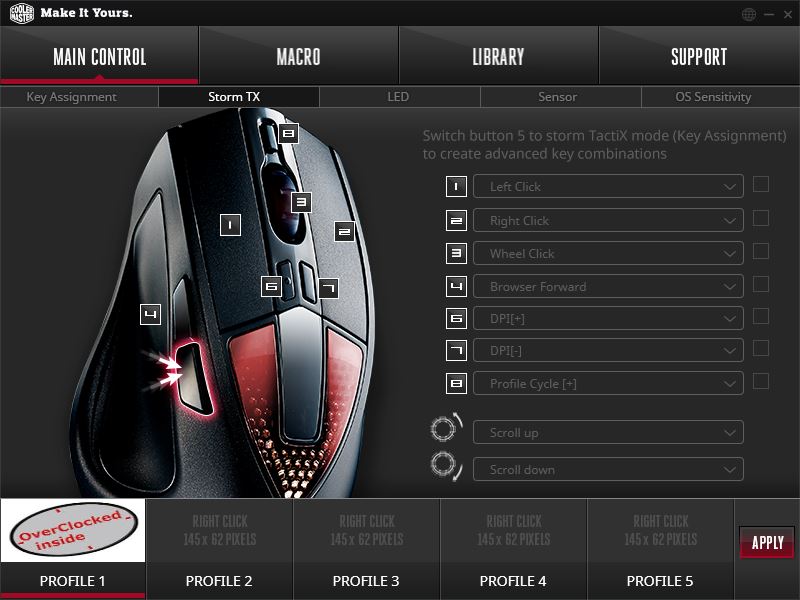
As mentioned earlier, within the tab “Storm TX” you can set the secondary functions in combination with the TX button.
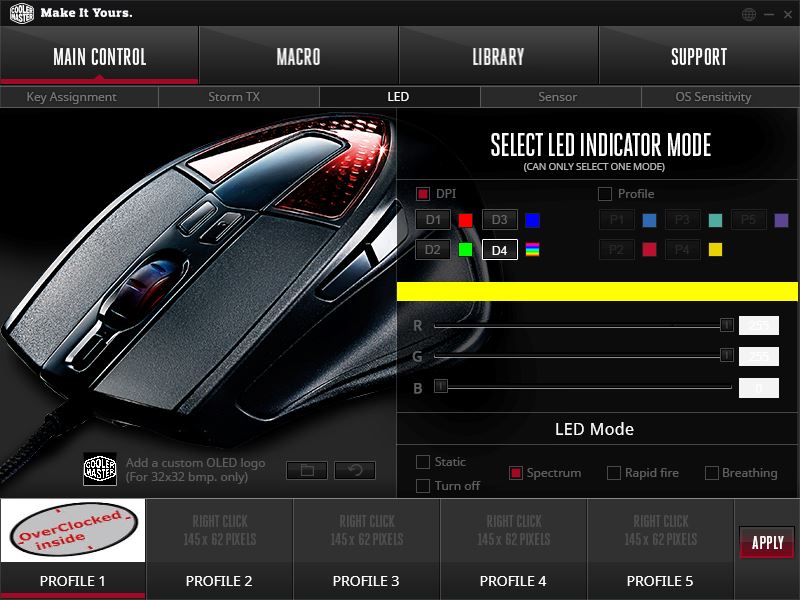
In the next tab “LED”, the user can adjust different illumination modes and colors. You can also enter a self-created logo with the size of 32×32 pixels in BMP format here. This logo will be used for each DPI setting. The color can also be adjusted depending on profile.
The sensor settings have a surprise for the user. Not only that you can adjust four different DPI profiles here, it’s also possible to adjust the dpi settings for the X and Y axis separately. In today’s games perhaps this setting may not often find usage, but when drawing or editing images it is a very handy way to draw straight lines or edit a picture. As a substitute for it, you can use the “Angle Snapping” function that also supports drawing straight lines. The “Lift-Off Distance” setting indicates the distance to the mouse pad, the sensor can detect the surface. When the mouse is 100% straight from the bottom of the hand, so there may be differences in upward and downward movements, then this can be corrected with the “Angle Tuning”.
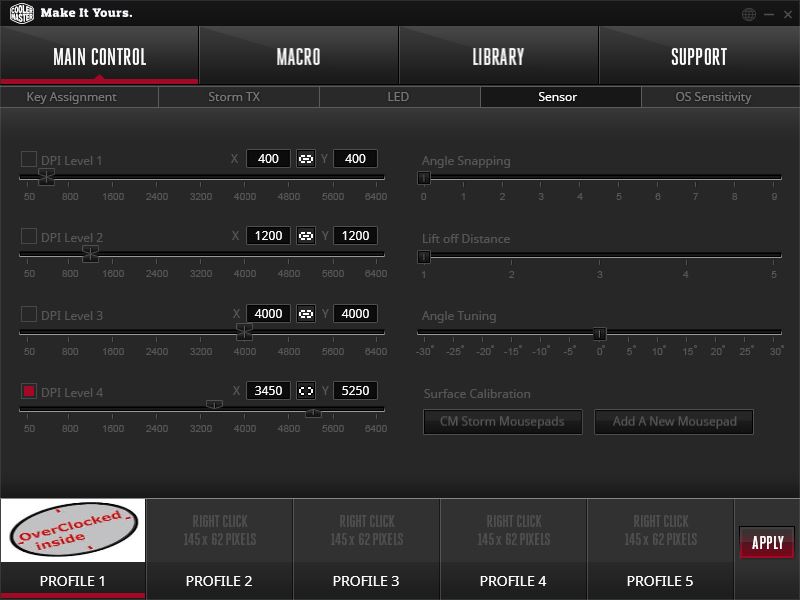
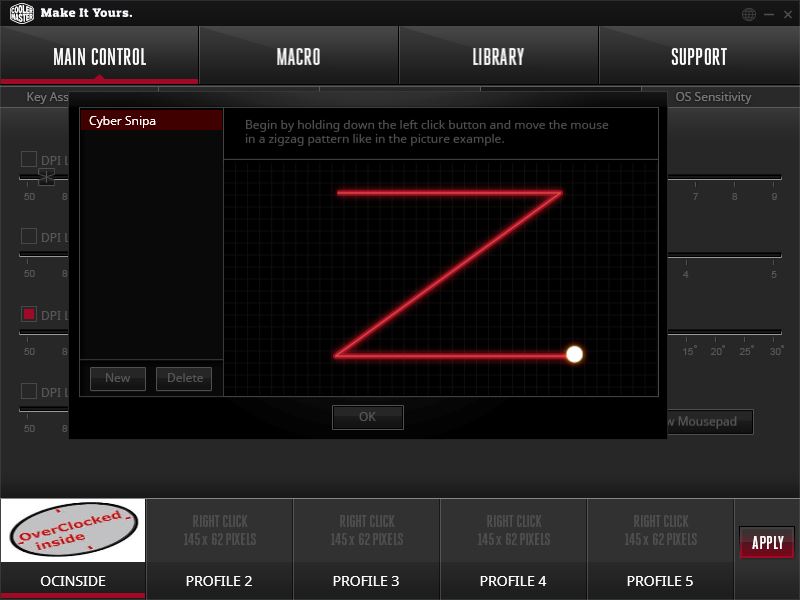
In addition to the four pre-calibrated Mouse pads from CM Storm, you can also calibrate your own surface. After a few times Z-movement you can save the surface in the desired profile.
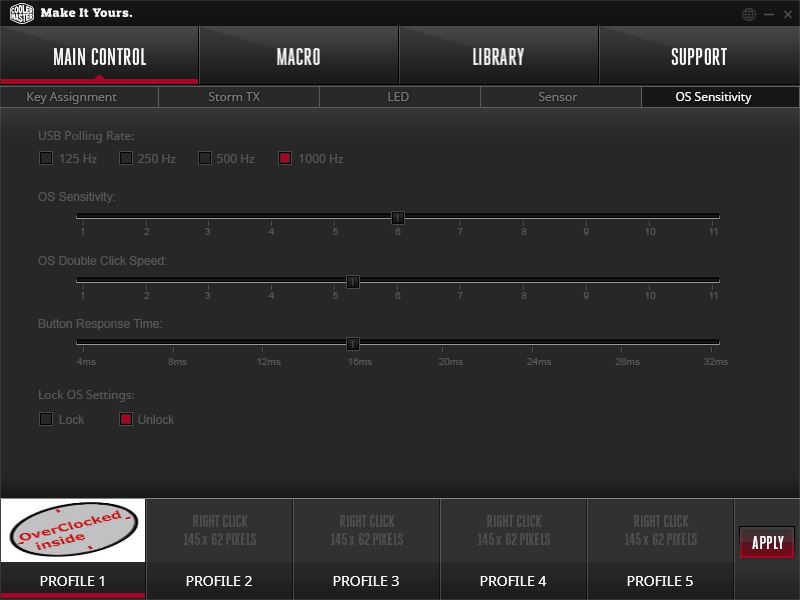
The last tab of this menu item allows settings for the operating system. USB sample rate, sensitivity, double-click speed, actuating tripping time and the possibility overwriting the operating system settings or to lock them.
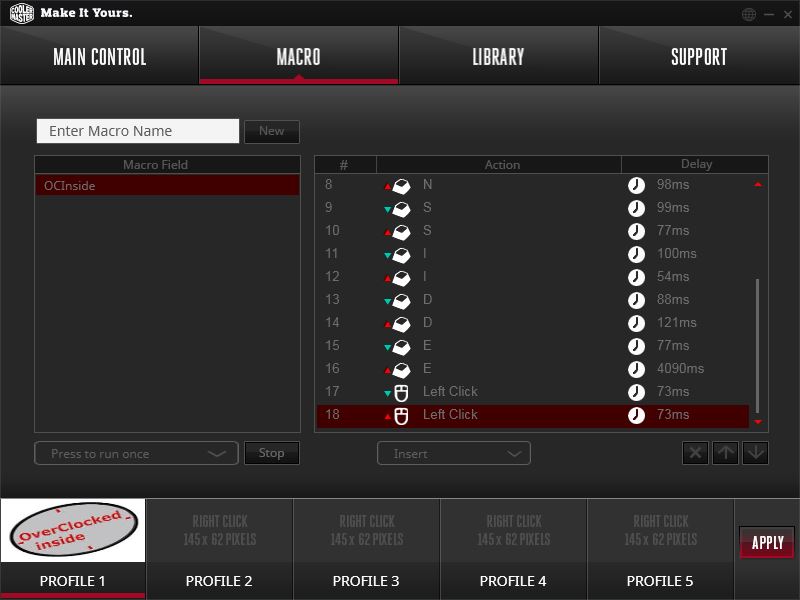
In the next menu item we can create predefined keystrokes that can be executed by one click.
In the menu item “Library” or “Profiles”, you can select the user profiles, save, delete and even export or import them.
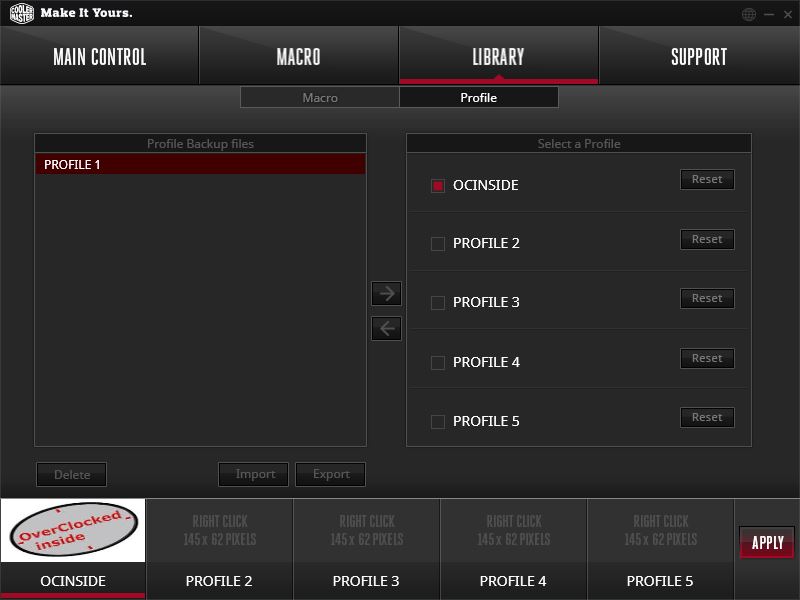
In addition, we can provide the profiles with own names and logos. The name is then displayed on the display of the mouse. In the last menu item you can open the support site from Cooler Master and/or check the software and firmware version.
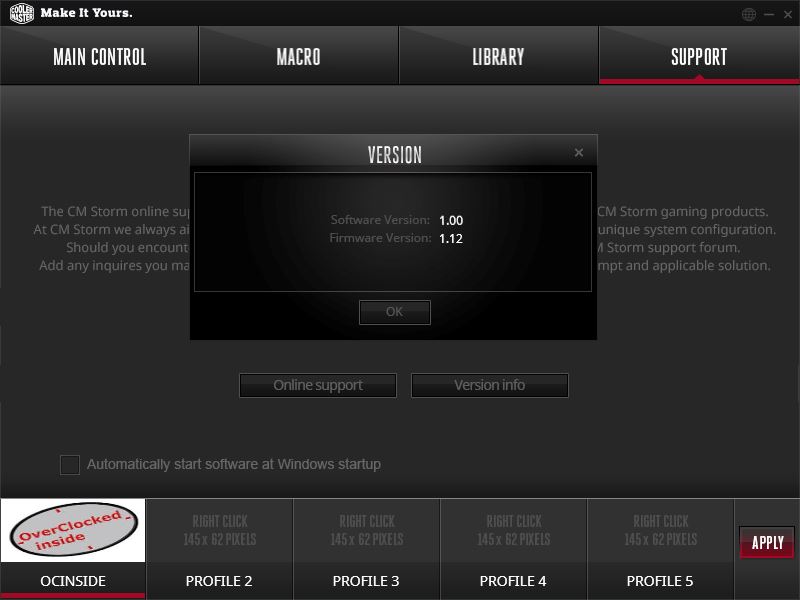
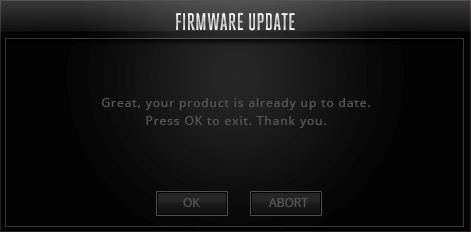
The software did not give us an indication of a new firmware. But, we found out after visiting the support page that the version 1.12 has been replaced by version 1.18. The update was slightly out of hand …
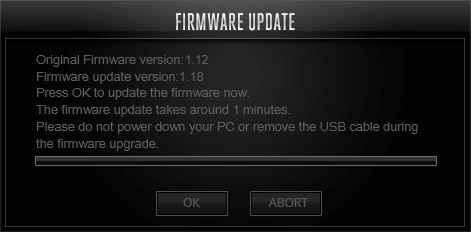
… and was completed after a few seconds.
With this fresh firmware and all selected options we are now ready for our practical test, in which the Sentinel III must now perform.
Cooler Master Sentinel III Installation and operation …