
Installation …
The instructions are mostly clear und easy to understand. Just the order of some steps is questionable to us. It tells us to apply thermal paste as a first step. This way dust could build up which affects the cooling performance. Also applying the screws before turning over the mainboard and fasting them with nuts will cause the screws to fall out.
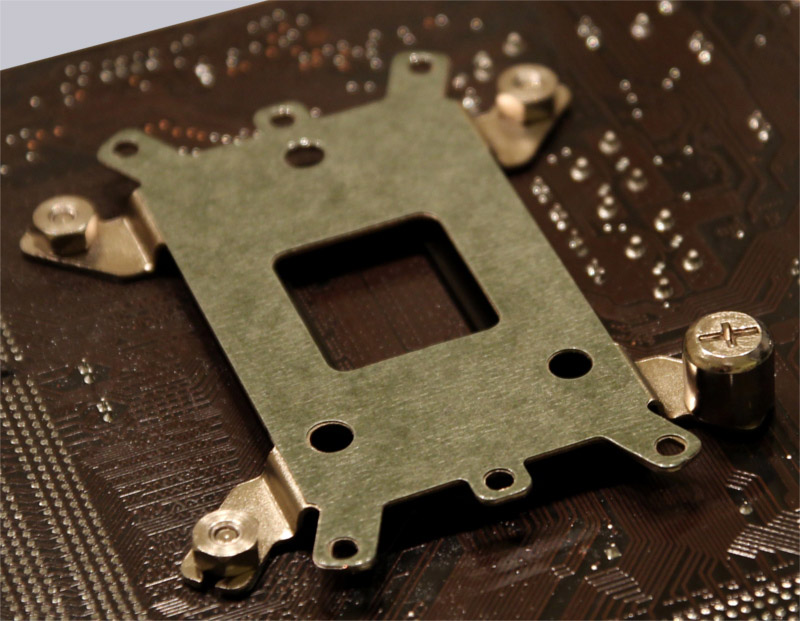
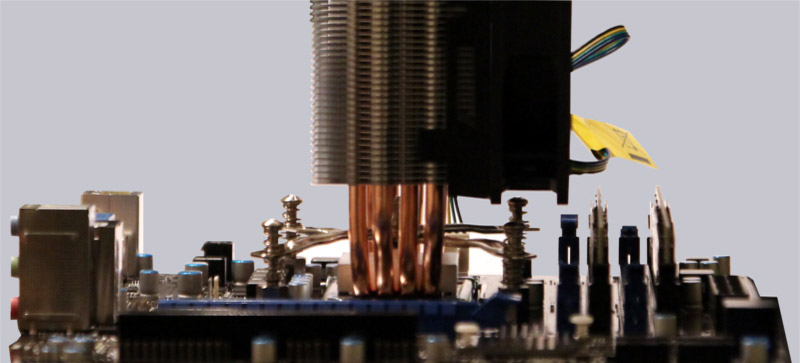
Apart from that the installation is really easy. A great part in that plays the adjustable cross-shaped bracket which allows the installation on almost all current sockets. The manual shows very clearly which position and screws have to be used for each socket.
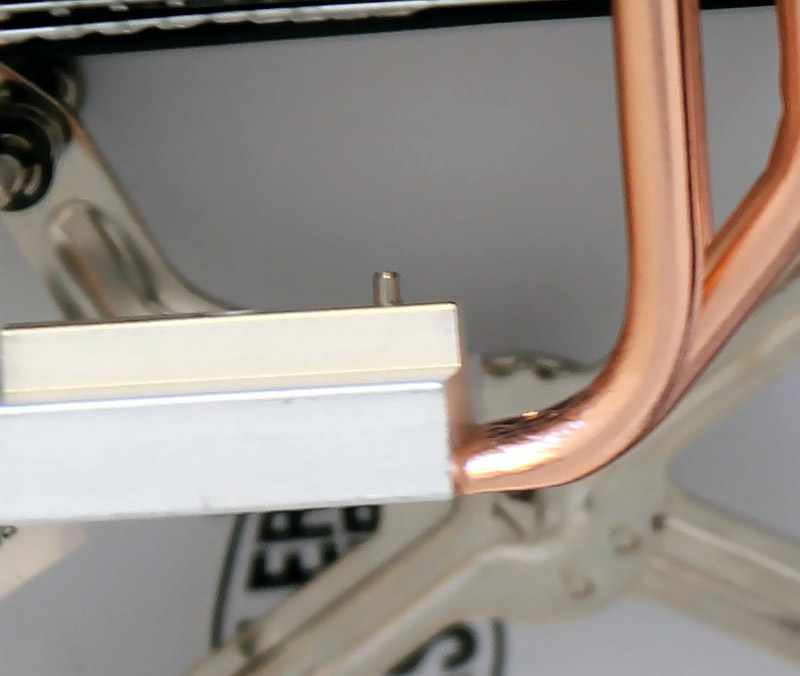
To make the mounting rotationally-stable there is a bolt on the bottom plate of the cooler which locks into the edge of the bracket.
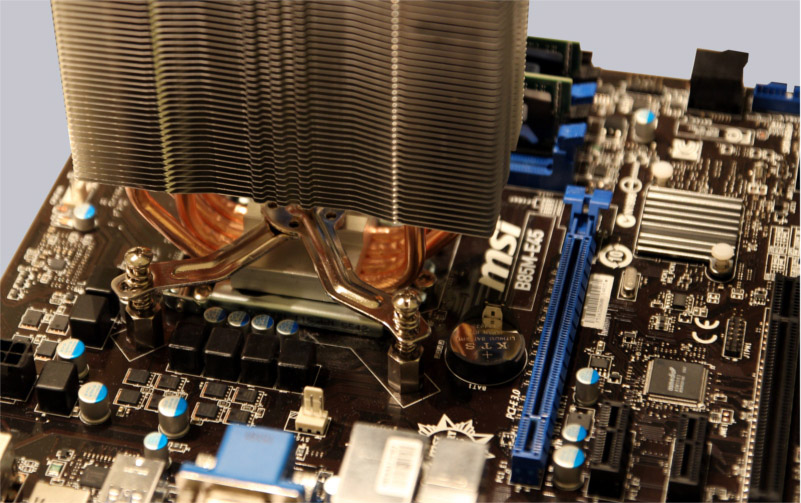
The spindly design gives a lot of space around the socket. The cooler towers barely over the first RAM slot on our mATX mainboard. A usual RAM module would fit under the fan though. Because of the fan-bracket the fan could also be mounted higher.
With a height of 16cm there is about 1cm space between cooler and case wall.
Cooler Master Hyper 212X setup and test results …