
Installation …
The box promises an installation time of 5 minutes. For us this seems achievable if you don’t have to dismount the mainboard and you know exactly where you can place the radiator.
Overall the instruction is a bit rudimentary. For additional help Cryorig added a QR-code for every step which lead to short videos. Our cooler came with only 8 instead of 16 washers, but that’s not crucial.
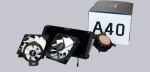
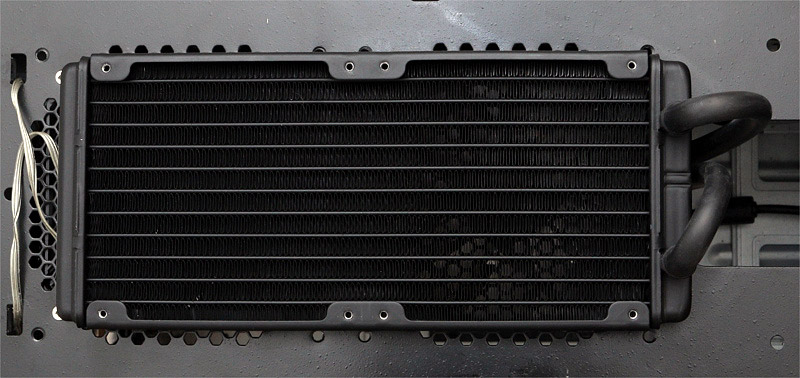
As an exception we show you the already installed cooler first. The used Cooler Master RC690 case did not have a suitable option to place the fan on the inside. In the end we decided to place it on the top of the case and put the top cover away. The fans could be mounted on the case ceiling without any problems. Other cases give you the opportunity to place the radiator inside the case either above the mainboard or in the front. If the tubes would have been one centimeter shorter we would have had to install the radiator with the tubes facing downward and only just two screws to attach it. But if you found a place to fit the radiator in, the installation is a piece of cake.
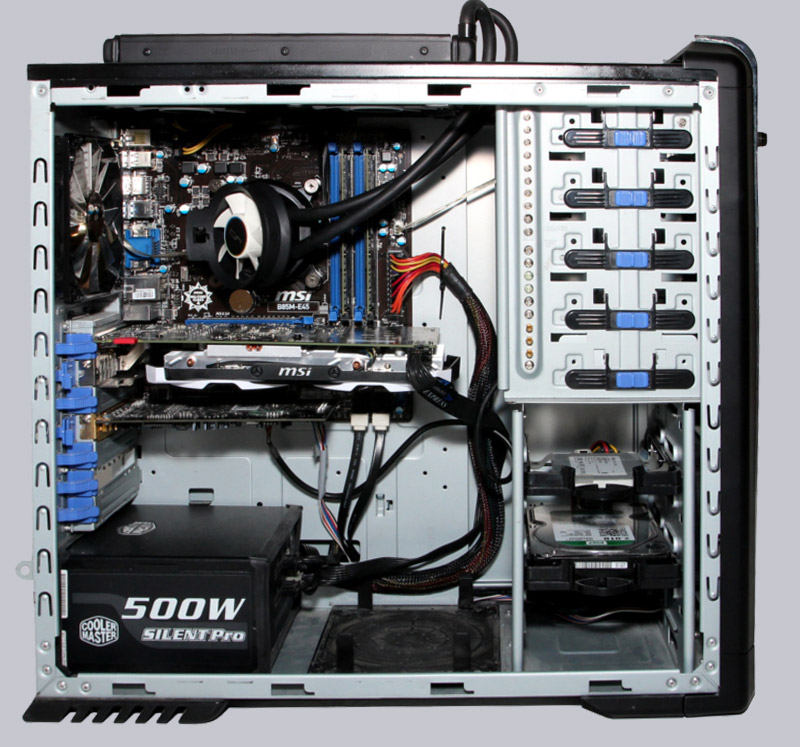
As with most coolers, we attach a backplate first.
After tightening the thumb-nuts on the front, the backplate has a bit of clearance. The instruction specifies this as wanted.
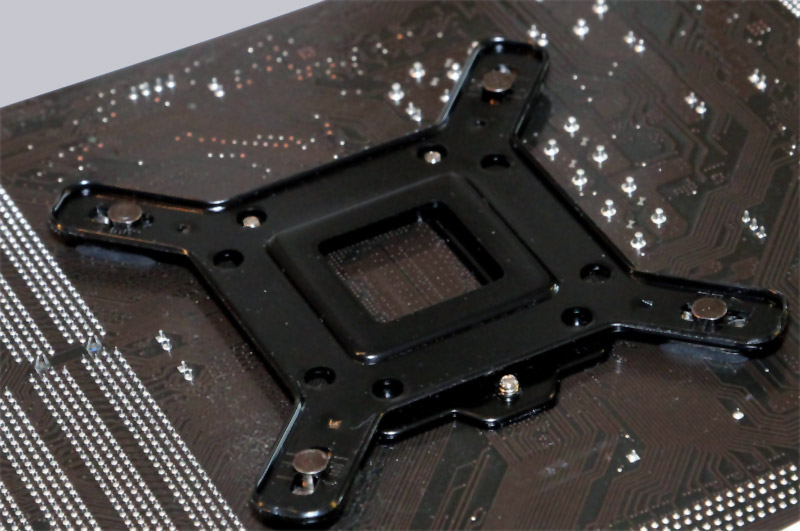
We installed the motherboard before the radiator.
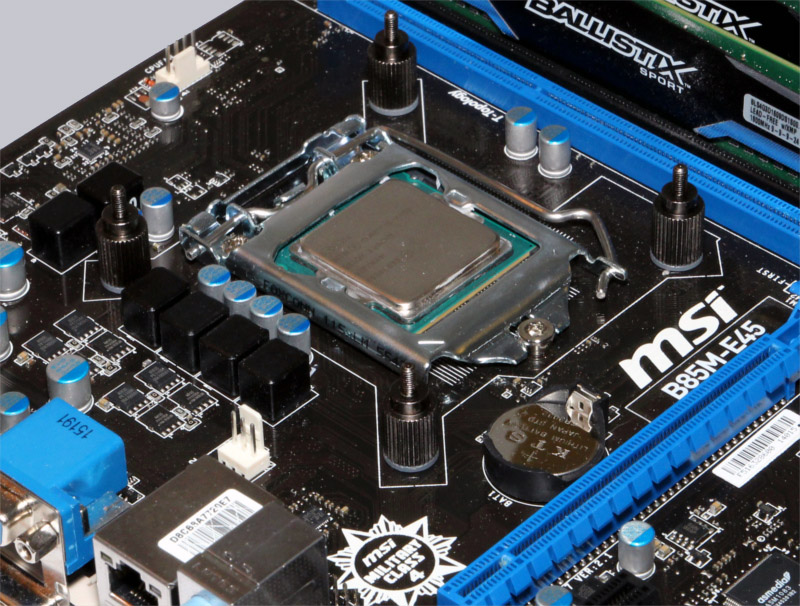
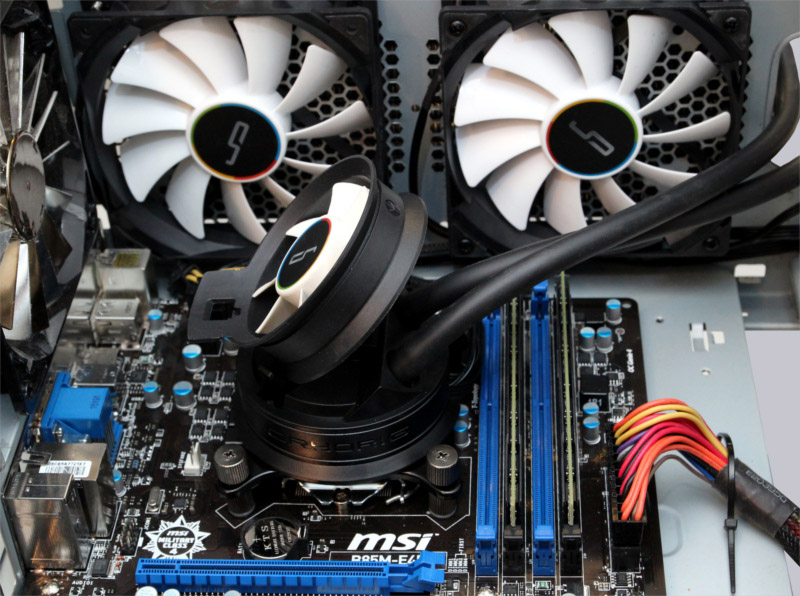
The installation of the heatsink/pump on the CPU is really easy. Place it on the CPU, tighten the 4 thumb-screws, done.
Different cases give different options to install the radiator. If the case is made for a all-in-one cooling solution you mostly find an easy to access place for the radiator.
Cryorig A40 setup and test results …