
Layout, design and features interior …
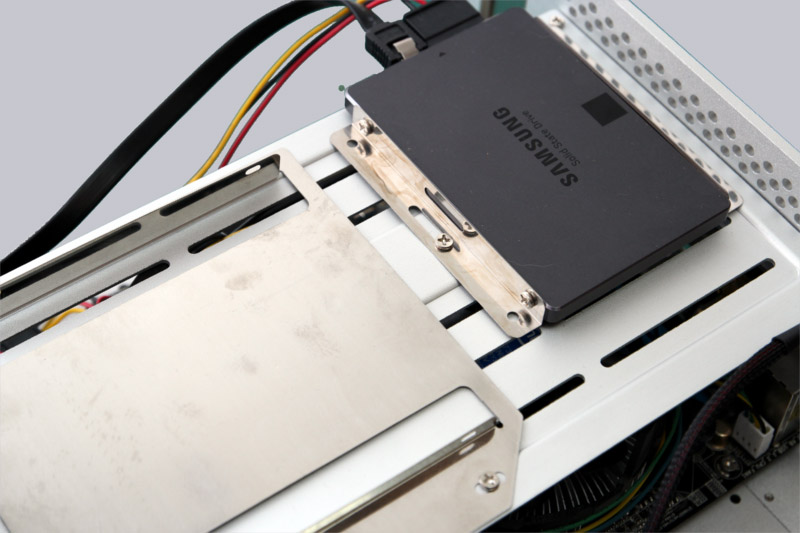
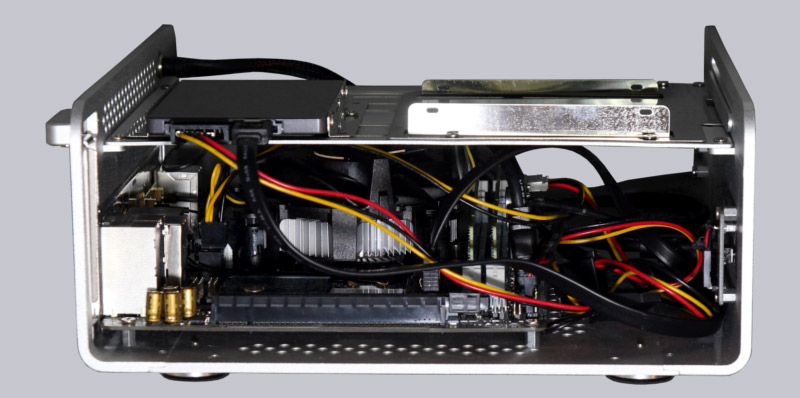
After you remove the screws on the bottom side you get a view inside the case. As you can see Streacom used a two level design.

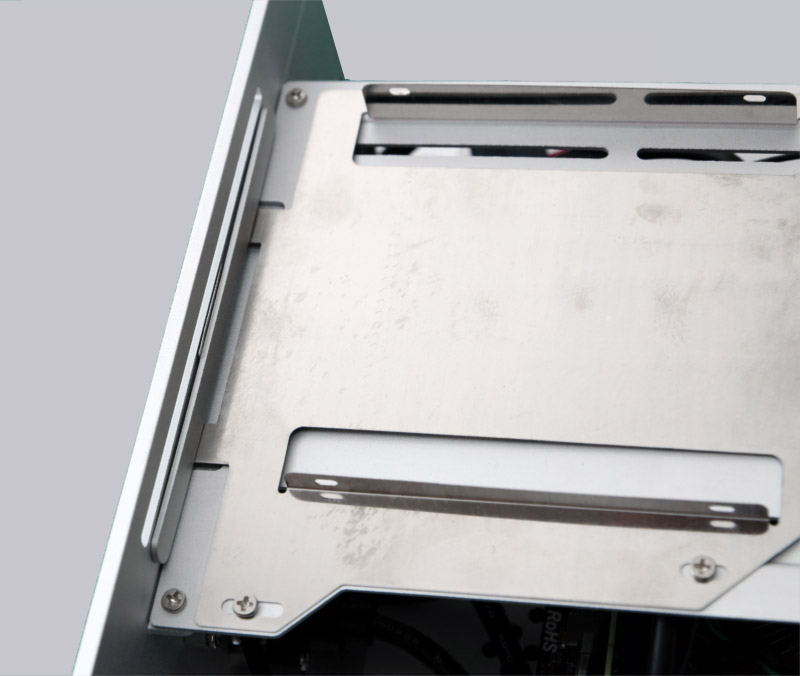
The upper element serves as a rail for optical and storage drives. The latter can be mounted in several ways on the top or bottom side.
It also hosts the mechanism which lets you use different optical drives independent from the eject button placement. At least for Blu-Ray drives the number of available SlimLine Slot-in drives is very limited. Therefore Streacom has one of those available in their own portfolio.
The mainboard is installed on the lower element. One of the downsides of these compact dimensions is the maximum CPU cooler height of 55mm. This limits you to use a CPU with very low heat emission, otherwise you should use the possibility to install a 90mm fan on the side.

If you are interested in passive cooling systems, you should have a look at the different Streacom cases. The FC8 for example has a very similar design to the F7c but has cooling fins built in the side if the case itself. This way your case works as a aluminium radiator.
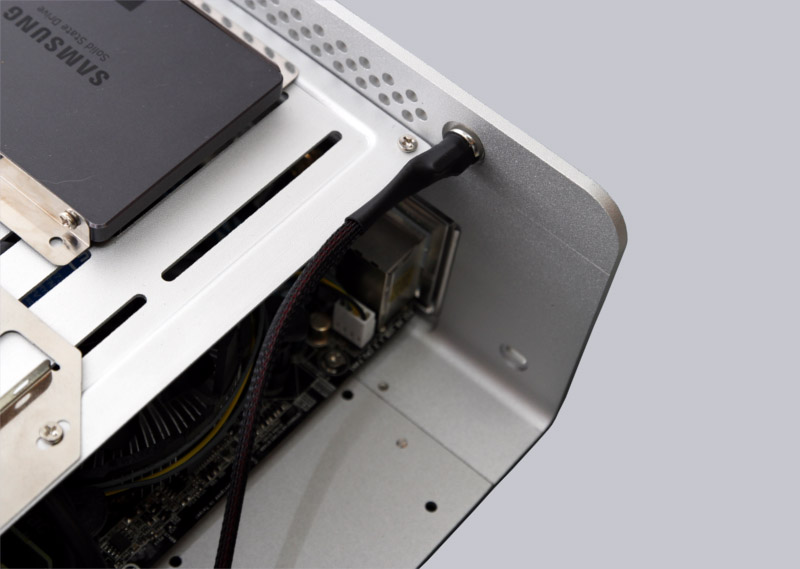
The power cable is led outside on the back where a Nano-PSU can be connected. We want to thank Streacom for providing us with a Nano120 fanless PSU for testing the system. The PSU should have the fitting power for the overall consumption of the PC of course.
When ready to use, the cable routing might not be ideal, but there is still plenty of space for example for the use of HDDs. After finishing your build, you should secure the cables with cable-ties to prevent them from getting into and possibly blocking your fans.
Streacom F7C result and general impression …