
Installation …
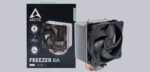
As with almost all coolers, the original AM5 retention kit must first be removed for the Freezer 8A. However, as the Freezer 8A is designed exclusively for AM4 and AM5 systems, you don’t have to laboriously search for the required mounting material from a bag full of other parts. The two sturdy plastic holders of the Freezer 8A are screwed down next to the CPU socket using the original screws of the motherboard. There is no risk of confusion, as both holders are identical.
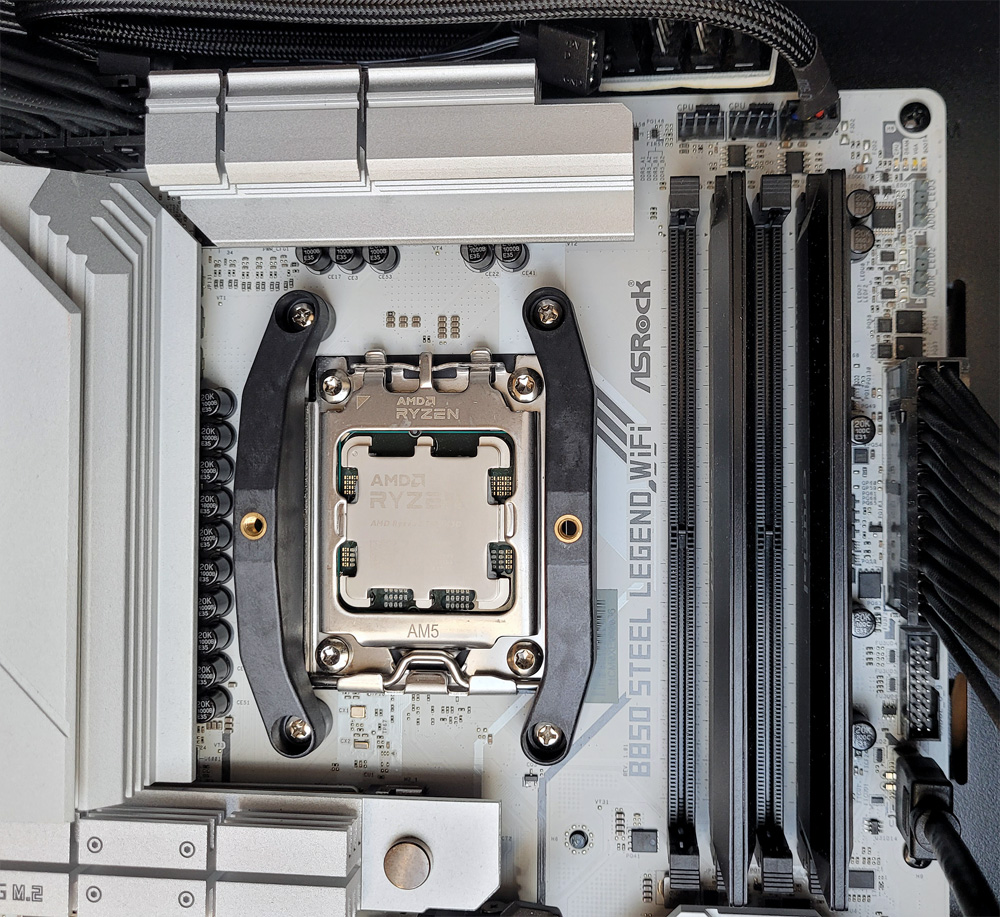
Depending on the CPU model, the offset mounting position or the central position should be selected for optimum heat dissipation. If you think ahead, you can also install the two wire brackets for attaching the fan.
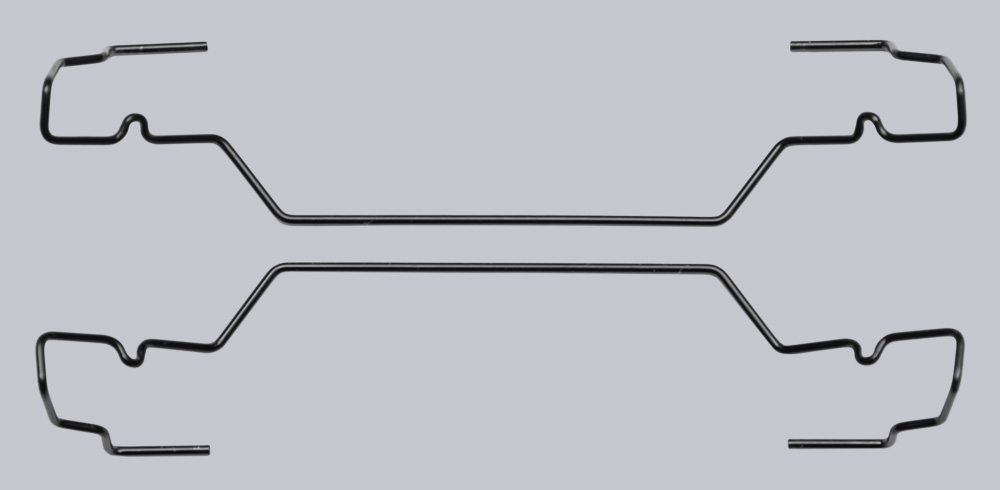
Then all you have to do is place the cooler with the prongs on the right-hand side on the CPU and tighten the two clamping screws as far as they will go. No protective film needs to be removed and no heat-conducting paste needs to be applied, as the latter is already on the cooler. In the following photo, the wire brackets have not yet been fitted, but this will also work without any problems if the cooler is already screwed on.
Finally, the fan is fitted and fixed in place with the wire brackets, which was quick and easy without much fiddling. Then plug the 4-pin PWM connector into the CPU fan connector on the mainboard and the Freezer 8A is installed.
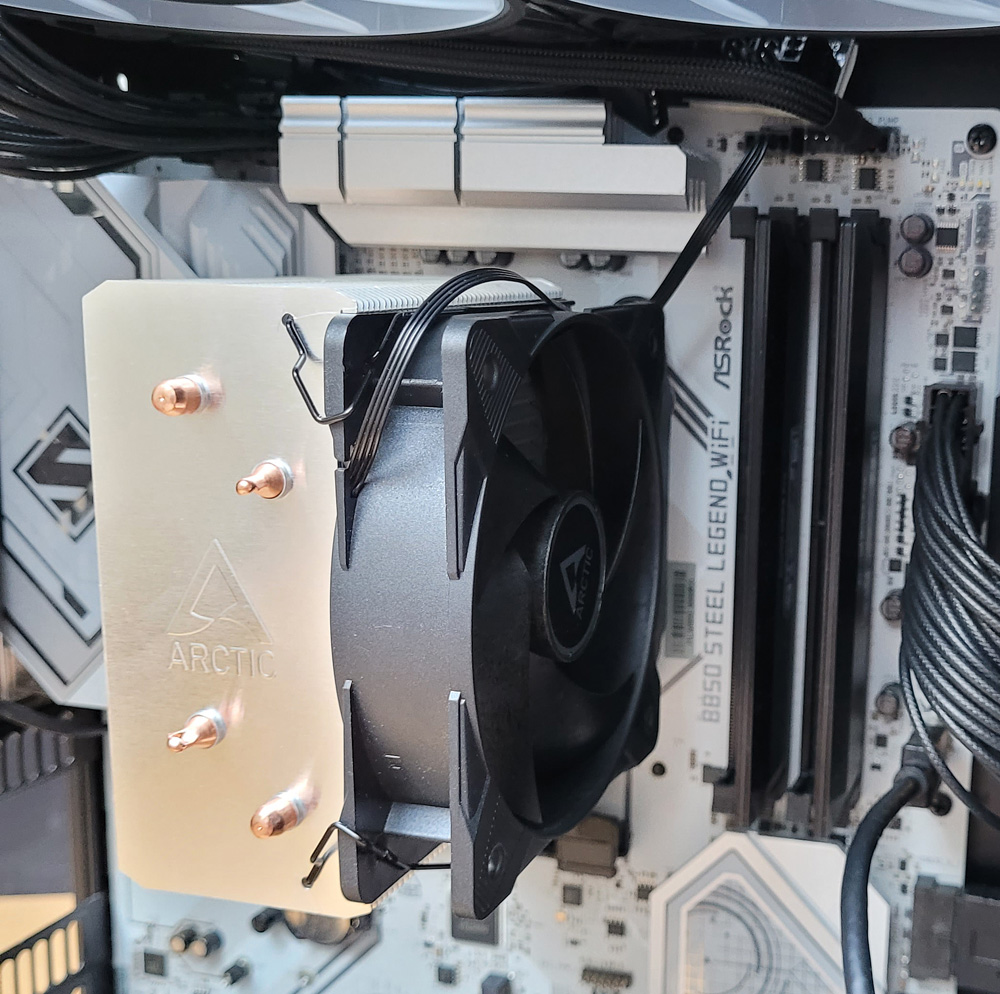
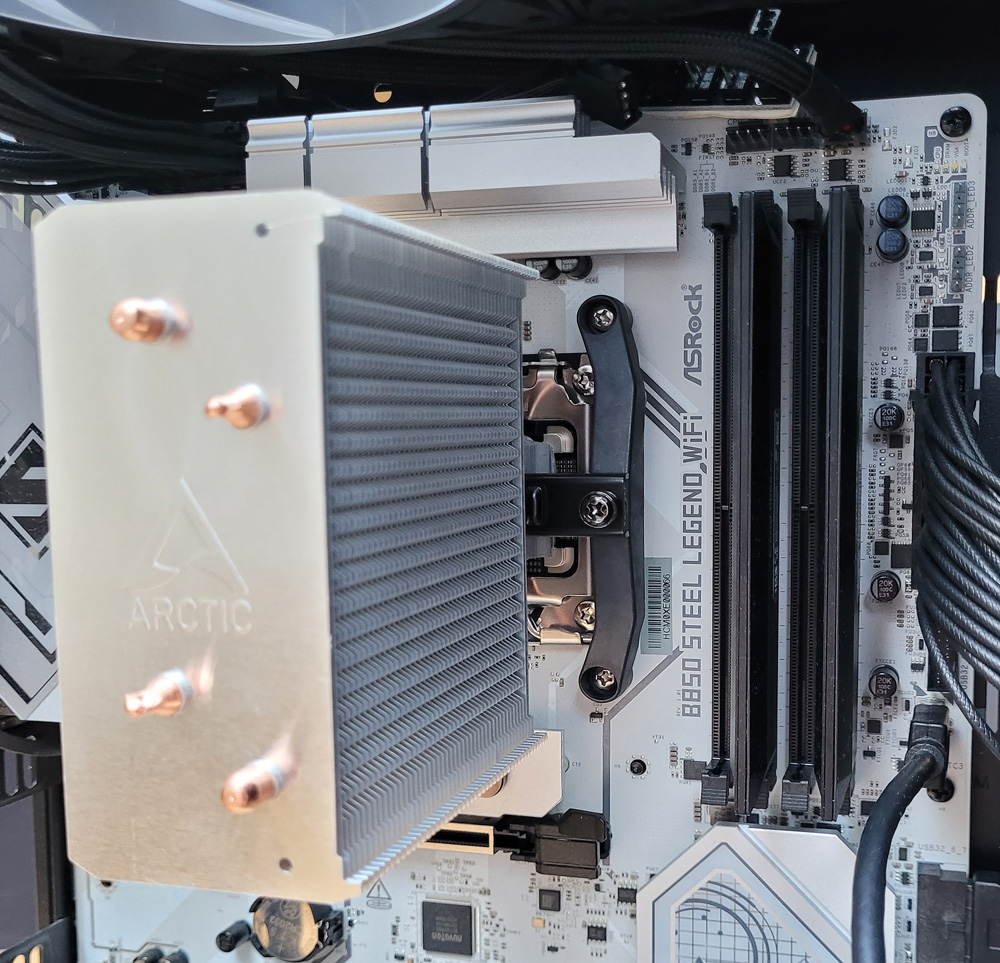
The reduction to the essentials and simple mechanisms make mounting the Freezer 8A child’s play, because mounting a cooler has rarely been as easy as with the Freezer 8A in the past. Due to the narrow width of the Freezer 8A, there is no need to take the height of the RAM into consideration, as the fan does not protrude above the RAM.
Arctic Freezer 8A Test setup and results …