

Practical testing …
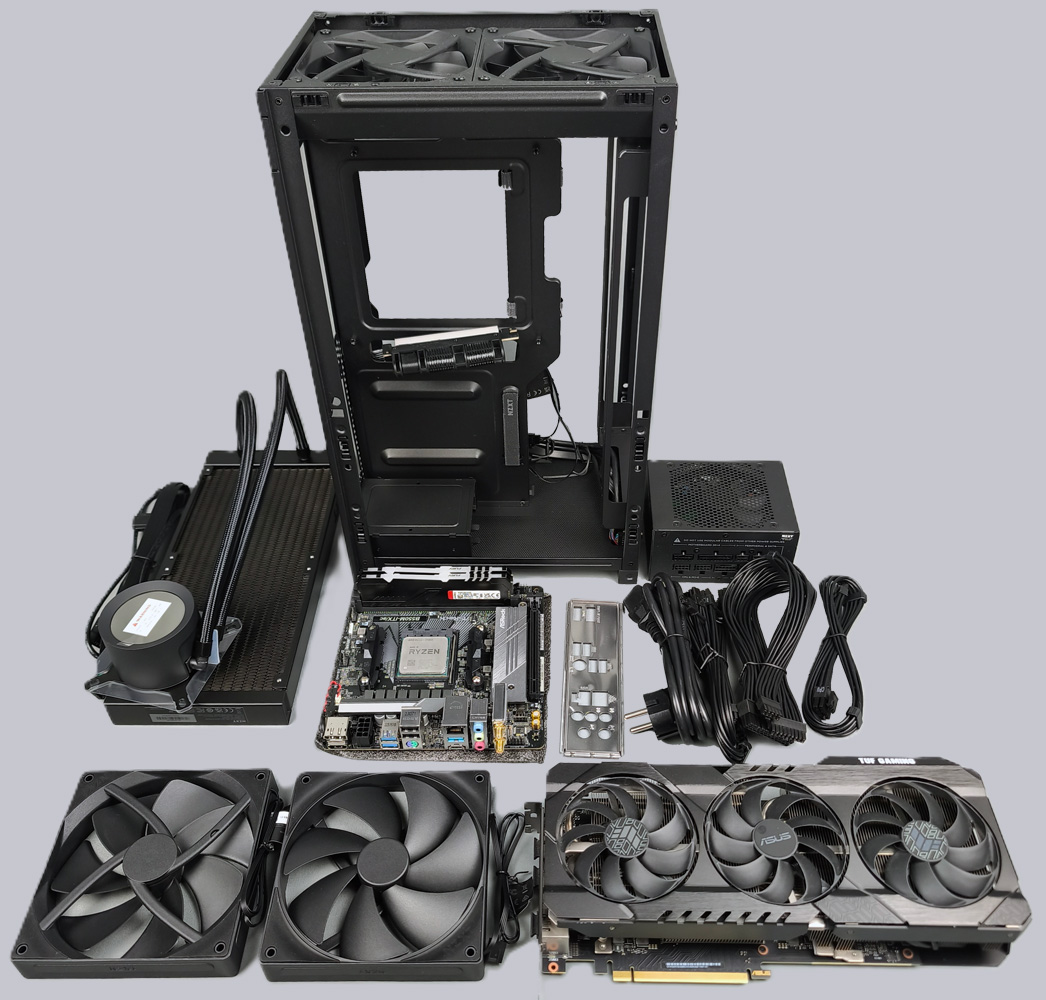
Let’s see if we can fit the following test equipment into the H2 Flow without any issues: an AMD Ryzen 9 5900X on an ASRock B550M-ITX/ac motherboard with 2x 16GB Kingston Fury RAM and a 512GB Samsung 960 Pro NVMe SSD, as well as an ASUS TUF RTX 3070 Ti 8G GAMING graphics card. The power supply is the sleek NZXT C850 SFX Gold, and the all-in-one cooler is an NZXT Kraken Plus 280.
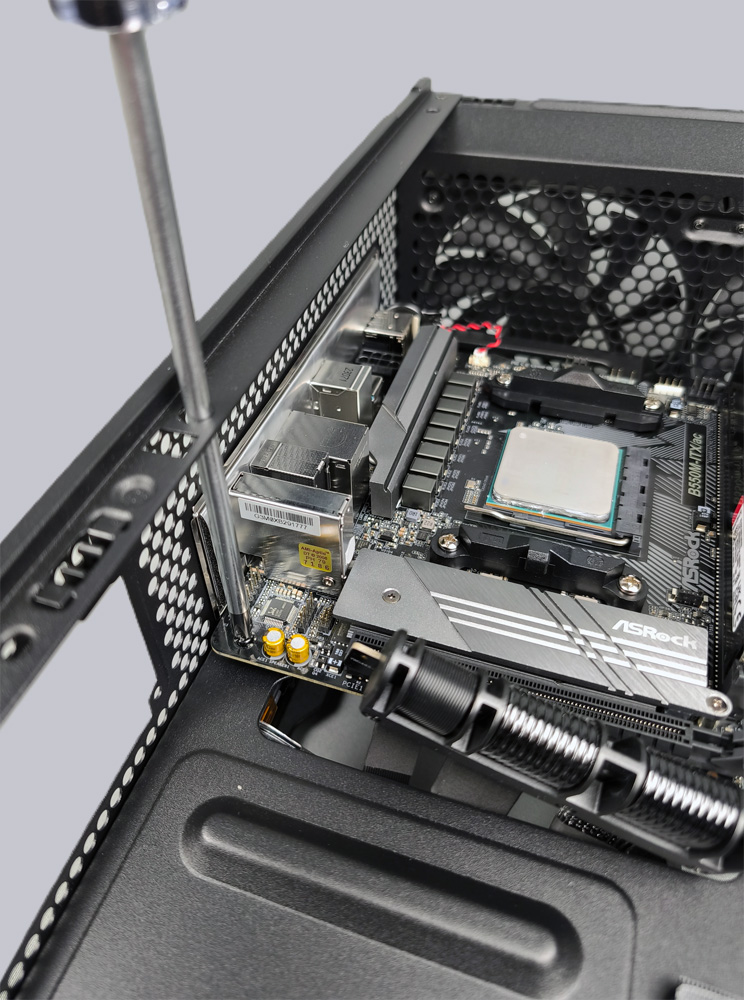
Another well-thought-out feature is the cutout designed to make installing the motherboard easier.
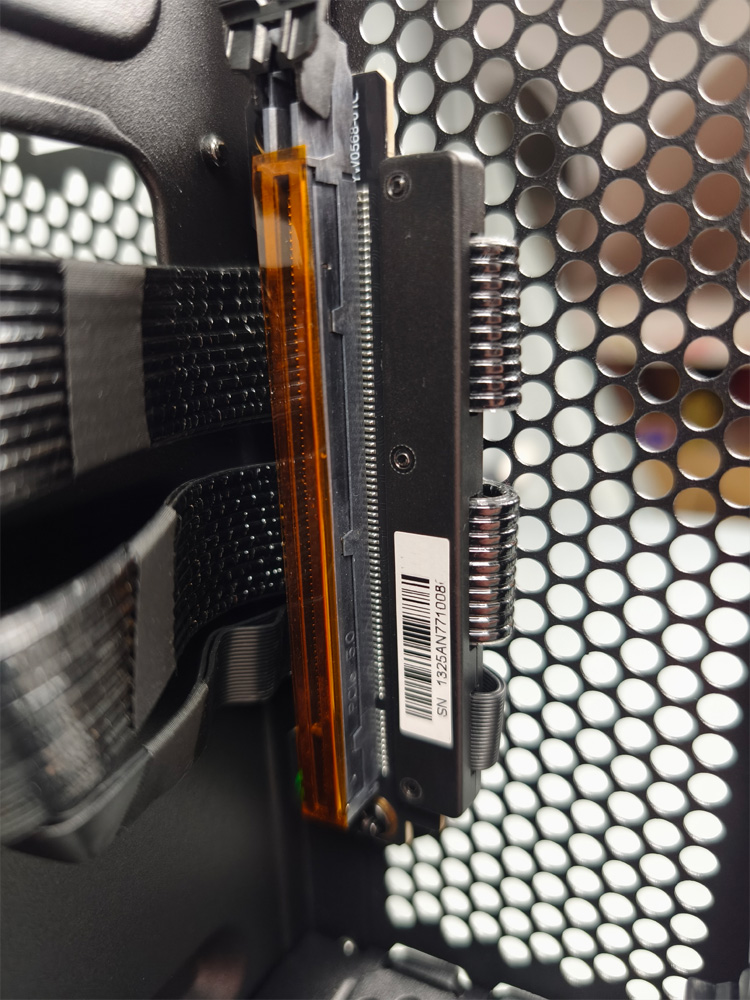
The riser cable is mounted on the side of the backplate, and a protective film ensures that the sensitive contacts are well protected. It’s best to remove the protective film last, just before installing the graphics card.
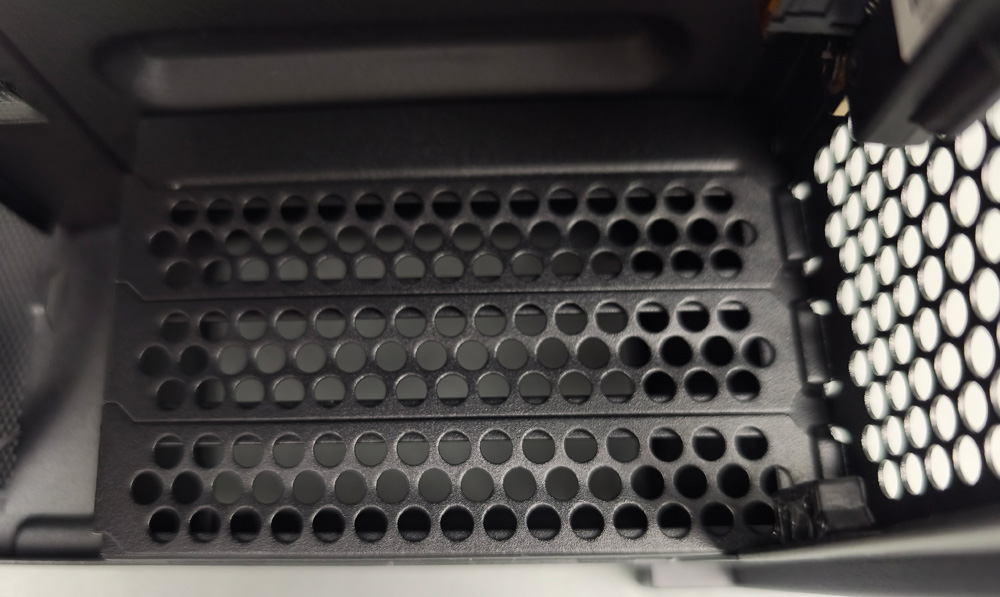
The three PCIe slot bezels are located on the bottom. You should loosen the screws before installing the hardware, because it will be difficult to access these screws later on.
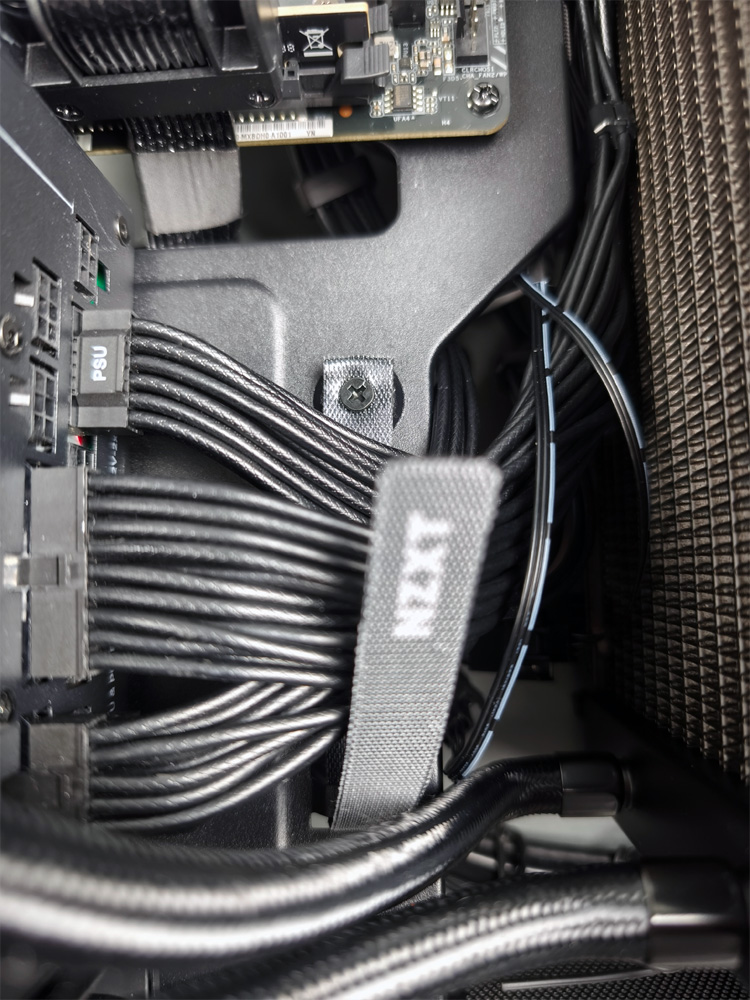
Unfortunately, the Velcro strap for cable management on the power supply is significantly too short, and NZXT should ideally extend it by 4 cm.
Once it’s installed, you can see that space is a bit tight—especially between the graphics card and the cable routing to the back. Still, our test hardware fits easily into the ITX case.
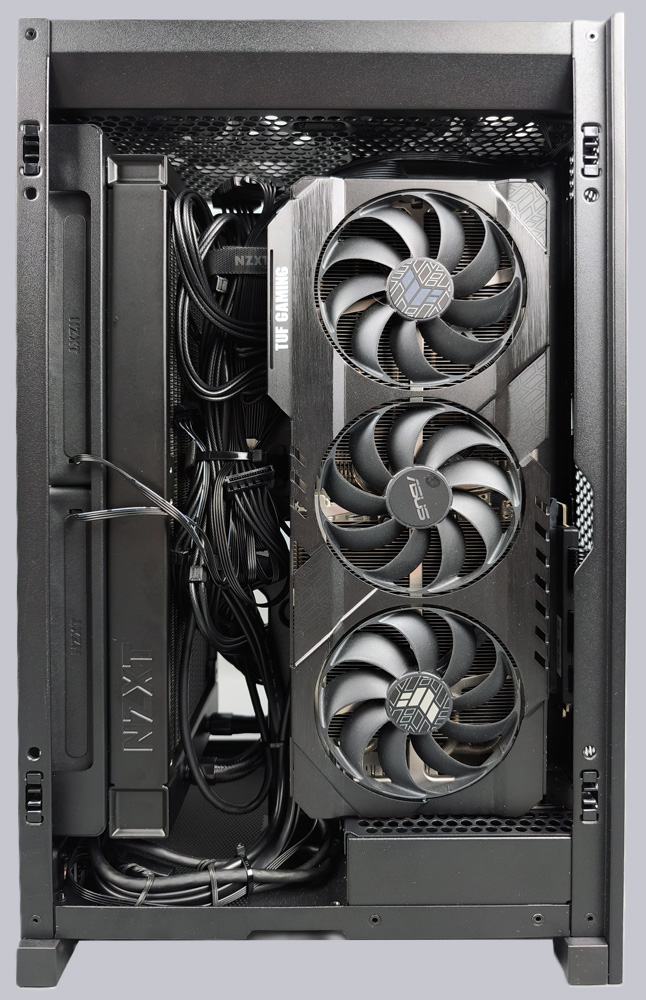
On the back, however, space becomes significantly tighter, especially with large graphics cards. When installing the graphics card, you’ll need to lift the AIO mounting frame again so you can tighten the screws on the slot bracket using a very long screwdriver. It’s easier to use a small ratchet with a bit holder. This saves you from having to lift the AIO mounting frame. However, you shouldn’t install the graphics card beforehand, as cable management will otherwise be nearly impossible. It’s also best to connect the graphics card’s power connector before installation, as it can get a bit fiddly otherwise.
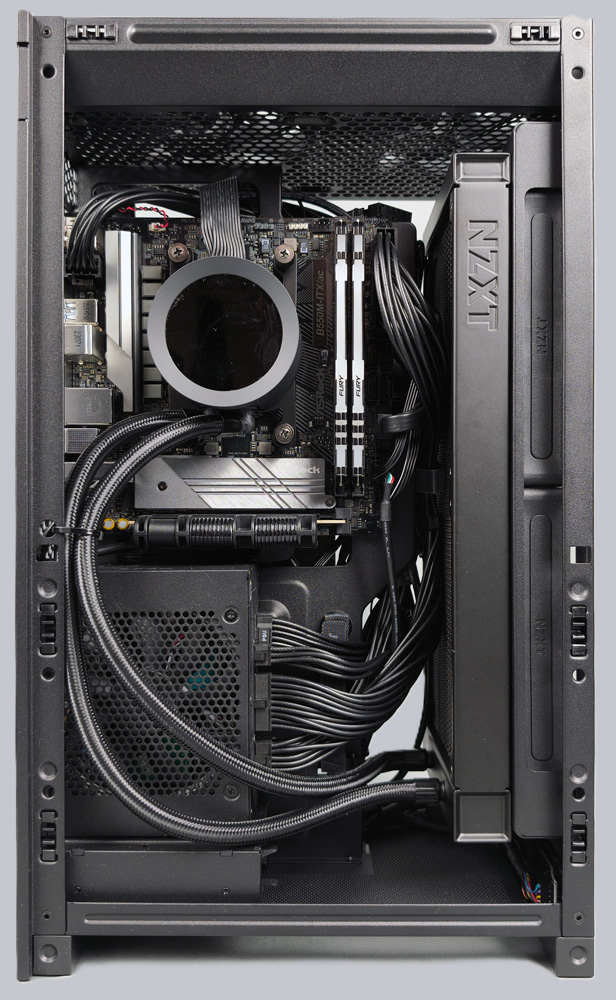
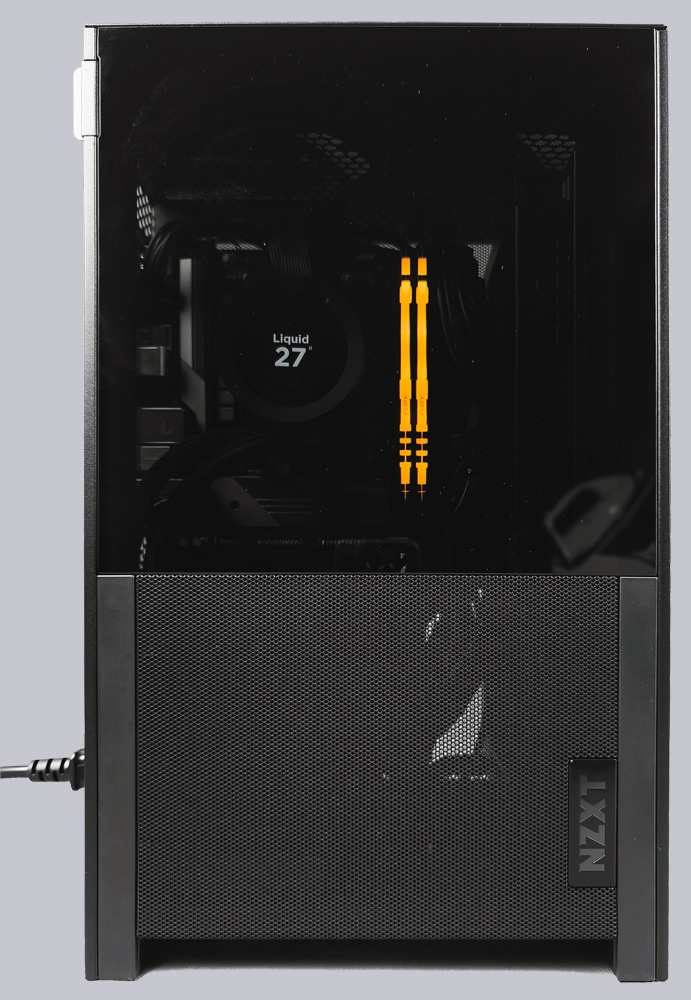
Once everything is fully installed, the whole system will look like this. It really looks great!
NZXT H2 Flow Result and general impression …