
Layout, design and features …
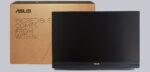
Let’s first take a look at the monitor that has been set up.

The sturdy frame is also impressive.
Especially since it has a rubber coating on the bottom to prevent it from slipping on the table.
VESA holes measuring 100 x 100 mm are definitely rare on mobile monitors. This allows us to use a wall mount if the supplied table mount is not sufficient.
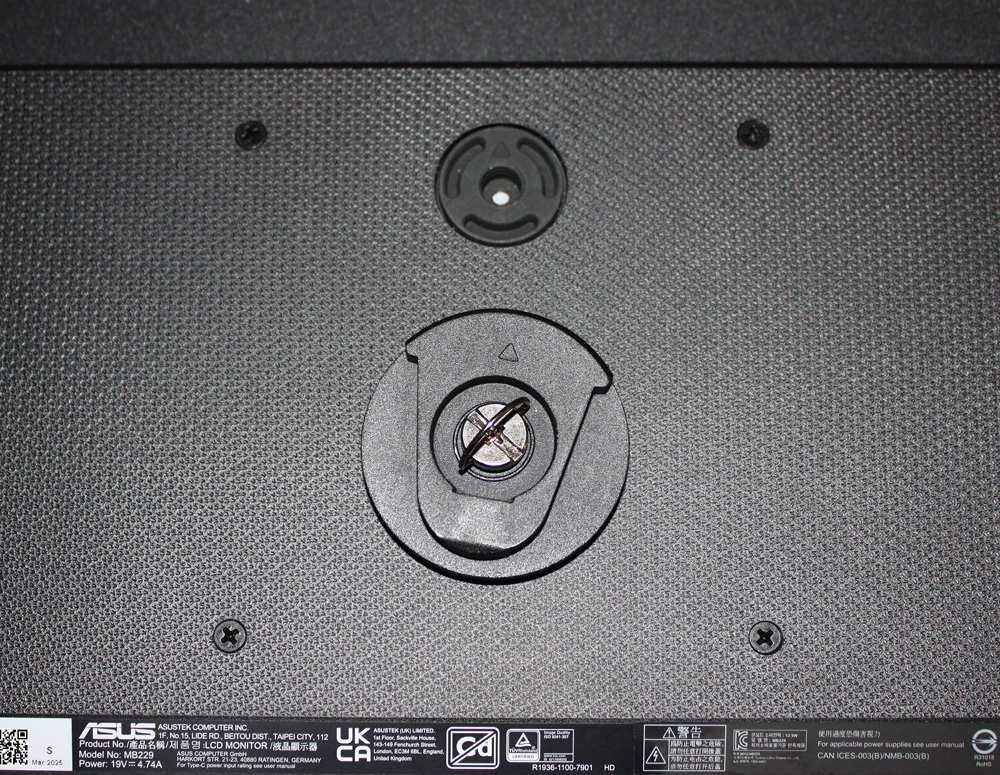
The mounting arm can be raised and lowered using a push button. The maximum height above the table is 27 cm in cross mode and 14 cm in pivot mode.
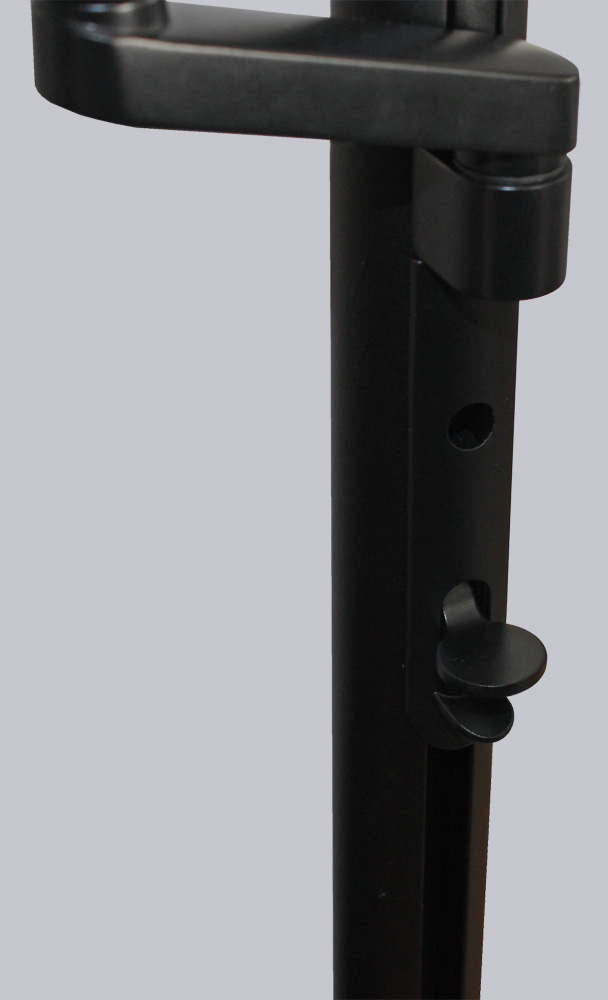
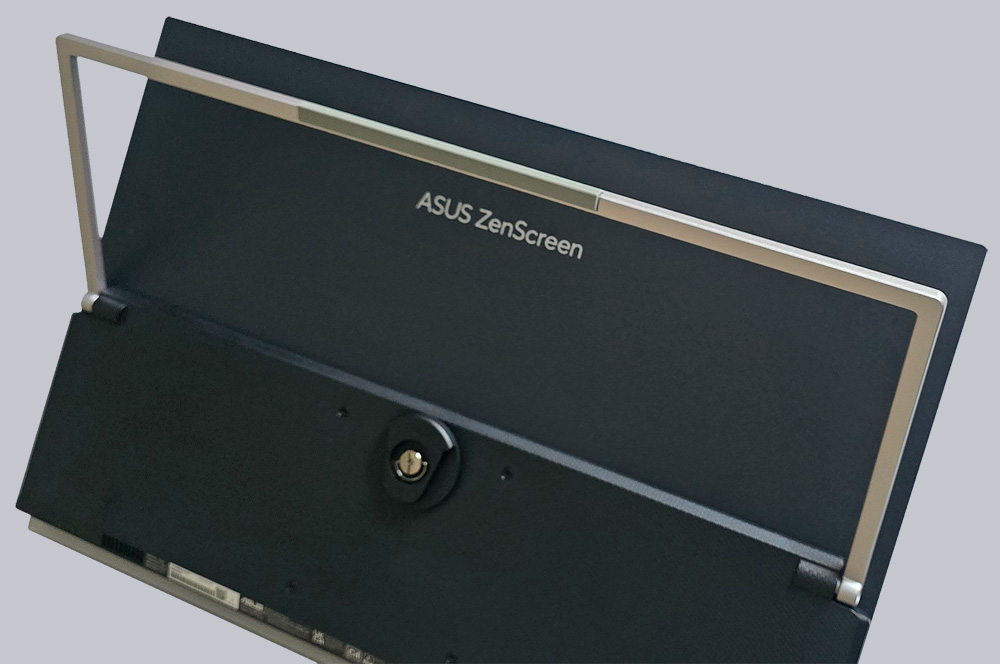
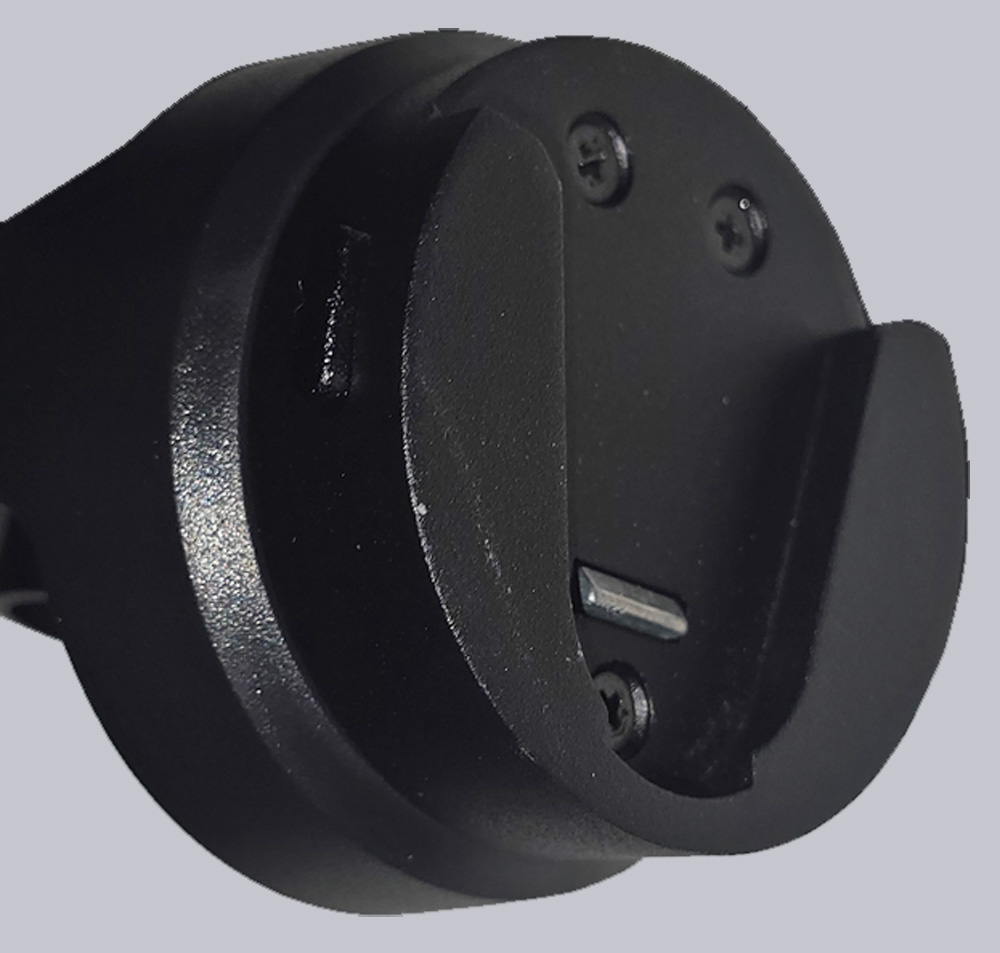
Thanks to the clever mounting clip, the monitor is simply inserted from above and locks into place automatically. The push buttons on the side release it again.
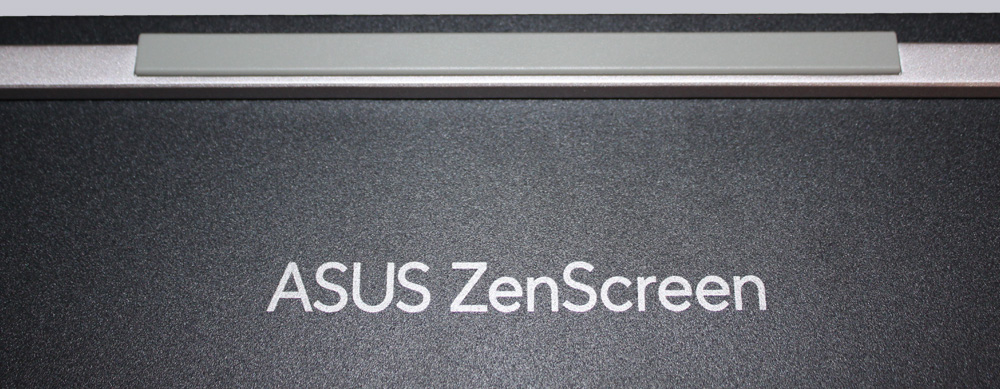
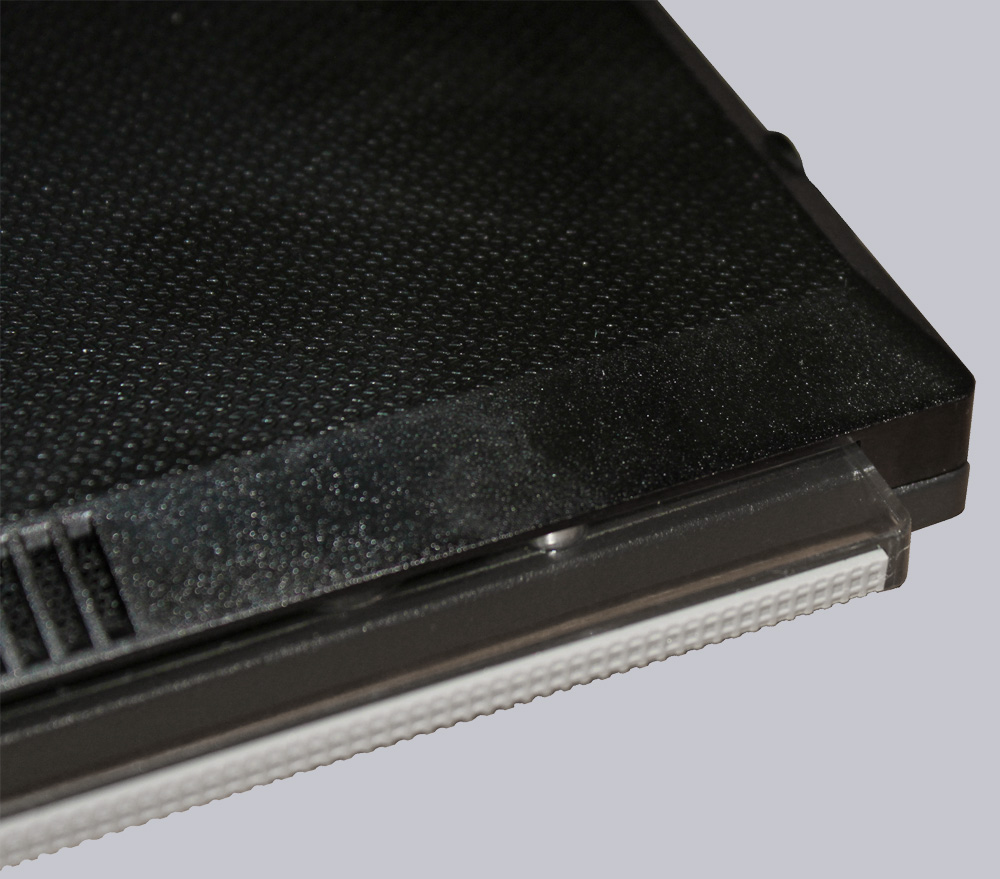
The ultra-thin frame gives it a really attractive look. The plexiglass frame at the bottom is particularly well suited to RGB lighting. However, it serves another purpose, as its rubber coating helps to prevent the monitor from slipping, in addition to the mounting bracket.
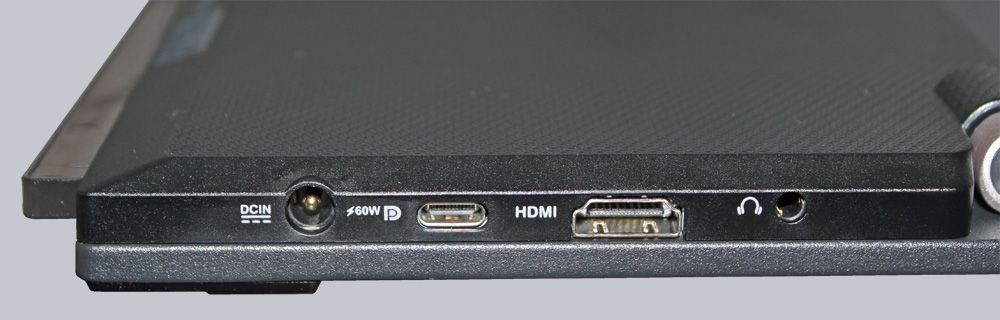
The ZenScreen can be connected either via USB-C Display Port or HDMI. In addition, the monitor has a power connection that can also be used to charge connected laptops, at least in theory.
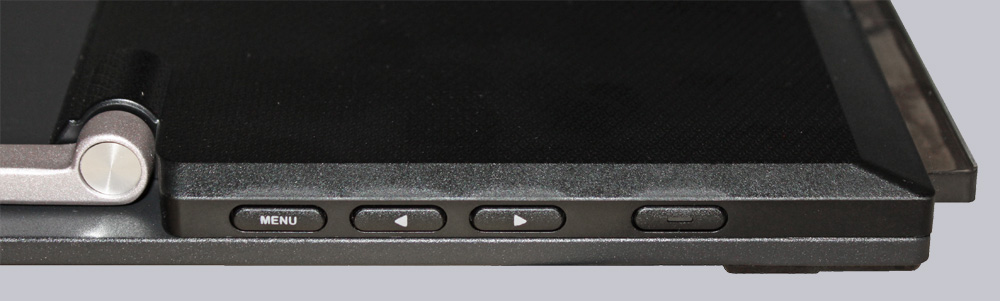
The controls are located on the right-hand side in the form of four crisp buttons. The pressure point is good and the power button has an LED to indicate operation. White means “in operation,” orange indicates “standby mode.”
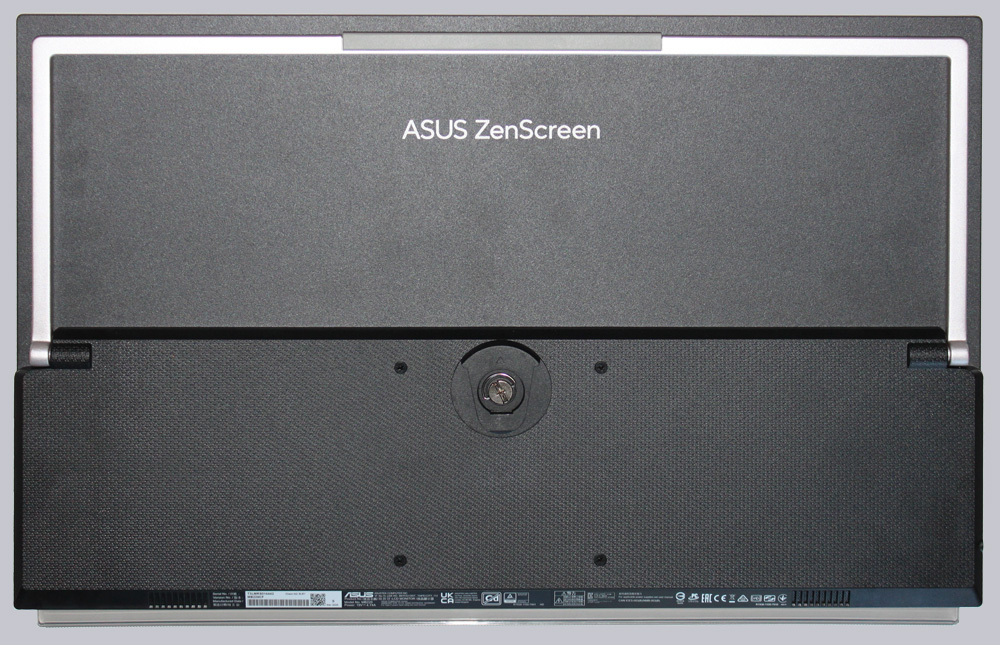
The back looks very tidy overall. The lower part houses the electronics, and the upper part is only 4 mm thick thanks to the flat display.
But now let’s move on to installing the monitor and its performance when working and gaming.
Asus ZenScreen MB229CF Installation und Practical testing …