

Practical testing …
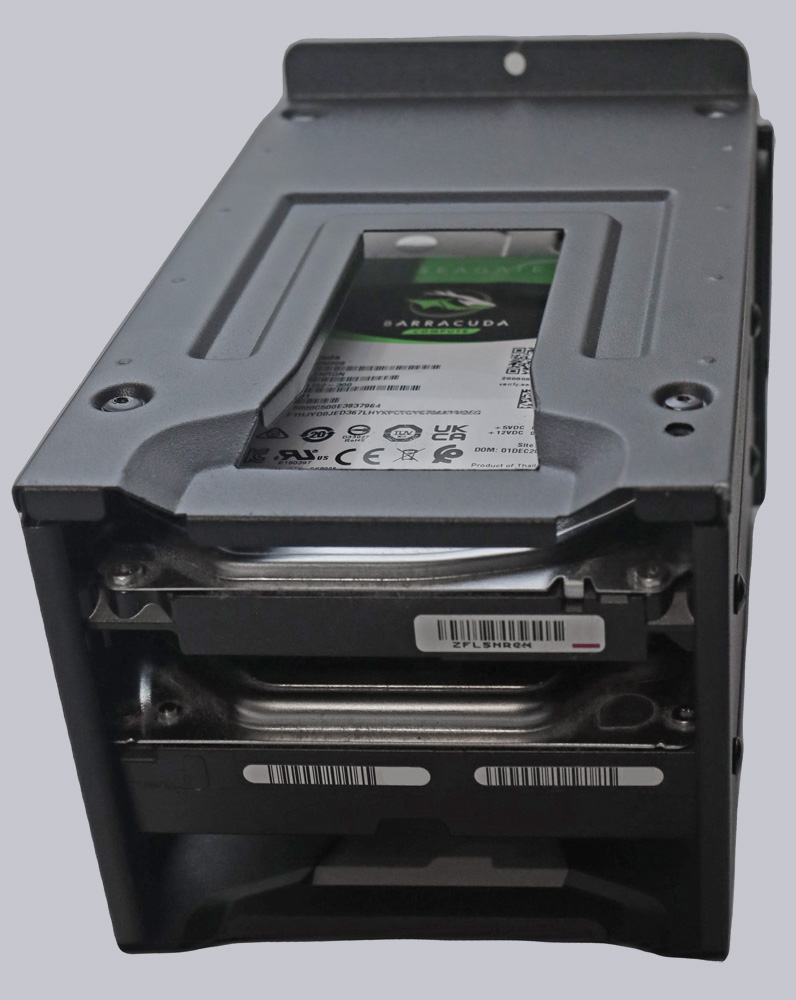
The hardware was quick and easy to install. Thanks to the removable HDD cage, installing the hard drives is very simple.
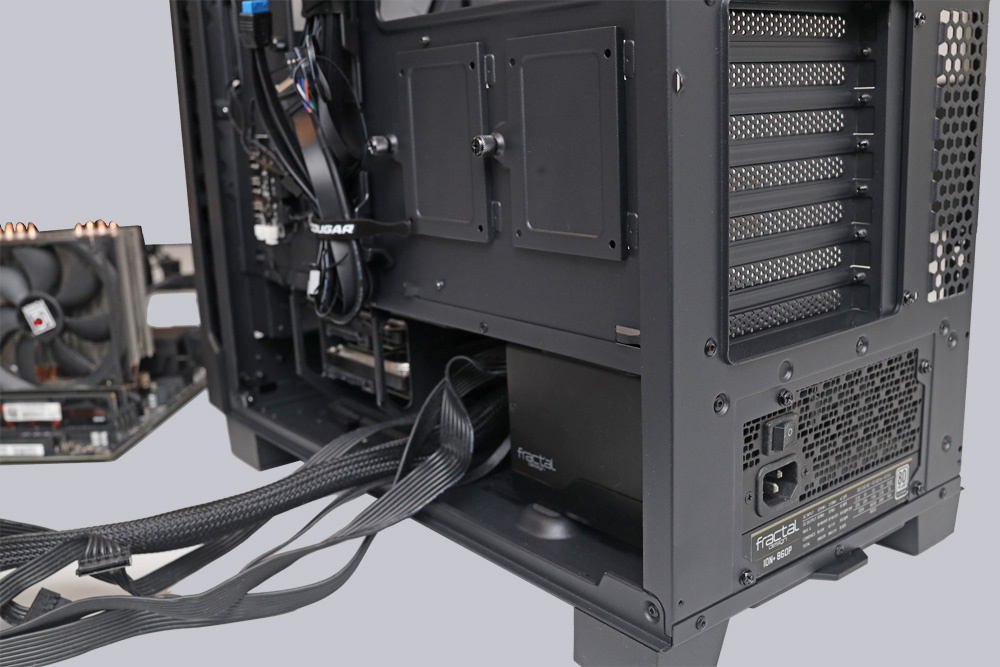
The power supply unit is also easy to install.
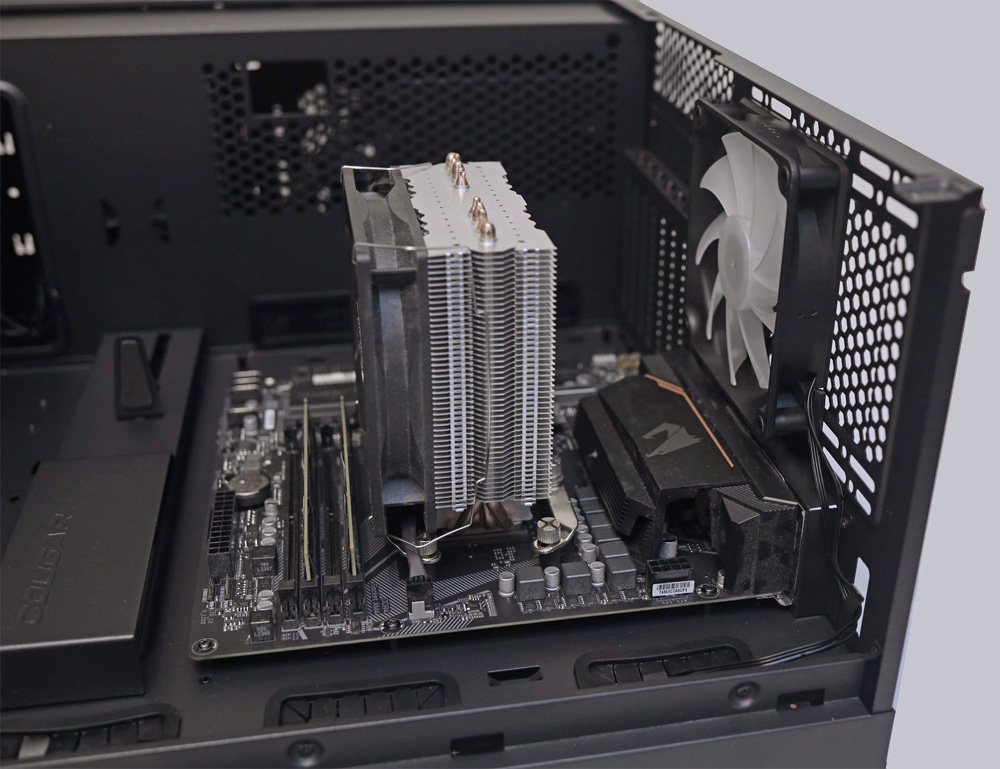
Thanks to the removable cover, installing the motherboard is a breeze.

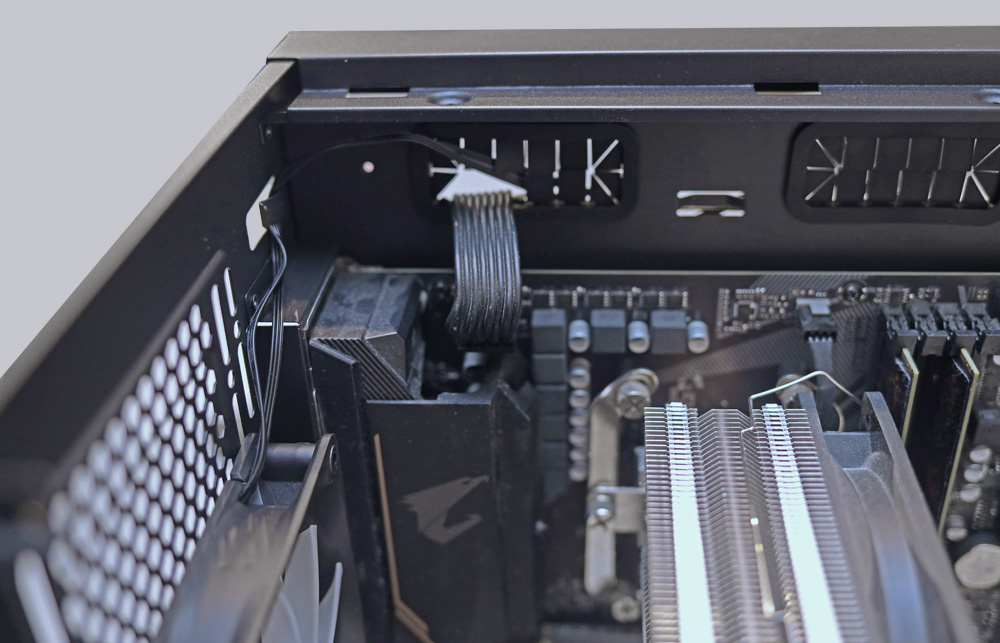
However, we were even more impressed by how easy it was to install the EPS-12V connector on the motherboard without breaking our fingers.
Thanks to the well-thought-out design, the cables can be laid neatly.
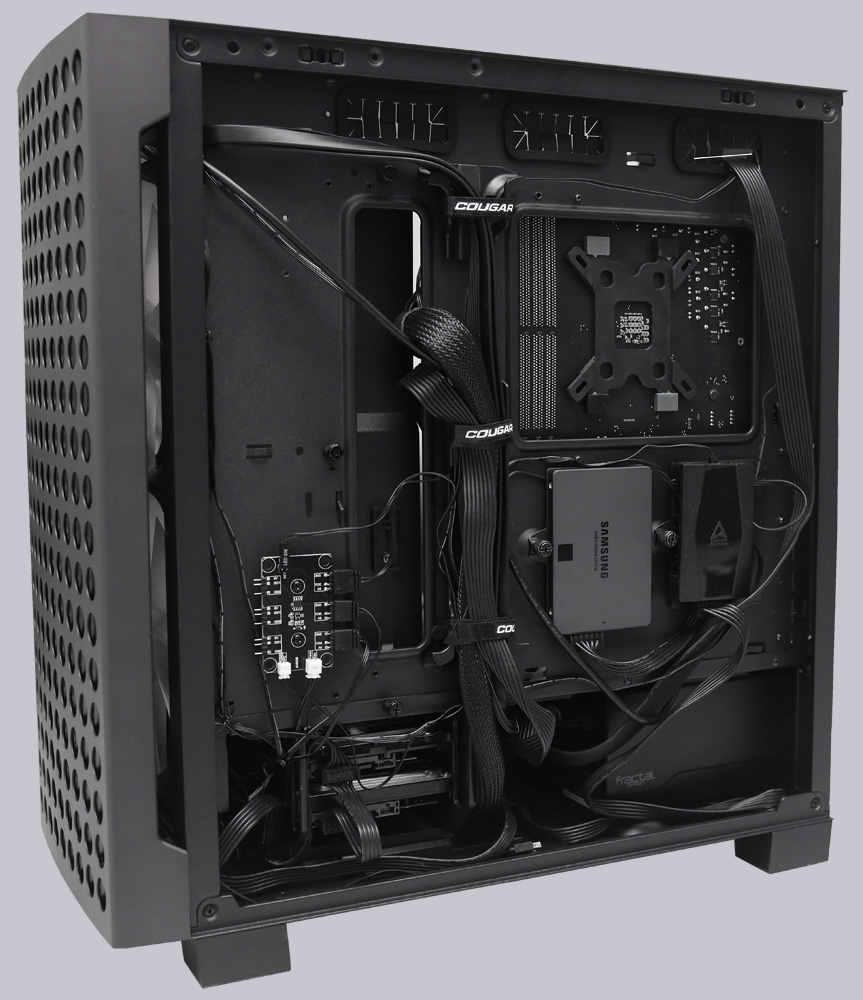
And they also promote good airflow.
The installation of the graphics card is the crowning glory of the conversion. This is where the Airface ECO RGB really comes into its own. Thanks to the graphics card holder, bending and stress on the slot are avoided.
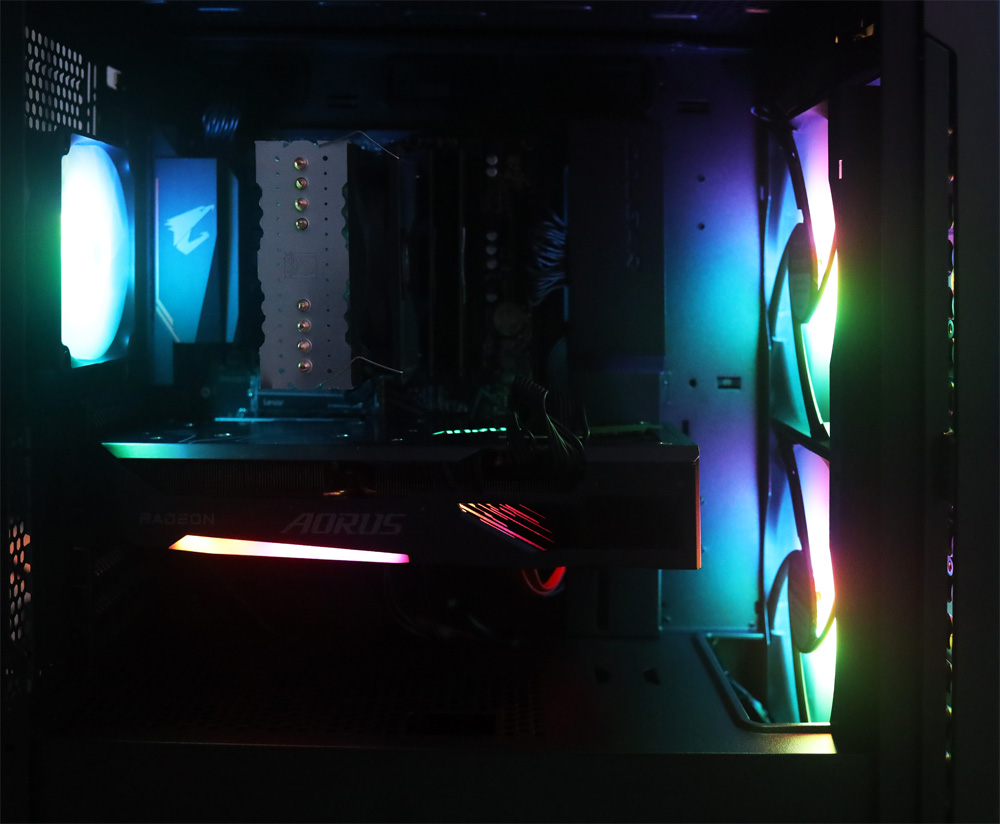
Once we have installed all the hardware, we first test the RGB lighting.
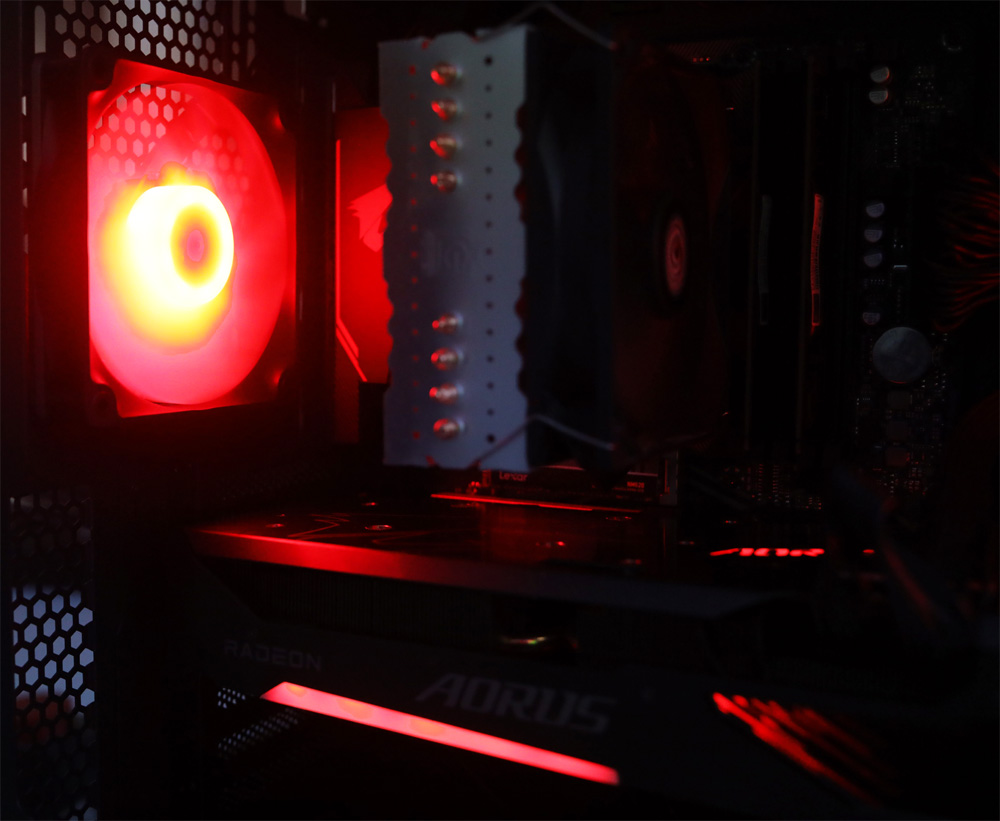
Unfortunately, despite pressing the RGB SW button, the RGB controller was unable to communicate properly with our motherboard via the supplied 3-pin 5V adapter, resulting in wild flickering. This meant that synchronization with the graphics card lighting could not be established and had to be done manually.
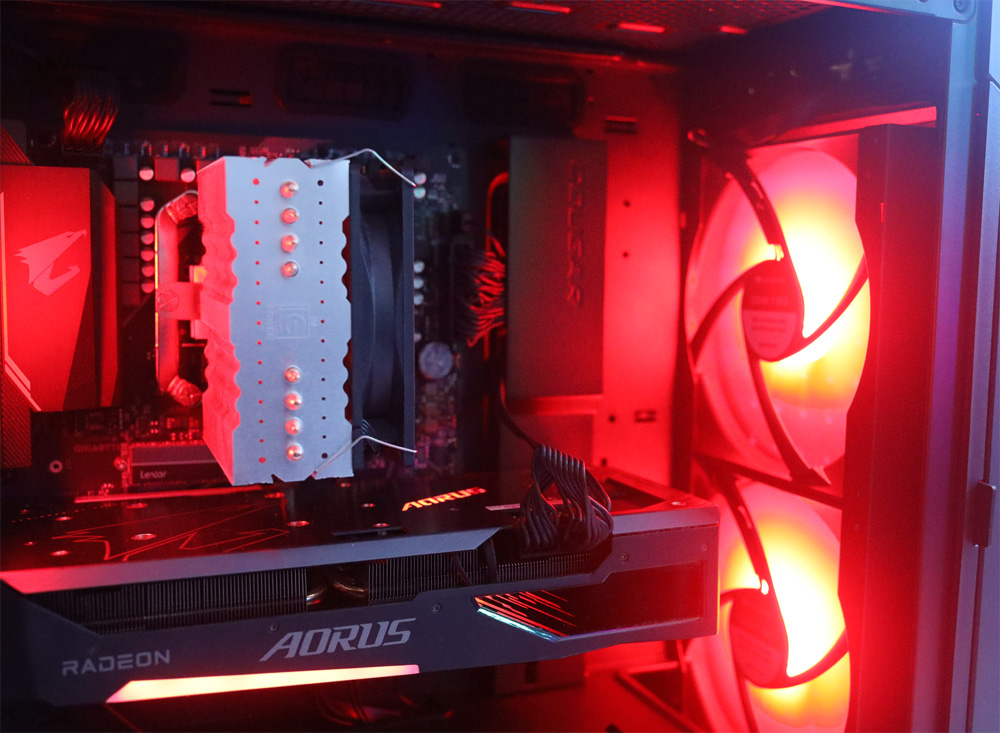
Let’s let the images sink in for a moment.
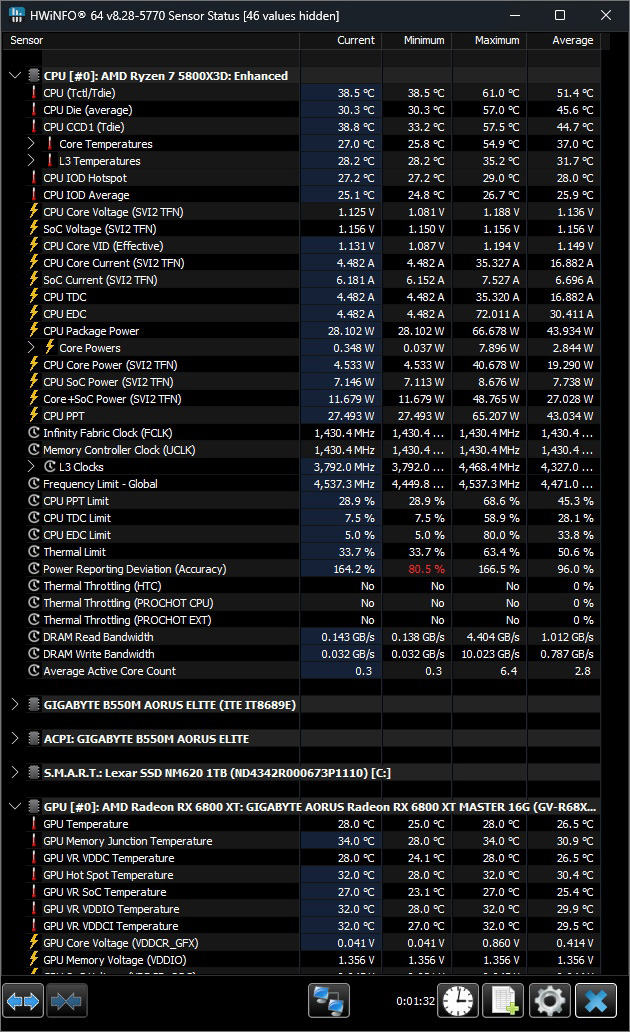
Now let’s move on to the measurements. The temperature of the CPU in idle mode and under 100% load was as follows.
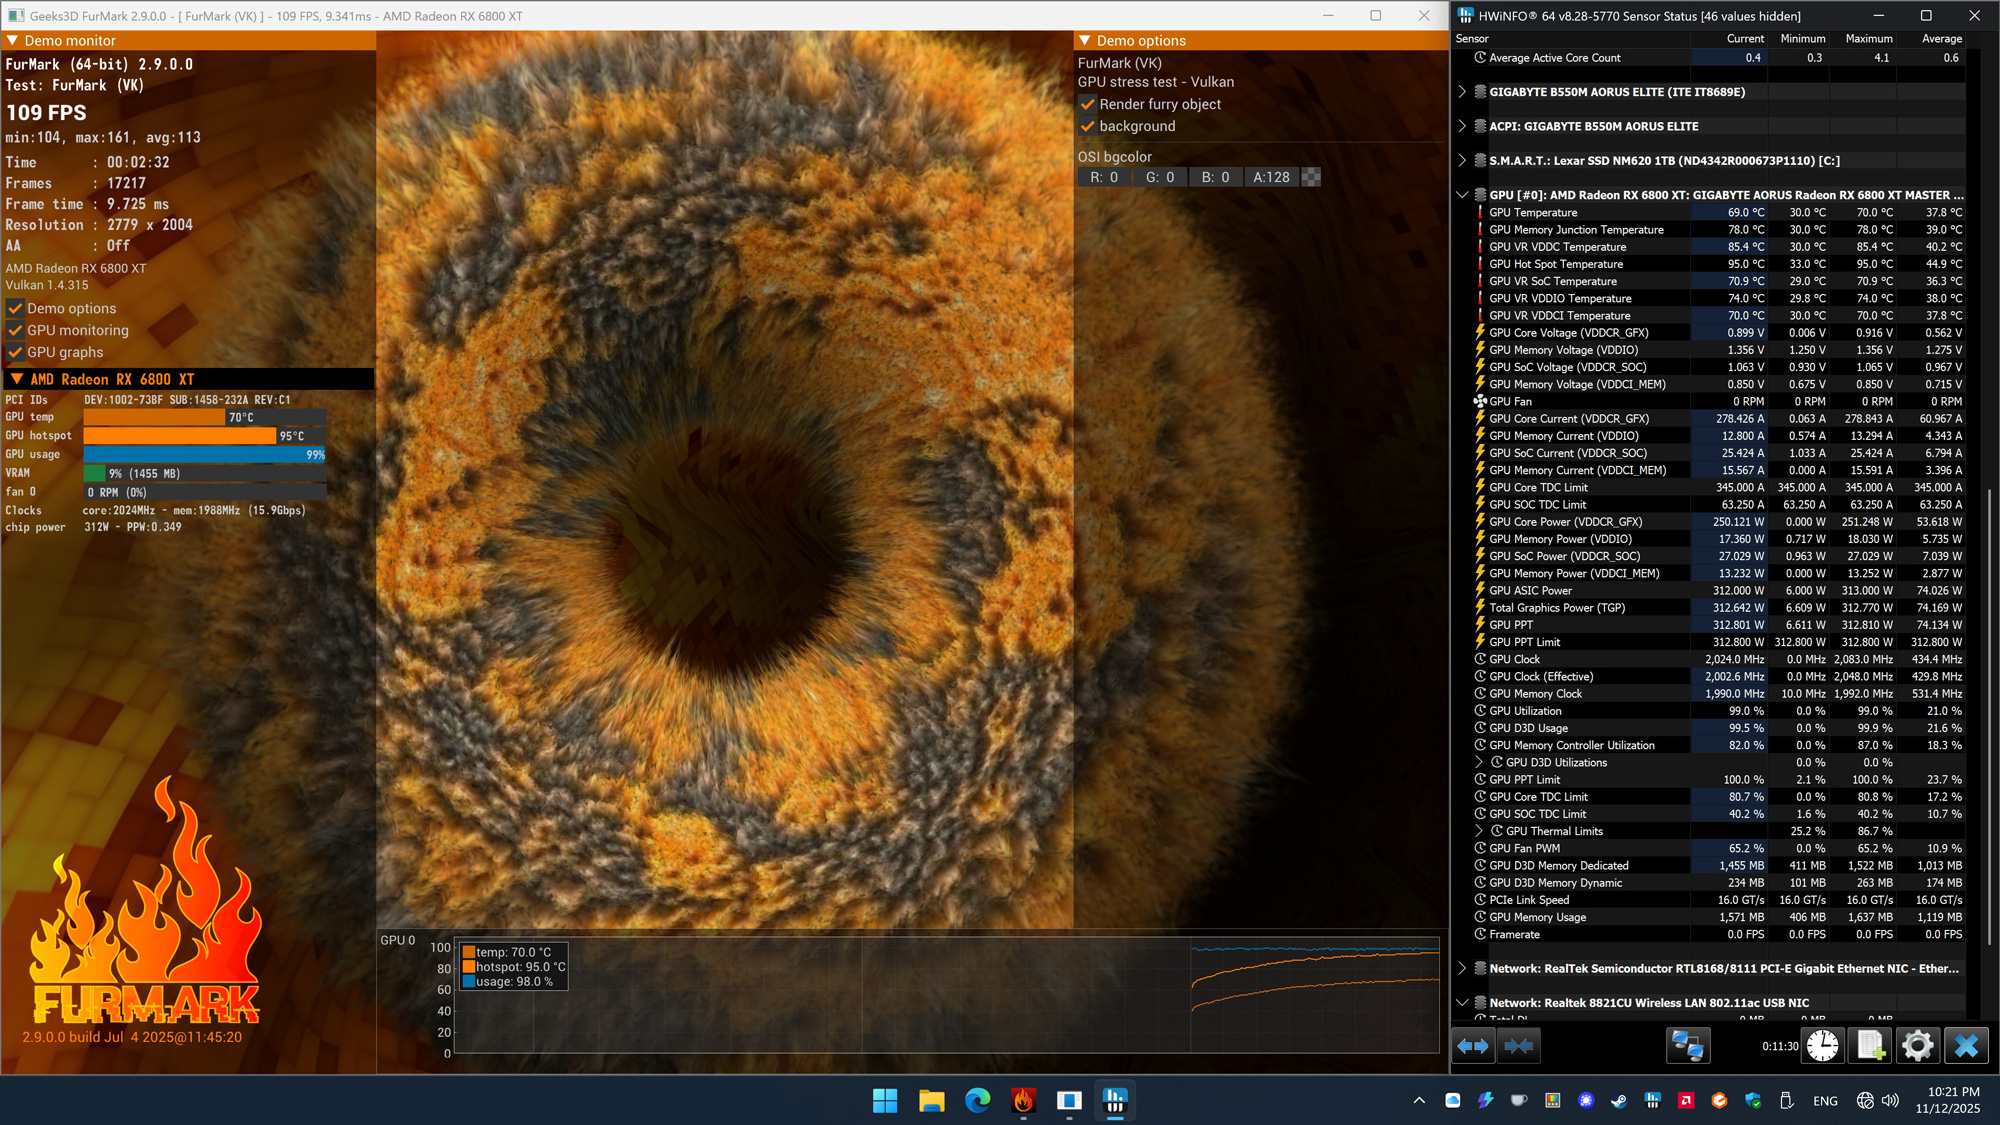
We also measured the temperatures of the graphics card in idle mode and under 100% load. Thanks to the good ventilation of the case, the graphics card reached the following temperatures.
What struck us during practical testing was how quiet the case was. Thanks to the large, quiet fans and optimal airflow, the computer was virtually inaudible during operation.
Now let’s get to the conclusion.
Cougar Airface ECO RGB case Result and general impression …