

Layout, Design and Features …
The basic assembly of the monitor was a piece of cake. The turntable is first attached to the stand and then fixed with a screw. Afterwards the display panel is only hung up. Without looking into the operating instructions, this took about 2 minutes.
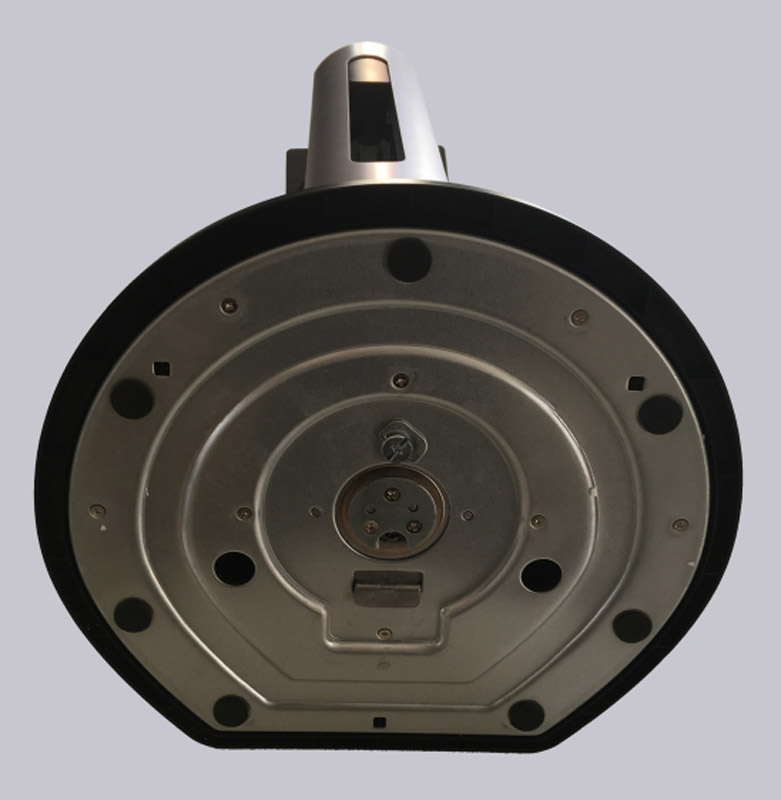
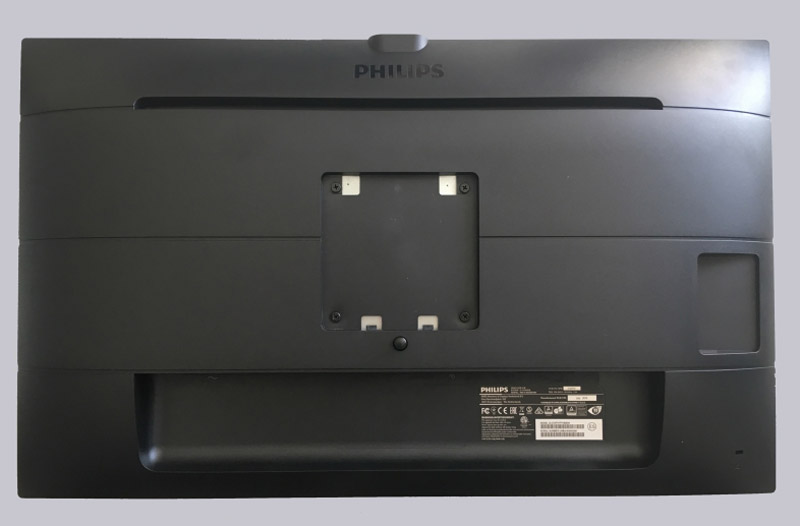
Alternatively the Philips offers the possibility to mount it on the wall. The VESA connector with the dimensions 100x100mm is clearly visible on the back. Here any VESA standardized bracket can be used. The screws for this are already on the monitor and don’t have to be mounted separately.
Theoretically and practically, the monitor can now be put into operation. During the transport to the desk, however, a small shortcoming came to light. The stand does not lock into the back wall of the monitor. As long as the monitor is transported in the right direction, this is no problem. However, if you lift the monitor and turn it upside down, the display detaches from the stand. Be careful here!
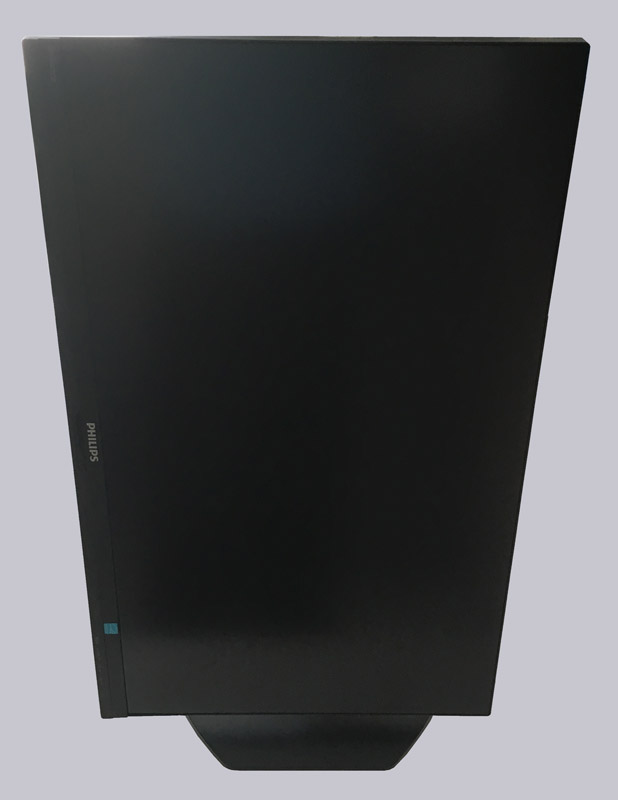
Optically the Philips 272P7VPTKEB/00 can convince with simplicity, the thin frame adds the rest.

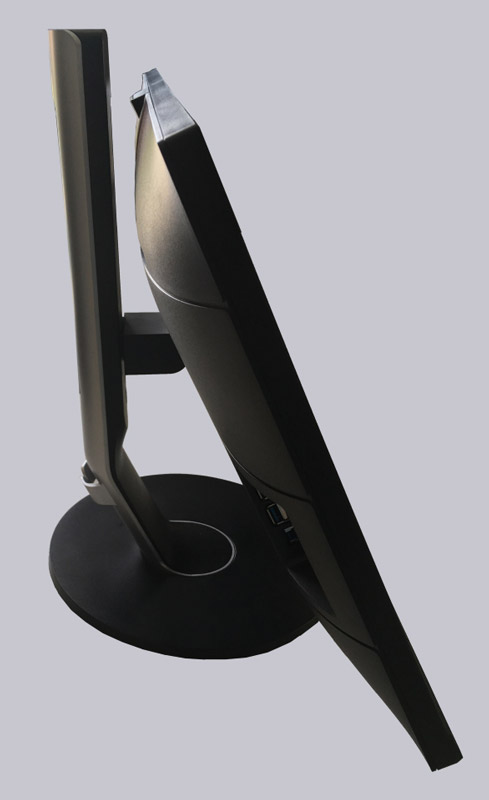
Due to the various connections, the Philips looks much more bulky in the side view than one would expect in the front view. But most of the depth is taken up by the monitor stand.
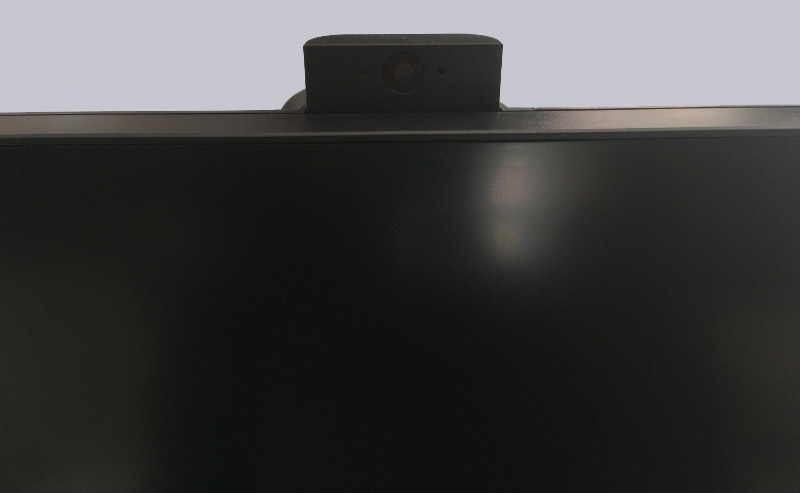
Now let’s have a look at the built-in webcam. It drives out with a light pressure on the appropriate place and disappears just as simply again. However, this construction makes a somewhat shaky impression, Philips could have made it even more stable.
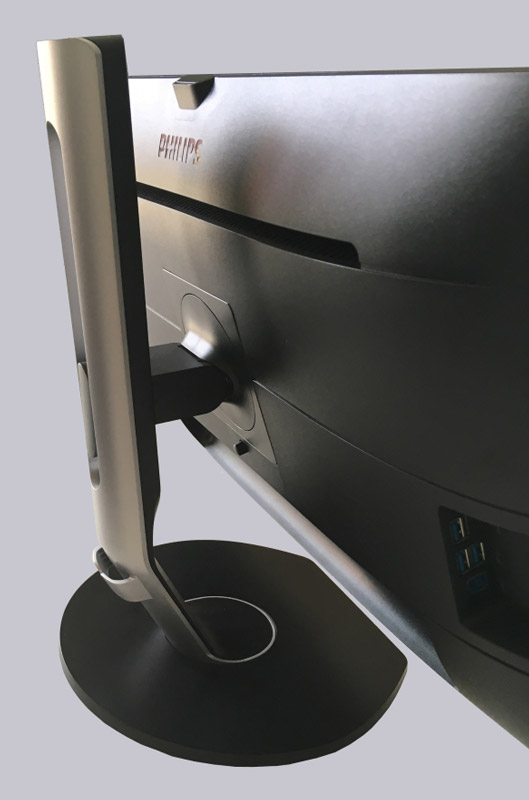
When it comes to ergonomics, there are only advantages. The height adjustment and the inclination can be adjusted easily and steplessly.
In addition, the display can be rotated 90 degrees thanks to the pivot function and easily adjusted to the side thanks to the flexible stand. The monitor construction remains very stable with all rotations and inclinations.
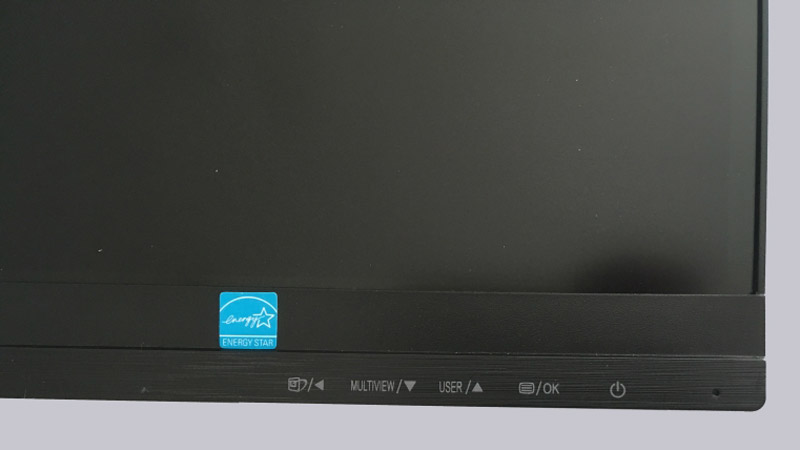
The buttons for the OSD operation are located at the bottom right of the display, they make a haptic high-quality impression. Whether capacitive touch fields would have been better here, let’s leave them in the room. Here it depends on the personal preferences.
All optical inputs and outputs as well as acoustic inputs and outputs are located on the back above the type plate. Yes, there is even a DisplayPort output for connecting more monitors to this monitor. The order and spacing of the jacks is completely sufficient and should not cause any problems when using multiple cables.

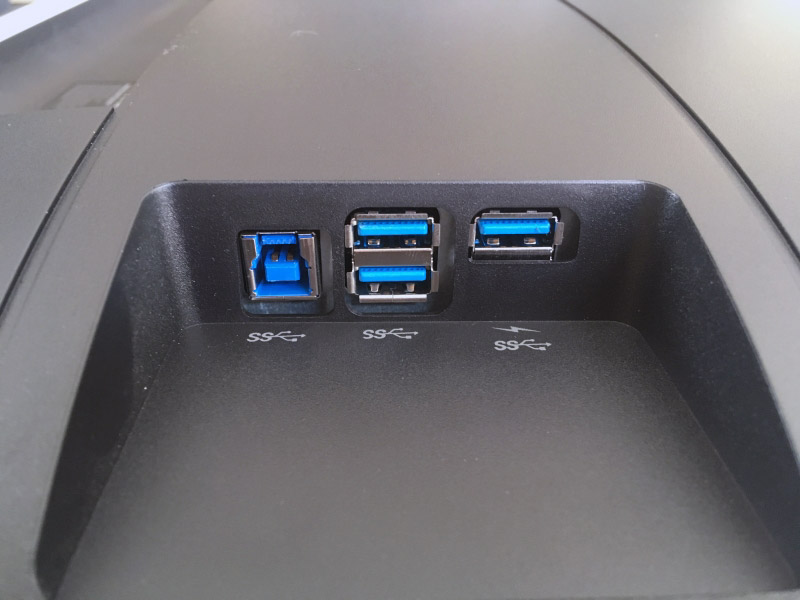
The USB ports can be found from the back on the right side in the back panel. A bit unfortunate in our eyes is the positioning of the Type B connector which connects the monitor to the computer. This is located right next to the USB Type A ports. It would have made more sense for Philips to move it to the other ports in order to achieve a much better cable management. A quick charge function is also supported for all USB ports.
Finally, let’s take a look at the power supply. Philips relies here on a conventional power plug. A positive feature is the separate on/off switch with which the monitor can be completely switched off.
Now let’s take a look at how the Philips 272P7VPTKEB/00 performs in practice.
Philips 272P7VPTKEB Monitor Practical testing …