
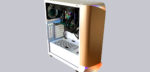
Layout, design and features interior …
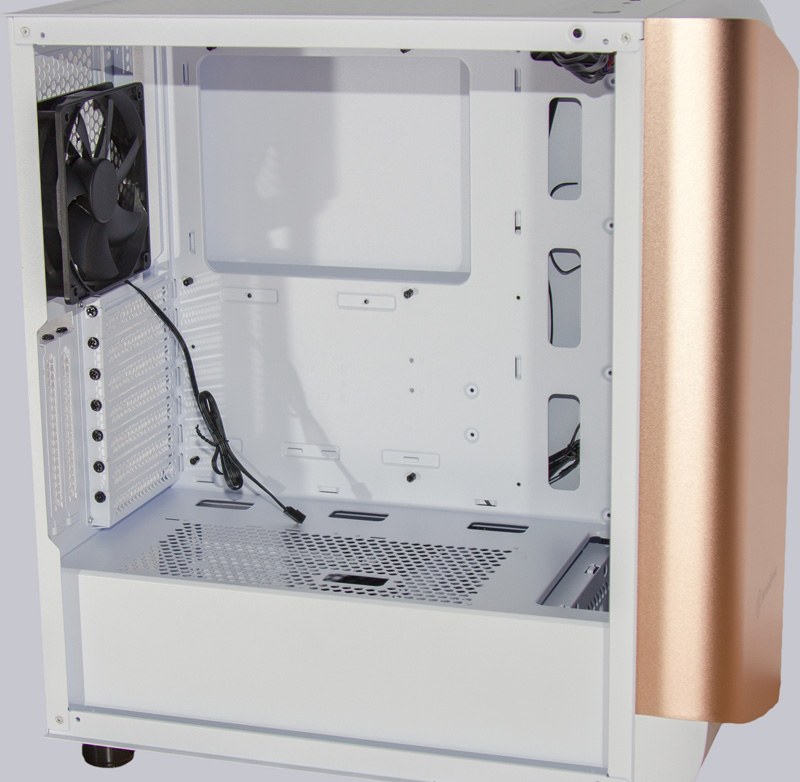
If we look in the main chamber to the rear, we see the included black 120mm fan, which like its big brothers in the front is also not PWM controllable. In our opinion, the motherboard spacers and mounting screws for the expansion cards would fit better in silver to the bright design. But SilverStone probably uses the same set of screws for all color options. Thanks to the perfectly rounded edges, the cable passages do not need rubber grommets.
Small M-ITX boards up to full-grown ATX motherboards fit easily into the spacious interior of the Seta A1. In the front area we see the large recess for radiators, which offers space for up to 60mm thick coolers.
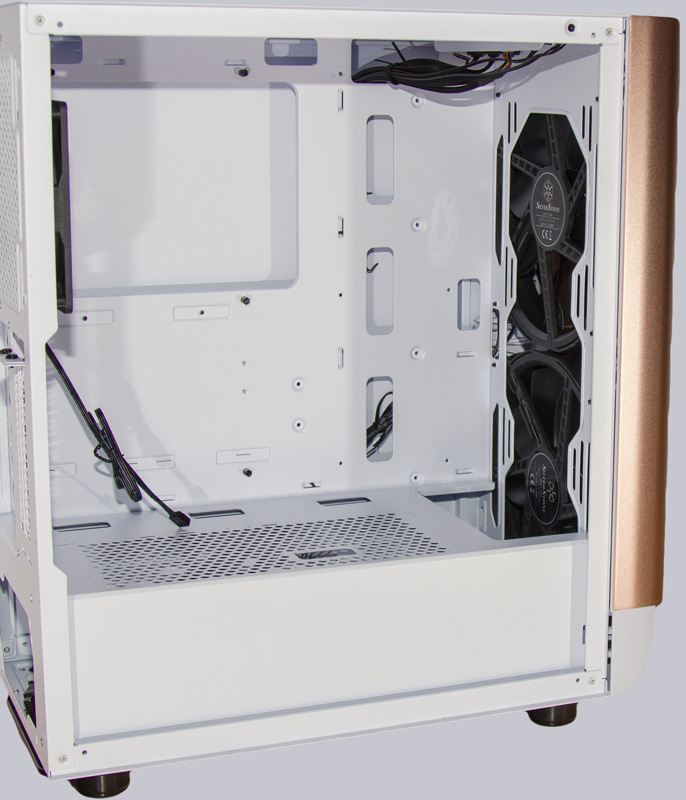
If SilverStone had designed the front I/O board just a little more cleverly, it would not only be able to accommodate two 140mm fans in the roof, but also a 280mm radiator. That’s a pity, because there would actually be enough free space. But unfortunately, there is only one centimeter missing to accommodate a 280mm radiator. The cable outlet could also have been solved more elegantly.
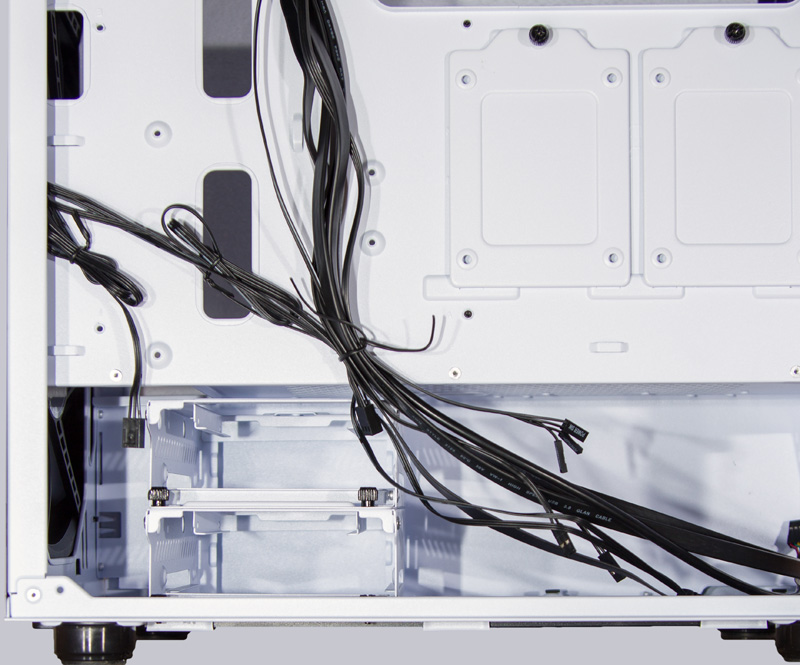
From the rear you can get under the power supply cover, where a two-part hard disk cage is located, which can hold up to two 3.5″ HDDs and additionally two 2.5″ drives. The fact that you can’t remove and install the whole HDD cage at once is a bit annoying during system assembly, but in most cases you don’t do that regularly. You have to remove the upper HDD cage first and then the lower one. The two brackets for 2.5″ drives mounted on the rear panel can be attached to the front area on top of the power supply cover if necessary.
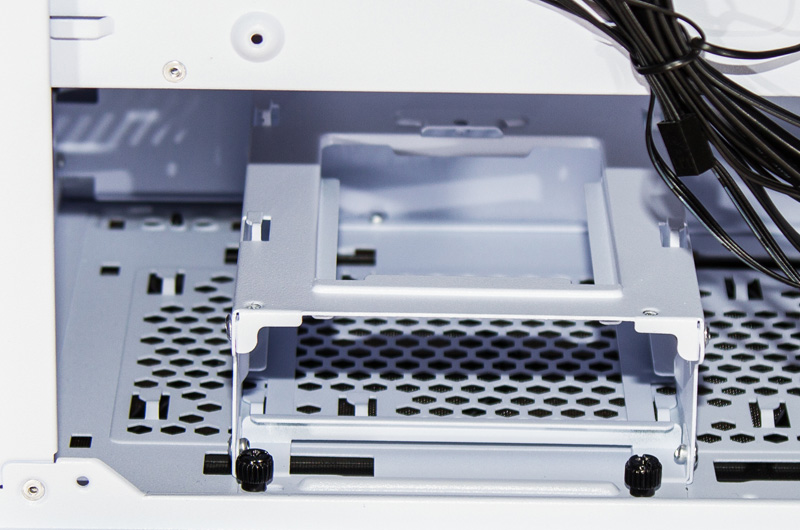
The following picture shows a single HDD cage and the retaining noses for the different mounting positions.
Although the interior was not as sovereign as the exterior design, it was still excellently constructed.
Now let’s take a look at how the SilverStone Seta A1 PC case performs in everyday life.
SilverStone Seta A1 Practical testing …