

Layout, design and features …
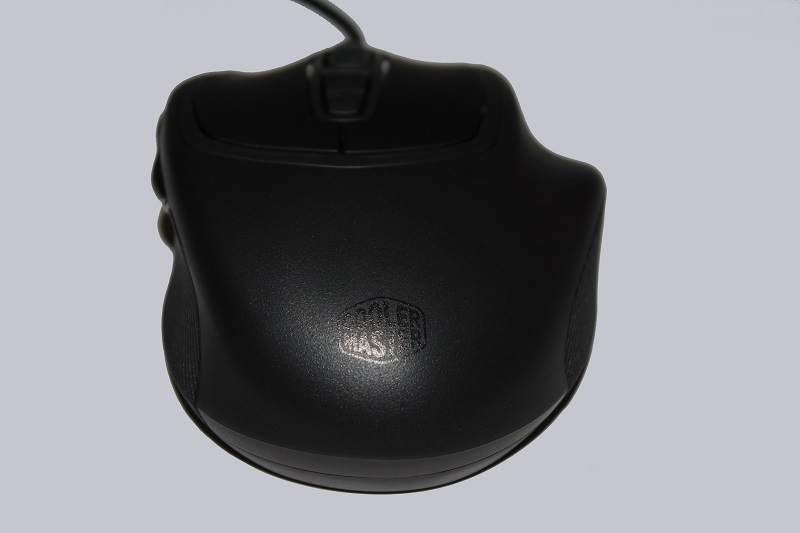
It’s time to take a closer look at the Cooler Master Xornet II gaming mouse. The body of the mouse is held entirely in black. Even the company logo was printed in black on the front. Of course, only the functions of a gaming mouse matter. A few touches of color would not hurt, but perhaps we find some colors when we go on with our review 😉
The side view shows the two large thumb buttons, and the soft grip surface for a solid hold of the mouse even during fast movement.
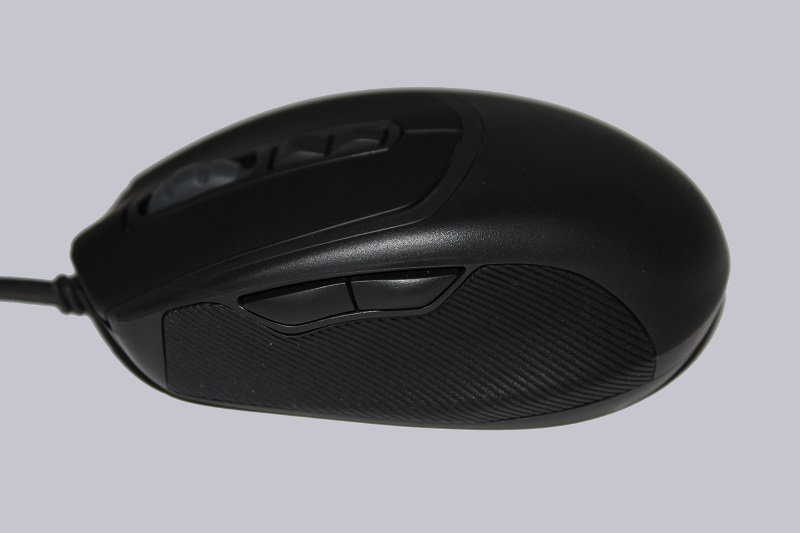
On the other side there is also a large soft surface attached, and a large storage area for the ring finger.
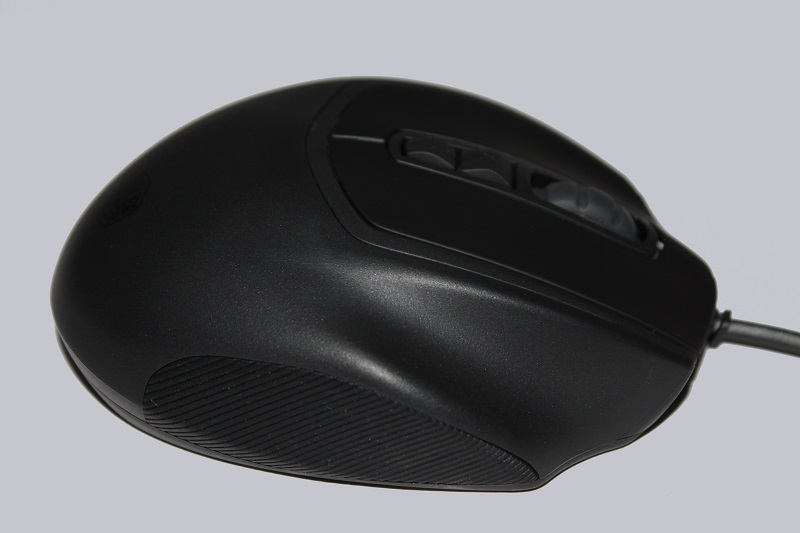
In this view, the Xornet II is somehow similar to the Logitech G9X mouse.
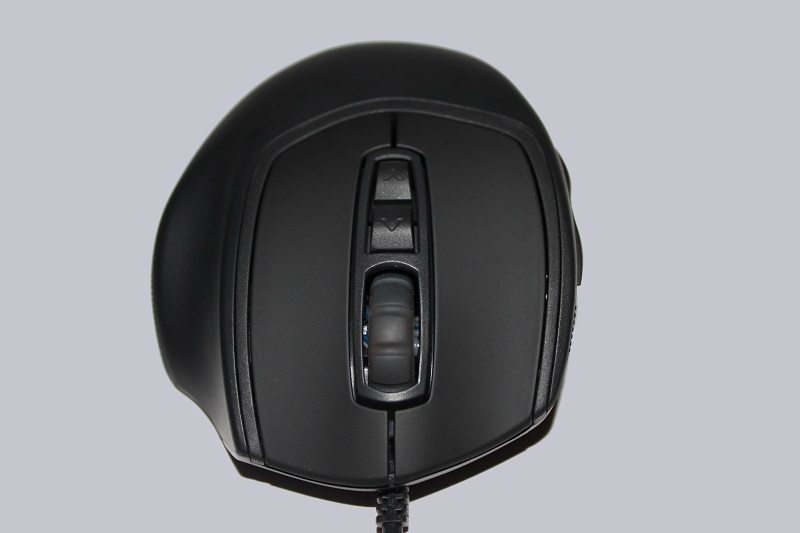
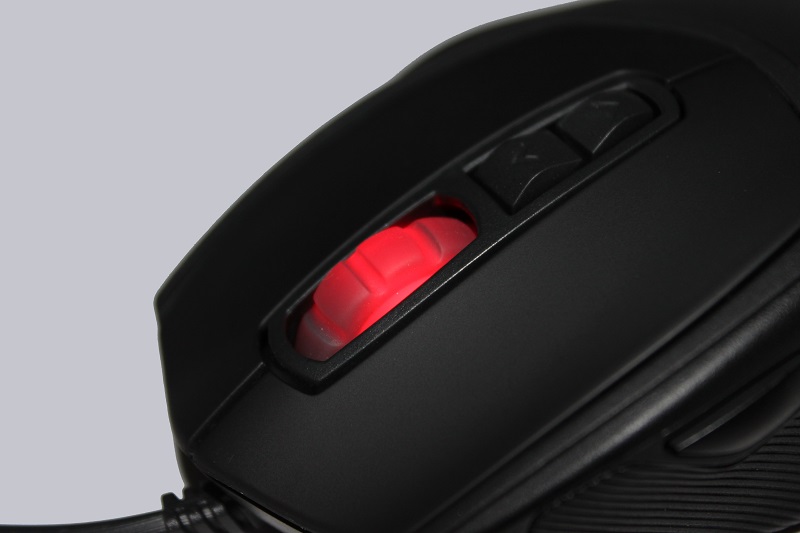
The front view shows the USB connection cable, as well as the two large mouse buttons and the mouse wheel, which can be illuminated in RGB colors.
Here is an example in red …
… and one green illuminated.

At these pictures, you can easily recognize the two keys for DPI and/or LOD switching and calibration.
The view from above once again shows the great ring finger rest and the clear design of Xornet II gaming mouse.

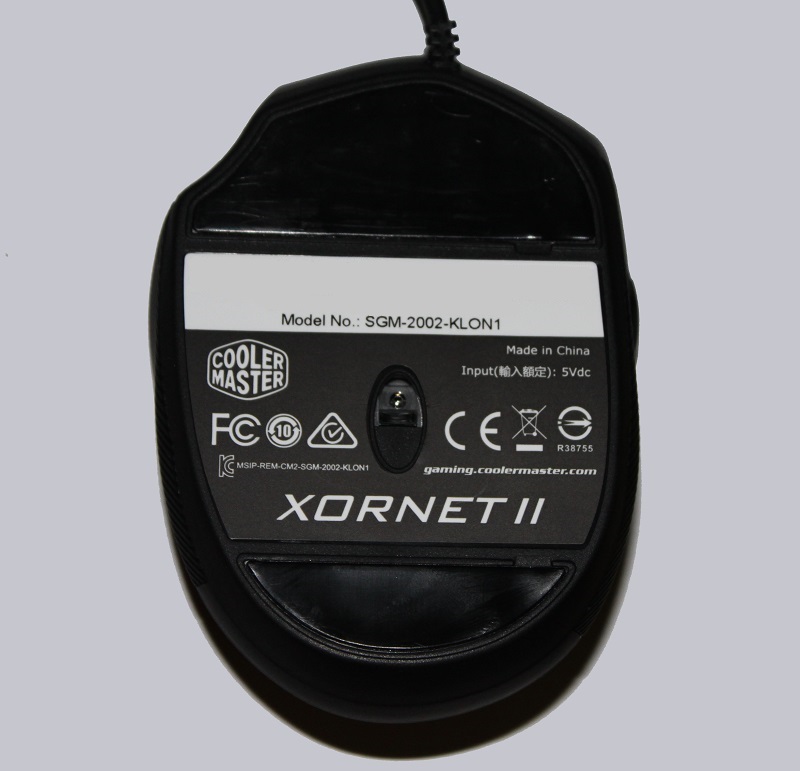
The bottom shows the common sight of the sensor and the two large sliding feet.
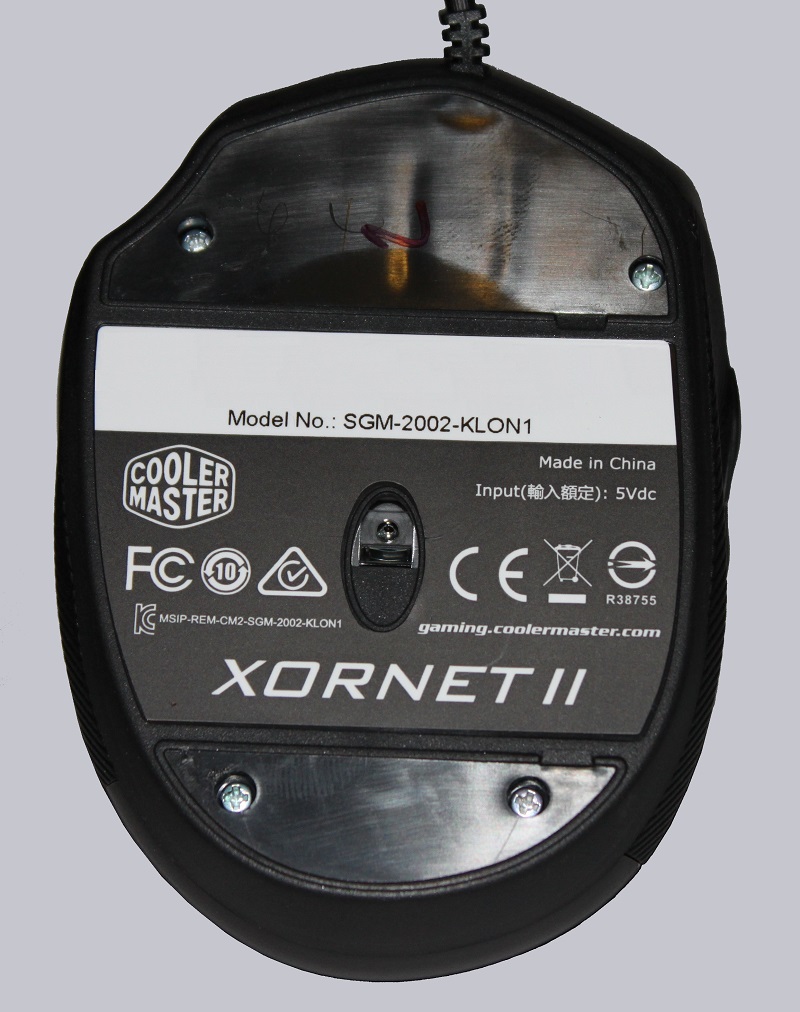
But of course, we are also interested in the inner values. For this we remove the two sliding feet, loosen the four screws …
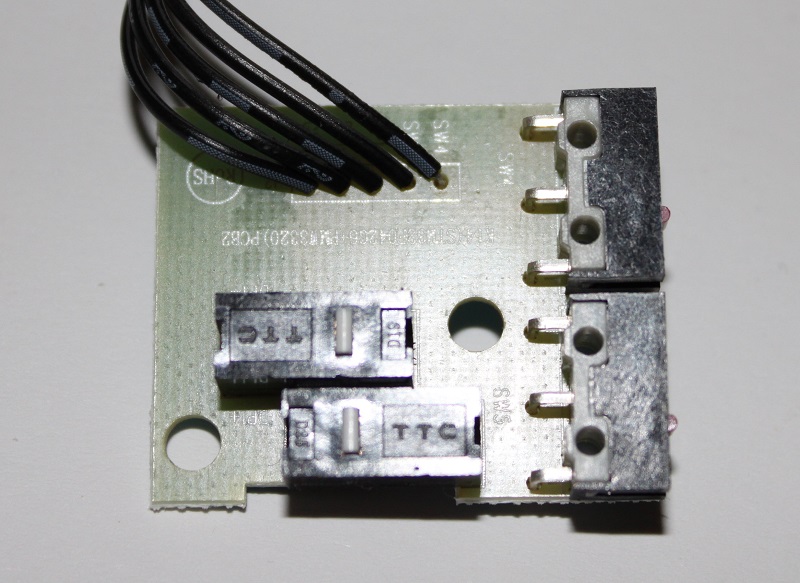
… and can easily dismount the mouse. The lower part houses the motherboard with the sensor, ARM CPU, mouse wheel and the high performance Omron buttons.

In the upper section there is another board, on which the button for the thumb and the DPI keys were soldered.
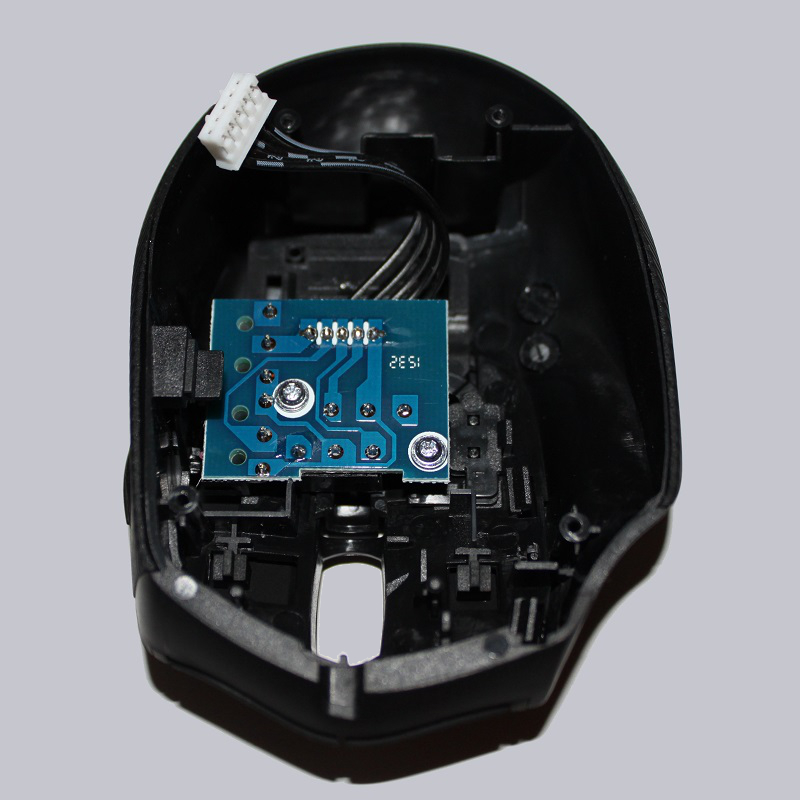
Cooler Master did not use the Omron buttons for these keys, but instead used buttons of the company TTC.
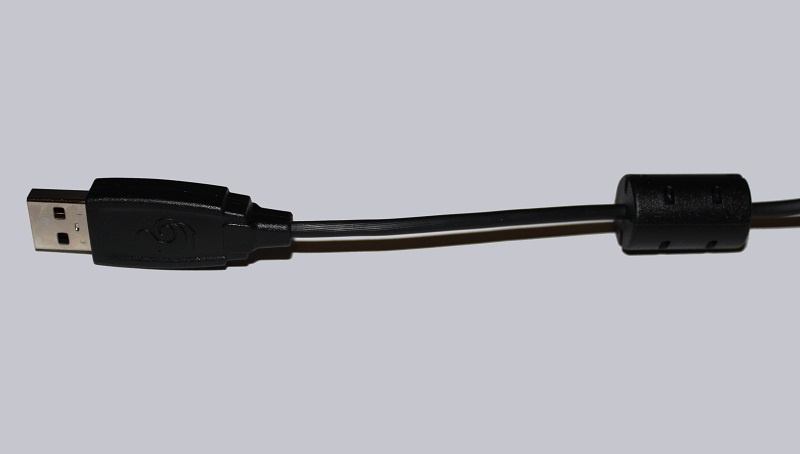
The Xornet II gaming mouse is connected via the 1.8 meter long USB cable that has a standing wave barrier and a type-A USB connector mounted at the end.
We come now to the software that we’ve download in the current version from the manufacturer’s website.
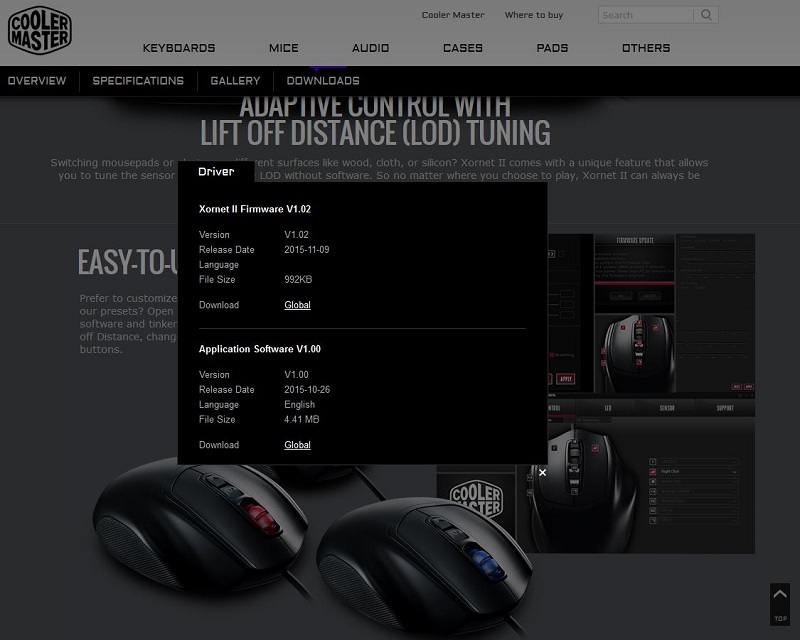
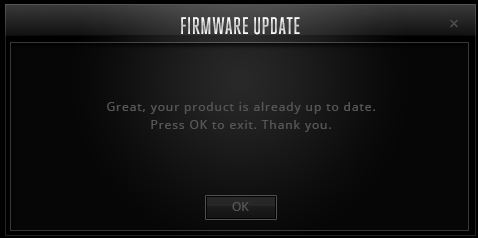
Before we install the software we want to perform a firmware update.
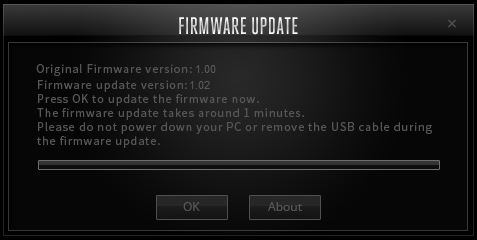
The update was performed without any problems and generated the following success message.
After that we’ve installed the software and ran the program.
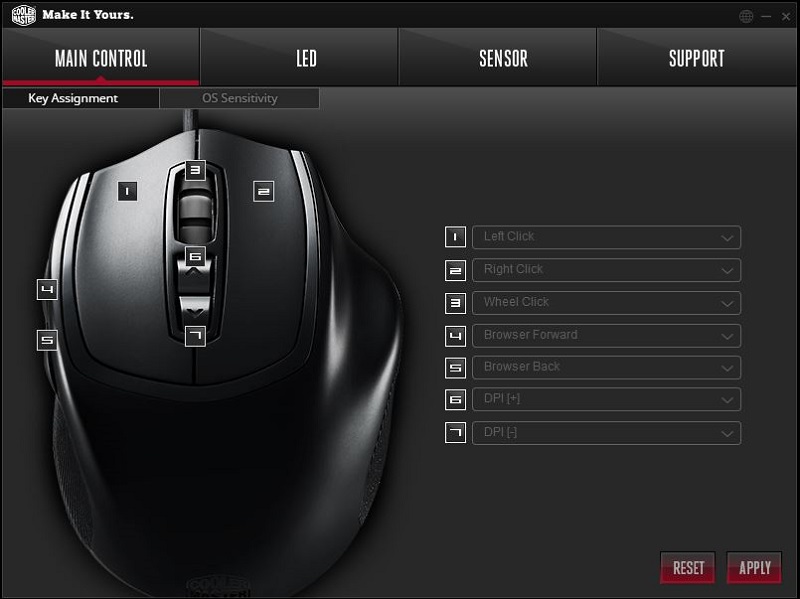
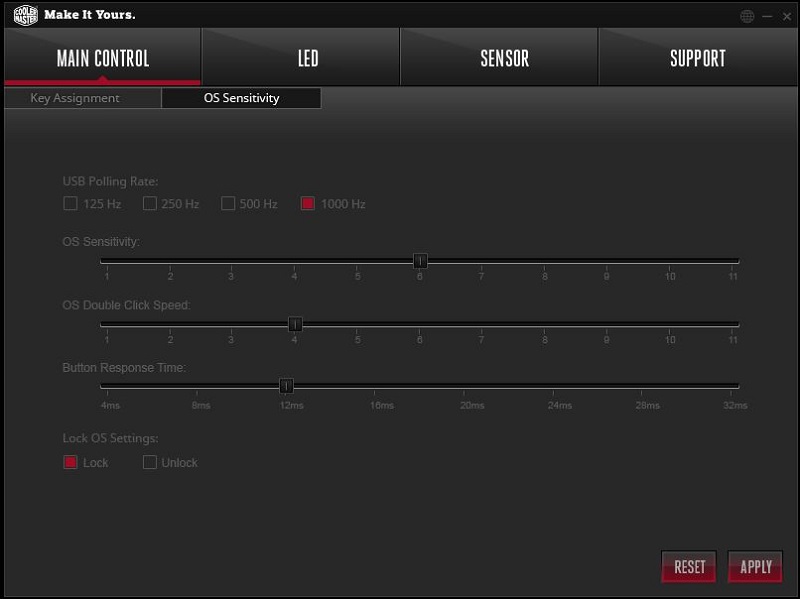
Here we can see the the first tab “Main Control”. With the options provided there we can assign various functions to the 7 keys and also change the operating system settings of the mouse.
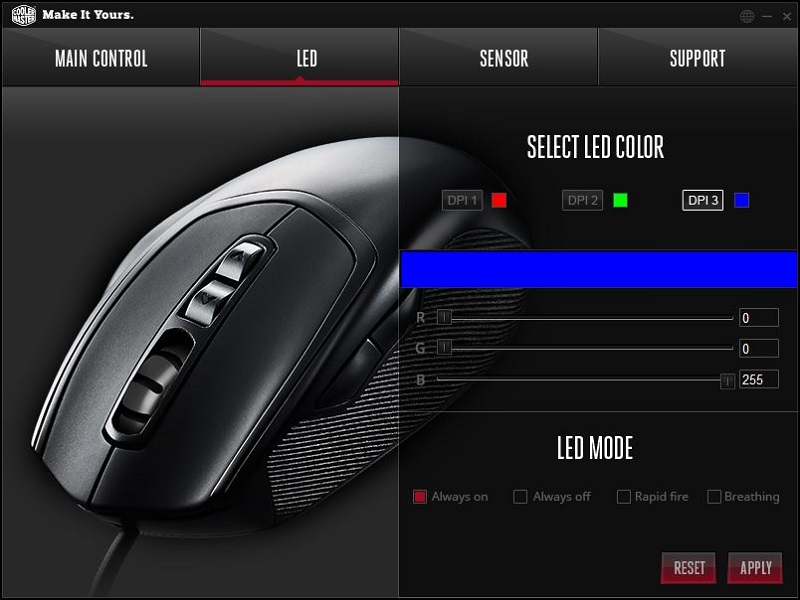
The next tab “LED” brings us to the lighting options of the mouse wheel. Here we can not only select the
colors for the three DPI settings, but also change the three light modes. You can turn on the lighting permanently, change the luminescent color during mouse clicks or adjust a pulsating light.
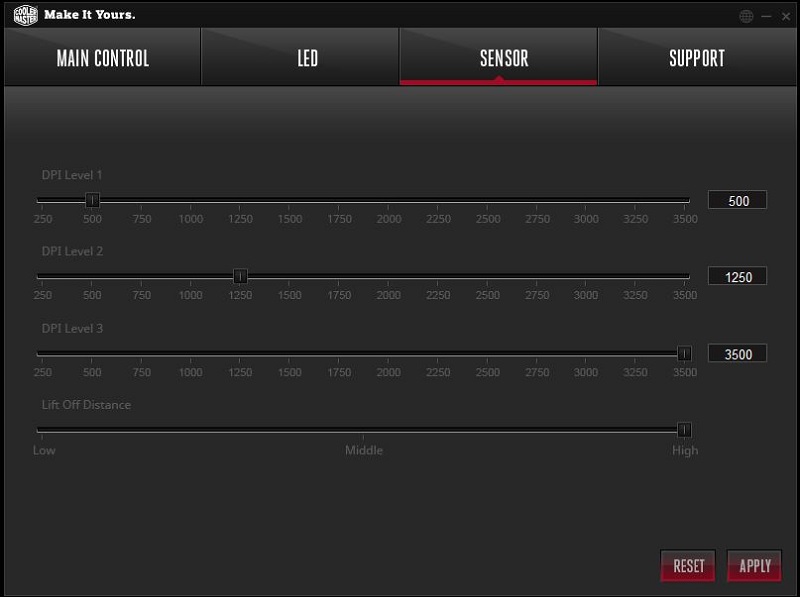
In the next tab “sensor” we can change the resolution of the sensor in steps of 250 dpi.
In addition, we can regulate the lift off distance in 3 levels.
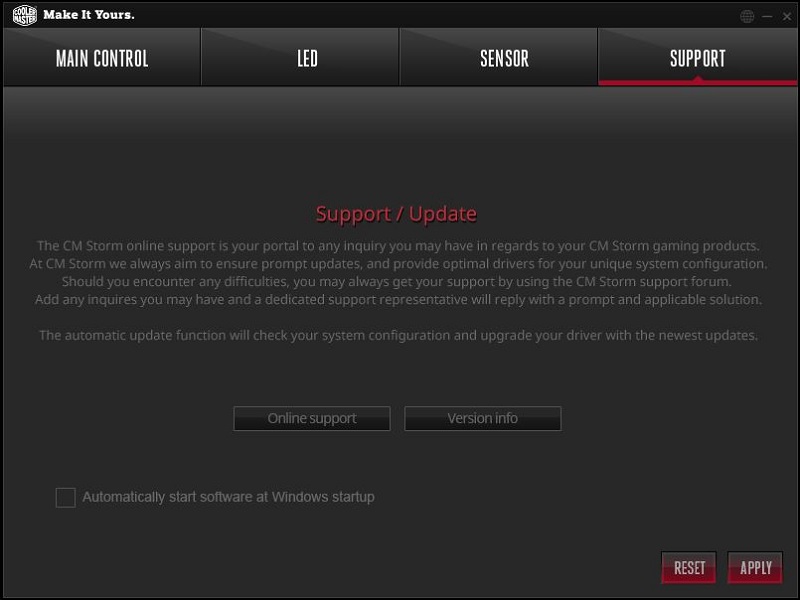
And last but not least, we have the “Support” tab, where we have the opportunity to reach the support, to view the software and firmware version of the mouse, and to start the software – unless desired – at system startup.
Now we come to the practical test of the Cooler Master Xornet II gaming mouse.
CM Storm Xornet II mouse installation and operation …