

Layout, design and features …
Let’s take a look at this shooting star.
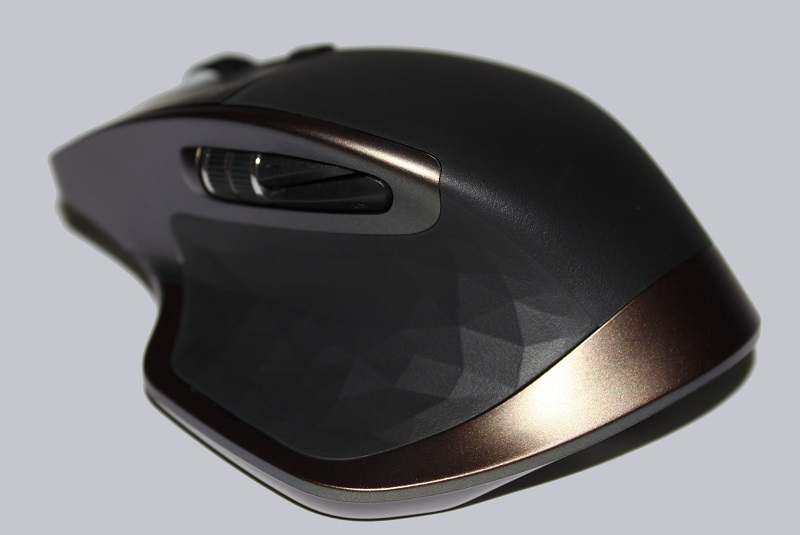
Decorated by surrounding frames in effect lacquer, the Logitech MX Master is on almost every desk a view.
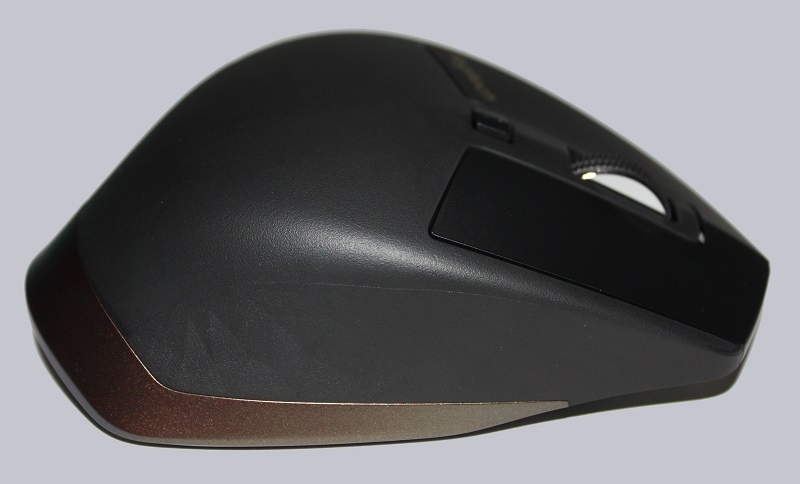
Design technically, the mouse may seem a bit clumsy …
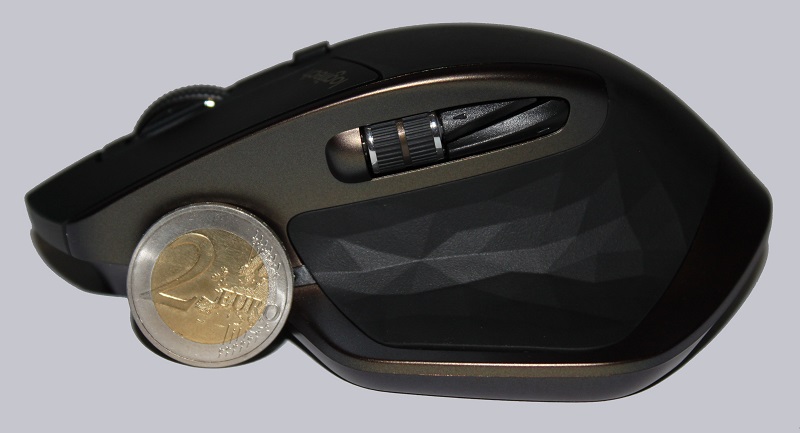
… especially with regard to the enormous height of approx. 4.8 cm. However, the mouse is equally suitable for Claw Grip as well as palm grip users.
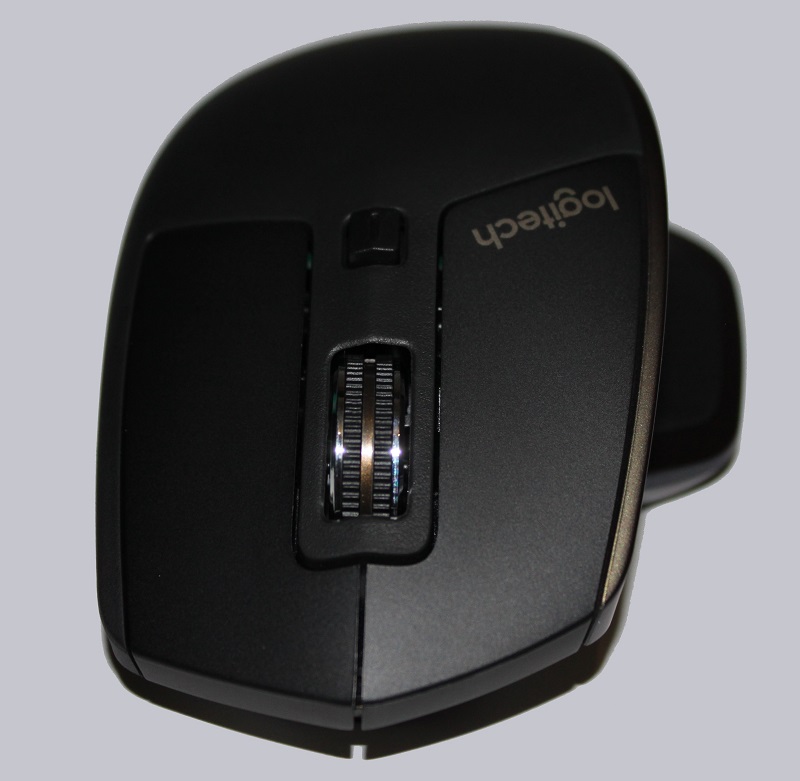
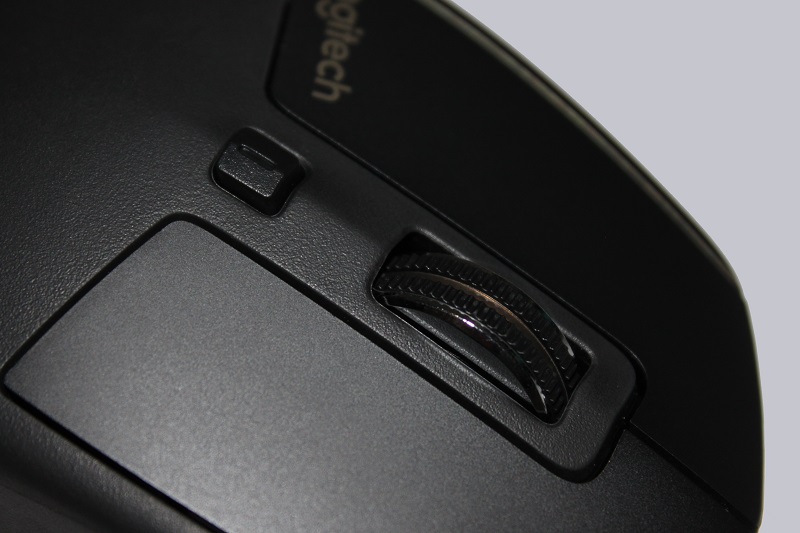
Despite its height, the mouse has a compact design that does not take up too much space on the mouse pad. The front part is decorated with the big mouse wheel as well as the button behind it to activate the free-run. The free-run button in this case does not have a purely mechanical function, but switches a small motor, which “pushes” the removal of the buttons of the mouse wheel “aside”. In addition to the button, it is possible to activate the free-run by turning the mouse wheel rapidly.
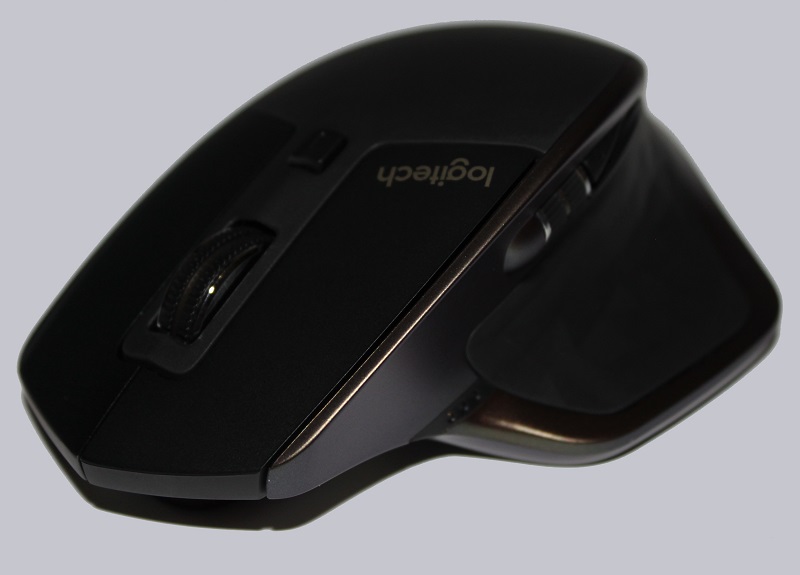
The right side of the mouse shows the user the cold shoulder because there is nothing special to see here. 😉
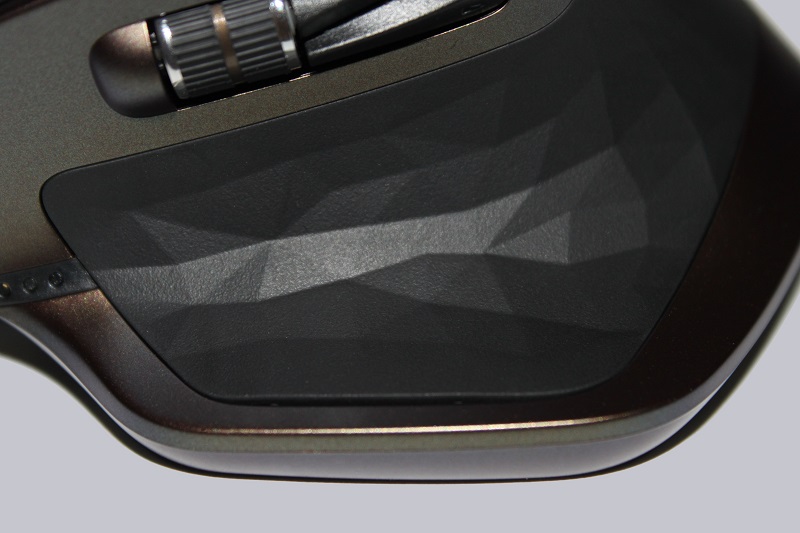
But noticeable is the clear edge, with which Logitech decorates the thumb button. This is not a production error, but the clever placement and execution of the thumb button.
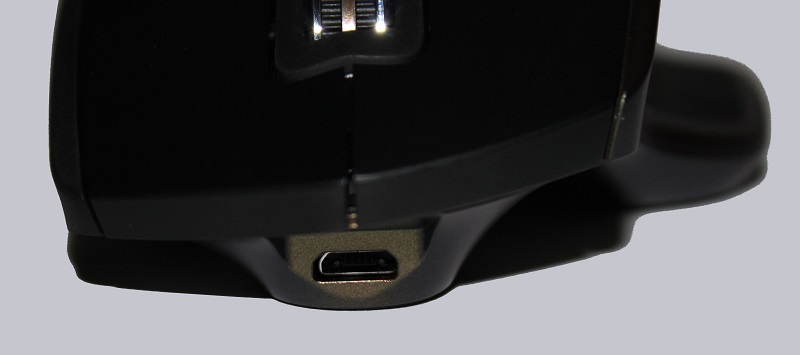
The front only provides the view of the Micro USB port needed to charge the MX Master.
The bottom is even more interesting. As seen here, the mouse has an on/off switch to save energy if you do not need it.
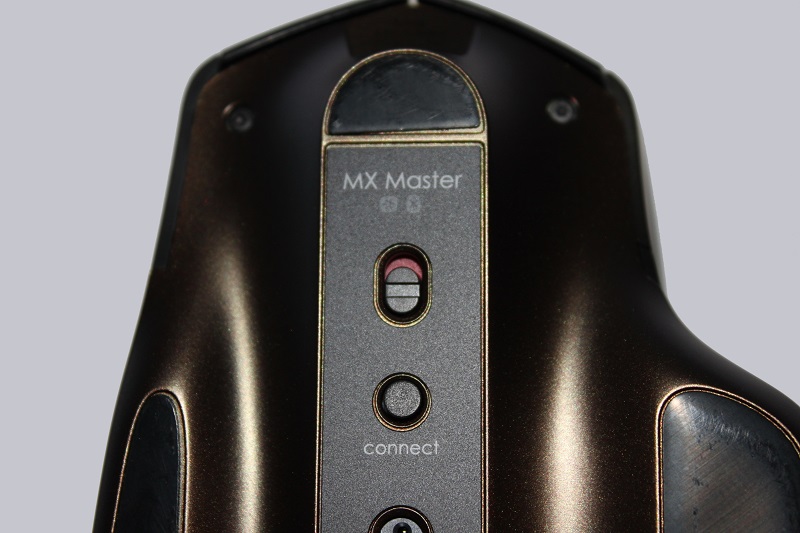
Below is the Connect button, which allows the Logitech MX Master to connect to its Unifying receiver. Below it is the Darkfield Sensor, which gives this mouse the ability to function even on smooth, reflective surfaces or even glass.
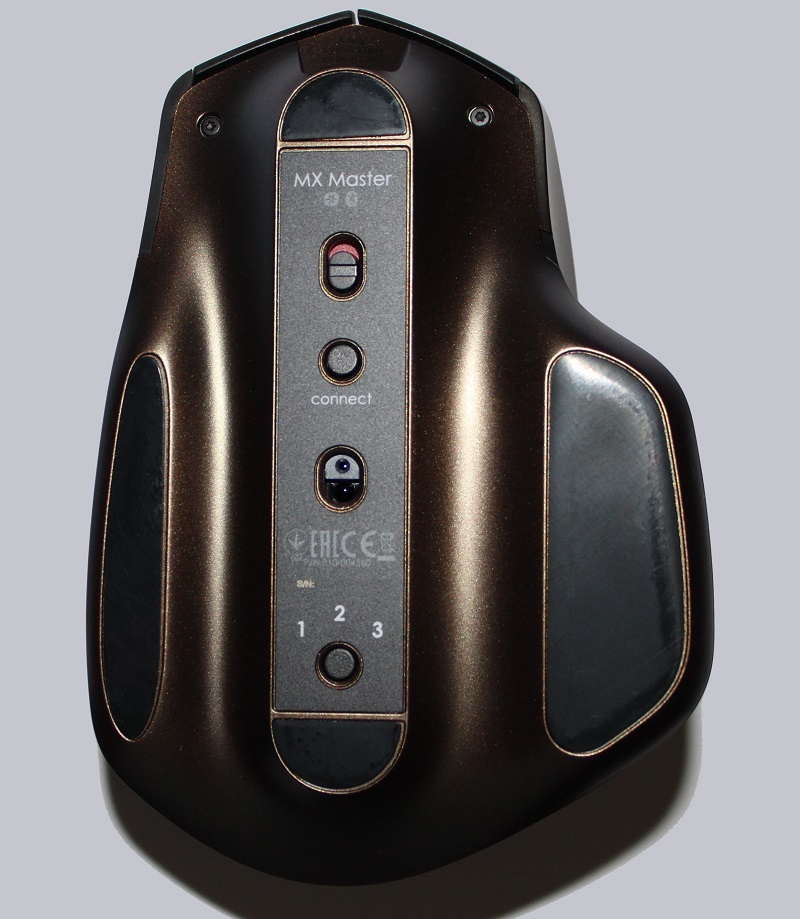
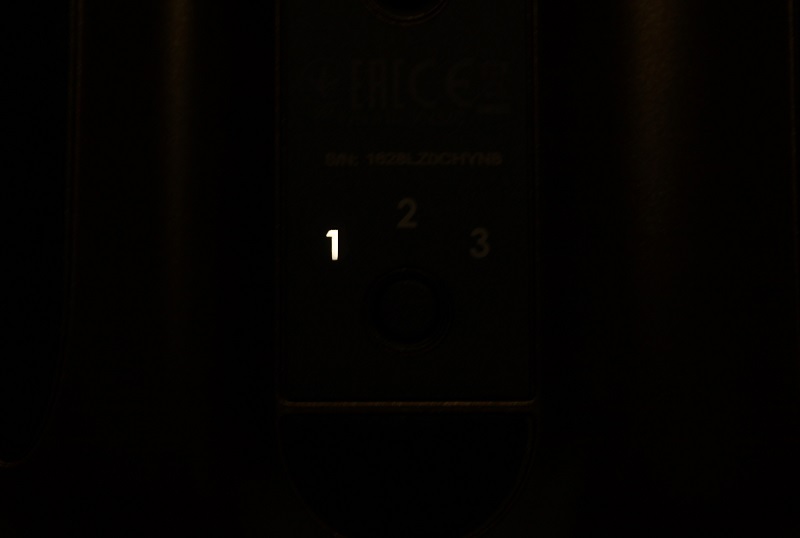
At the lower end is the selection button for the connection channels. This is only interesting for the operation with Bluetooth and allows the user to run the mouse at up to three computers at a time, without having to re-setup each time. The current channel is displayed by means of a lighting of the respective number.
However, you can also use the included Unifying receiver to make a wireless connection to a computer. It is not absolutely necessary to use the Logitech Software “Options”, but we would like to introduce in anyway the following chapter.
Logitech MX Master mouse Software …
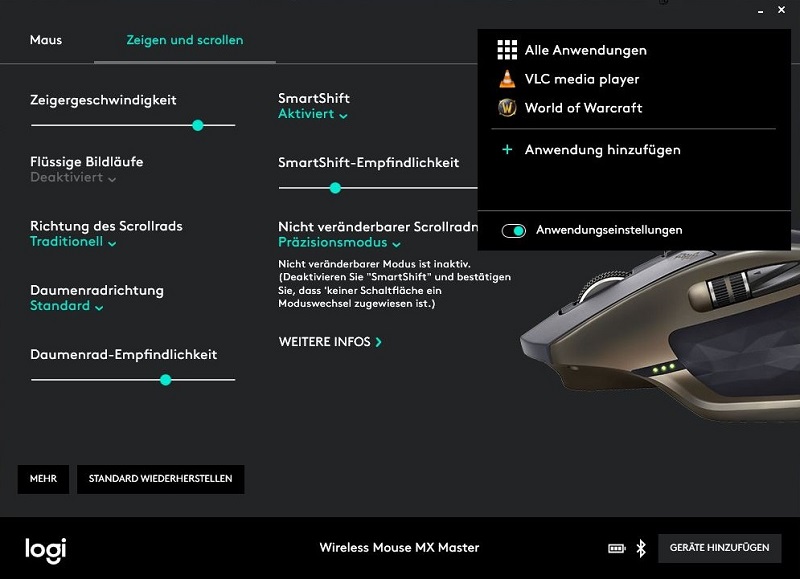
As already mentioned, the software is not required to operate the Logitech MX Master. But it is no disadvantage if it is installed. It provides not only an overview of the key assignment, but also allows to check the charge status of the battery during operation. This can also be seen shortly after switching on also at the three light-emitting diodes at the front of the mouse, but they only light up briefly and then go out again.
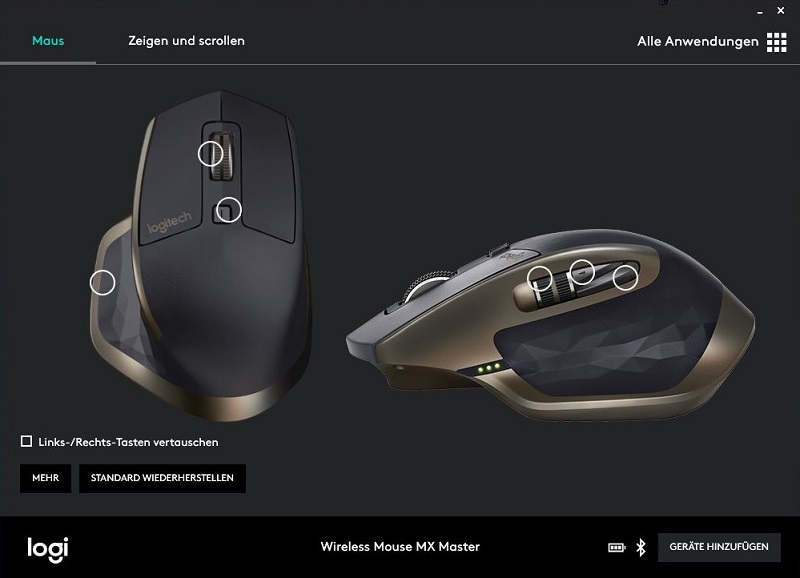
Sensitivity as well as functions of the scroll wheels can be set just like the SmartShift function, which defines possible options for the thumb button.
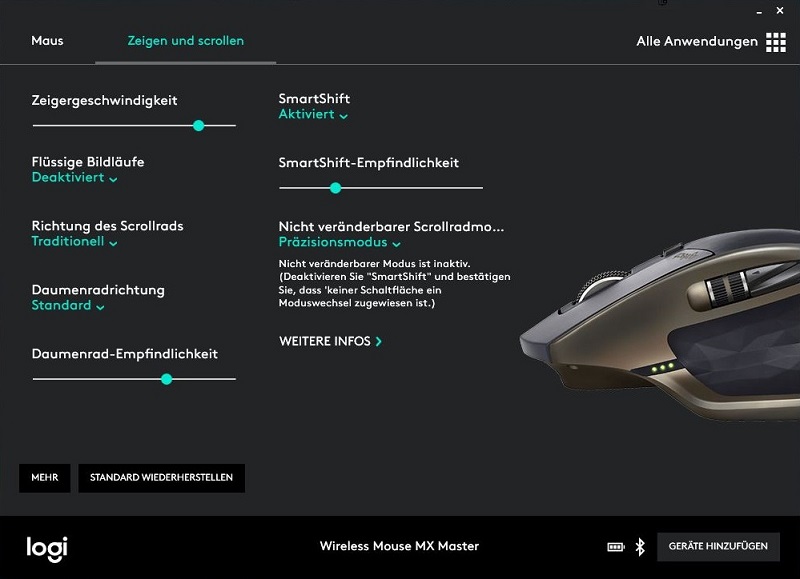
In addition, there is the possibility to connect other devices with the Unifying receiver and also manage the Bluetooth connection.

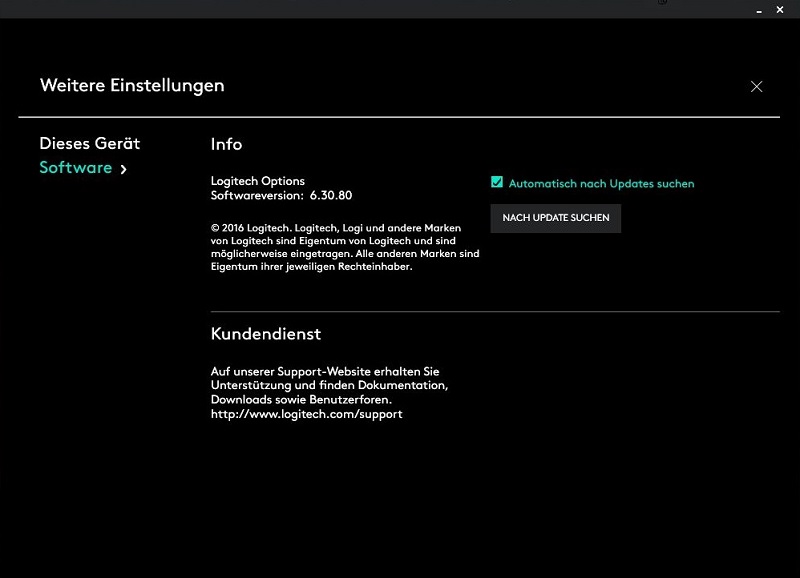
Further information about the firmware of the mouse …
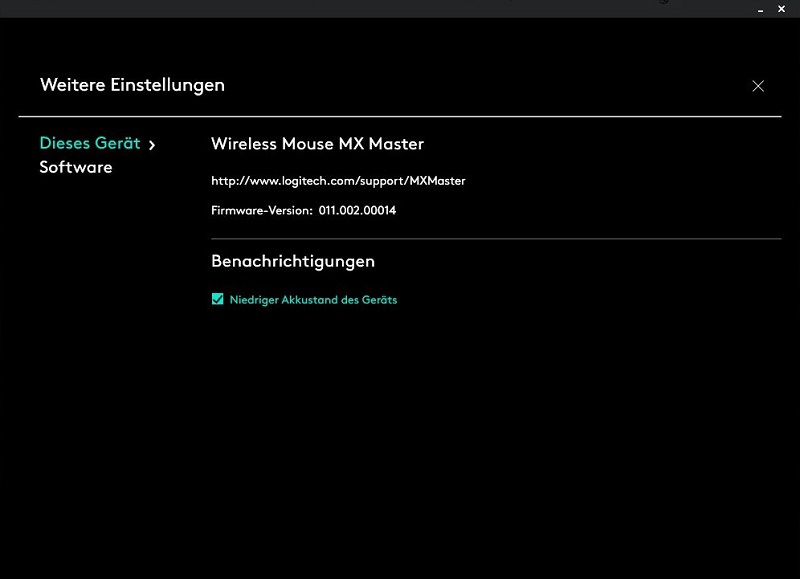
… as well as the software version can be looked up here.
Furthermore, the thumb button can be defined as a gesture button, which can be assigned in the software with various gestures.
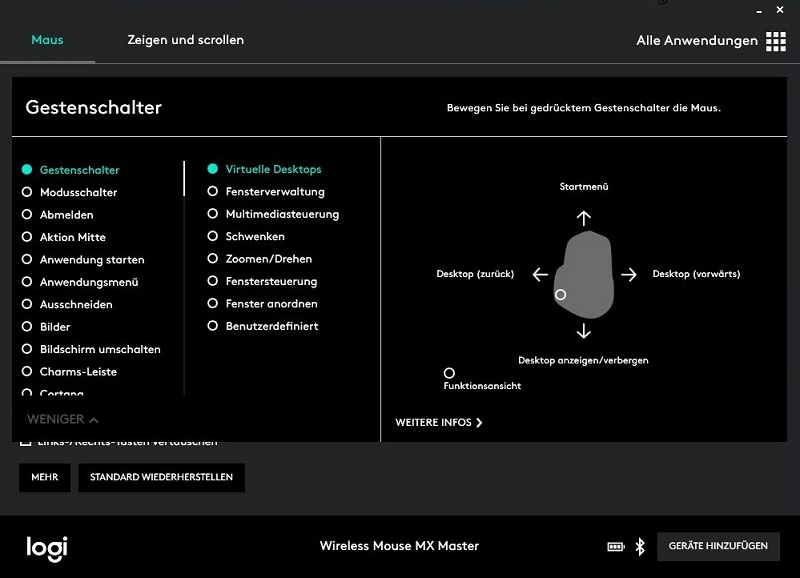
Different configurations can also be assigned to different programs.
So we have arrived at the end of our small tour and are now coming to the practical test of the Logitech MX Master mouse.
Logitech MX Master mouse installation and operation …