
Layout, design and features interior…
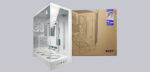
The interior is more than generously dimensioned and could easily compete with a big tower. It is also possible to install a so-called BTF/Project Zero mainboard here. These mainboards all have their connections behind the board. This naturally makes for an extremely clean build, as only the cable of the graphics card and/or the AiO, for example, is visible.
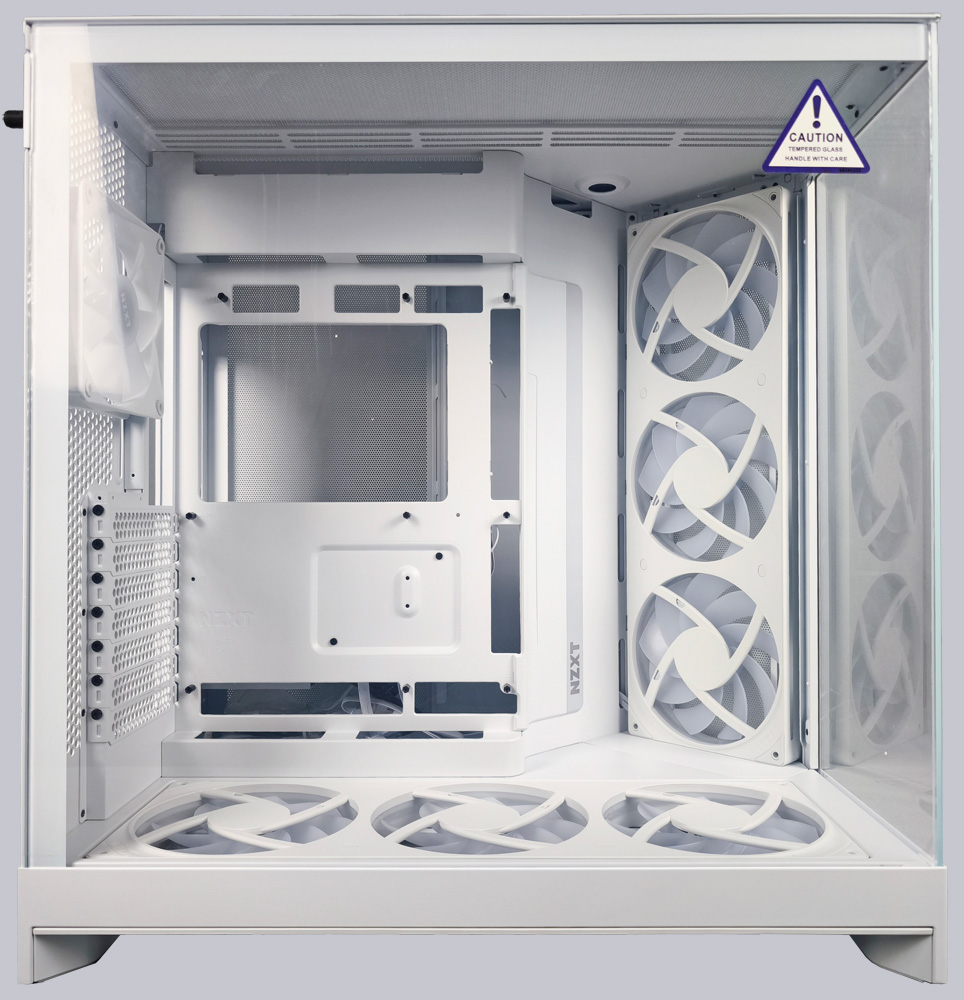
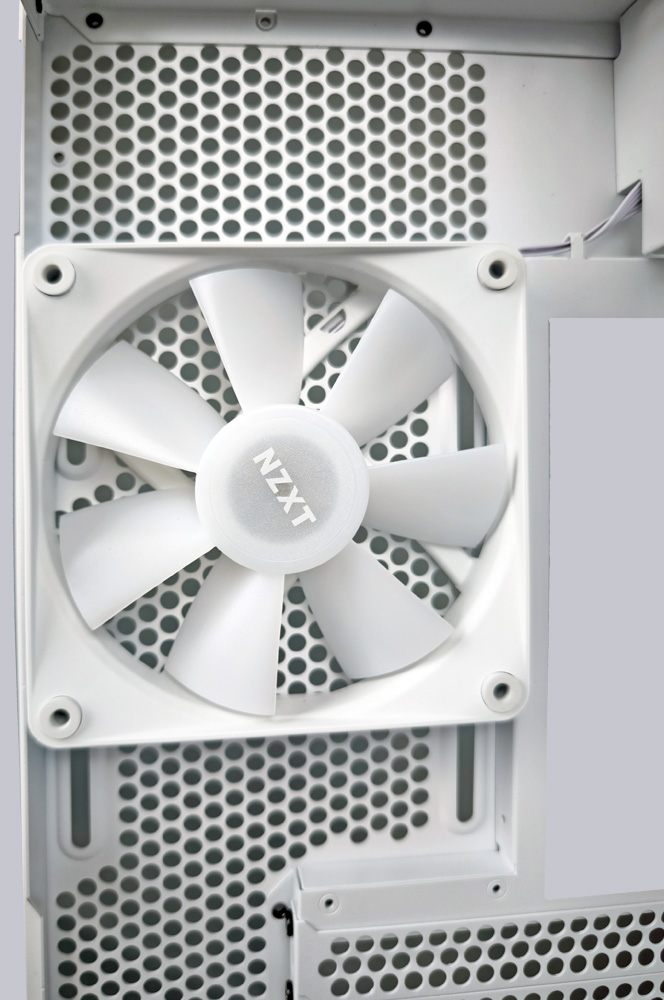
In the RGB+ version we tested, the matching RGB fans are installed directly: The NZXT F420 single-frame fan in the base and in the slanted side panel. Unfortunately, these are not reverse fans, which would put the icing on the cake.
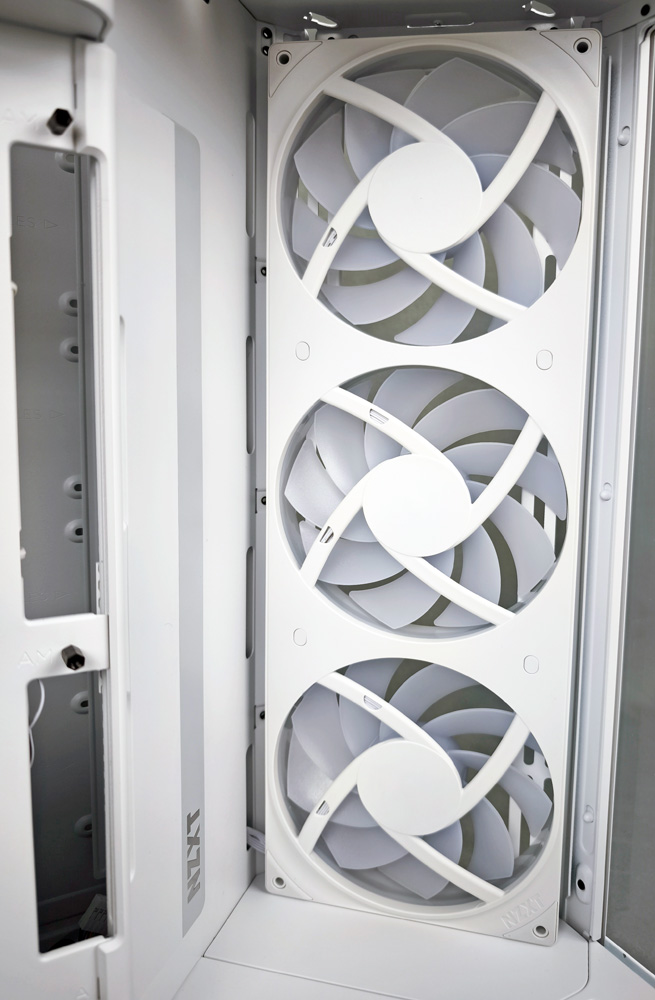
Right next to the fan in the side panel is a gray design strip in which the NZXT logo is embedded in high-gloss silver.
There is also an NZXT F120 RGB fan in the rear panel.
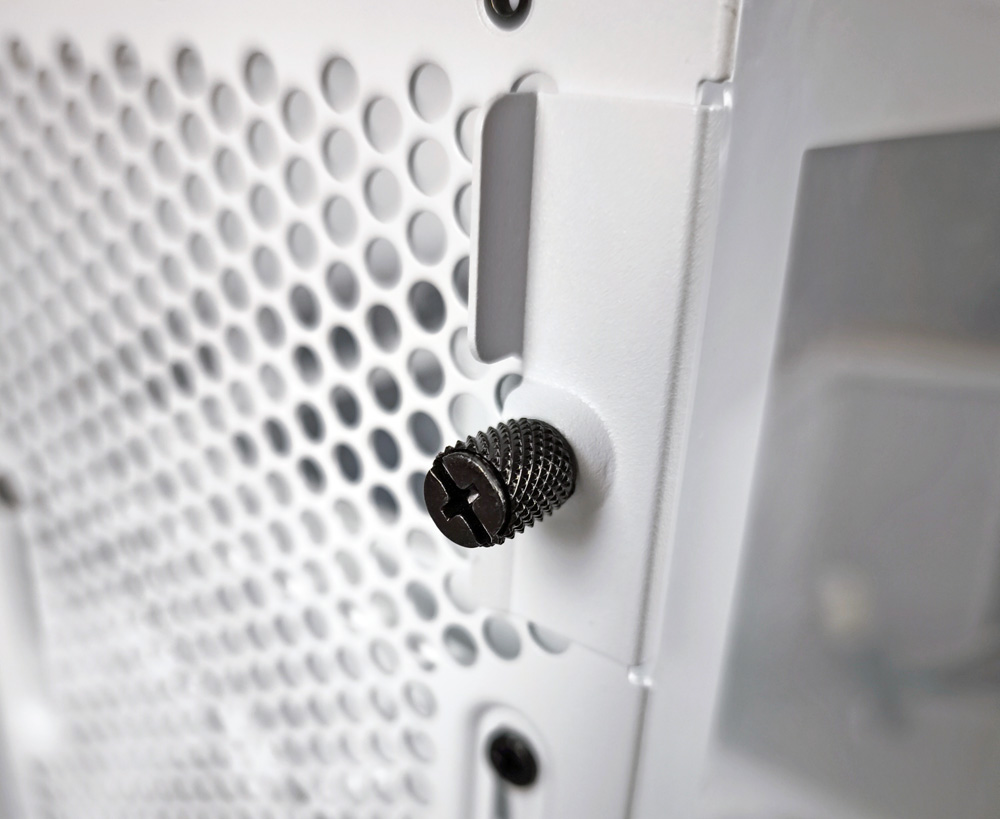
To remove the side panel, you have to take off the top, unscrew another knurled screw at the back of the housing and then tilt the glass panes slightly forwards to pull them out upwards.
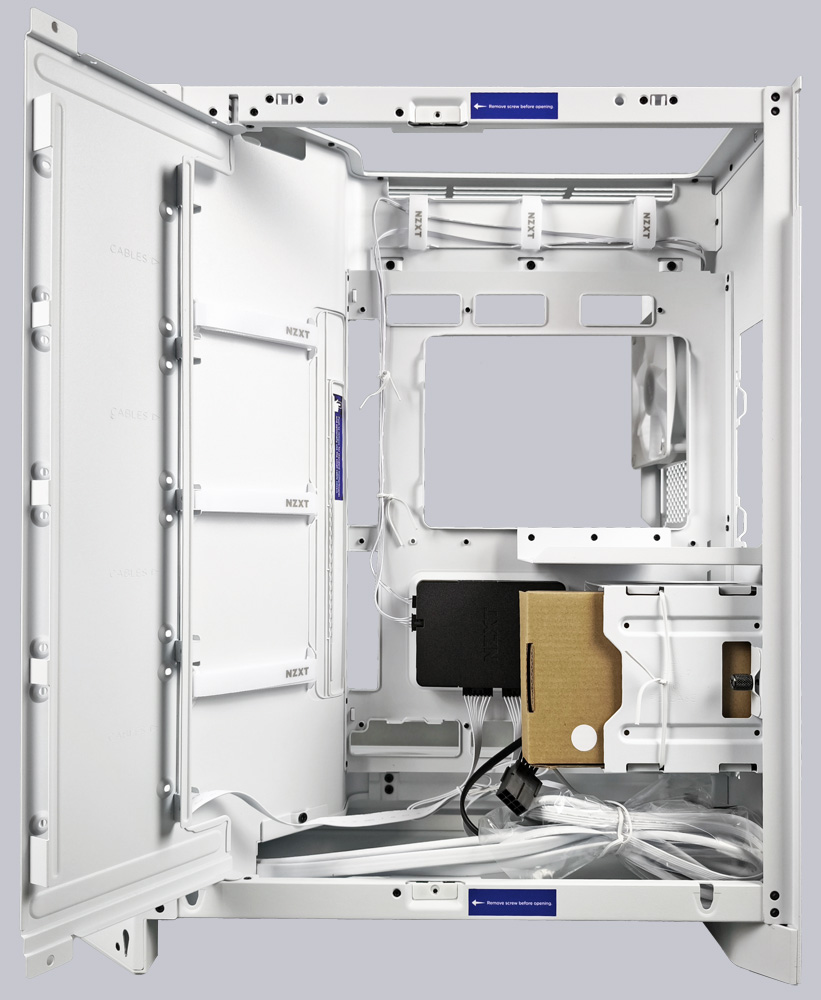
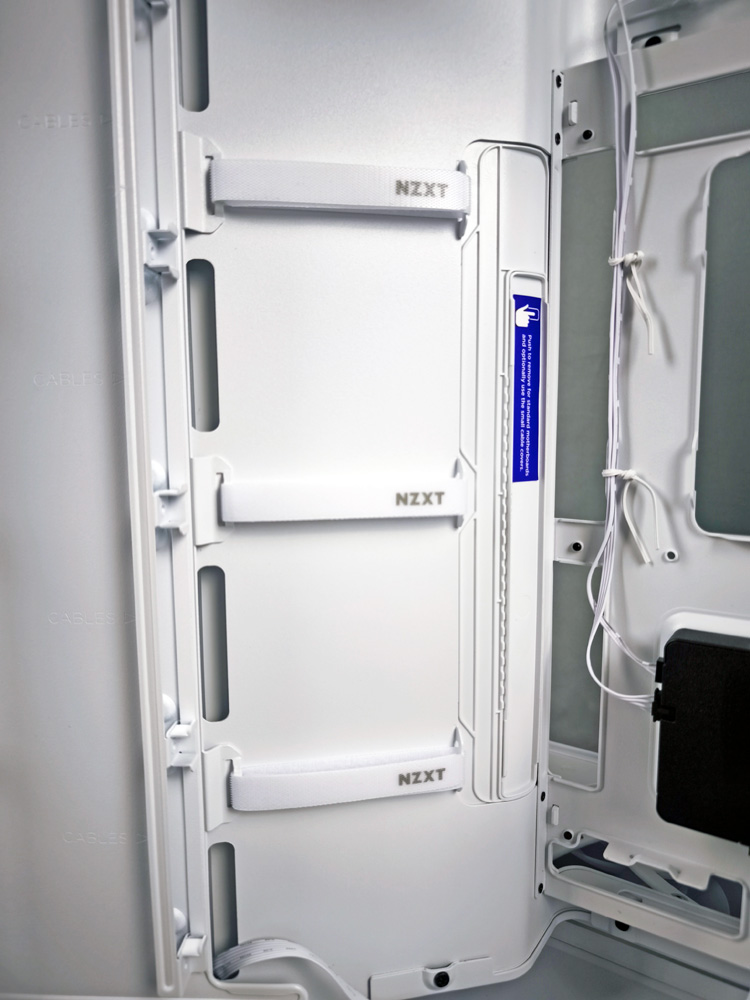
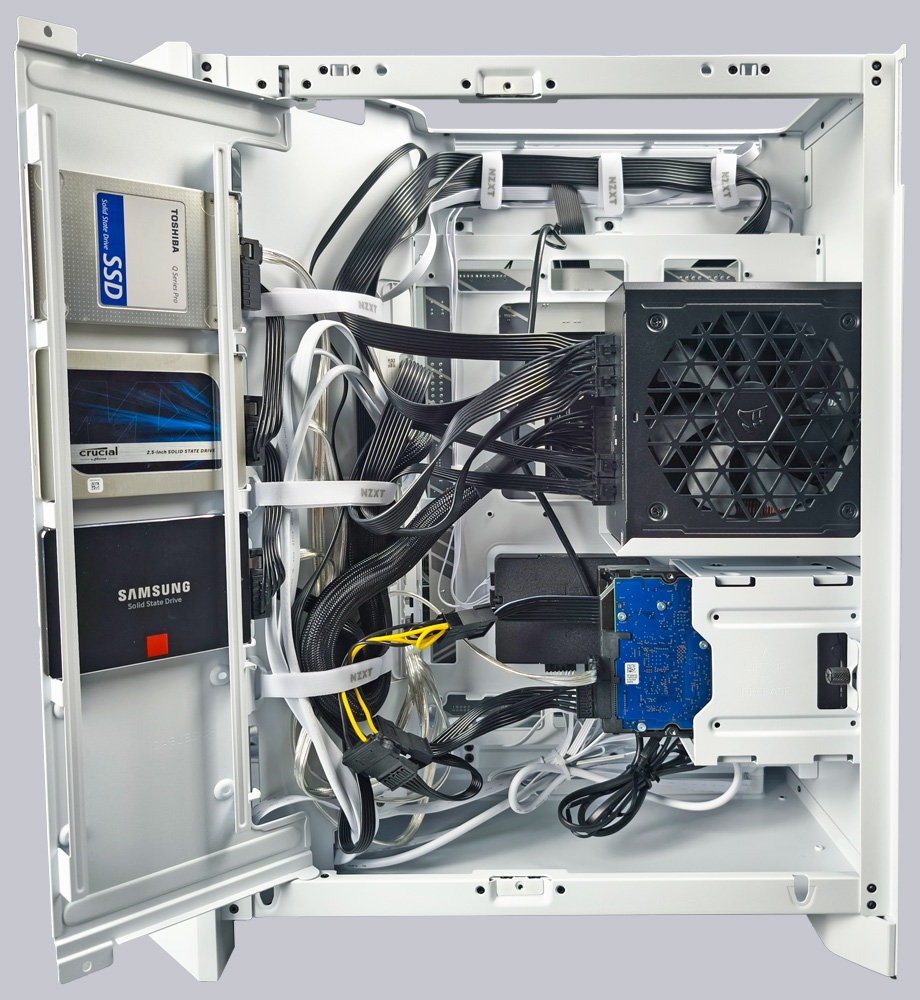
The 2nd chamber is located in the rear section. This contains the HDD trays for either 2x HDD or 2x SSD. There is also plenty of space here for cable management, which is stowed behind a large hinged flap.
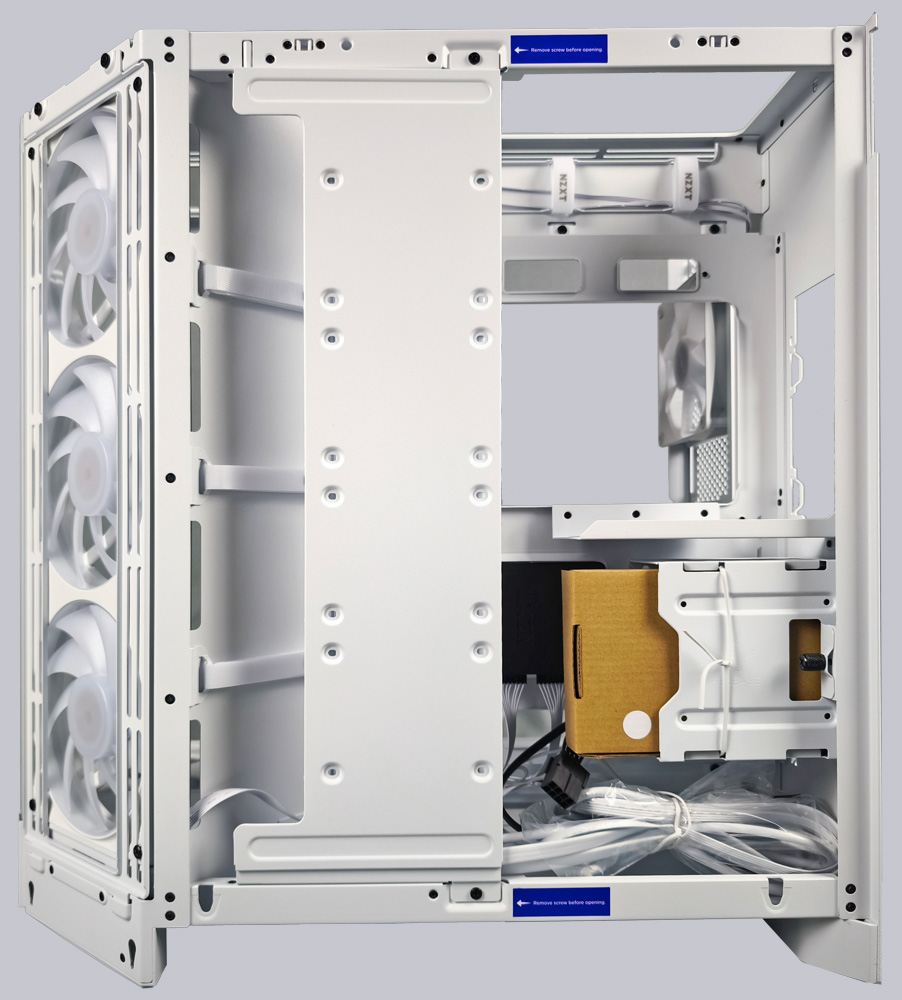
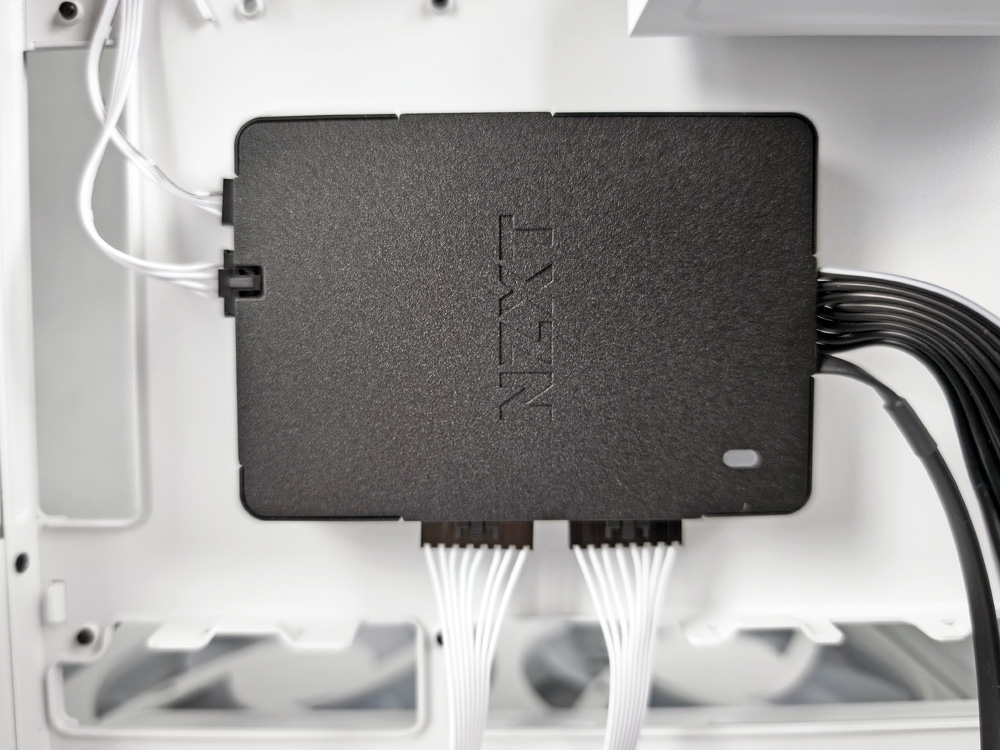
At the same time, this flap serves to accommodate four additional SSDs. The black fan controller from NZXT is also visible here.
The cables for the fan control were laid neatly and all fans were pre-installed together with the RGB connection. White cable ties would have been nicer here than the twisted wires, but that would be complaining on a high level.
Here you can see the controller. When the system starts up, all the fans run at full speed for a few seconds, which is not quiet at all. After that, the fans are very quiet to inaudible again during operation, depending on the set mode, and the software takes over control again under Windows.
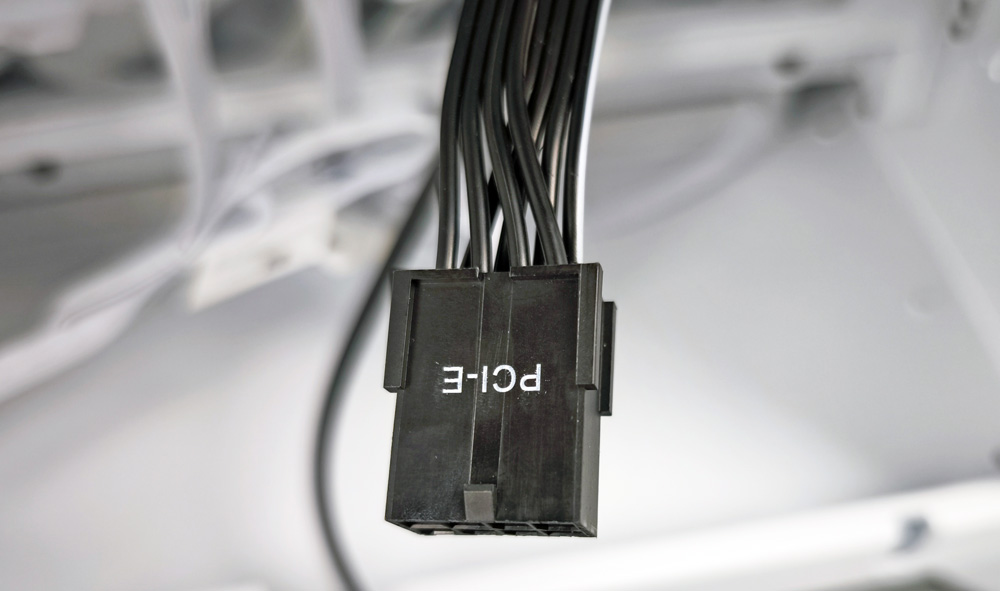
NZXT uses a PCIe 6+2 connector for the power supply, which is normally reserved for graphics cards. However, this can be somewhat unfavorable, as powerful hardware/graphics cards are usually used in a case in this price range, which means that the PCIe 6+2 connectors are usually occupied. Modern ATX 3.1 power supplies usually only have 2 PCie cables in the scope of delivery and these are then usually used for the graphics card, so that no PCIe 6+2 connector would be free. This was the case with the hardware installed for the test of the case, so that a SATA to PCIe power connection adapter had to be used here. NZXT could add such an adapter to the scope of delivery, for example.
NXZT has put a lot of thought into the cable management and the necessary cable grommets. Here you can push out the cover (blue marking) and insert a small section.
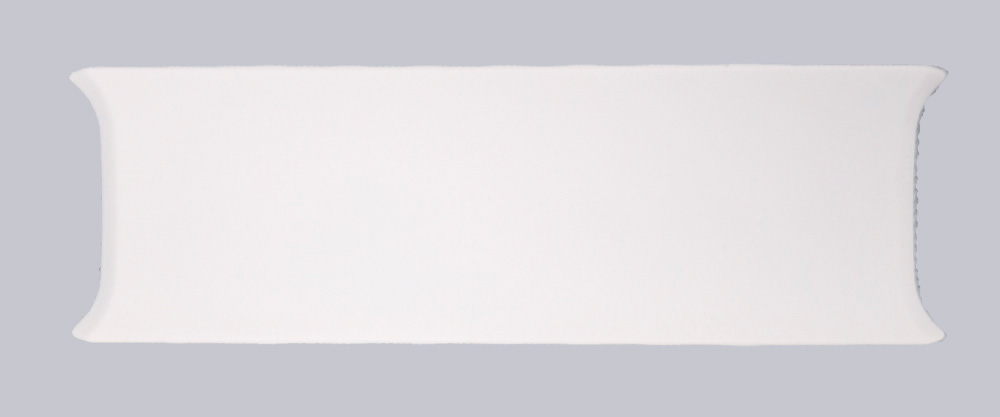
This gives you a uniformly closed front when using a mainboard with rear connections. Once you have inserted the section, you have the necessary cable bushings for “normal” mainboards. These can be pushed up and down as required.
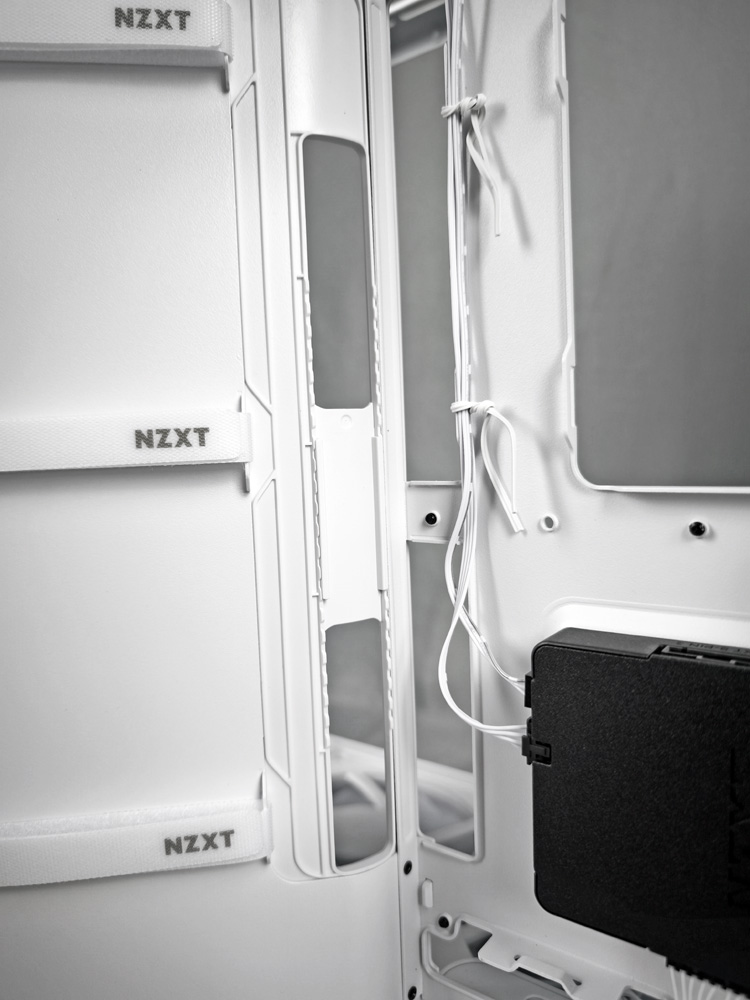
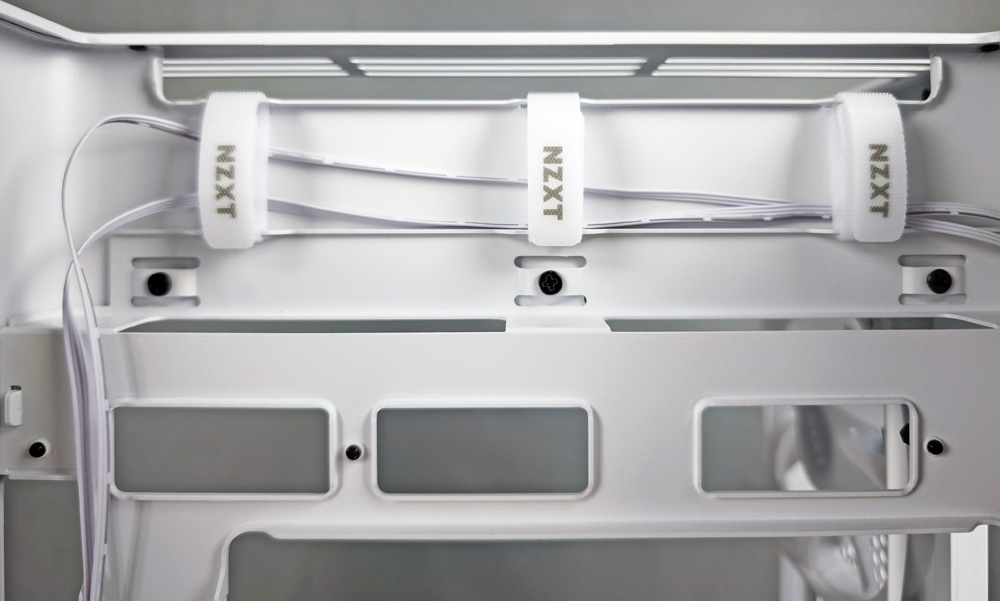
Sufficient Velcro cable ties have also been pre-installed in many places to make laying the cables much easier.
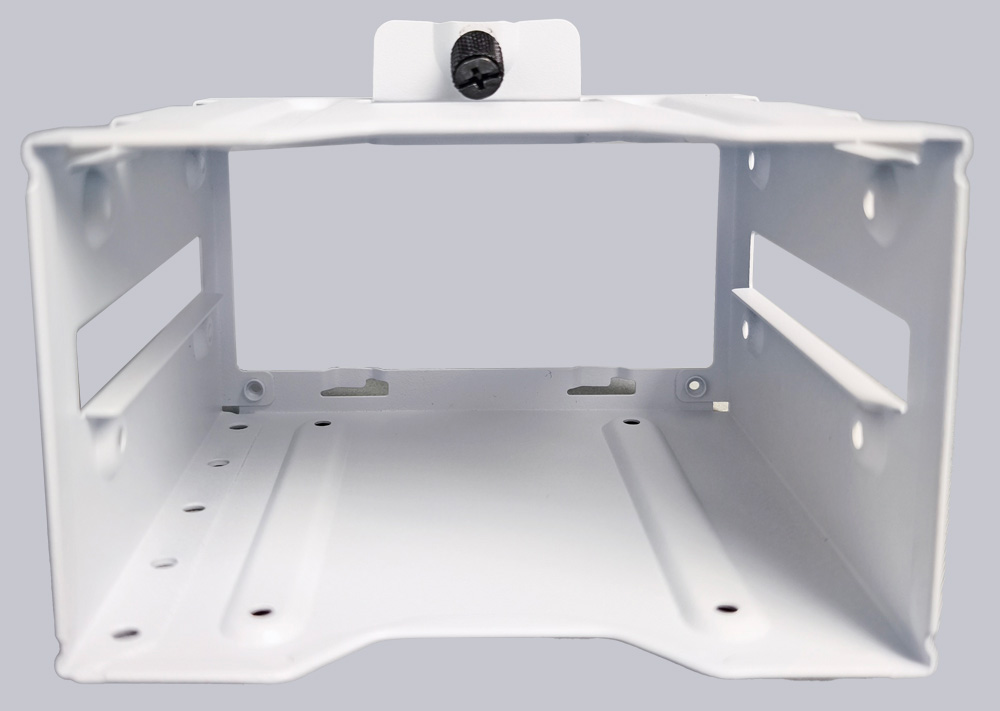
The HDD tray can be removed if required. If no HDD is installed, there is more space for the already very generous cable management.
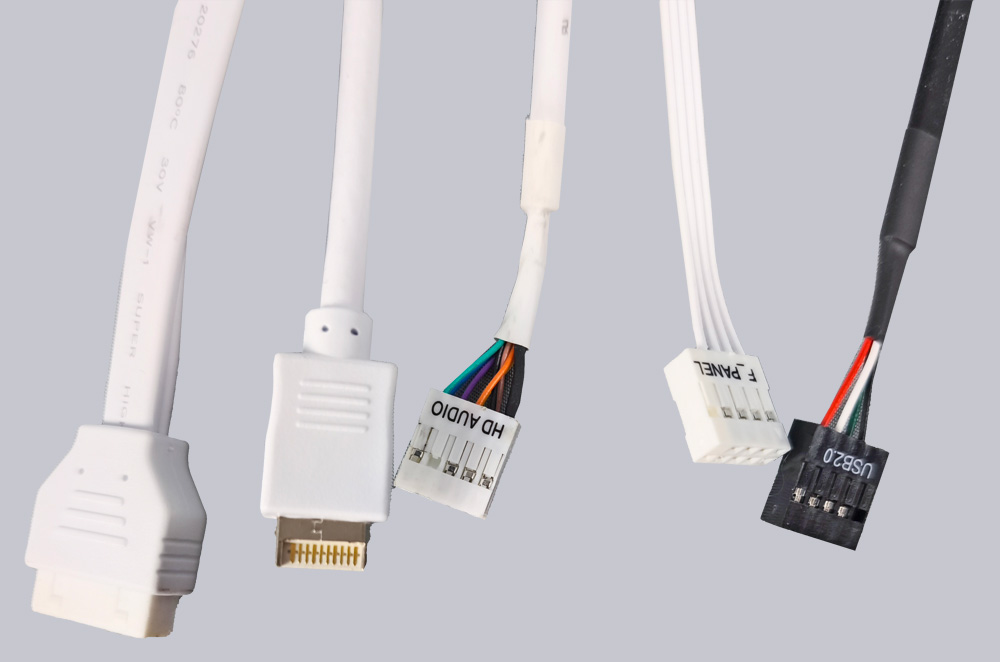
For the sake of completeness, you can see the necessary connection cables for sound/USB/front panel here.
Equipped with hardware, the interior looks something like this.
The following hardware was installed in this sample configuration: ASRock X870 Pro RS, AMD Ryzen 7 9800X3D, 2x 16GB Crucial DDR5 Pro 6000MT/s in white, ASRock 7800XT Steel Legend OC graphics card, 3x NVMe, 3x SSD, 1x HDD and the NZXT Kraken Plus 360 RGB AIO.
Now, of course, we want to switch on the PC and take a closer look at the lighting.
NZXT H9 Flow RGB+ lighting …