
Construction, design and features …
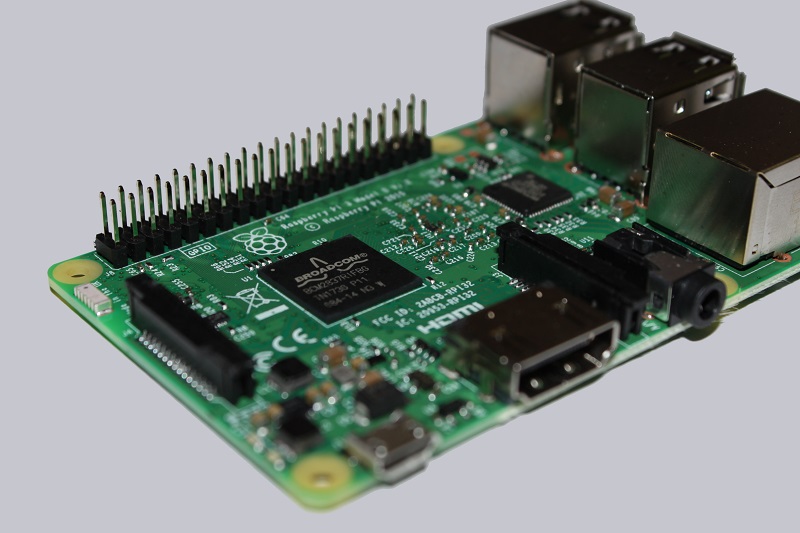
The Raspberry board comes in the usual size. Everything important is on the small board. Except the monitor, a mouse, a keyboard and of course the MicroSD card.
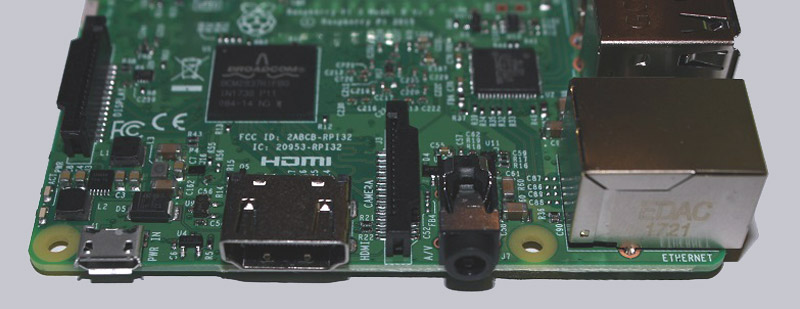
Let’s start with the USB ports page. In the third model of the Raspberry Pi, a major criticism of the previous single-board computers was eliminated. Finally, four USB ports are available to the user, from which 500 mA per port should only be taken, however, with a high-performance power supply unit. Unfortunately, the Ethernet port still does not support a GBit connection, but this should only be a problem for the fewest.
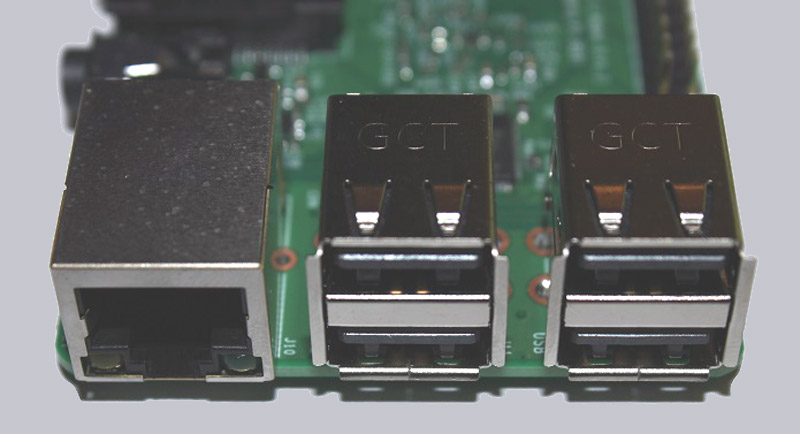
WLAN has now been integrated for this purpose. The only proof of this is a small chip antenna.
If we look at the other pages, we see the HDMI port, which can receive commands from the remote control of the respective display device via CEC. Next to it is the audio connector, which can transmit audio signals via 3.5 mm jack. On the very outside we find the Micro USB connector, which is responsible for the power supply of the pi.
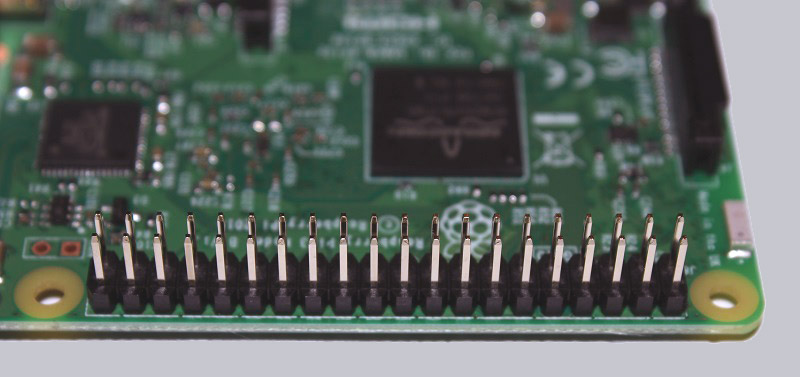
On the opposite side we only see the large GPIO header. GPIO stands for General Purpose Input Output. This means that these connections can be used for all purposes of switching, switch identification, control and display.
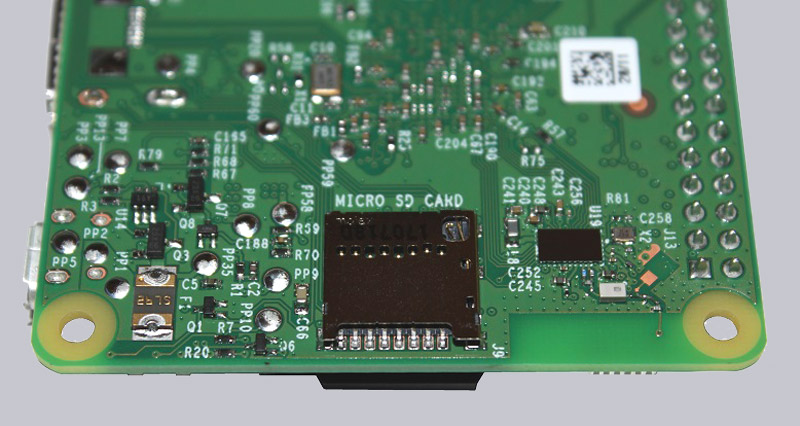
Let’s look at the bottom so we can see the new microSD card slot. This is officially capable of accepting up to 32 GB SDHC cards.
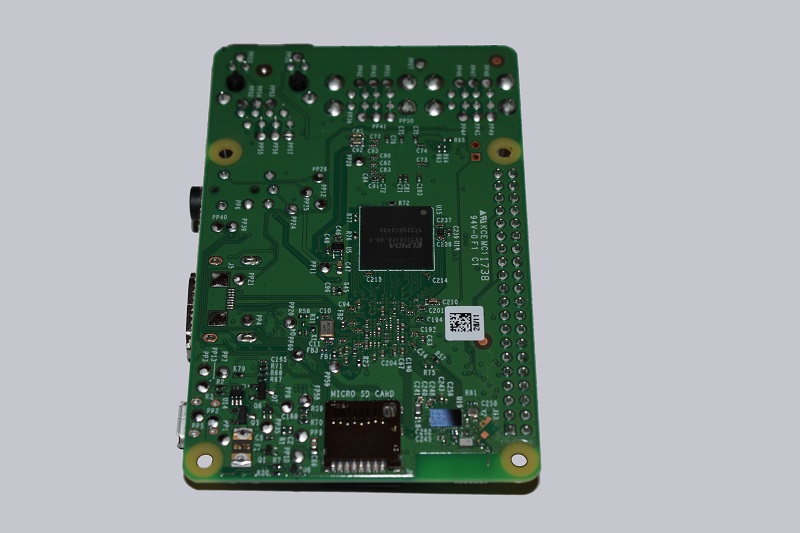
Unofficially, the support depends a little on the type of card used and can be up to 128 GB SDXC.
A look at the top of the Rapsberry Pi 3 reveals the status LED, as well as the two 15 pin connectors for a camera module and an expansion display.

This brings us to the end of our little hardware tour. In the following practical test we would like to install an operating system and see how the little Raspberry Pi 3 performs.
Raspberry Pi 3 Practical testing …