
Anycubic i3 Mega S wiring optimization
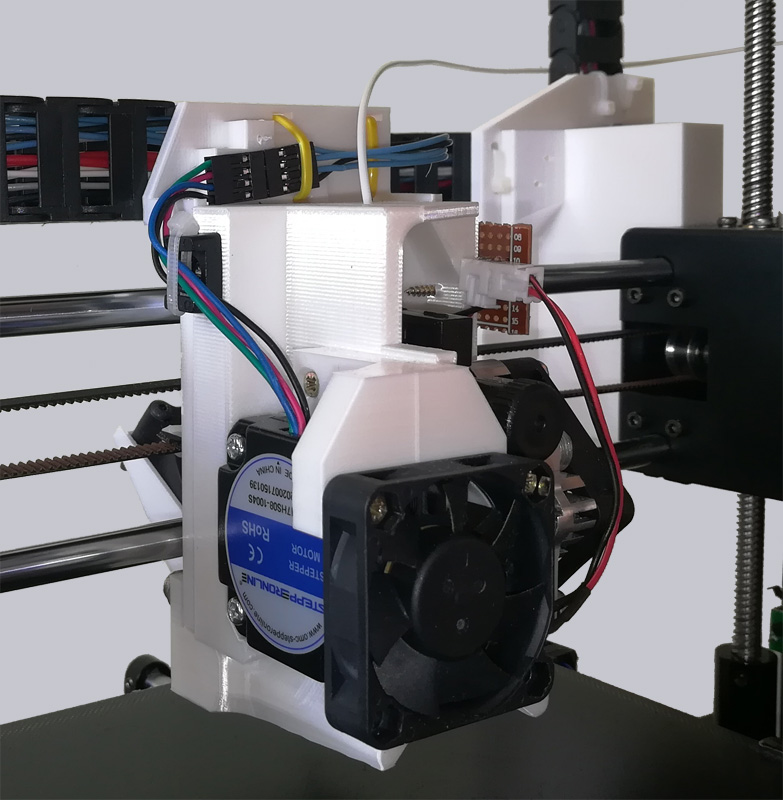
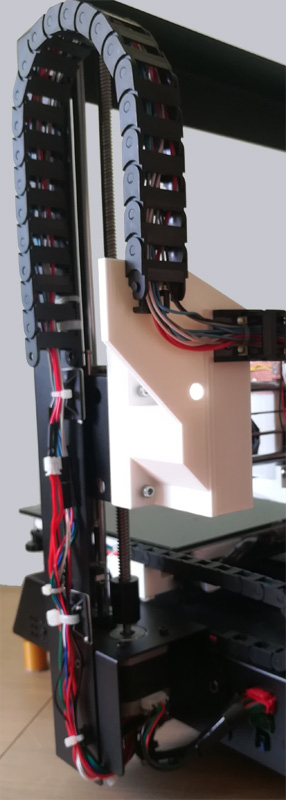
We installed drag chains on both the X-axis and the Z-axis to protect the moving cables as much as possible. The original cable routing was quite questionable.
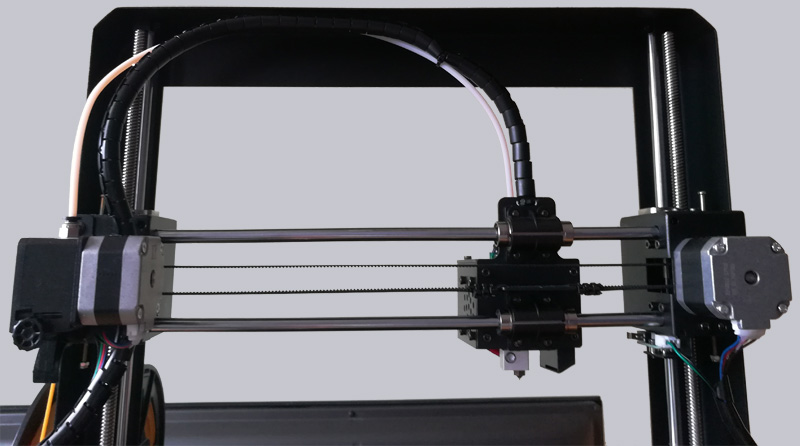
If in other custom designs, for example, the X limit switch has to be moved from the Z axis to the moving X carriage, then this is actually the exact opposite of optimization. That’s why the X limit switch remains where it was in our design.
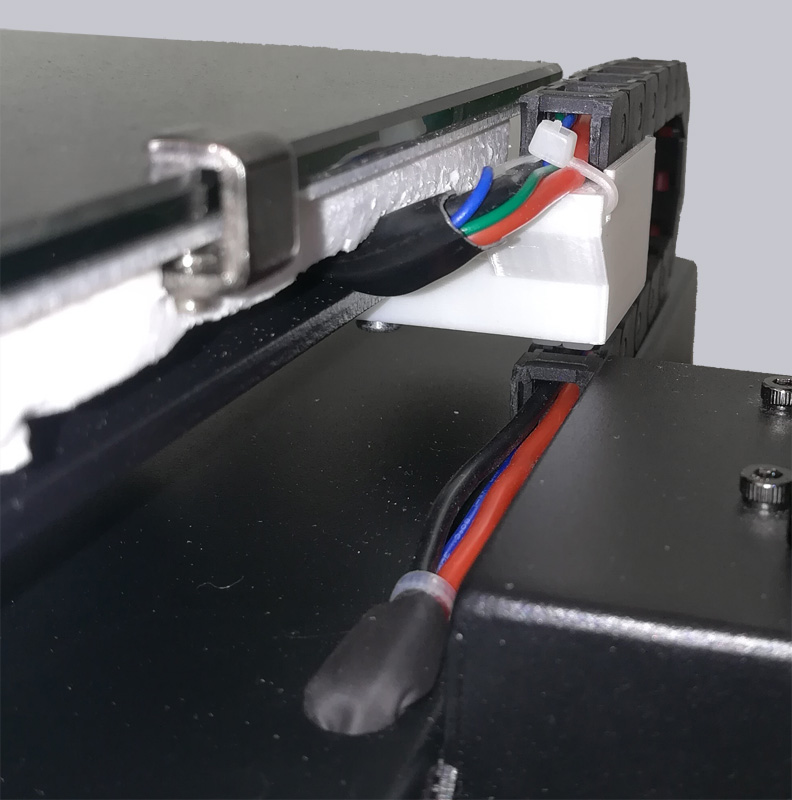
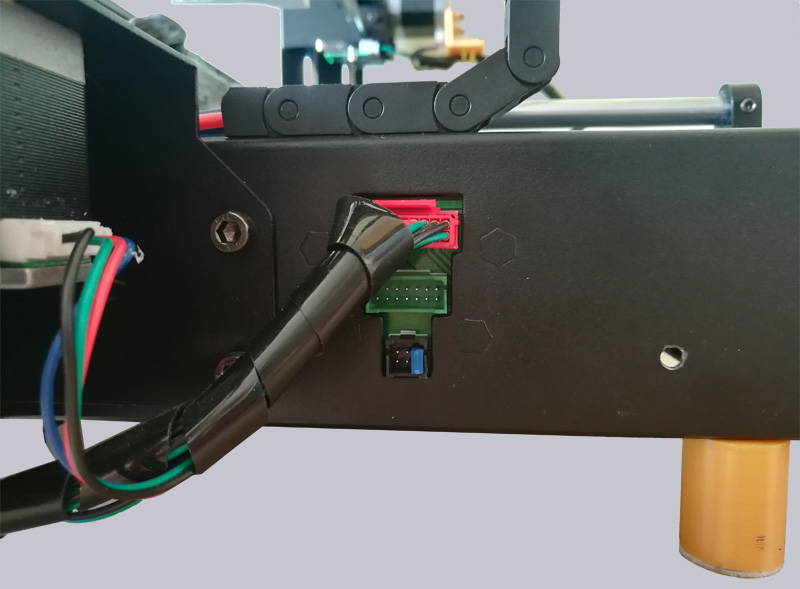
The cables are plugged in front of the Z-track and on the X-carriage so that a defective cable can be replaced relatively easily if the worst comes to the worst. Most of the time, a cable breaks due to mechanical wear, which now only happens in the drag chains.
In the original state, the guide tube of the filament and the electrical cables often got jammed in the upper cross profile of the frame.
Due to Daniel’s optimized design and the filament feed from the top, there are now no problems caused by pinched cables or hoses up to the upper Z limit switch.
A frequently occurring defect in original Mega S printers is a cable break at the heating bed. Anycubic could also significantly improve this detail. Many owners of this printer experience the first problems with the cables on the heating bed after just a few weeks.
The problem is the cables that bend strongly with every Y-movement. On the one hand, the solder joints on the heating bed are not properly strain-relieved, so that the solder joint is subject to mechanical alternating stress, and on the other hand, the cables buckle hard around the entry point into the printer housing with every movement. Premature cable breakage or breakage of the solder joints on the heating bed are preprogrammed. For this reason, we have also attached a stable holder for a drag chain to the Y-axis and moved the entry point into the housing further forward.
Now the Y-axis cables unroll perfectly and we additionally stabilized the solder joints on the heating bed with a little hot glue, although we also added an additional strain relief for the cables here.
We removed the filament sensor and bridged the line with a jumper in the connector socket. This way, it could be put back into operation immediately if desired.
We removed the original base plate and installed somewhat higher PLA feet with felt carpet pad instead of the rubber feet. At the installation site, there is a fan in the floor under the printer that blows cooling air onto the electronics.
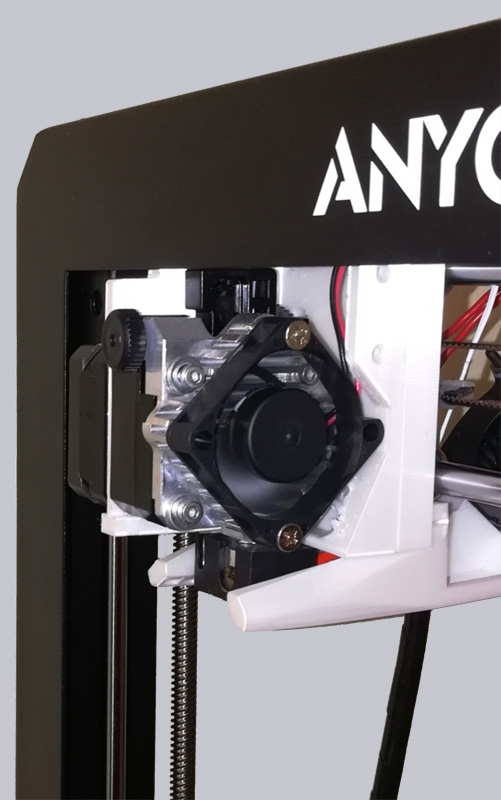
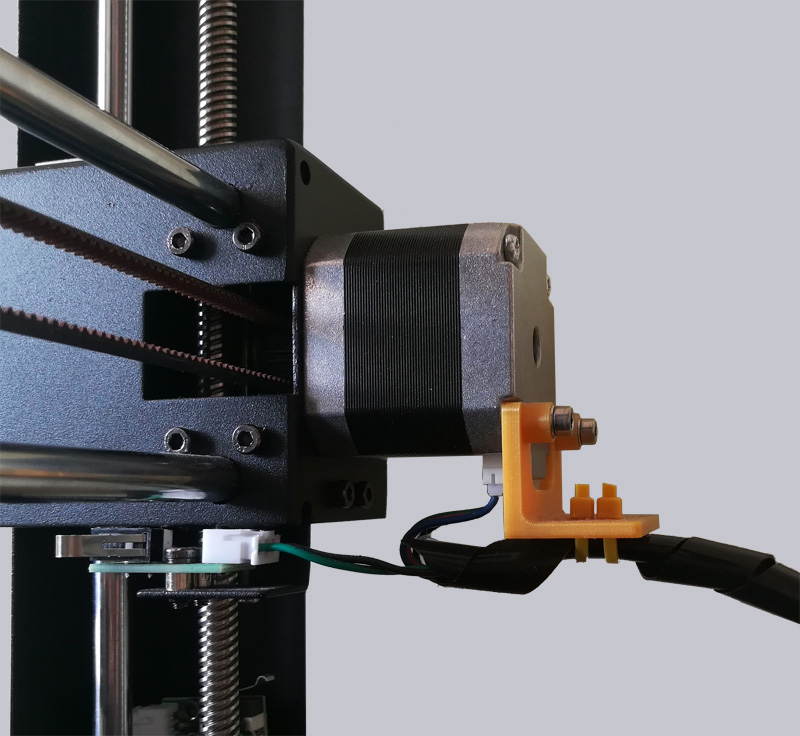
Viewed from the front on the left side, we then also added additional strain reliefs on the Z-axis to protect the connectors.
Continuing with the Anycubic i3 Mega S electronics improvement …