
This guide explains step by step, how to remove the RAM heatsink / heat spreader.
It is e.g. necessary to identify the chips used on the memory modules.
But of course, this guide is also useful to replace the passive memory cooler
for example with active air or water cooled RAM heatsinks.
How to take off RAM heat spreader RAM heat spreader removal guide
The introduction about RAM heatspreader …
This guide explains step by step, how to remove the RAM heatsink / heat spreader. It is e.g. necessary to identify the chips used on the memory modules. But of course, this guide is also useful to replace the passive memory cooler for example with active air or water cooled RAM heatsinks.
The heat spreader clips …
You have to work very carefully if you like to take off the heat spreader, because it is possible to destroy the memory modules and of course there is no more warranty if you remove the heatspreader !
Most memory modules (DDR3, DDR2, DDR, etc.) have pre-assembled heatspreaders with a small clip which is holding the heatspreader halves together.
If you like to take off the heatspreader, you must first remove this small clip with a needle-nosed pliers and take off the metal heatspreader halves together with the adhesive thermal tape. Depending on the heatspreader type, the first choice could be a screwdriver instead of pliers, but take care that you don’t slip.
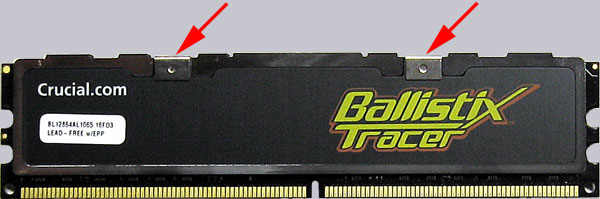
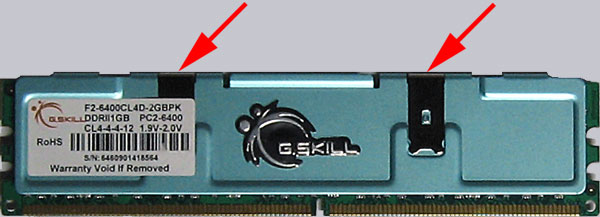
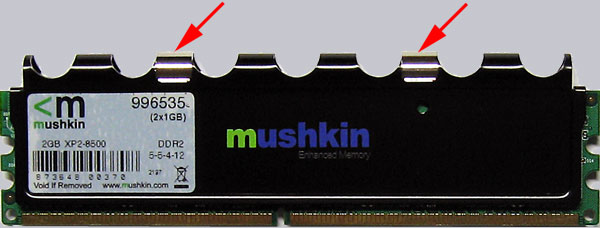
On the next pictures you see some examples of mounting clips from Crucial, G.Skill and Mushkin memory modules. The red arrows indicates the clips which you have to remove.
First, a picture of a Crucial Ballistix Tracer PC2-8500 module:
Here’s a picture of a G.Skill F2-6400 module:
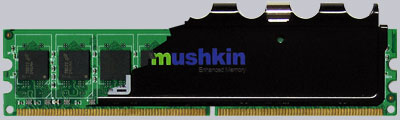
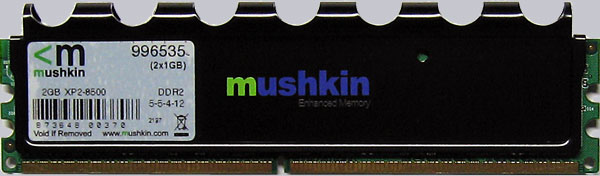
And here’s a picture of a Mushkin XP2-8500 module (btw. with Micron D9GMH ICs):
This is how the module looks like without the metal clip:
RAM cooler disassembly …
Now it’s possible to detach both heatspreader halves evenly. It’s possible that the thermal pad is double-sided adhesive, so it may be that the thermal tape is not only adhesive to the heat spreader but also to the memory chips. In this case it’s necessary to pry the heatspreader halves off gently. But do not force, because in worst case the manufacturer used thermal adhesive glue which prevents the disassembly.
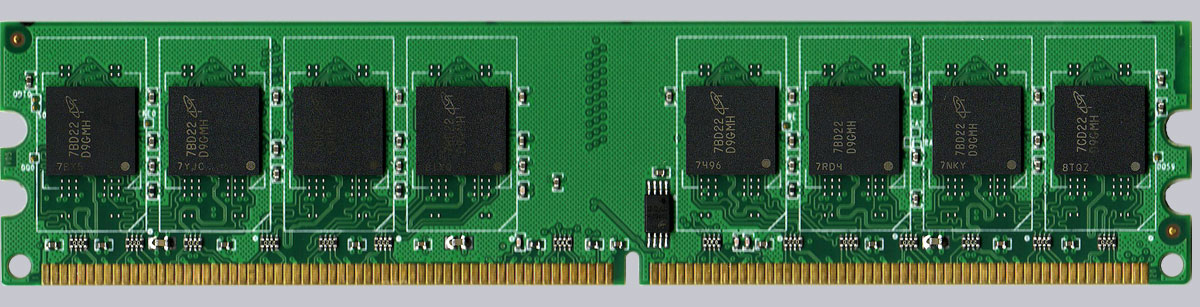
That’s it – the heatsink is detached and we see the memory module PCB:
Mount memory heatsink and reassemble the memory module …
If you like to reassemble the (old or) new heatspreader, just mount in reverse order of disassembly. But take care about correct positions and make sure that there’s a contact between all chips and heatsink.