
Infrarot Repeater DIY Guide – self-made IR-Repeater Remote control HiFi equipment with the remote control through wall and cupboard
The initial operation of the IR remote control extender
Now we finally come to the best point of all the hard work …
Connect the battery …
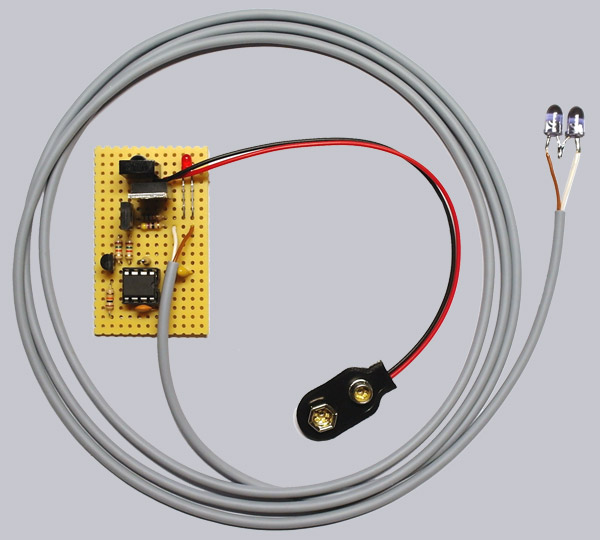
If you soldered everything right and checked several times, you can now finally connect the 9V battery to the IR repeater to perform the first test run. Please make absolutely sure that neither the bottom of the board nor the pins of the IR transmitting LEDs come in contact with metal objects. So do not put the board without insulation into a metal housing.
IR Repeater / IR extender usage …
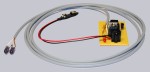
Well just take a remote or a universal remote control, point in the direction of the TSOP 31238 infrared receiver and press any key example “Power on”. The red low current LED should light and the two infrared LEDs should also send signals.
Infrared Tips and IR-Repeater FAQ …
Here are a few little tips about infrared signals and a FAQ or help regarding the IR repeater:
– Infrared signals can not be seen with the eye, but they are visible if you use a digital camera or a smartphone camera. You will quickly see if the remote is defective, the battery is empty or if the IR repeater sends signals.
– If the red LED on the IR extension flickers continuously maybe a high frequency light is disturbing the proper function of the infrared receiver. The light might come from neon or fluorescent tubes or the backlight of LCD TVs with CCFL backlight. The IR repeater is receiving those infrared signals and show this with the red LED. Try to put the IR repeater in a darker place and not too close to the LCD TV. Such sources of interference should be avoided even without IR repeater.
– If a remote control does not work properly with the IR repeater, you could possibly vary the R4 resistor a little bit in order to change the NE555 modulation frequency. It can also be build variable for fancy infrared codes by replacing R4 for example, with a 1K resistor in series with a rotary potentiometer 10K. But first you should check that everything is soldered properly and other remote controls are working. Furthermore, you should clarify the coding and modulation frequency which is used by the remote control. The TSOP31238 is designed for 38 kHz and works withs RC5 coded signals.
– If the 9 volt battery is empty, you should remove the battery from the battery clip carefully and do not hold the battery clip on cable, so that the cables do not break off the clip or the board.
– To stabilize the cable you can attach a cable tie inside the housing before leading it outside the box.
– Accomodate the IR repeater carefully for best protection in a small housing with a separate battery compartment (IR repeater box is available in the Fanshop) and isolate the transmitting led’s e.g. with heat shrink tubing or some tape.
– If you have no soldering skill, you should first practice on an old board to make good solder points. If you’re still not able to build an IR-Repeater on your own, just take a look at our forum and create a new topic under electronics. We have many helpful members in our forum.
– If you need slightly larger board, a slightly longer cable or a small piece of heat shrink tubing to insulate the transmission LED, please enter your wish into the message field when ordering in the fan shop. Perhaps the desire may even be completely non-bureaucratic met;-)
We look forward to your support. If you want to support us, you can purchase a variety of merchandise products and the parts for the kit as well from us in our fan shop. Thank you, says OCinside.de !