

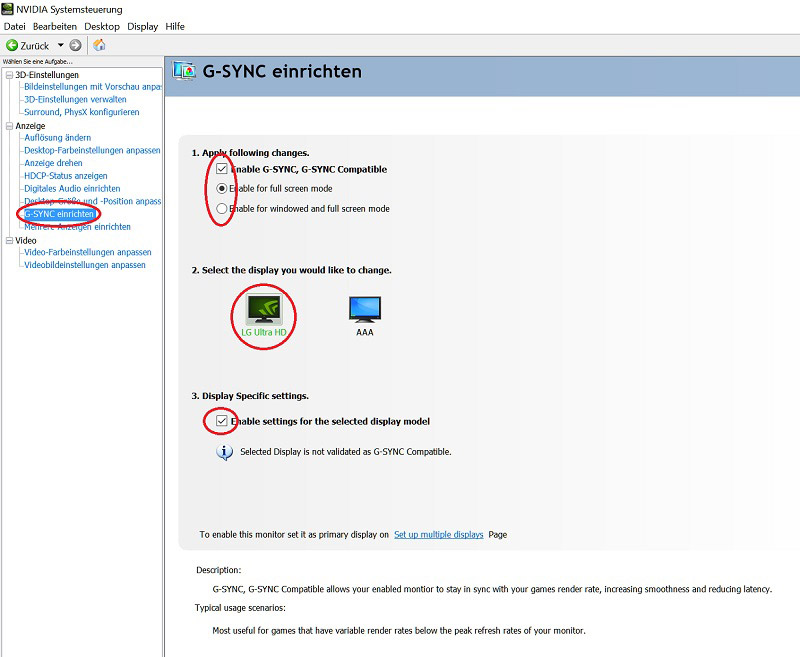
Enable nVidia G-Sync …
If not already done, the monitor should now be connected to the graphics card with a DisplayPort cable. For those who still need one, we have here a high quality but still very favorable DisplayPort cable recommendation. *Ad
Then you should make sure that if necessary FreeSync must be activated in the menu of the monitor. For the reviewed LG 27UD58P-B we find this under “Picture -> Game Adjust -> FreeSync”.
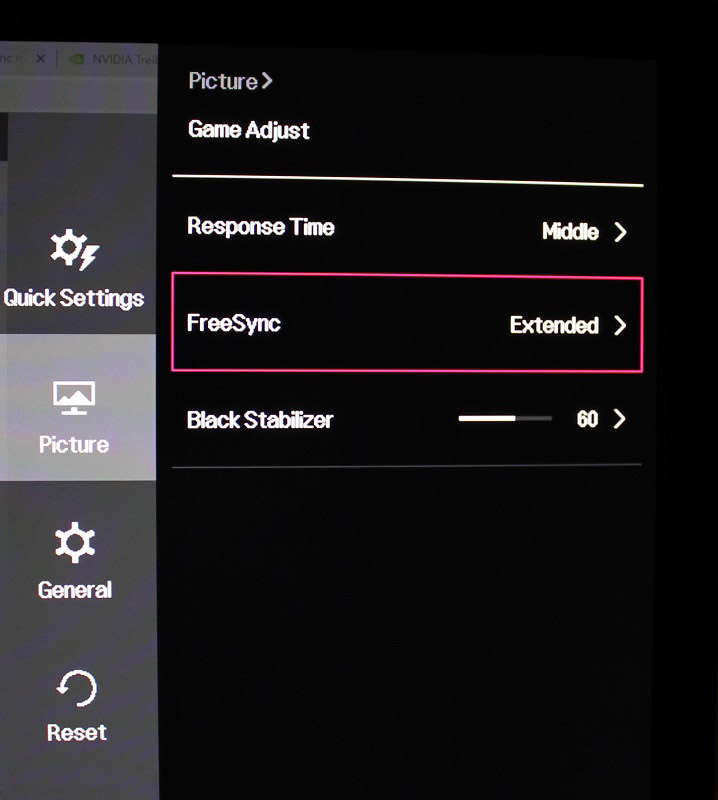
Many monitors offer several levels within this menu item for the FreeSync feature, in our case “Basic” and “Extended”, which sets the used range of the refresh rate. Since our monitor is a display with a maximum range of 40-60 Hz, “Extended” provides just that. On “Basic” only a range of 48-60 Hz would be available. Which FreeSync areas your own monitor supports should first be researched in the manual or on the product page of the manufacturer.

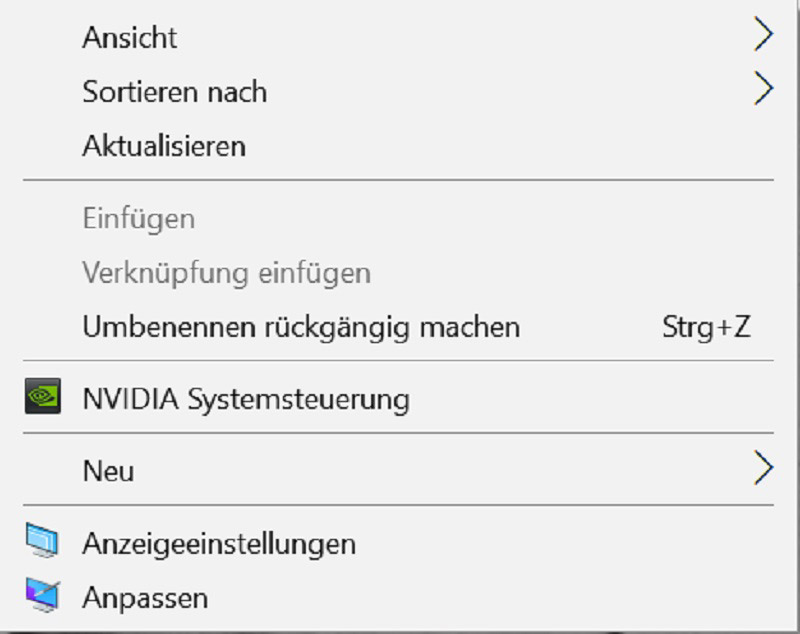
Now the nVidia graphics card driver can be installed. After the driver installation you should definitely restart Windows. Subsequently, we reaches e.g. with a right click on the desktop the nVidia Control Panel.
Under “Set up G-SYNC” we find all relevant options. We choose “Enable G-SYNC, G-SYNC Compatible” and first only the full-screen mode, under point 2 our LG monitor and at point 3 “Enable settings for the selected display model”. The !-Speech bubble informs us that our monitor has not currently been validated as G-SYNC compliant, so we will then test for ourselves whether G-Sync works correctly.
It is recommended to restart the PC at this point again.
nVidia G-Sync with FreeSync monitor practical testing …