
Installation …
The installation is a little more extensive, because Cooler Master provides its own backplate instead of using the standard AM4 backplate. Therefore, we first attach threaded bolts by means of plastic clips to the socket of the backplate …
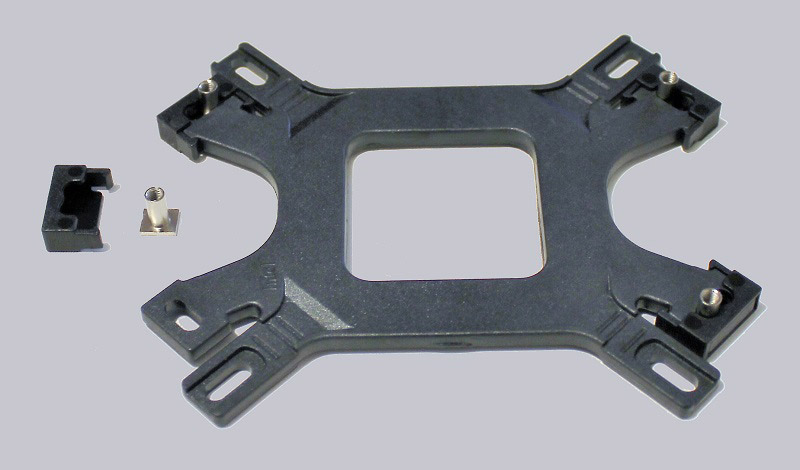
… and then screw them to the motherboard.

For the cooler, there are brackets that are screwed in advance.
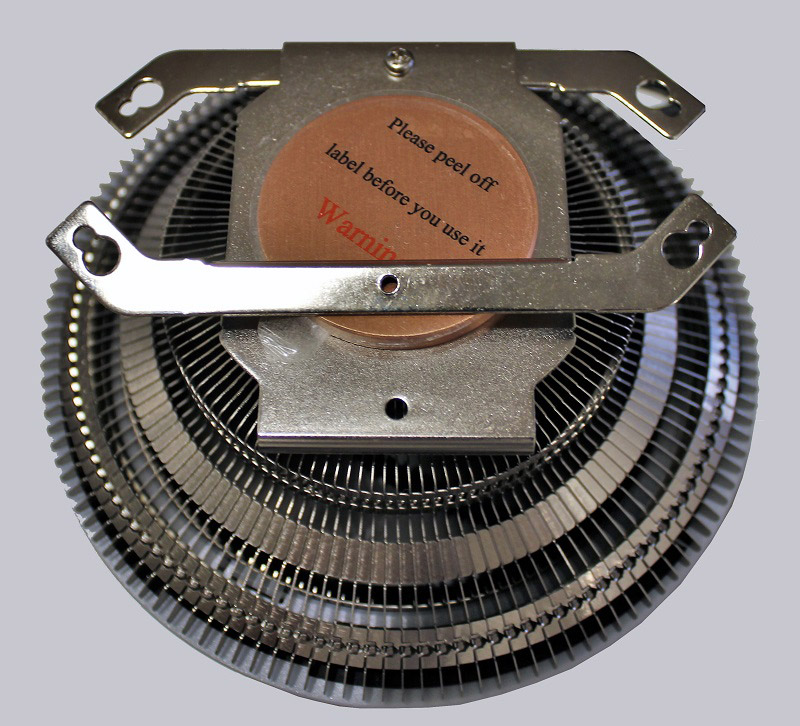
Then the cooler can be mounted. For this, nuts and a small wrench are included.

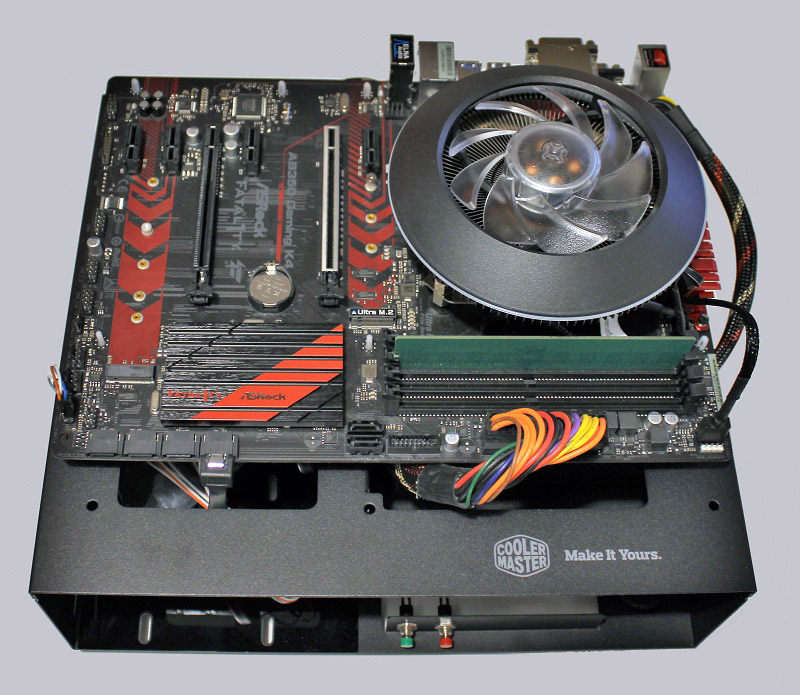
Overall, many individual steps and small parts are needed. In addition screwing by wrench is sometimes difficult, for e.g. if voltage converter coolers are in the way. Ultimately, however, the G100M sits securely on our AM4 test platform.
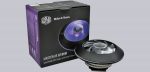
Cooler Master MasterAir G100M test setup and results …