
Layout, design and features …
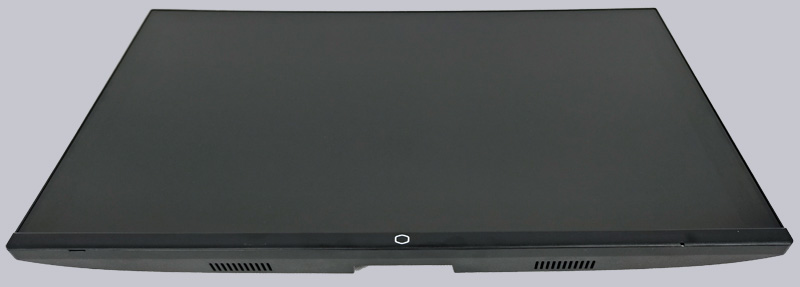
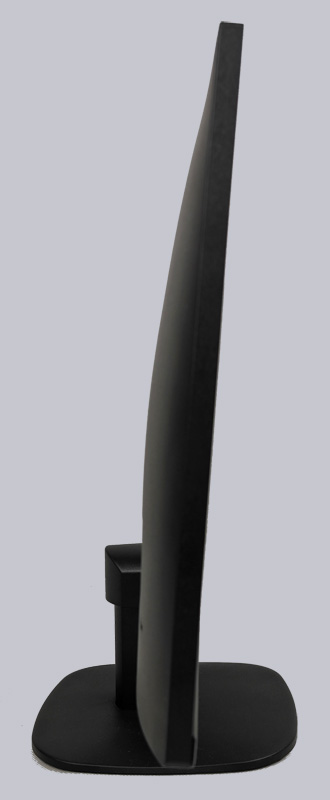
The Cooler Master GA241 is completely black.

The monitor is equipped with a matt VA panel.
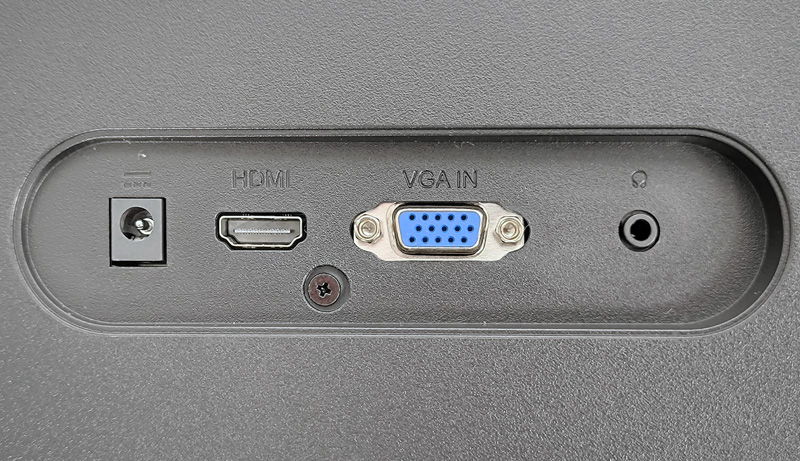
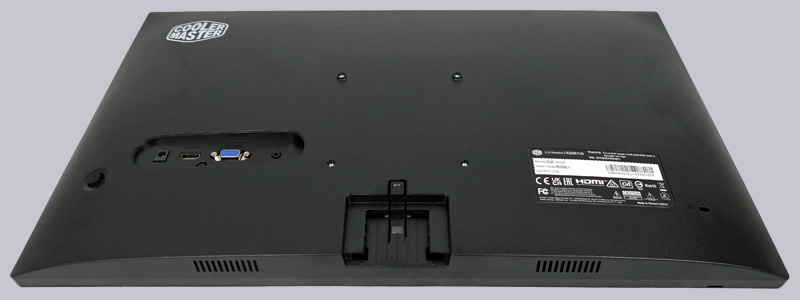
The few connections can be seen on the back.

The close-up shows, from left to right, the socket for the external power supply, the HDMI 1.4 connection, a D-Sub VGA connection and a headphone socket.
As is generally the case with monitors, this one is also supplied with the stand removed.
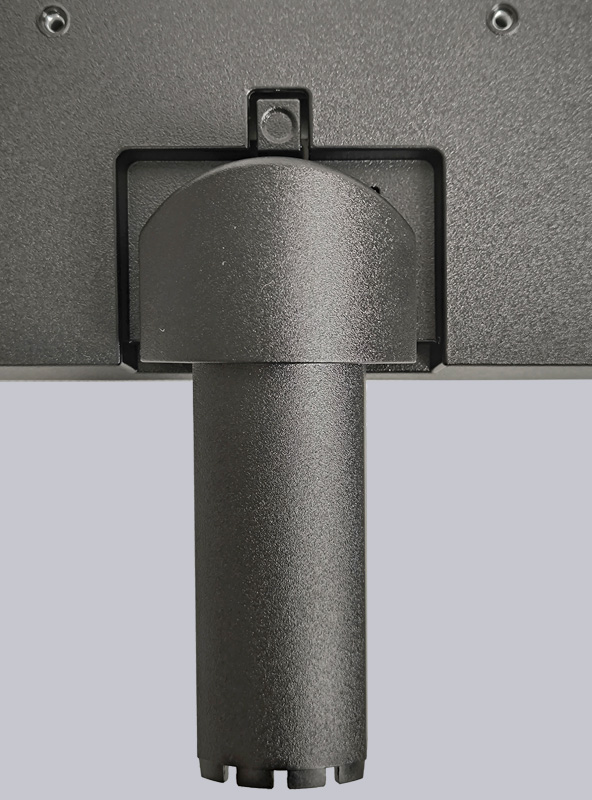
However, the monitor is very easy to assemble by first simply sliding the stand into the mount.
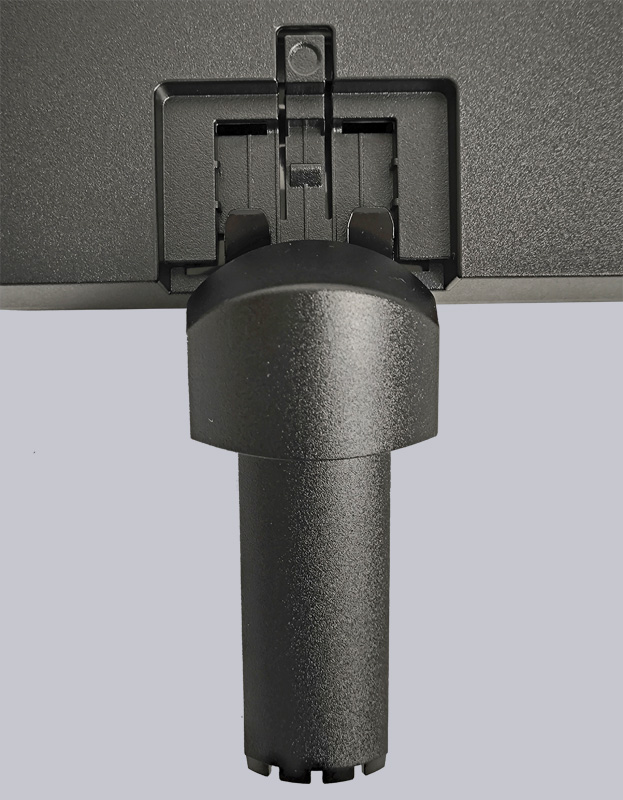
Until the stand is fully engaged.
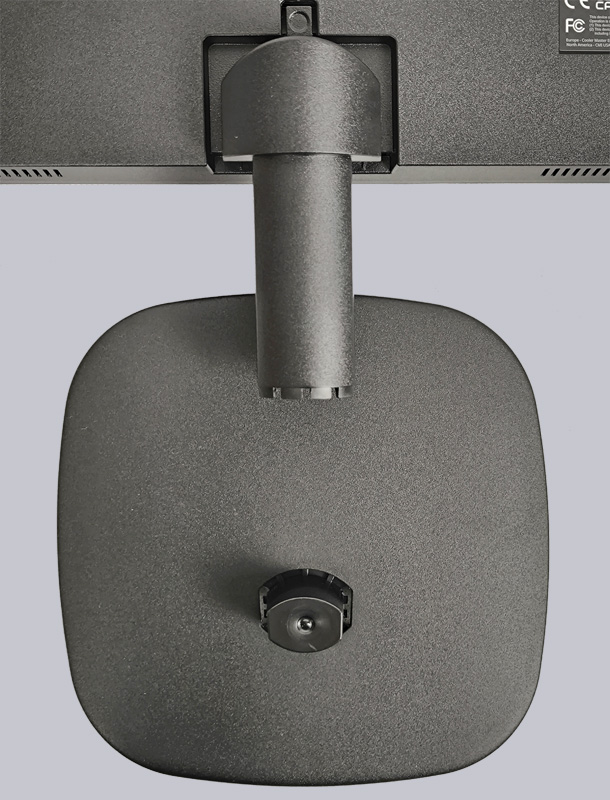
Now attach the monitor to the base.
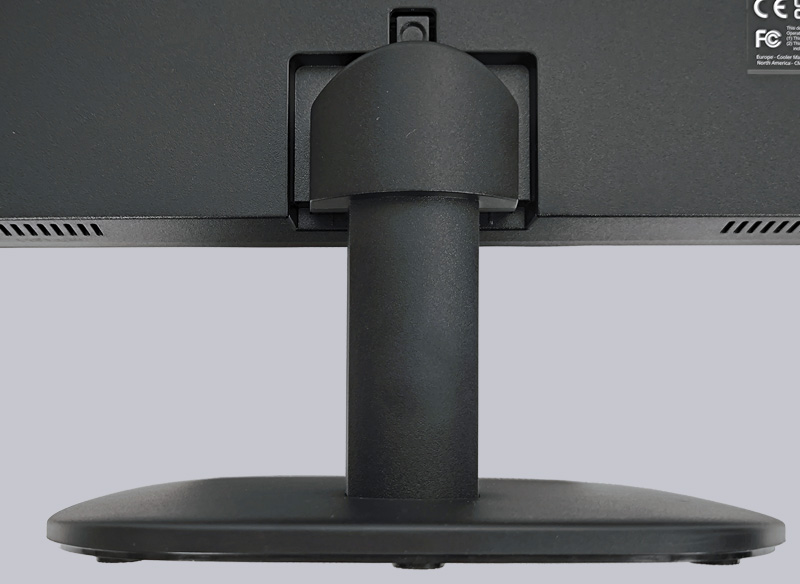
And the monitor is ready!
However, the monitor does not offer many adjustment options. Only the tilt can be adjusted. Tilt forwards.
Tilt to the rear.
Unfortunately, there is no height adjustment. However, the monitor offers a 100mm VESA mount so that the monitor can be attached to a monitor arm, such as the Arctic Z2-3D Gen3.
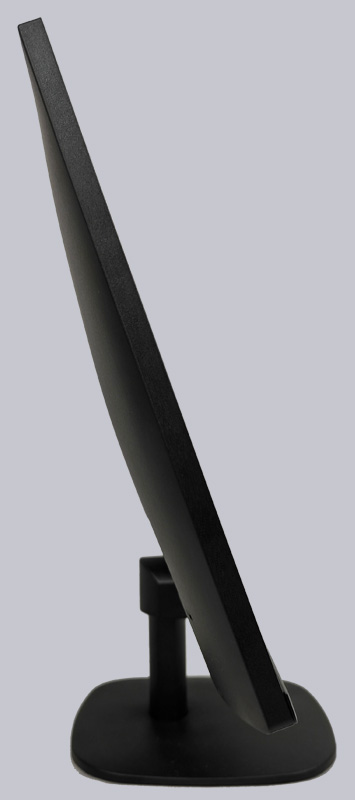
The Cooler Master GA241 is well made overall and does not creak when adjusting the tilt.
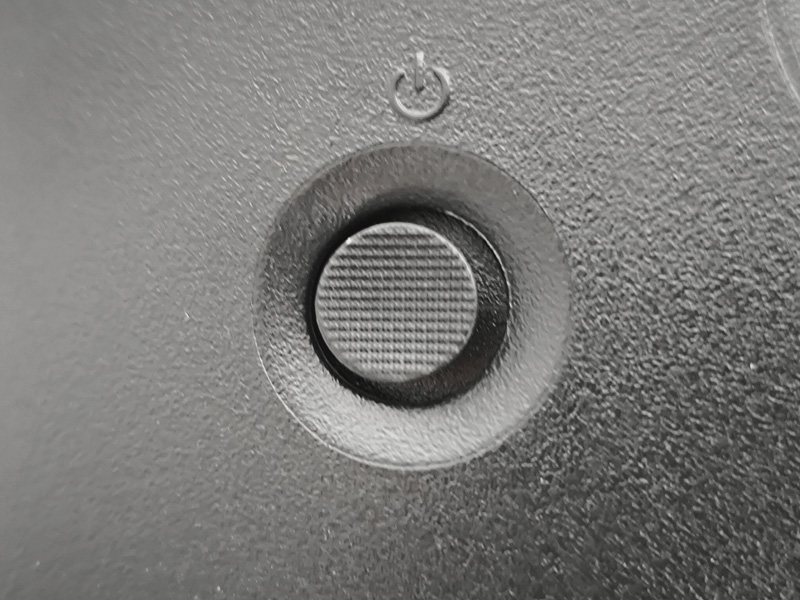
Cooler Master uses a joystick to navigate through the settings. This sits quite close to the edge, is easy to reach and is easy to operate. The pressure points are also very tactile and leave a good impression, and you can even hear and feel a click when the button is pressed.
Cooler Master GA241 OSD menu …
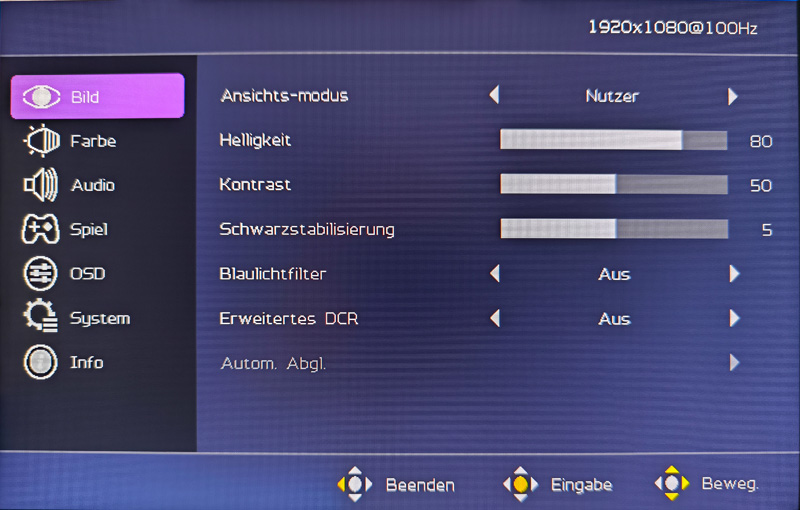
The OSD menu is immediately available by briefly pressing the joystick. The menu is intuitive to use. To select an item, simply move the joystick up/down or left/right. To activate the selected item, simply press the joystick.
The first available menu item is the picture settings. Predefined settings are available here and you can also specify your own user settings. Brightness, contrast, black stabilization, blue light filter, extended DCR and automatic adjustment can be set here.
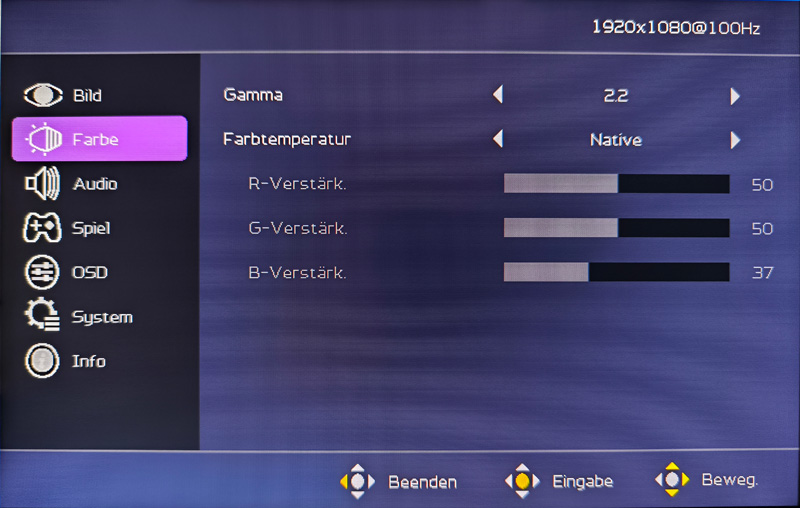
A quick tap downwards and you are in the color menu, where you will find the gamma setting, the color temperature and the RGB values.
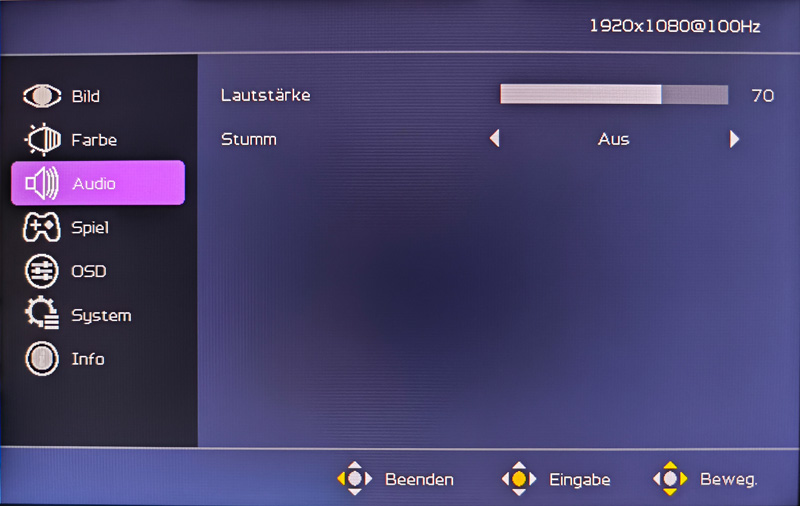
The next item takes us to the audio settings. Here you can select the volume or mute the audio output.
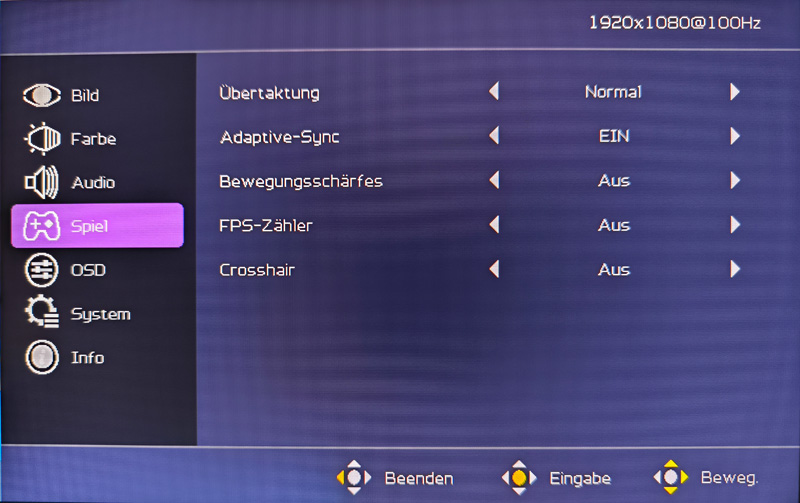
The settings for gaming follow. Here you can order the monitor to be overclocked and activate Adaptive Sync, as well as motion sharpness, an FPS counter and a crosshair is also available here.
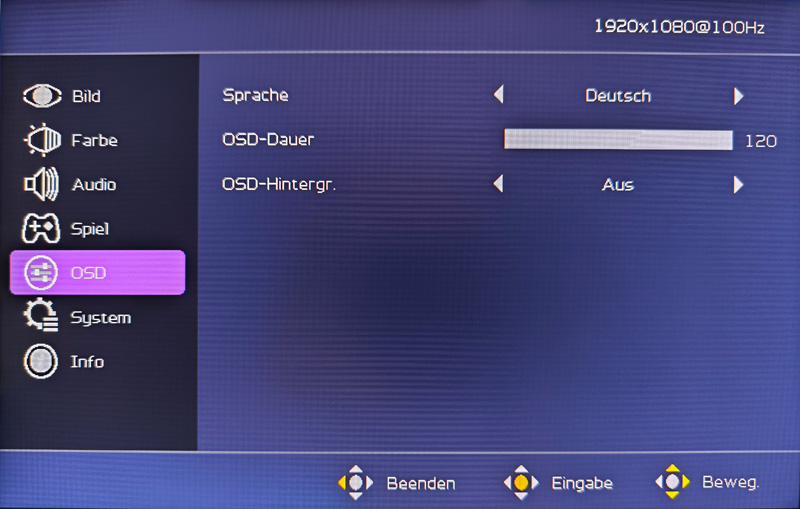
Under OSD, we set the languages, the display duration and the transparency of the OSD.
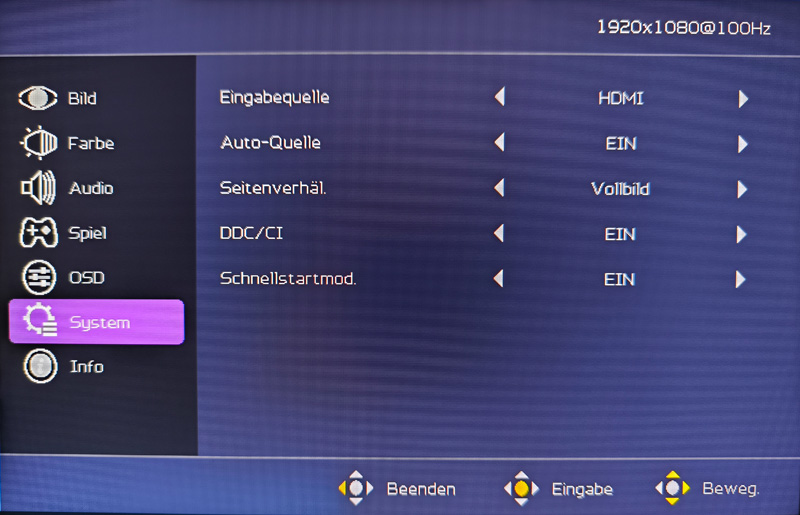
Under System we can select the input source, let the monitor select it automatically, select the aspect ratio, switch the DDC/CI communication interface on or off and activate the quick start mode.
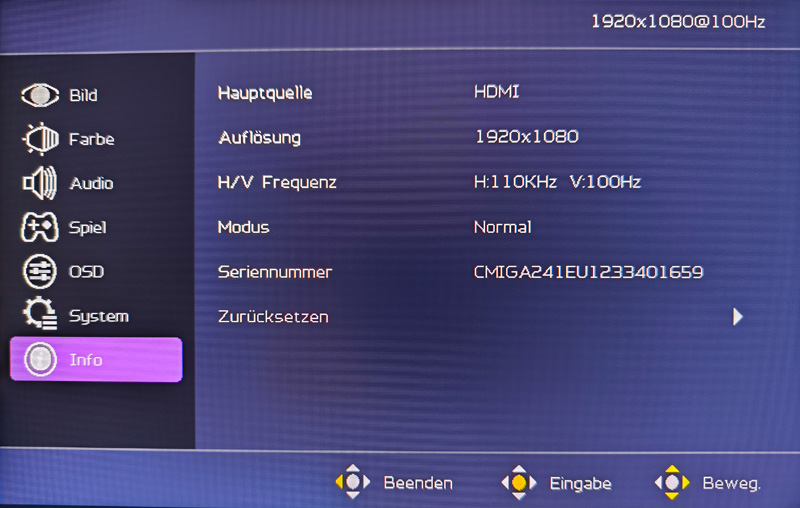
Last but not least, the info field contains the monitor data including the serial number and the button for resetting the monitor settings.
Disable Cooler Master logo …
After pressing the joystick, which is also the power button, you will see the Cooler Master logo for approx. 2 seconds.
The logo can be easily deactivated in the menu by activating the quick start mode under System. The monitor is now virtually available. The automatic input detection also works perfectly and so quickly that you almost don’t even notice it.
After all the theory and technical data, let’s move on to the practical testing.
Cooler Master GA241 Monitor Practical testing …