
Layout, design and features …
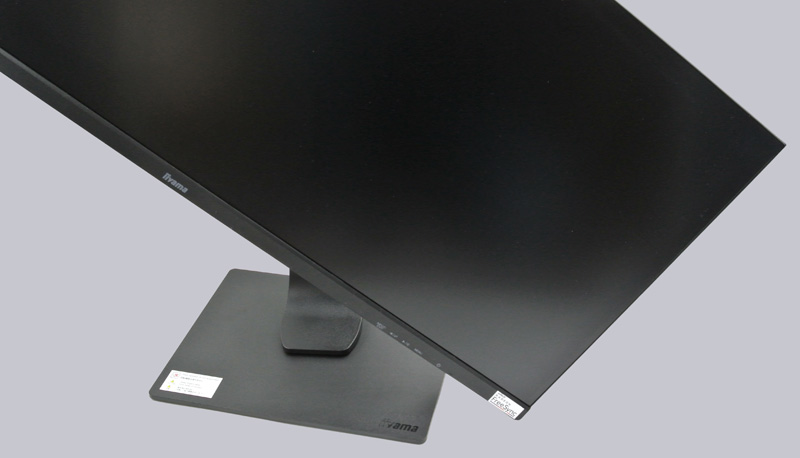
As usual nowadays, the GB3461WQSU offers, in addition to the classic mounting via the included stand, the possibility to operate it via VESA mount on the wall or an alternative table mount. But first we mount the stand. To do this, we carefully place the monitor on its underside so that we can attach the stand to the pre-assembled stand.
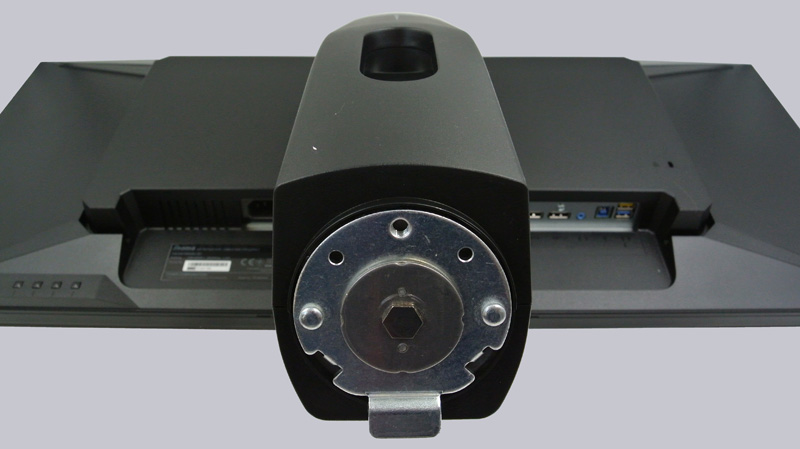
Next, we hang the mounting foot into the bracket and tighten the mounting screw.
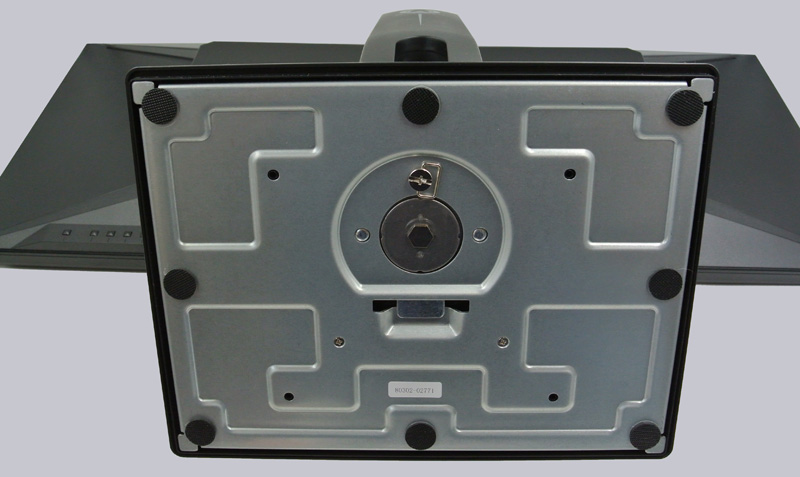
That’s it. When mounted, the monitor should look like this.
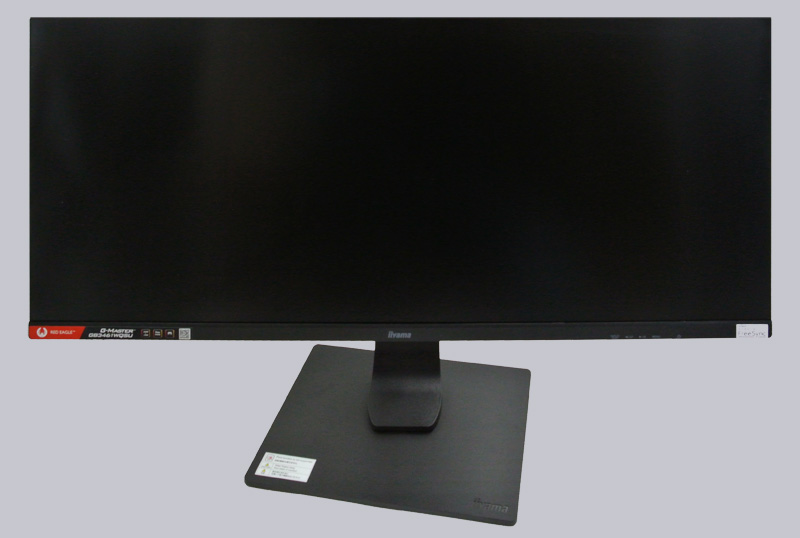
Here we can also see why the monitor with the supplied bracket has no pivot function. It is simply too wide. So if you want to use the 34 inch iiyama vertically, you need another mount. Regardless of this, the monitor is pleasantly easy to adjust in height and tilt, but with the necessary amount of resistance. Here iiyama has done a great job, because with its size, it is not a matter of course that this can be done easily by hand.
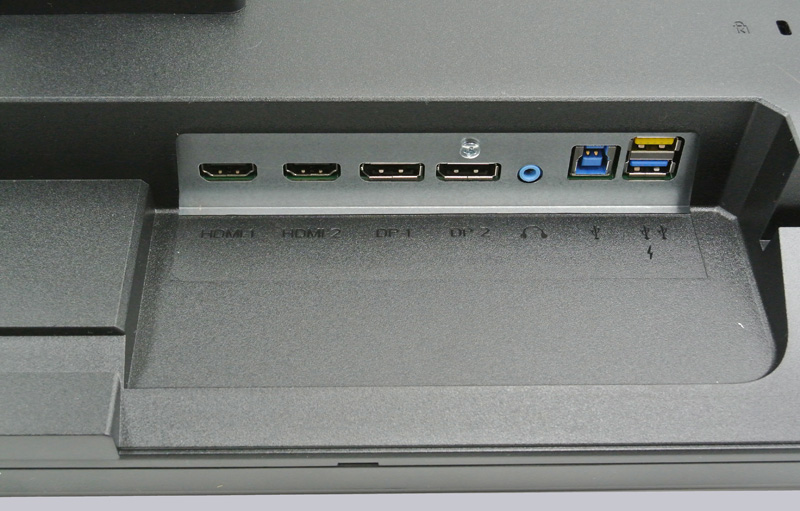
Now let’s have a look at the monitor’s interfaces. Starting on the left side we find two HDMI connections, followed by 2 Displayport inputs. Then follow the headphone output and the USB connection. On the USB side of the computer the monitor is connected via the left USB-B interface. The two right USB-A ports can then be used to connect USB devices. The yellow marked port is practical here, since there is continuous current. So you can charge your cell phone even when the computer is switched off.
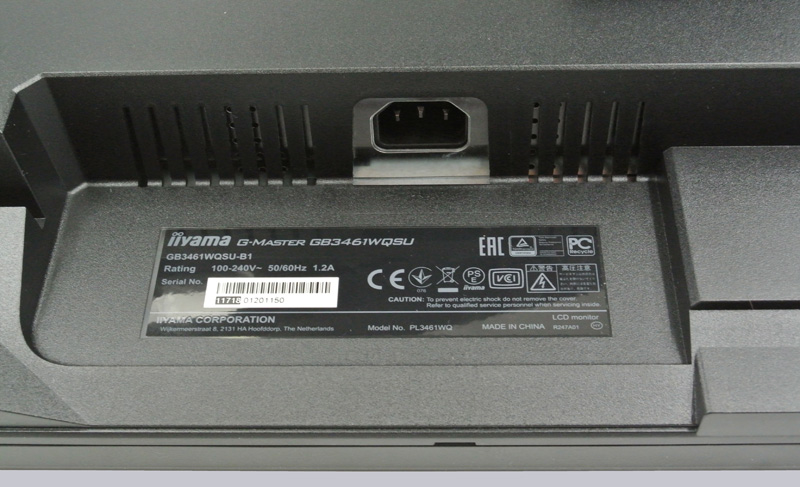
On the other side is the power connector. iiyama uses a built-in power supply for the GB3461WQSU, therefore a classic cold plug is used.Auf der anderen Seite befindet sich der Stromanschluss. iiyama setzt bei dem GB3461WQSU auf ein eingebautes Netzteil, daher kommt ein klassischer Kaltgerätestecker zum Einsatz.
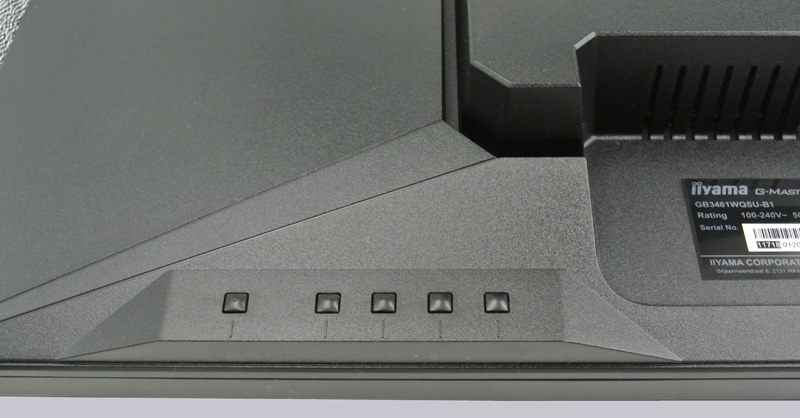
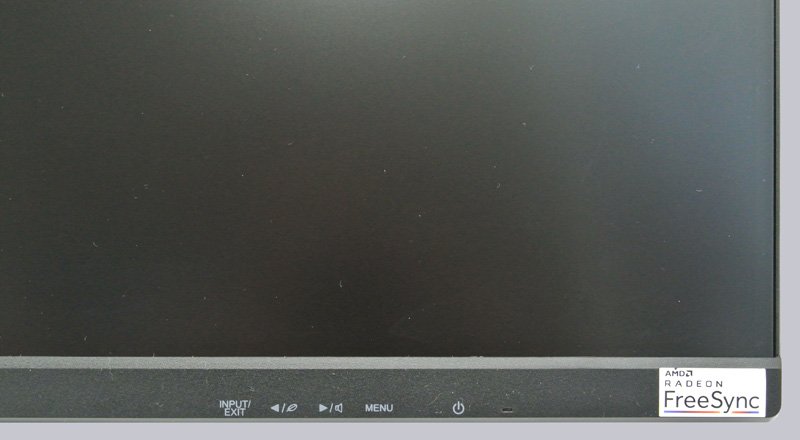
Somewhat hidden, in the lower left corner next to the power connector are also the buttons for configuring the monitor. The labeling is on the other side.
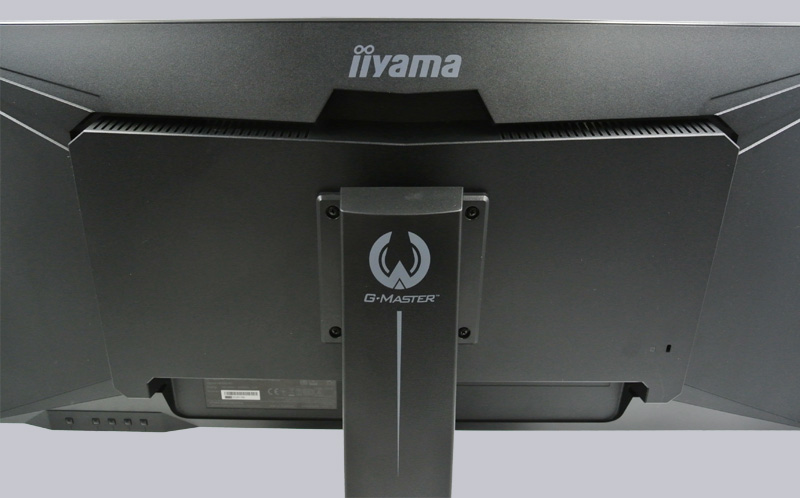
But before we take a look at them, let’s have a look at the backside. Next to a grey G-Master logo we find the iiyama logo. No optical gimmicks like LED lighting were used here.
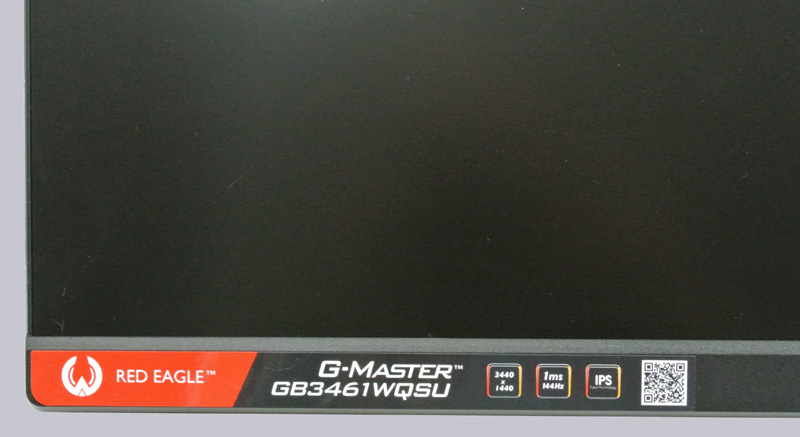
In contrast to the cardboard box, we find a few key data on the front of the monitor below. Besides the resolution, response time and panel type, there is also a 3D barcode that refers to the product page.
On the right side we can see the just mentioned key labeling and an AMD Radeon FreeSync logo.
That’s more or less it, so it’s time to turn on the GB3461WQSU.
iiyama Red Eagle G-Master GB3461WQSU Monitor Practical testing …