
Software …
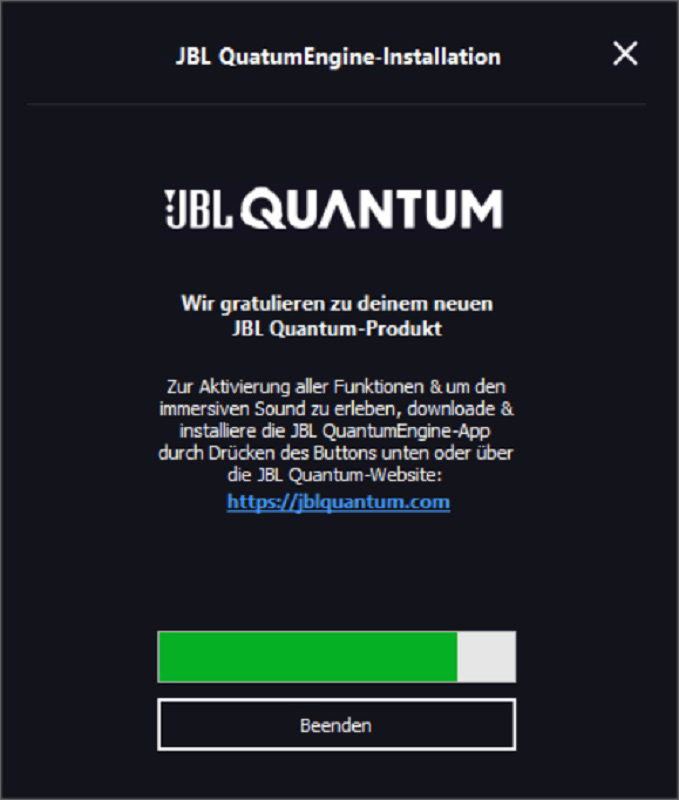
If you plug in the microphone, the installation of the JBL QuantumEngine software is offered after a short waiting time …
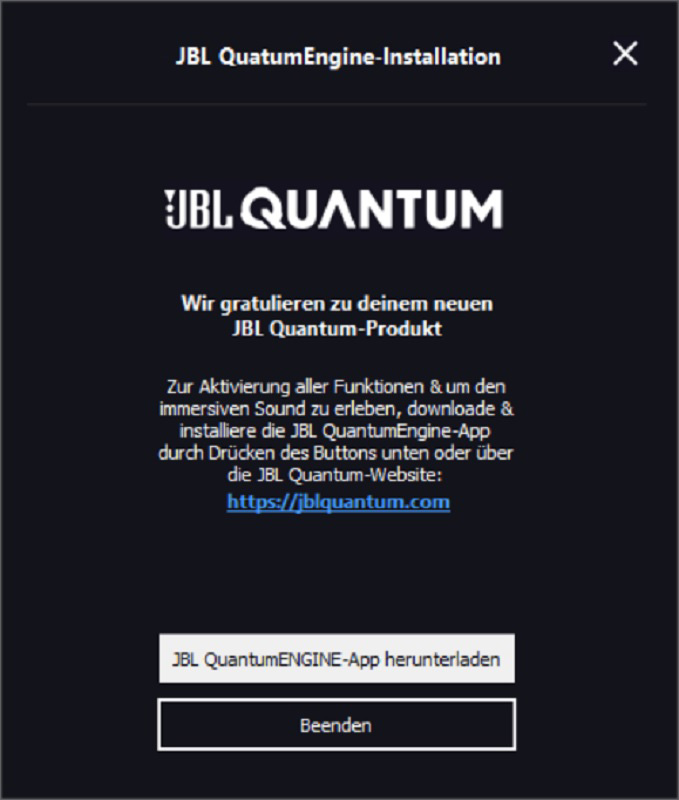
… which we also install immediately.
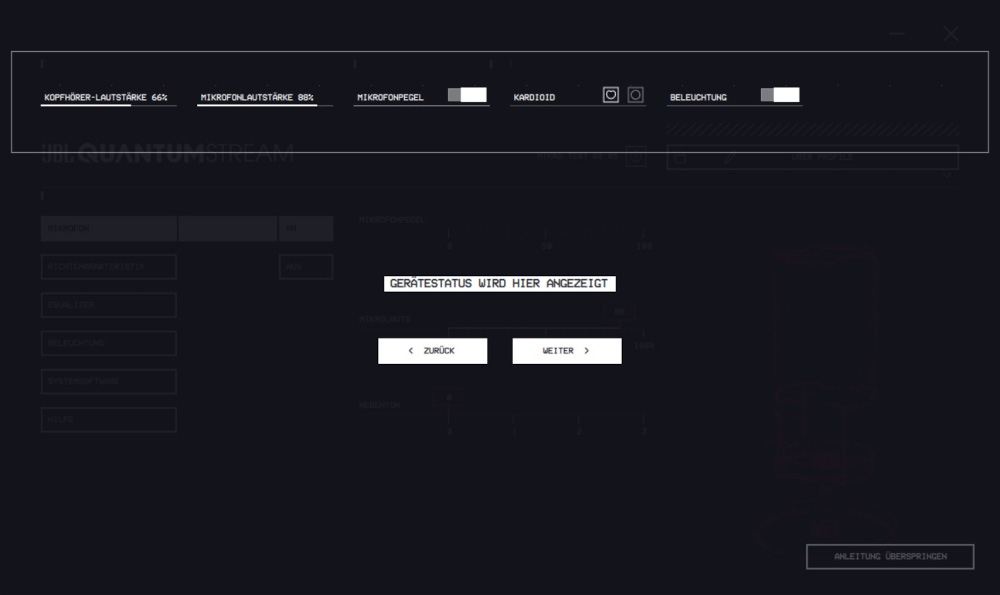
The JBL Quantum Engine software then greets us with a tutorial …
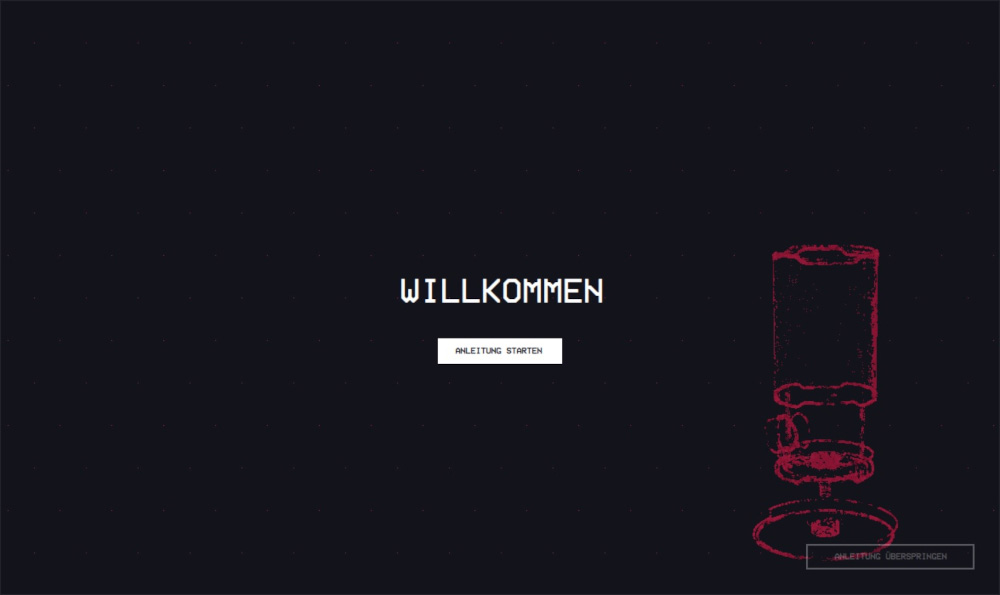
… which explains the individual buttons to us. Quite practical.
Next we look at the software version and lo and behold, there is directly a firmware update for the Microphone …
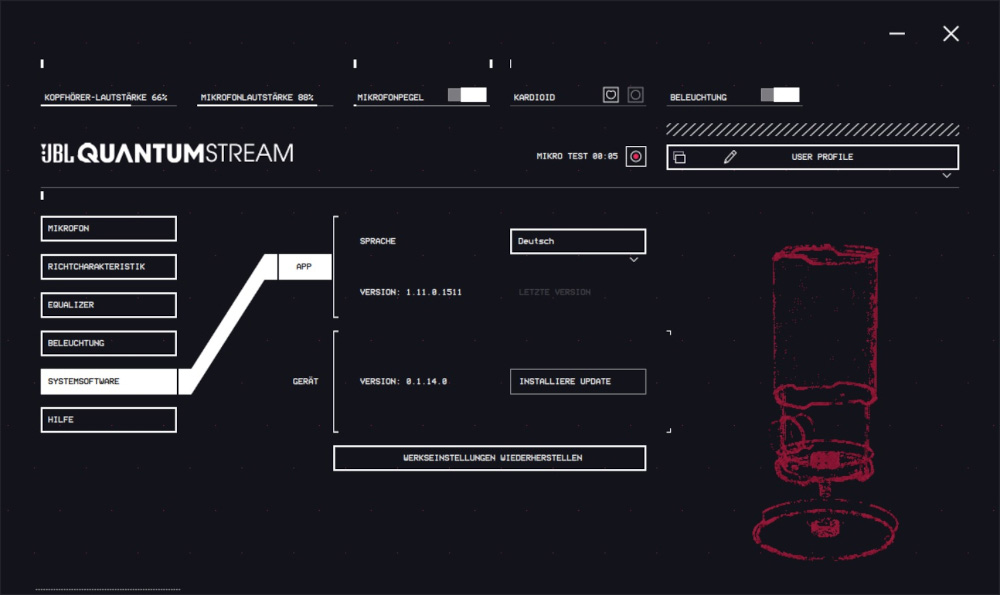
… which we of course also install immediately.

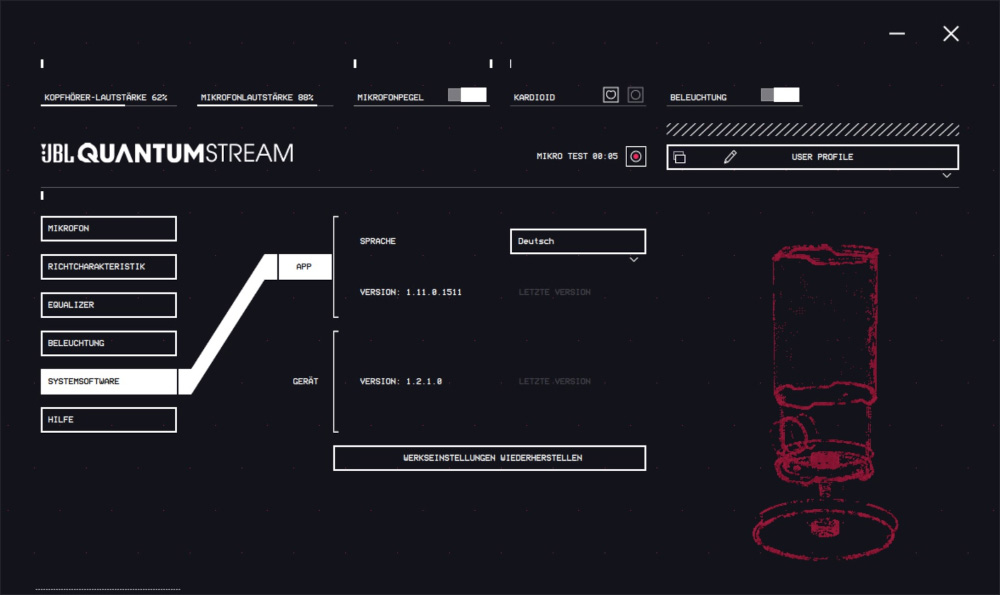
Now we are at software version 1.11.0.1511 or firmware version 1.2.1.0 and can start the test 🙂
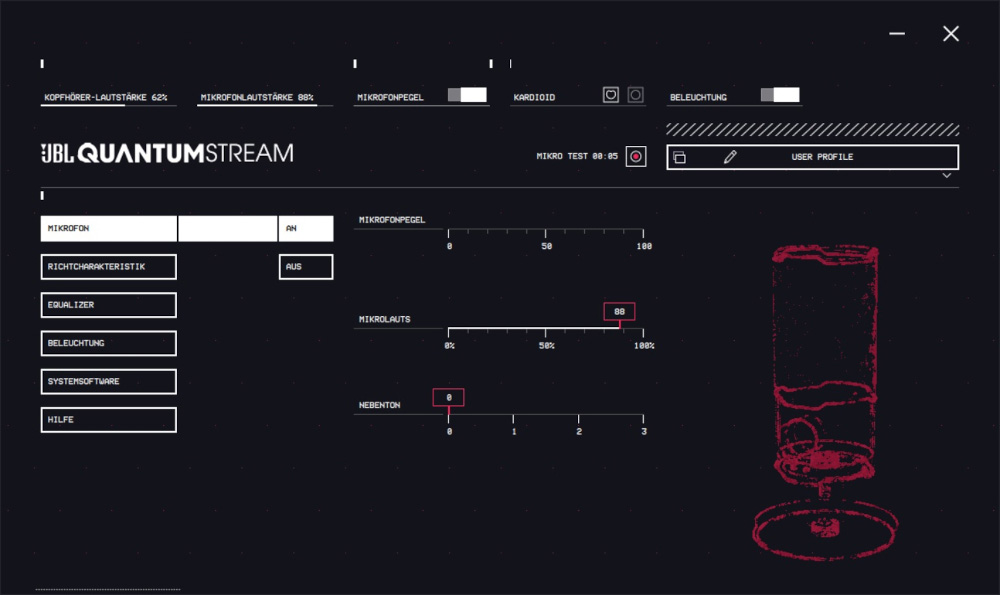
In the “Microphone” tab we can set the recording parameters of the microphone. The “Subtone” option allows us to hear our own voice if we have headphones connected directly to the microphone.
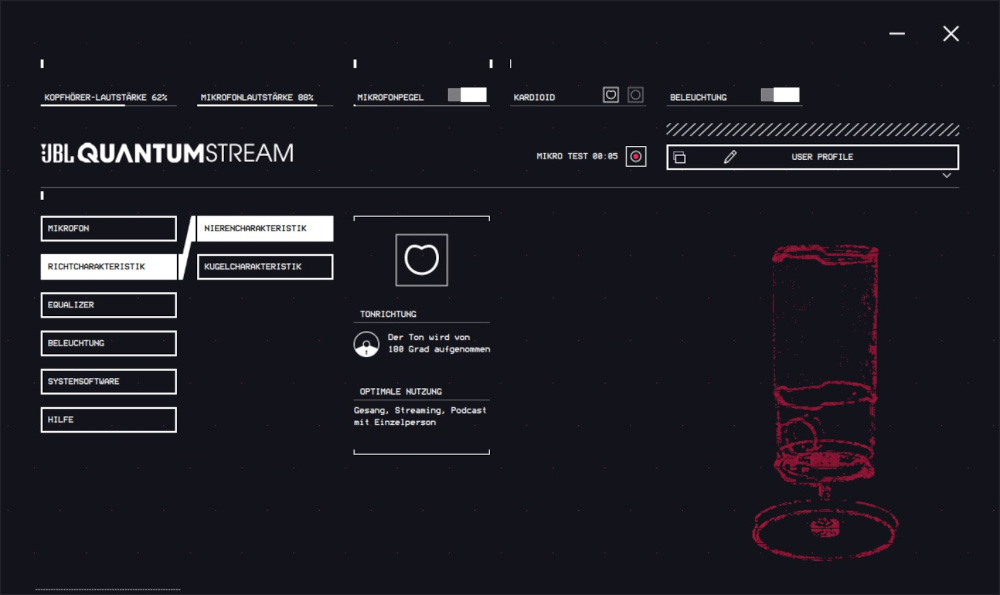
Under “Polar Pattern” we set whether the microphone records in a 180° or 360° radius.
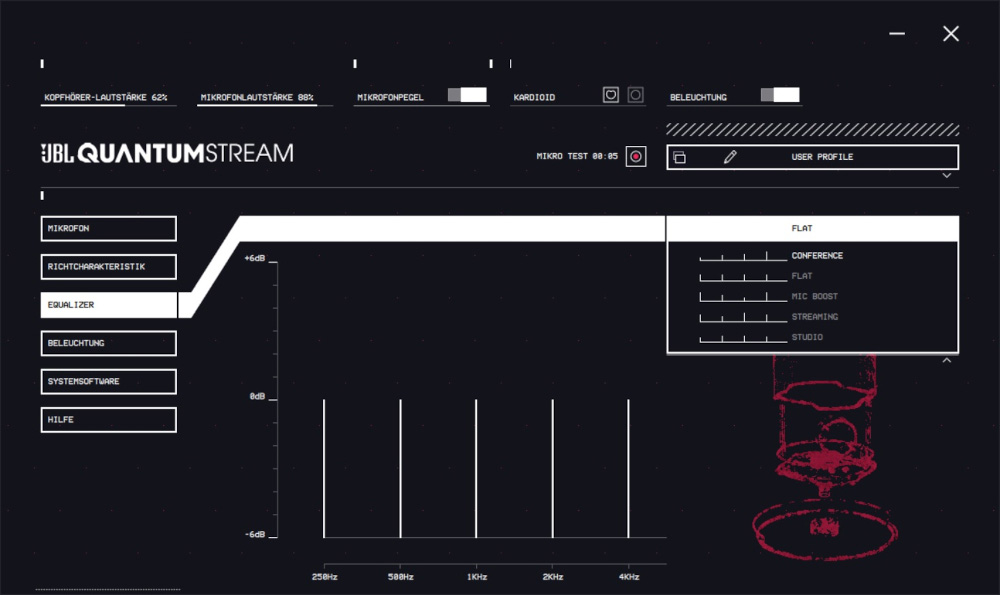
We can fine-tune the sound under “Equalizer”. There are also predefined profiles to choose from, but we can also create and save our own profiles.
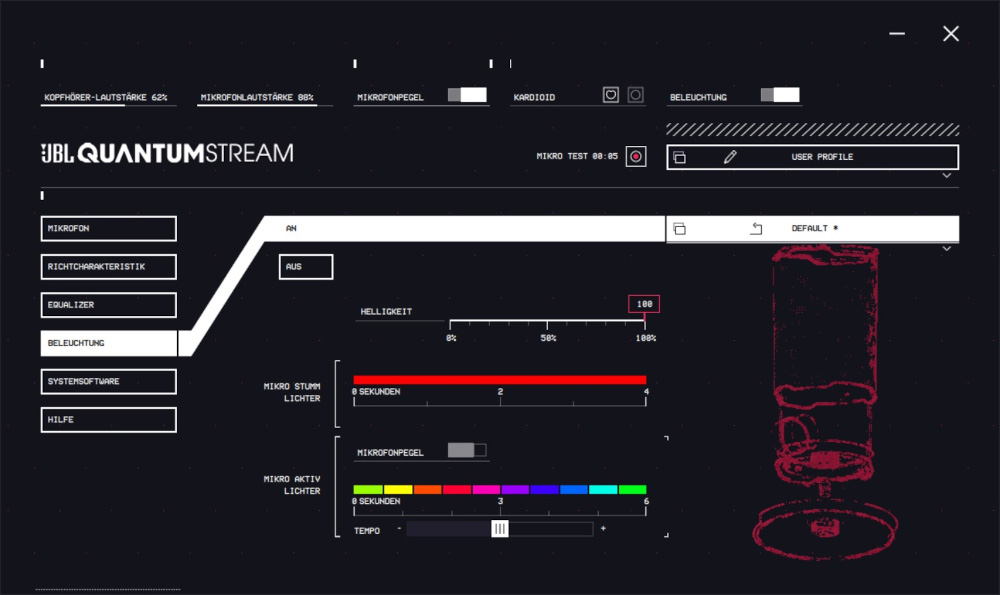
At “Lighting” we can configure the RGB lighting. Basically, a distinction is made between Microphone ON and Microphone OFF, so that the lighting can also help to recognize the current state of the microphone. Without further ado, we decided on red to signal the mute state and created a nice rainbow effect for the recording mode.
The lighting is still discreet but quite chic. Of course, we have also created a short video 
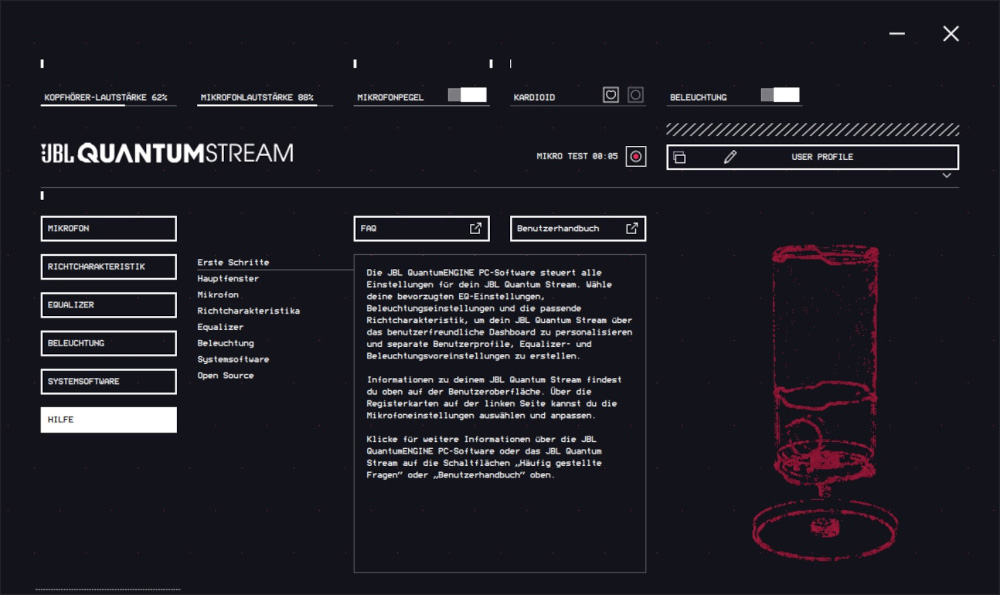
As a final option, we can always take another look at the individual help topics.
JBL Quantum Stream Practical testing …