
Layout, design and features …
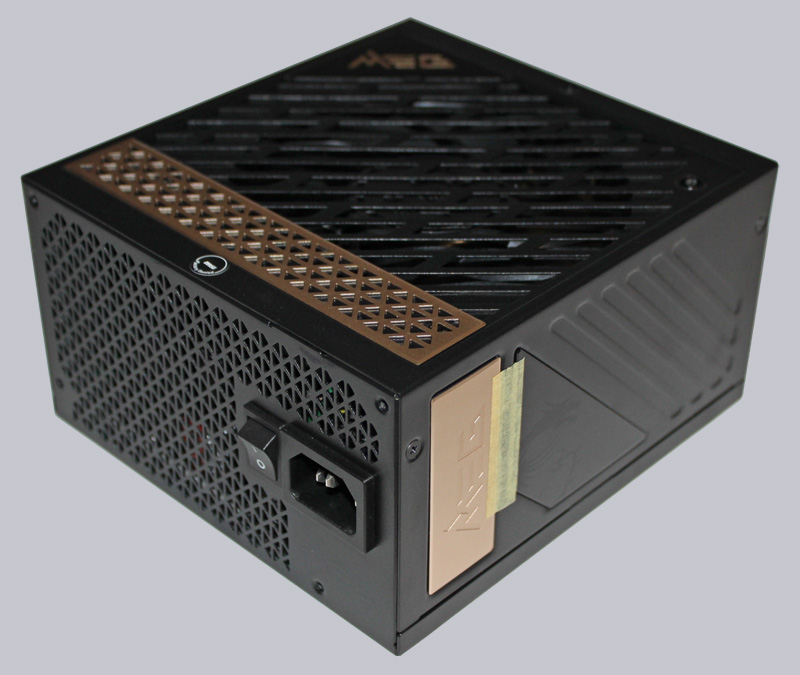
The compact design of the PSU is immediately noticeable. If you’re wondering, the PSU is not held together by adhesive tape, but more on that later.
The connection panel is very clearly laid out and the plugs fit tightly into the connection sockets.
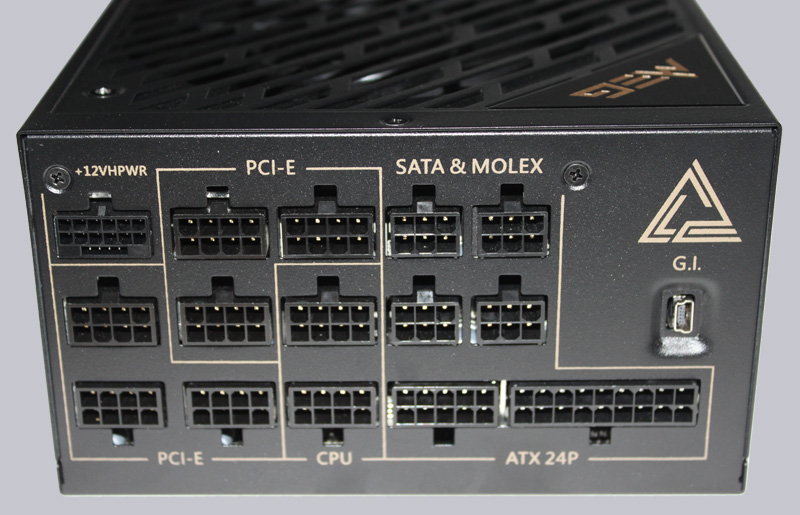
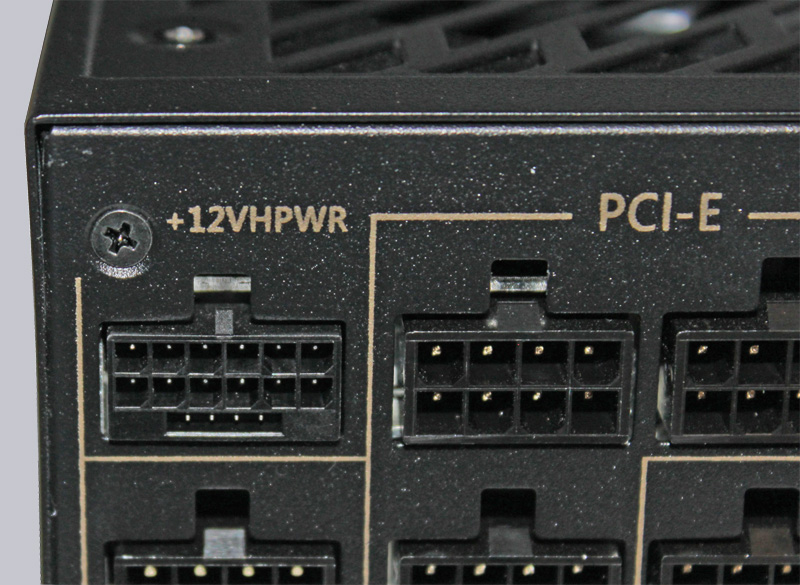
However, the feature is the 12VHPWR connection which can supply modern graphics cards with up to 600W.
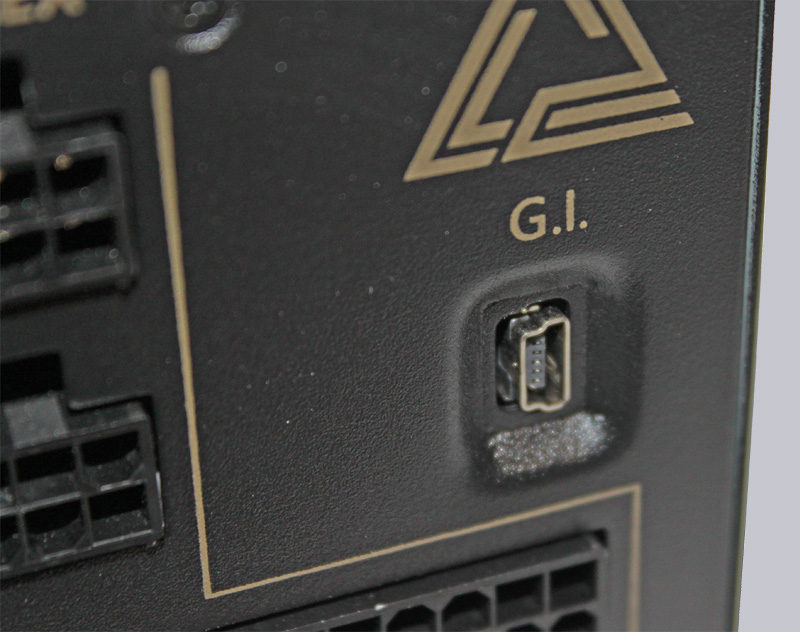
But what is it? An old mini-USB port. Can we perhaps charge our old Nokia 3310 here? The 90s must have called and want their mini-USB port back 😉
Of course, this is the Gaming Intelligence connection, which makes it possible to display performance data from the PSU in real time. Two connection cables are included. These can be connected either internally via a USB header or externally via a USB-A connection.
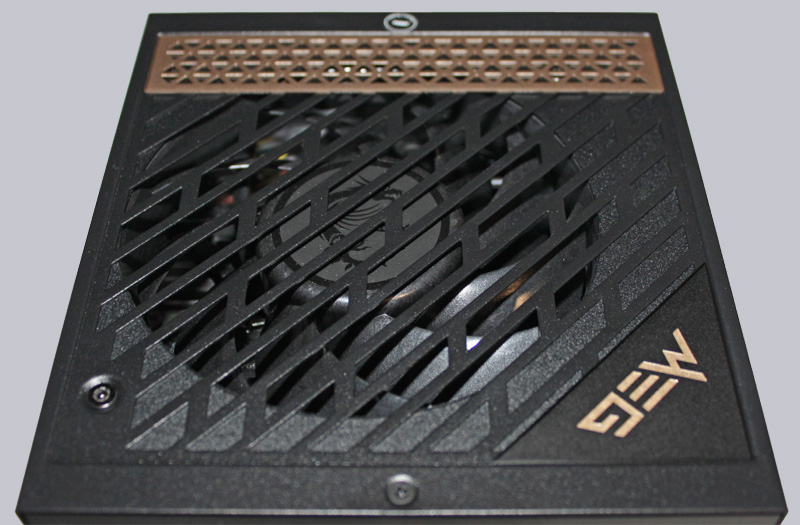
The top side provides a view of the 120 mm fan. In normal operation, this fan is not required and is stationary.
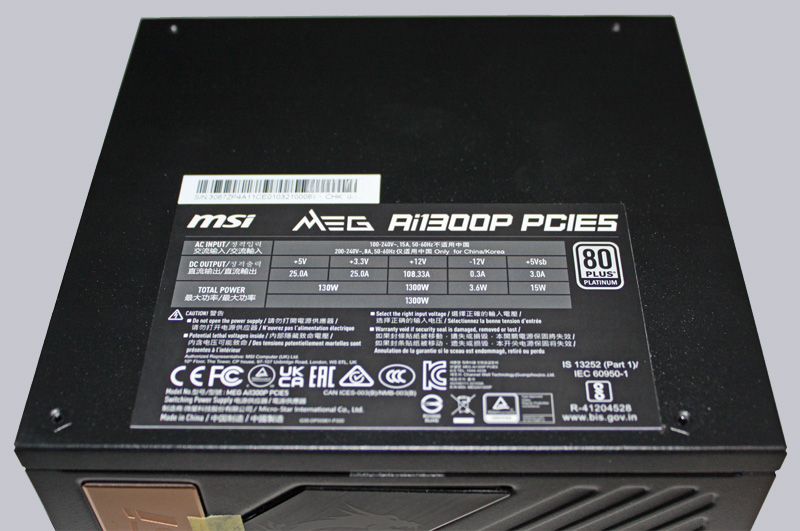
The underside shows the performance data of the PSU again.
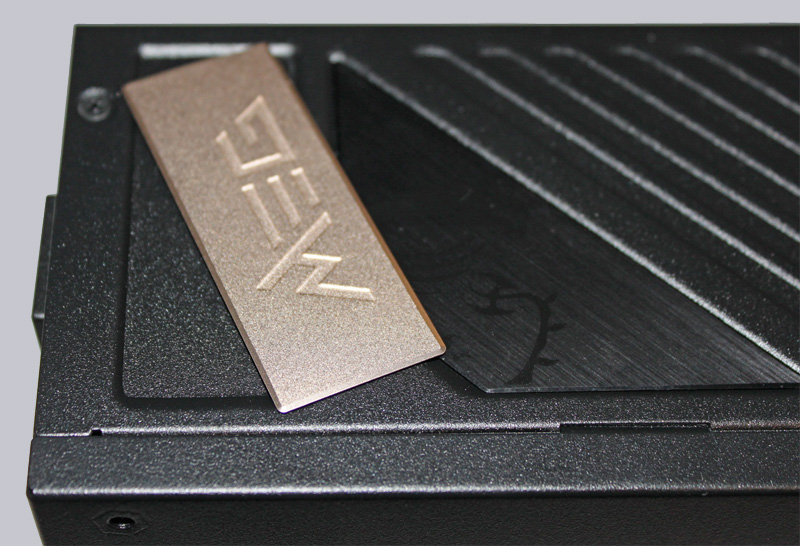
Does anyone remember the adhesive tape? The design elements held with it are magnetically attached to the PSU …
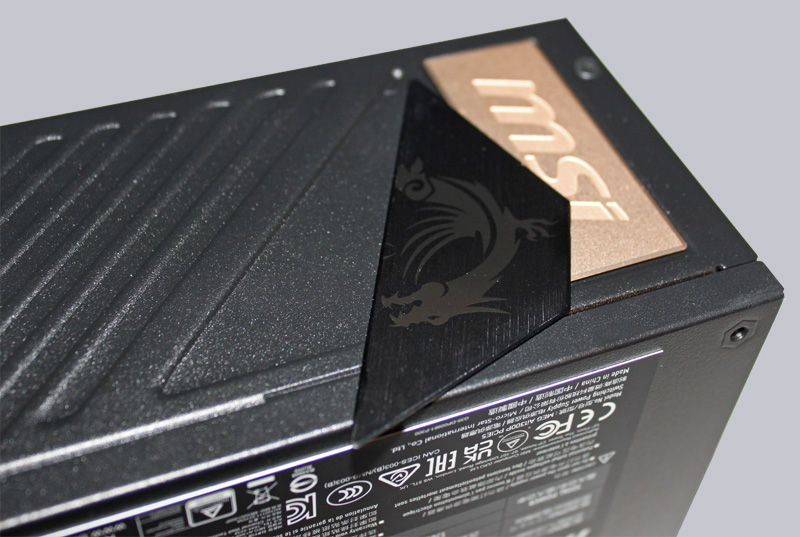
… and can be rotated depending on the installation position. Basically one of the most useless features we have ever seen on PSUs, as PSUs are usually concealed and therefore cannot be seen even in designer cases. But in cases with an open design, some people have probably been annoyed by the upside-down lettering and this feature might not be so bad for them.
As already described, the 12VHPWR connector is very tight – both in the graphics card and in the PSU. As everyone will have heard, this is absolutely necessary to prevent thermal damage to the graphics card.

Now let’s move on to installing the software.
MEG Ai1300P PCIE5 PSU Installation …