
Layout, design and features – inside …
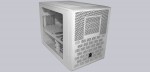
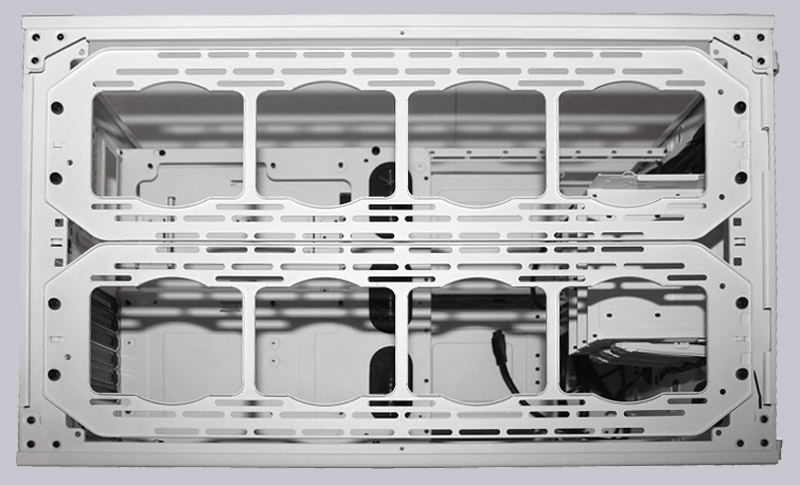
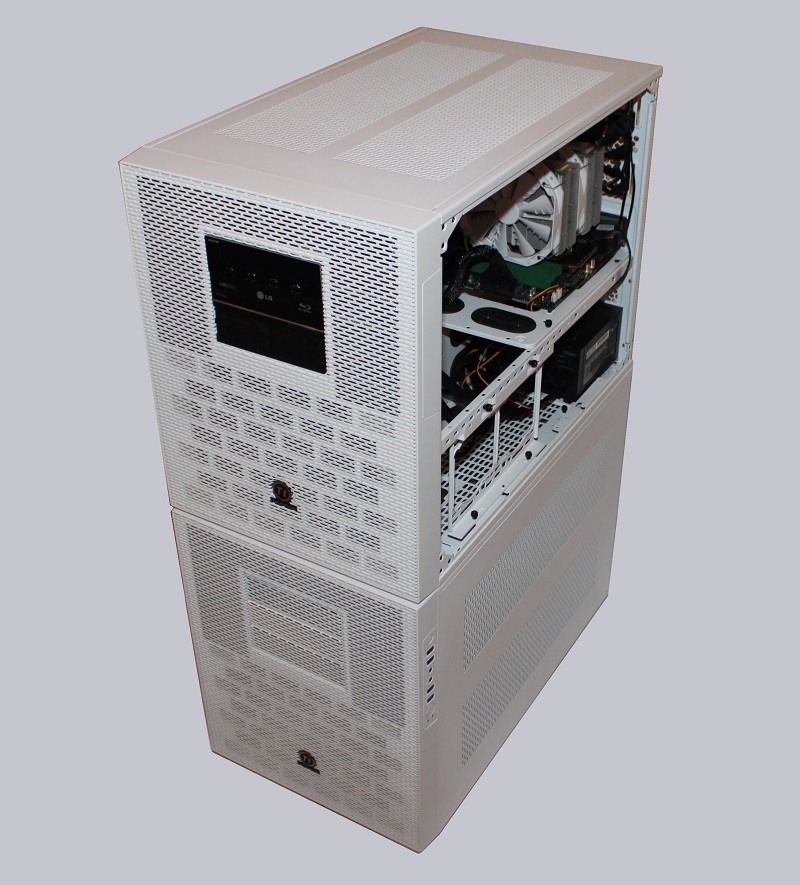
Let’s take a look at the interior of the Thermaltake Core X9 Snow Edition. As you can see in this picture, the case offers a lot of space for hardware and modding.
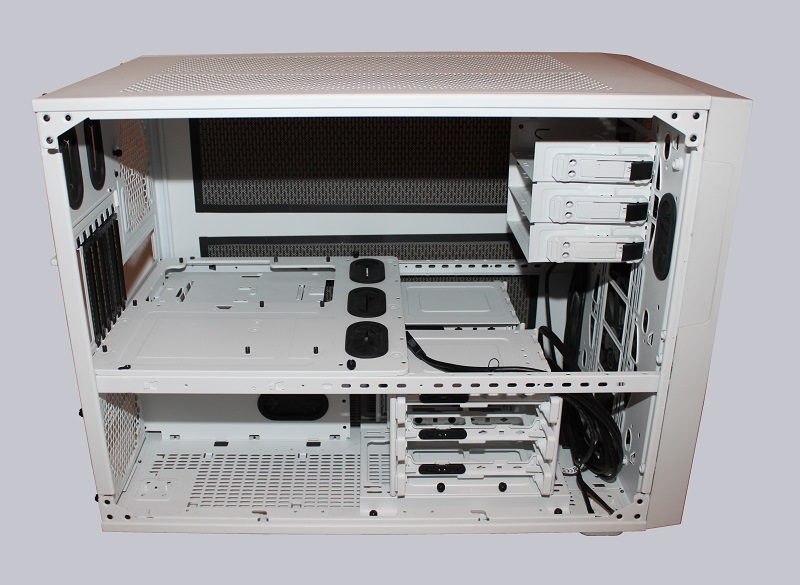
In the lower rear part we can install the power supply either on the left or right side. For better cable routing, the partition wall has integrated feed-throughs with protective rubber bands.
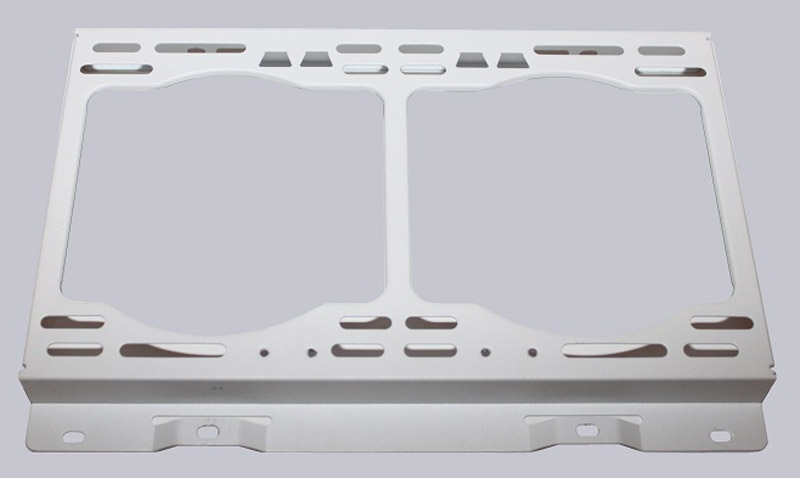
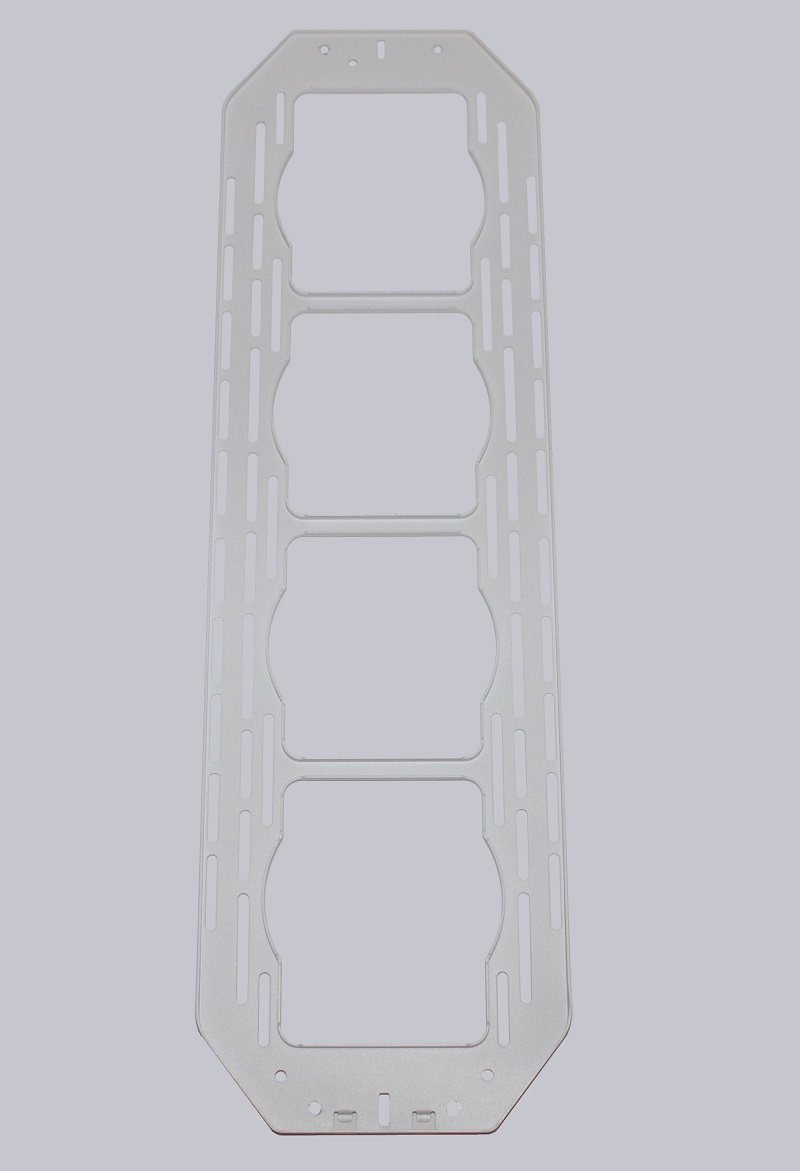
Fans and radiators can be mounted on both sides by means of the brackets shown.
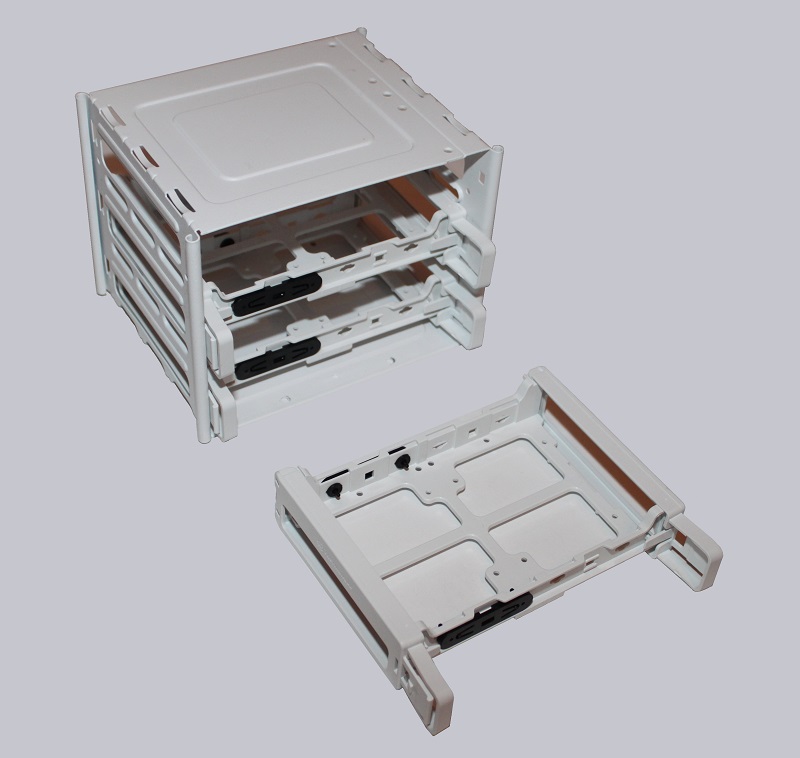
These brackets are also used to hold the drive cages. The Core X9 case has two of these, three hard disk slots each.
The hard disks can be installed without tools in the carriers, which are then simply inserted and locked with the side clamps.
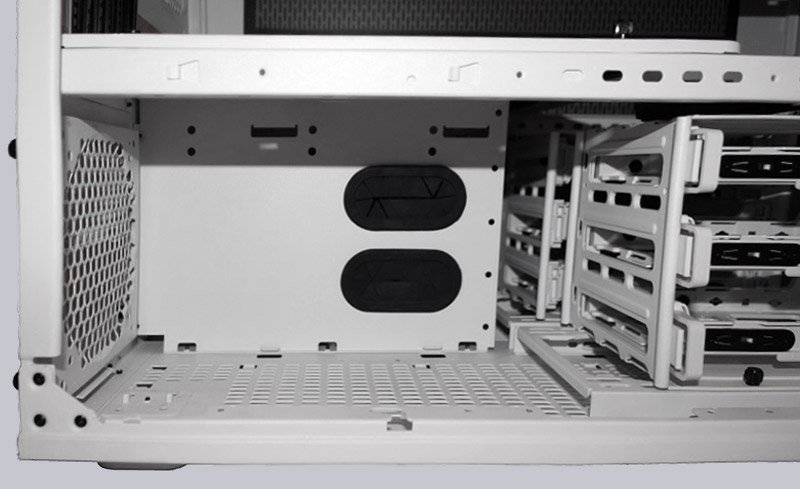
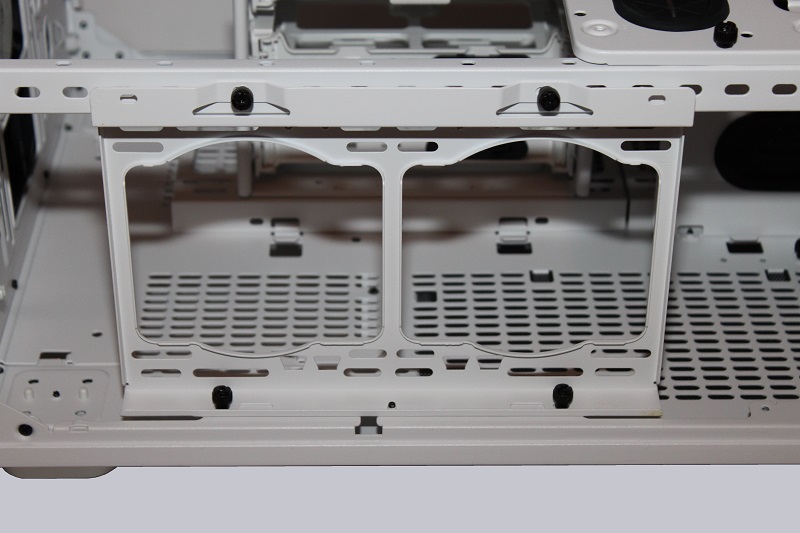
Optionally, the brackets can also be mounted on the floor and can also accommodate radiators or additional fans.
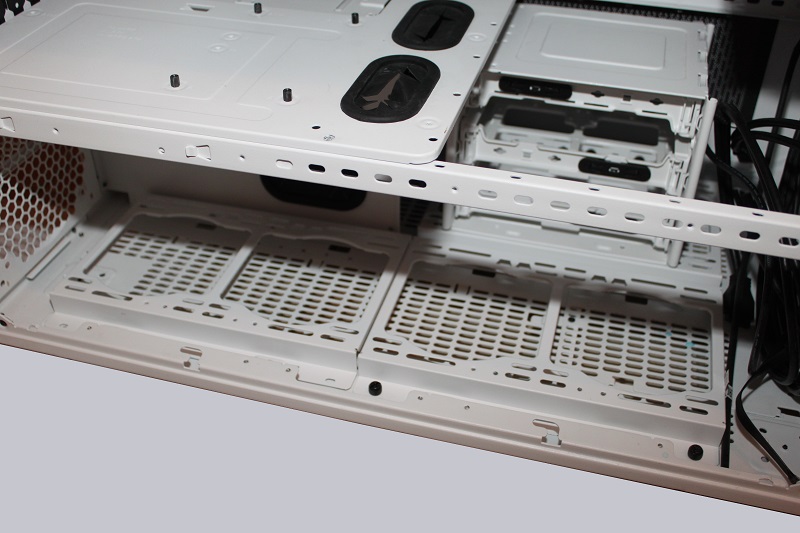
Another special feature is the power supply unit installation in the Core X9 case. Thanks to a flexible rail on the floor, power supplies of various lengths can be installed in the housing.
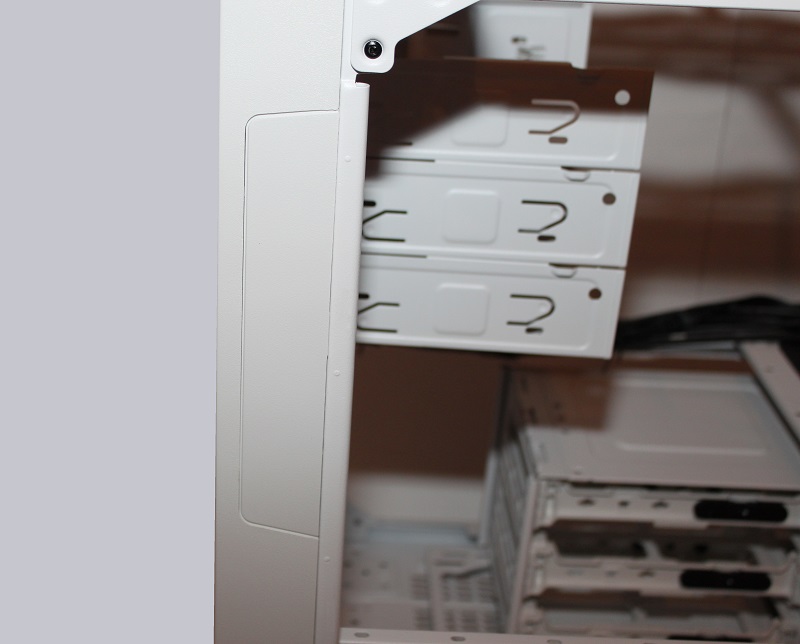
But let’s get to the upper part of the case. The three 5 1/4 inch drives are mounted in the front section. Although these can be mounted without tools on one side, they can also be fixed with screws on the other side, in case short fan controllers are to be installed.

The side panel contains the four USB 3.0 ports, two audio jacks for headphones and microphone as well as a reset and power button.
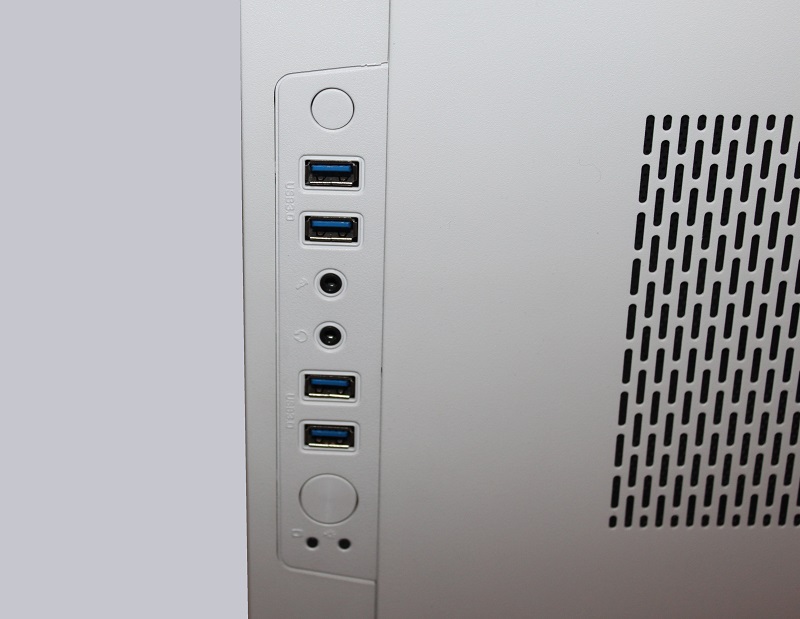
The real highlight is the fact that the control unit can be mounted either on the left or right side of the case. This and the possibility of flexibly changing the side panels qualifies the case to stand on both sides of the desk. 😉
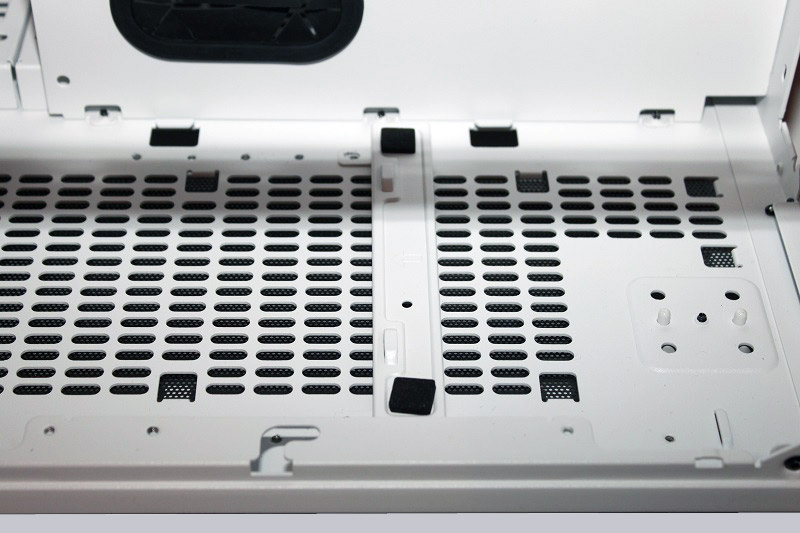
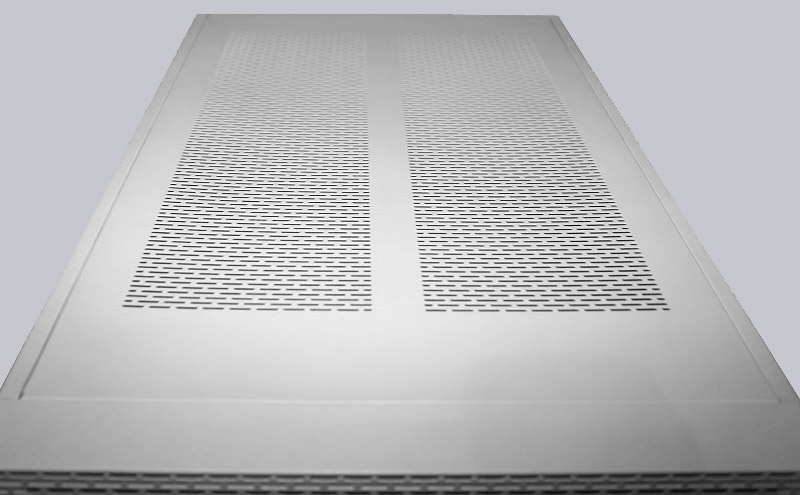
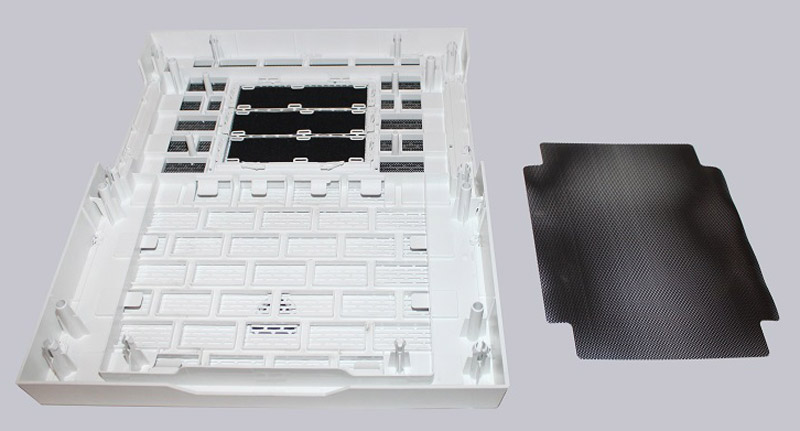
Let’s now dedicate ourselves to the lid of the Core X9, because Thermaltake has not only integrated two large ventilation grilles.
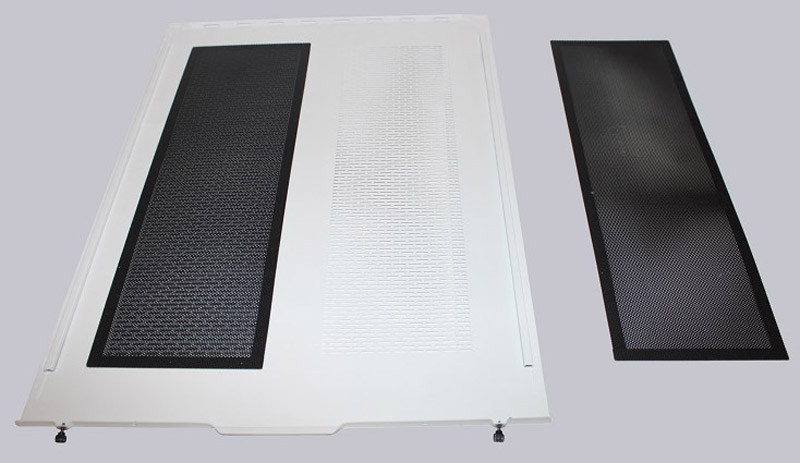
There are even two magnetic dust filters underneath these ventilation grilles. The same picture shows the side door which is almost identical to the lid.
But also the case frame holds a surprise!
The sight should make the heart of any radiator fan or water cooling enthusiast beat faster. There are two large rails installed, which can be easily removed by loosening the screws in order to be able to install its radiators or fans outside the housing in peace. Practical is almost impossible.
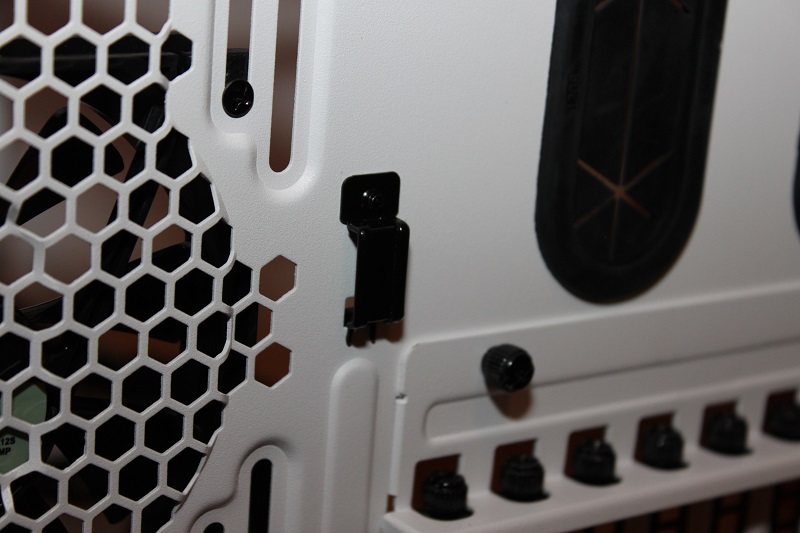
But the front also has a surprise in store. By means of these small clamps …
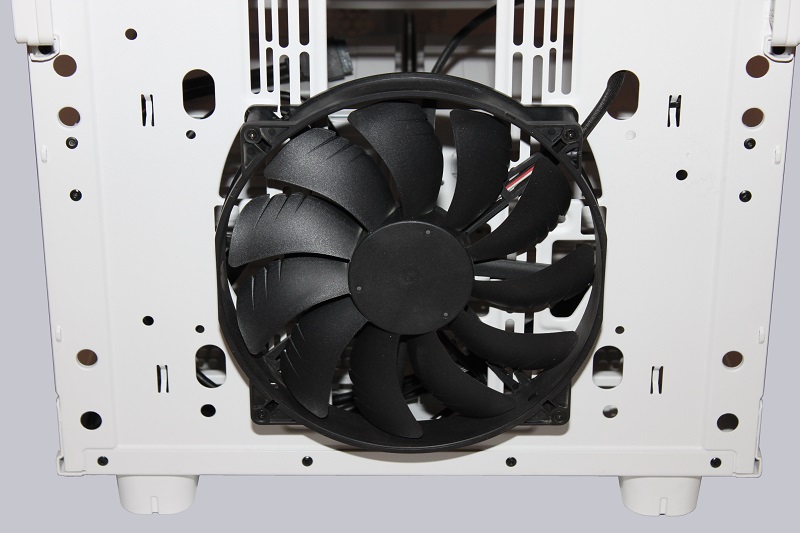
… you can detach the front panel and gain access to the built-in 200 mm fan.
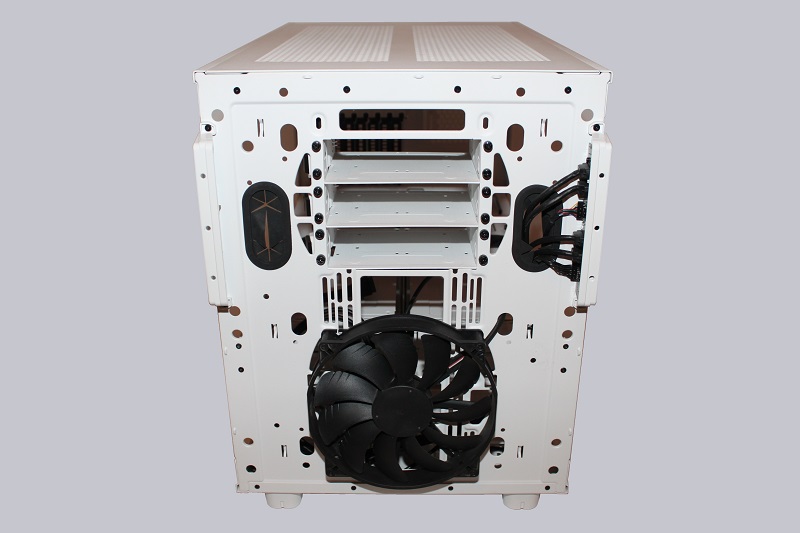
This is located at the lower part of the front and can be replaced by various mounting holes with 120 mm or 140 mm models, for example. If the front panel has already been dismantled, it is possible to install the control panel as described above, which is no problem thanks to two screws and a flexible cable set.
The front panel is also interesting. Again, Thermaltake has incorporated a replaceable filter to protect the front fan(s) from the nasty lint in every gamer room.
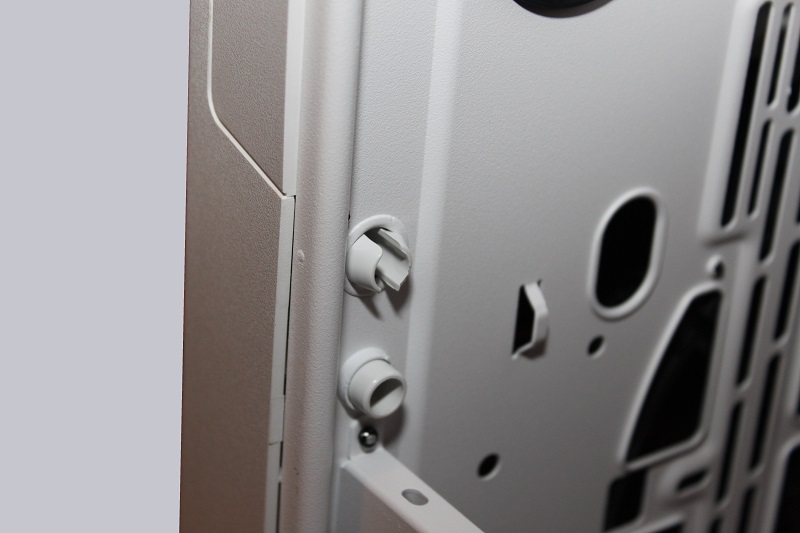
But even when it comes to mainboard assembly, flexibility is not a matter of stopping there. Not only that the mainboard tray is secured with thumb screws, so-called thumbscrews …
… it is also very easy to remove …
… to mount a motherboard on it.
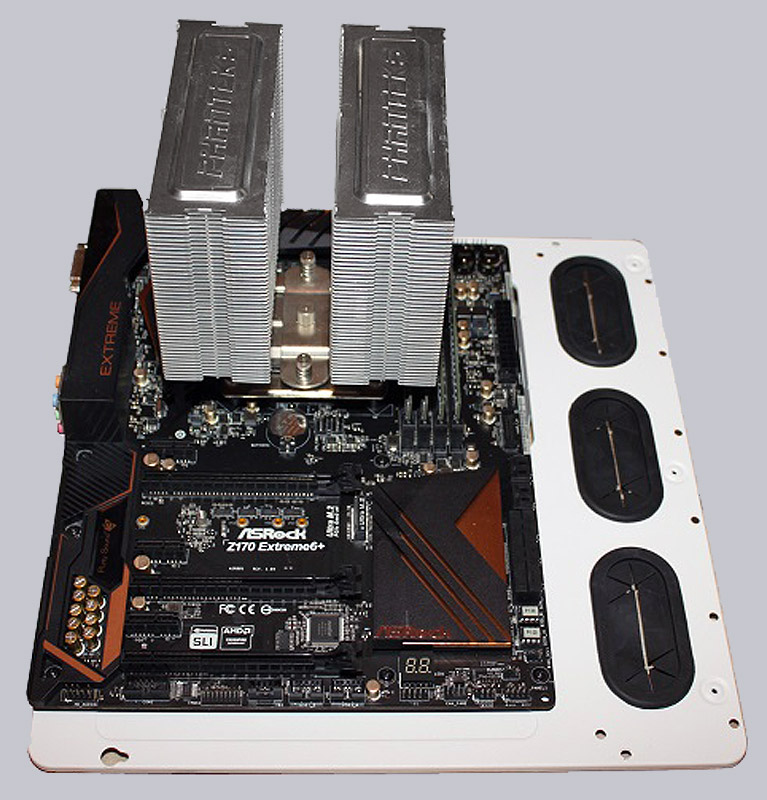
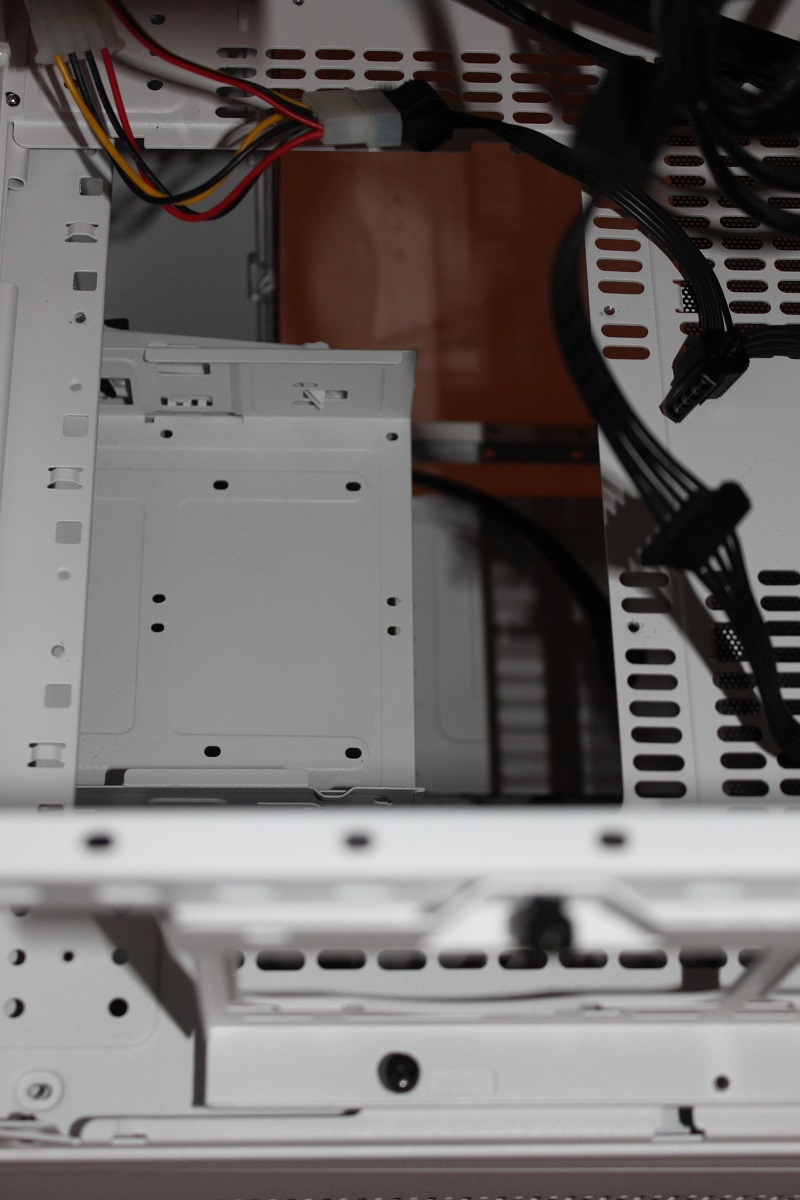
To mount the cooler we had to remove a small detail.
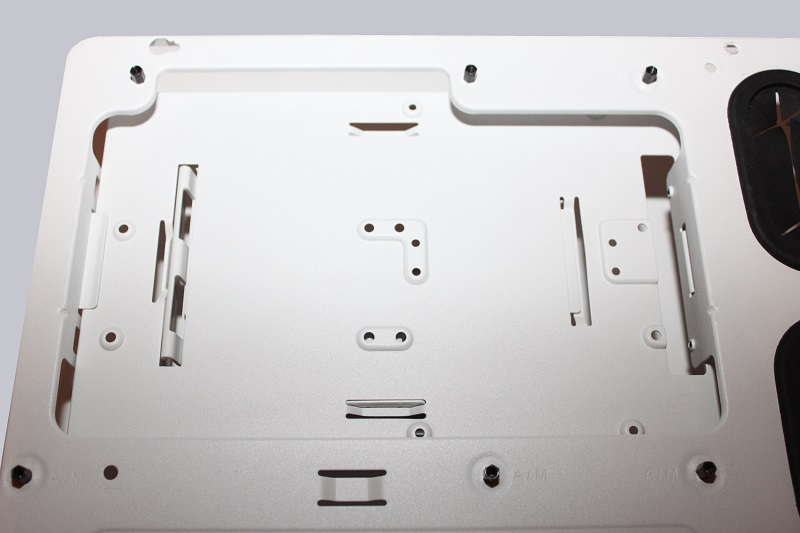
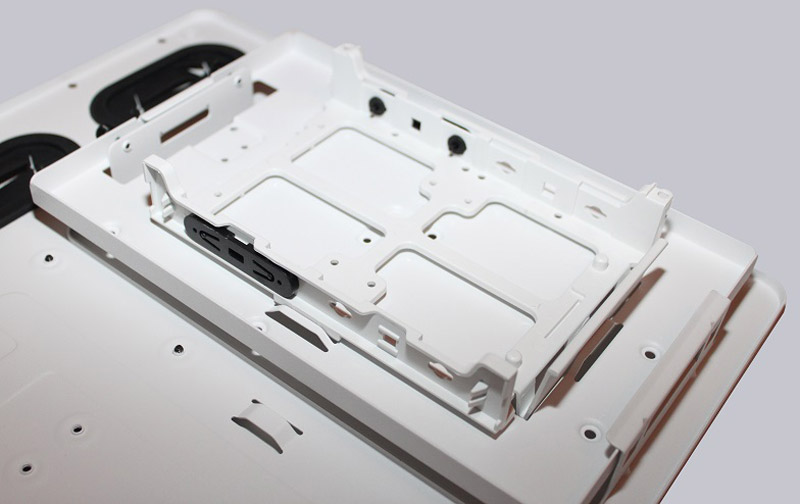
This small holder is used to hold two additional hard disks! It’s hard to believe, but here you can mount another 2 1/2 inch HDD/SSD and on the back an additional 3 1/2 inch HDD.
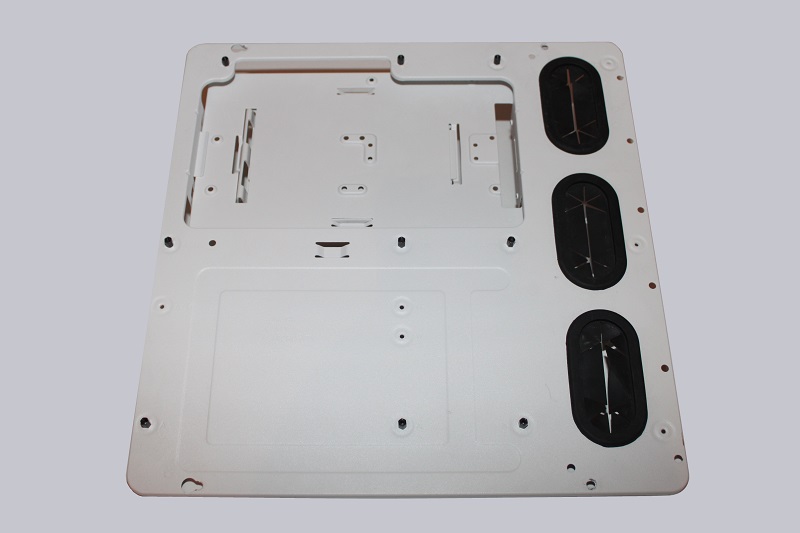
For those who still don’t have enough space, either cables or hoses can be routed through the two rubberized openings at the rear of the Core X9.
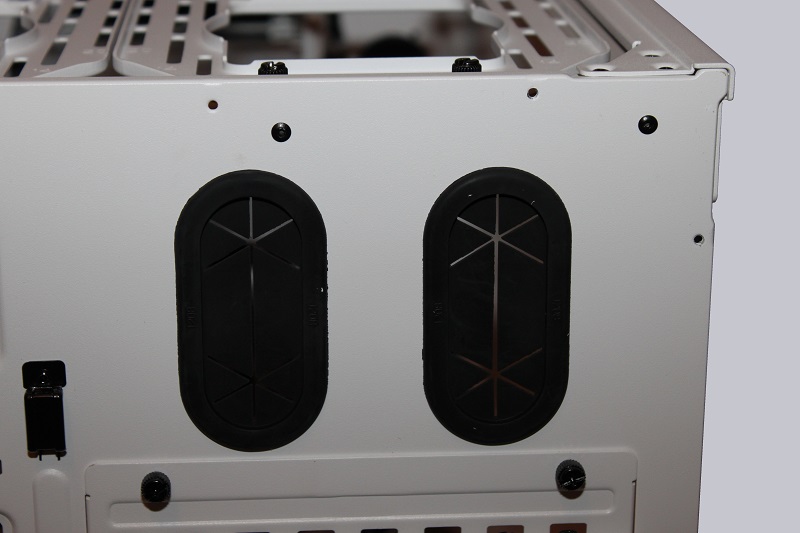
There is also the possibility, if you want to show this monster at a LAN party, to thread the mouse and keyboard cables through a small security loop on the back and to secure them from theft.
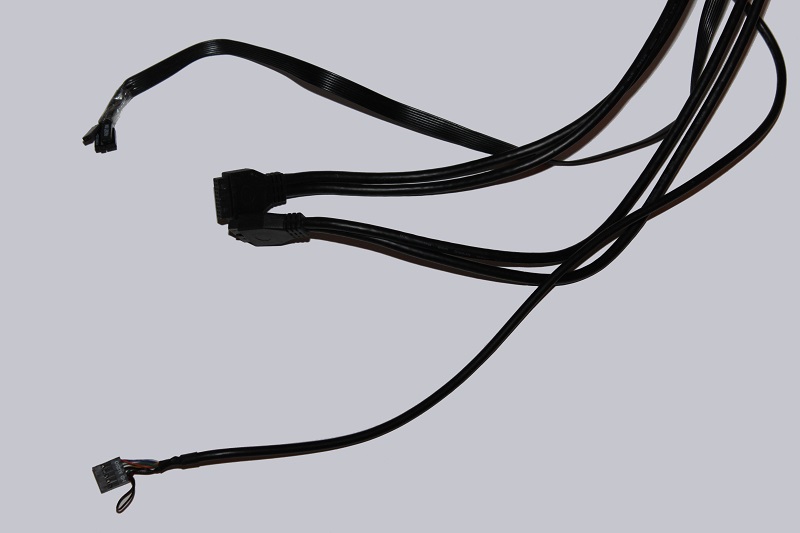
Unfortunately, the cable whip of the control panel has two USB 3.0 headers, which cannot be operated by every motherboard. All pins are clearly labeled for easy mounting.
After installing the mainboard we realize that there is still plenty of space to the top. 😉
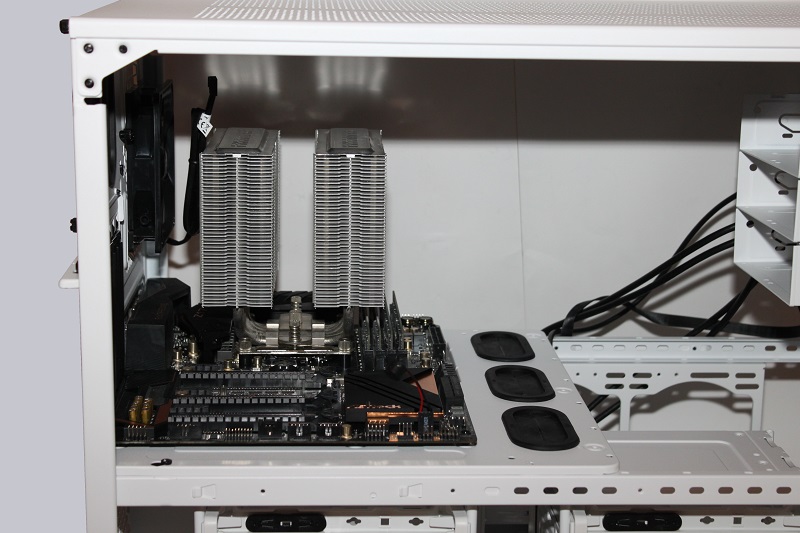
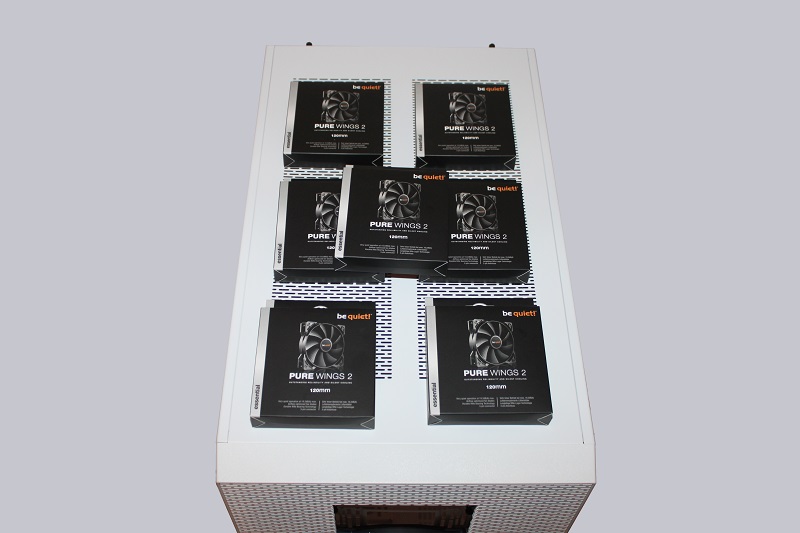
No matter if thick or thin radiator, there should be enough space for a push-pull configuration, which requires the installation of fans above and below the radiator. And the Core X9 Snow Edition case certainly doesn’t lack fan slots.
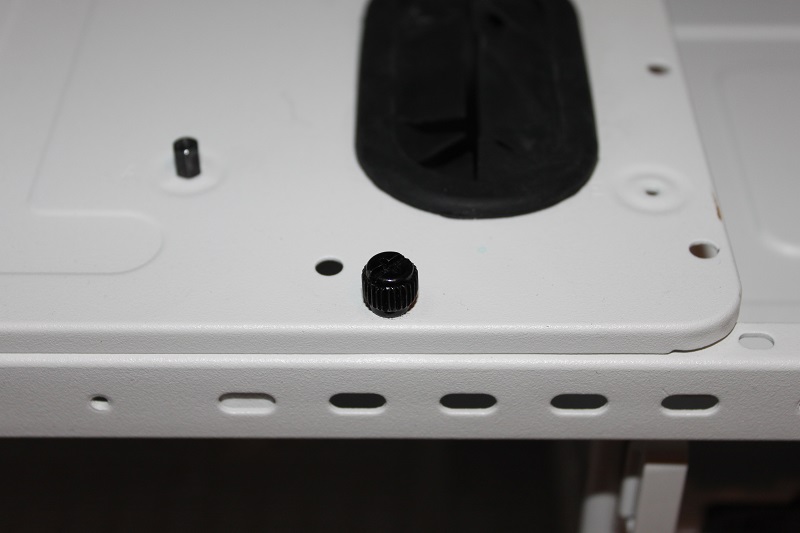
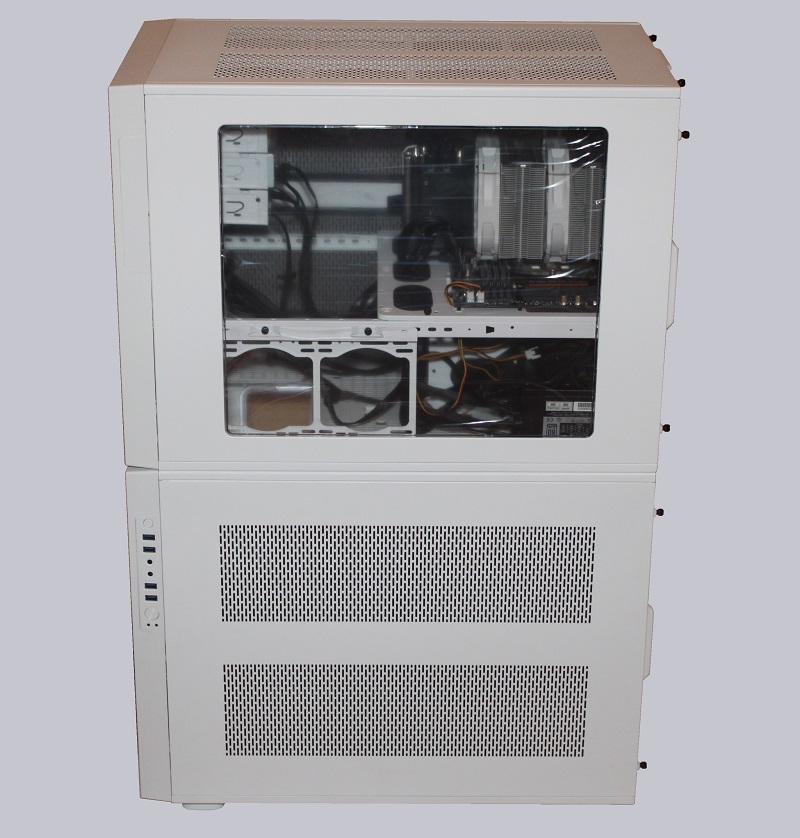
But let’s come to the actual highlight of this case. In each of the four corners there is a screw next to the rivets, which can be removed.
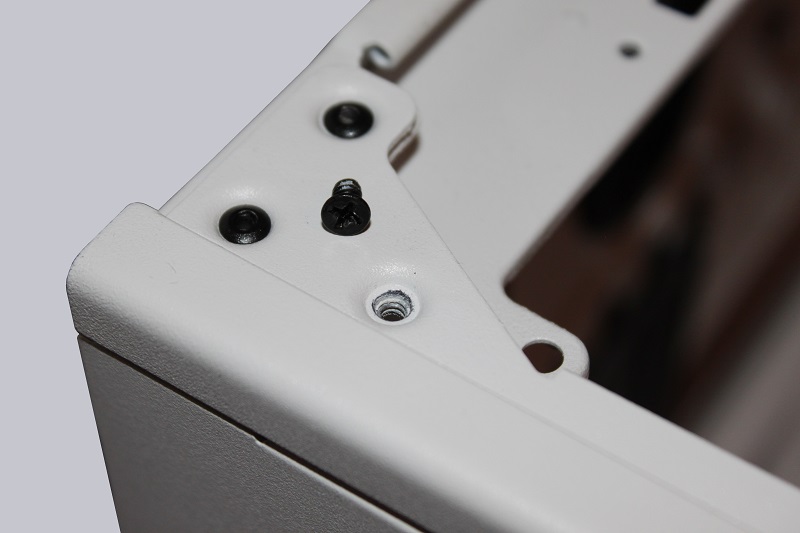
Afterwards we remove the feet, which are only attached with another screw. Afterwards only one last step is missing…

… in which we simply add another Core X9 case!
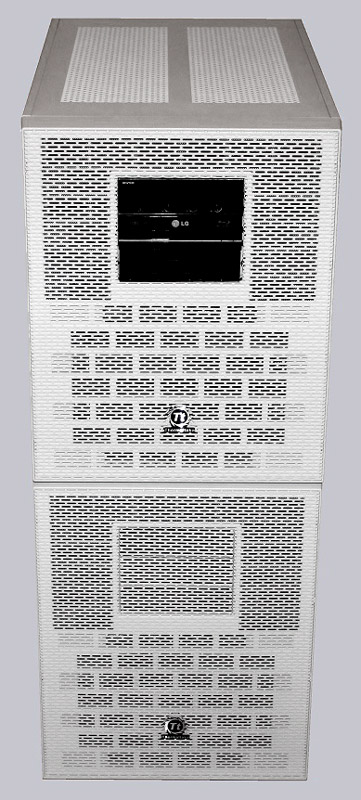
These two cases can then be fixed with thumbscrews in the corners.
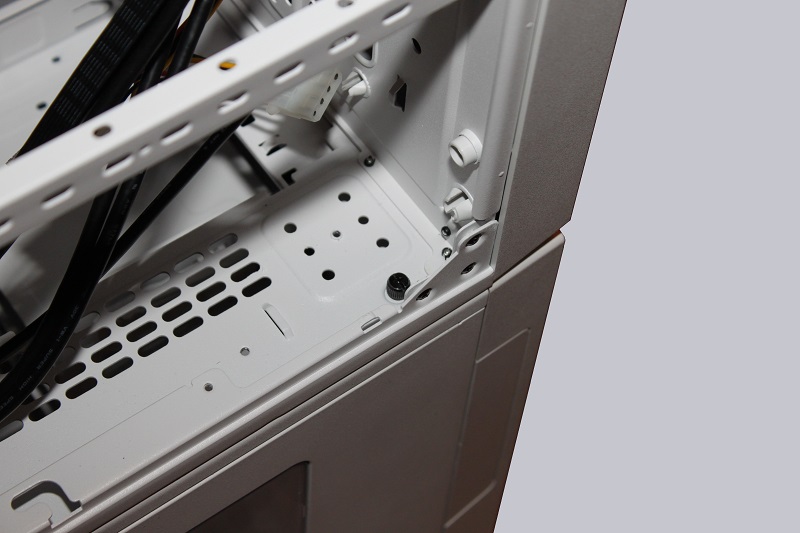
Now it becomes clear why there was a small flap on the bottom of the housing that didn’t have a dust protection filter. This is now used as a connecting tunnel between the two housings to pass through cables, hoses or watercooling tanks.
For the fewest, however, the space of a Core X9 might not be sufficient.
But what’s an old saying,”Having is better than needing”!
So we would have arrived at the end of our little tour and come to our summary.
Thermaltake Core X9 Snow Edition Conclusion and general impression …