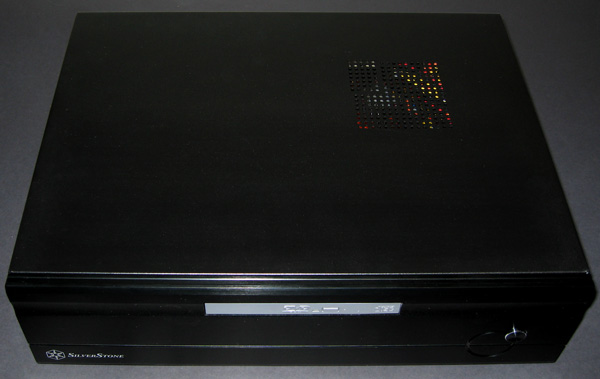
HTPC Howto – Beginners guide how to build a home cinema computer. Step by step HTPC guide to build a Home Theater PC … For the recently published Silverstone La Scala SST LC02B HTPC enclosure review, it is now time for a HTPC guide, which explains step by step how to build a living room PC. This beginners guide shows how easy it can be to build a PC for the living room. If you have a few hardware components, for example from your last PC upgrade and like to tinker a HTPC, then you should not miss this guide.
HTPC hardware components …
First we lay the HTPC enclosure with all hardware components on a table which is suitable for this work. For the media player PC we need e.g. the following hardware:
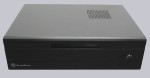
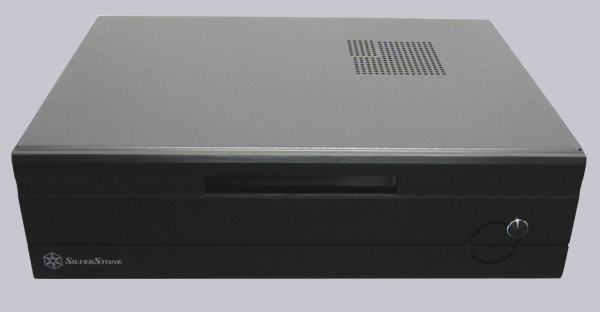
– HTPC enclosure,
– Motherboard possibly with onboard graphics, onboard audio, onboard LAN and optional W-LAN,
– Processor,
– CPU cooler (in slimline cases as small and as flat as possible, but still quiet),
– Thermal compound,
– Memory,
– Hard disk drive,
– DVD-ROM or CD-ROM drive (depending on the enclosure
– Slim Line with adapter or a simple 5.25″ drive)
– Data cable for the HDD and optical drive,
– and a power supply, if it is not already integrated in the chassis.
Depending on the chassis used, one should also think about additional fans. The fan should be as large as possible running at somewhat slower revolutions to get a good air circulation and still a silent PC in the living room. So the airflow is still high enough and doesn’t disturb while listening (calm) music or watching movies.
In the links & downloads area is a shop list with some interesting shops where you can buy hardware. And if you like to support us, take the first look for suitable PC components at the shops of our sponsors
🙂
Tools …
Now we arrange the necessary tools. These include e.g.:
– Screwdriver for recessed head screws in various sizes,
– long-nosed or flat nose pliers,
– Site cutter for the cable ties,
– Some cable ties.
The Media Player Howto …
Now we remove the crosshead screws on the enclosure rear – in case of the Silverstone La Scala SST LC02B chassis we just need to remove two screws.
After removing the case cover, we unscrew the holding plate for the hard disk and the DVD ROM slim drive. Remove the four screws – two in the front and two on the case rear.
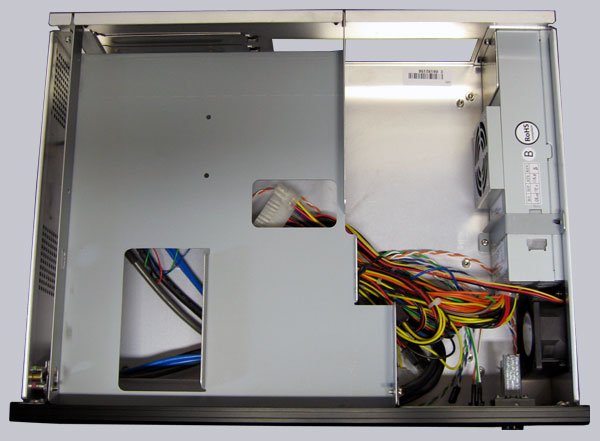
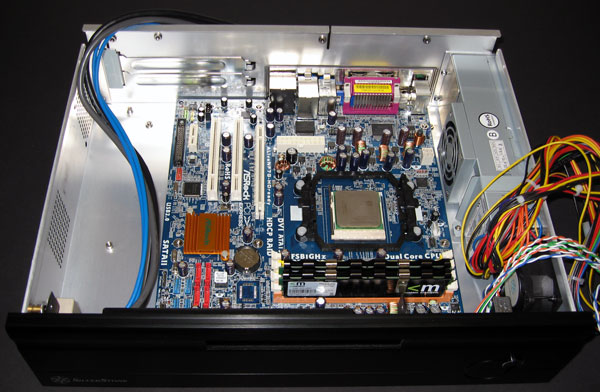
Here you can see inside of the enclosure with all the connecting cables of the power supply, fan, power button, Power LED and HDD LED, as well as the cables of the USB ports and audio jacks on the side of the chassis.
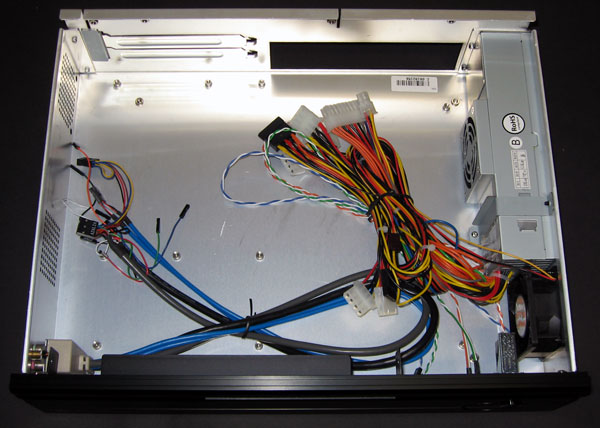
But it should no longer remain so neat, because we want to connect all cables soon. So lay all the cables apart and go on …
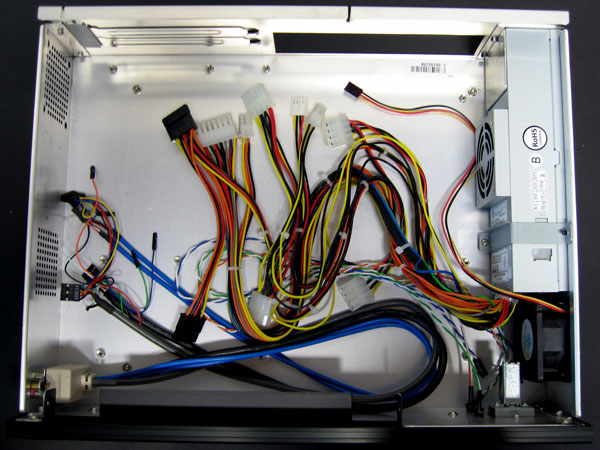
Now we lay all cables out of the chassis first, to get more space to work inside of the case. Then it’s time to press the rear ATX I/O panel in the specified gap. Depending on the I/O panel it may require a bit strength, until the I/O panel snaps into the gap.
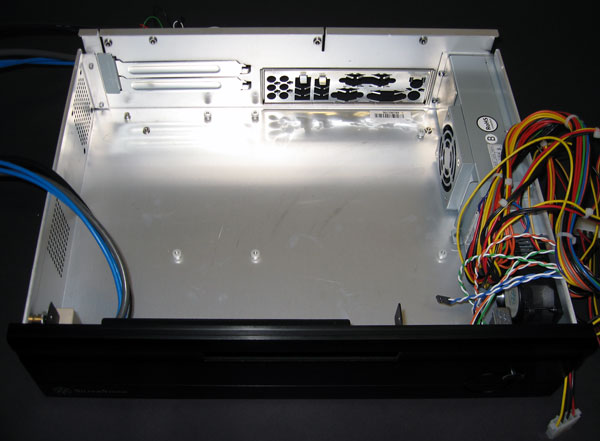
Then we can begin to mount the mainboard. Make sure that all holes in the motherboard match with the distance screws. Of course, you can count the holes and compare it afterward with the number of spacers and screws. A distance screw should be mounted below each hole if they’re not pre-assembled (like the Silverstone La Scala). Then we install the motherboard slanted to the rear I/O panel and lower the motherboard carefully until it seat evenly on all spacers. It is important that all connectors such as parallel port, audio jacks, etc. are freely accessible and not hidden by the metal bracket. Now mount it evenly with the fine thread screws, but not too tight.
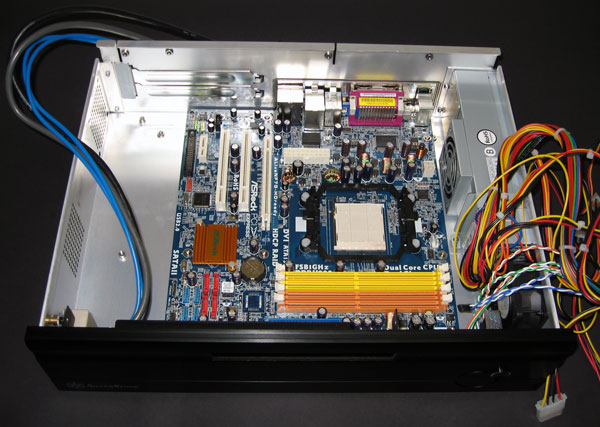
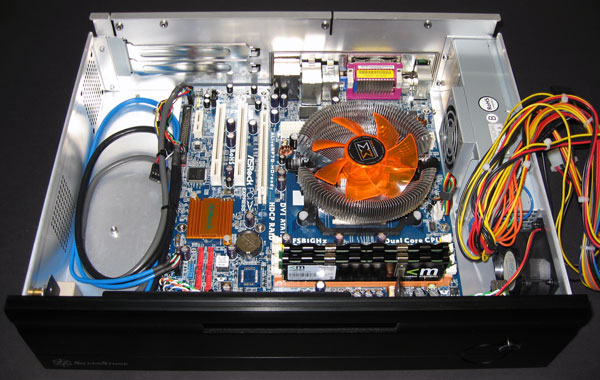
Now we open the lever of the CPU socket, compare briefly the socket with the direction of the CPU pins, insert the processor with all pins correctly and press the socket lever down.
Then we have to insert the desired memory modules in the memory sockets by putting the two side levers apart. The notch on the memory modules have to match with the notch of the socket, then press the memory modules evenly into the socket and push the two side levers to each module. If everything is installed correctly, the two side levers arrest in the PCB of the memory modules.
Now we apply a bit thermal compound on the CPU (an about 3-5mm drop is enough) and attach the heatsink properly. Depending on the CPU heatsink type, it’s necessary to tighten the cooler side brackets with its screws, or simply snap on one side and then press down the other side of the cooler lever. A look into the manual of the cooler give you all necessary information on how to attach it. Now we plug in all cables by means of the marking and arrange the cables a little bit in the chassis, because it’s necessary to get a very good airflow inside of a small HTPC case. If you have any questions about the right cabling, you will find help in our forum. We have an English forum for all questions, but please don’t forget to write down your exact hardware. There are too many manufacturers and each product-specific pin allocation is too much to explain at this point.
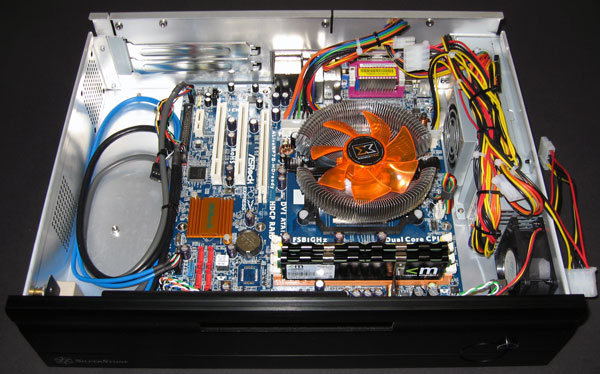
When all cables are carefully stowed at the bottom and no more cables constrict the airflow, we can continue with the next level of the HTPC case.
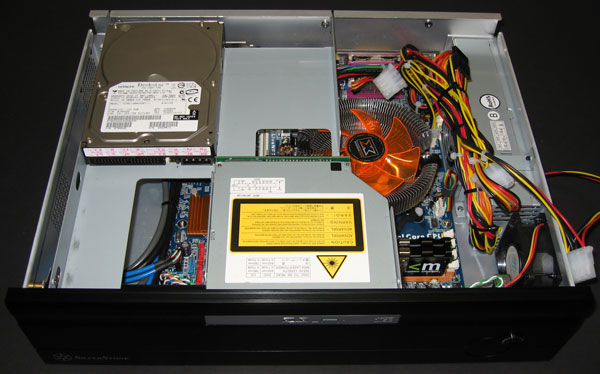
Attach the hard drive and slim DVD drive with the right screws to the mounting plate (or HDD cage). It’s necessary to use a special adapter board for slimline drives to connect them with a conventional IDE cable. Now plug in their power and data cables and run all cables inside of the chassis – that’s it, the HTPC is done.
Close the case cover and screw it in place (or let it open for the first run to check if the fans are working).
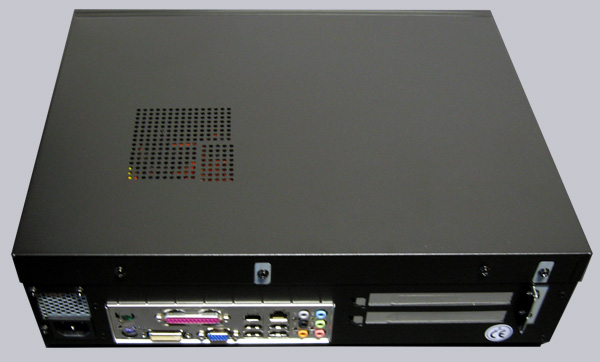
On the back it looks like this, at least when no expansion card was inserted. For flat enclosures a PCI, AGP or PCIe raiser card is necessary to make the respective slot available in a 90 degree angle.
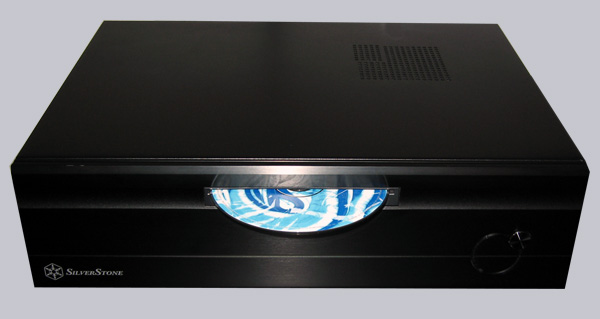
In the course of the DIY guide and review the ordered Slim DVD-RW slot-in drive arrived a little bit late, which is of course more fit and proper in the black anodized aluminum case front. Furthermore, it allows to load DVDs or CDs much easier, because it’s not necessary to lay the CD or DVD in a drawer or snap it into a slim disk drive drawer.
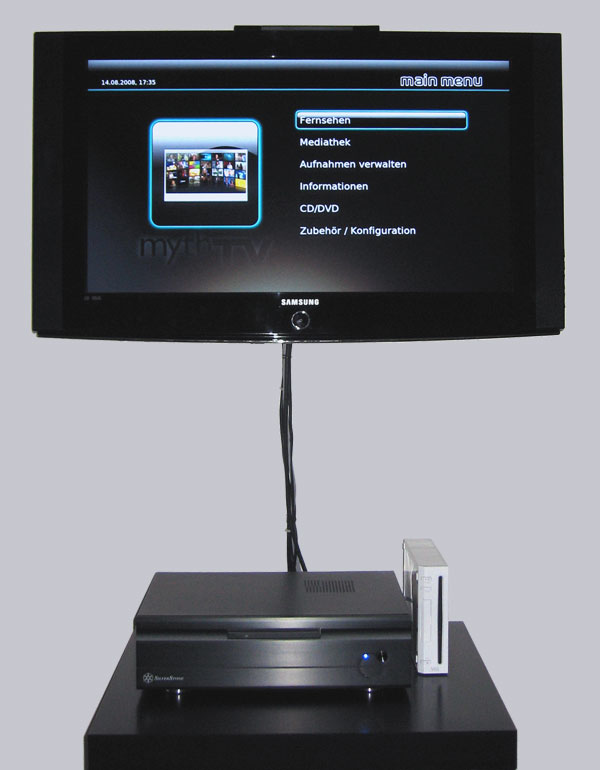
Now do the external cabling, install an appropriate HTPC software – for example, MythTV and the media PC is ready to play sound in the living room, watch DVDs or watch DivX movies and much more.
As with any other PC there is no limit for the living room PC regarding the applications and if we now buy or solder an infrared receiver, we are able to control the PC with an universal remote control. Then tinker a beatiful 20×4 LCD or 128×64 G-LCD to see e.g. the respective titles at any time. If the display does not fit into the case, it can be placed on the HTPC with a matching acrylic stand, because it is a useful thing for every media player. In the ocinside.de modding section are numerous instructions for soldering an USB IR and USB Ultra IR receiver,LCDs and GLCDs with dozens of software downloads and installation instructions.