
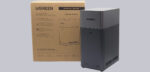
Practical testing …
Quickly find the right settings …
Ugreen NAS Initial Setup
Ugreen NAS RAID Selection
Ugreen NAS User Management and Folder Sharing
Ugreen NAS Apps in the App Center
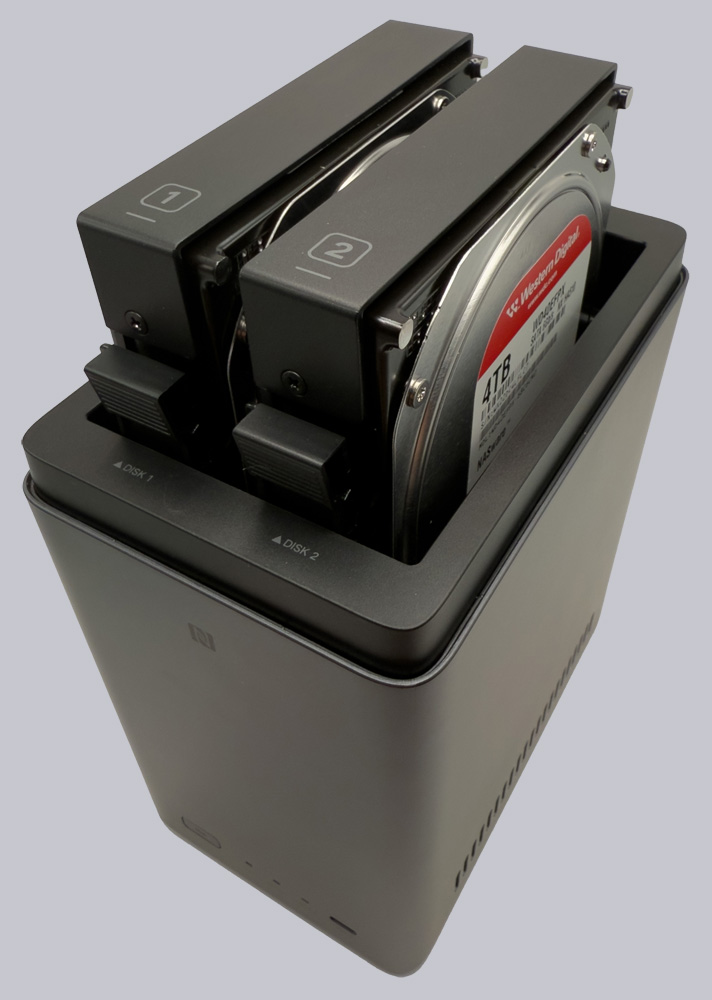
Once the hard drives are installed and the power supply is connected, you can turn on the system using the button on the front panel.
Ugreen NAS Initial Setup …
After turning it on, the system boots up and emits a short beep, which you can disable later in the system settings.
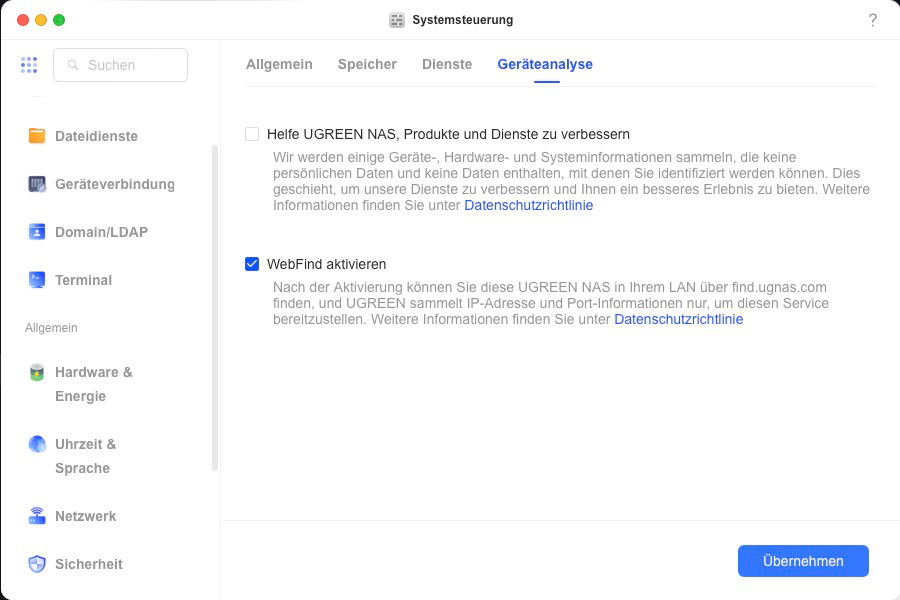
On the network, the NAS initially obtains its IP address via DHCP. Once it has an internet connection, it transmits its local data to the Ugreen WebFind Service. This makes it easy to locate the NAS on your local network via the website find.ugnas.com. If you prefer not to do this, you can disable the feature in the system settings.
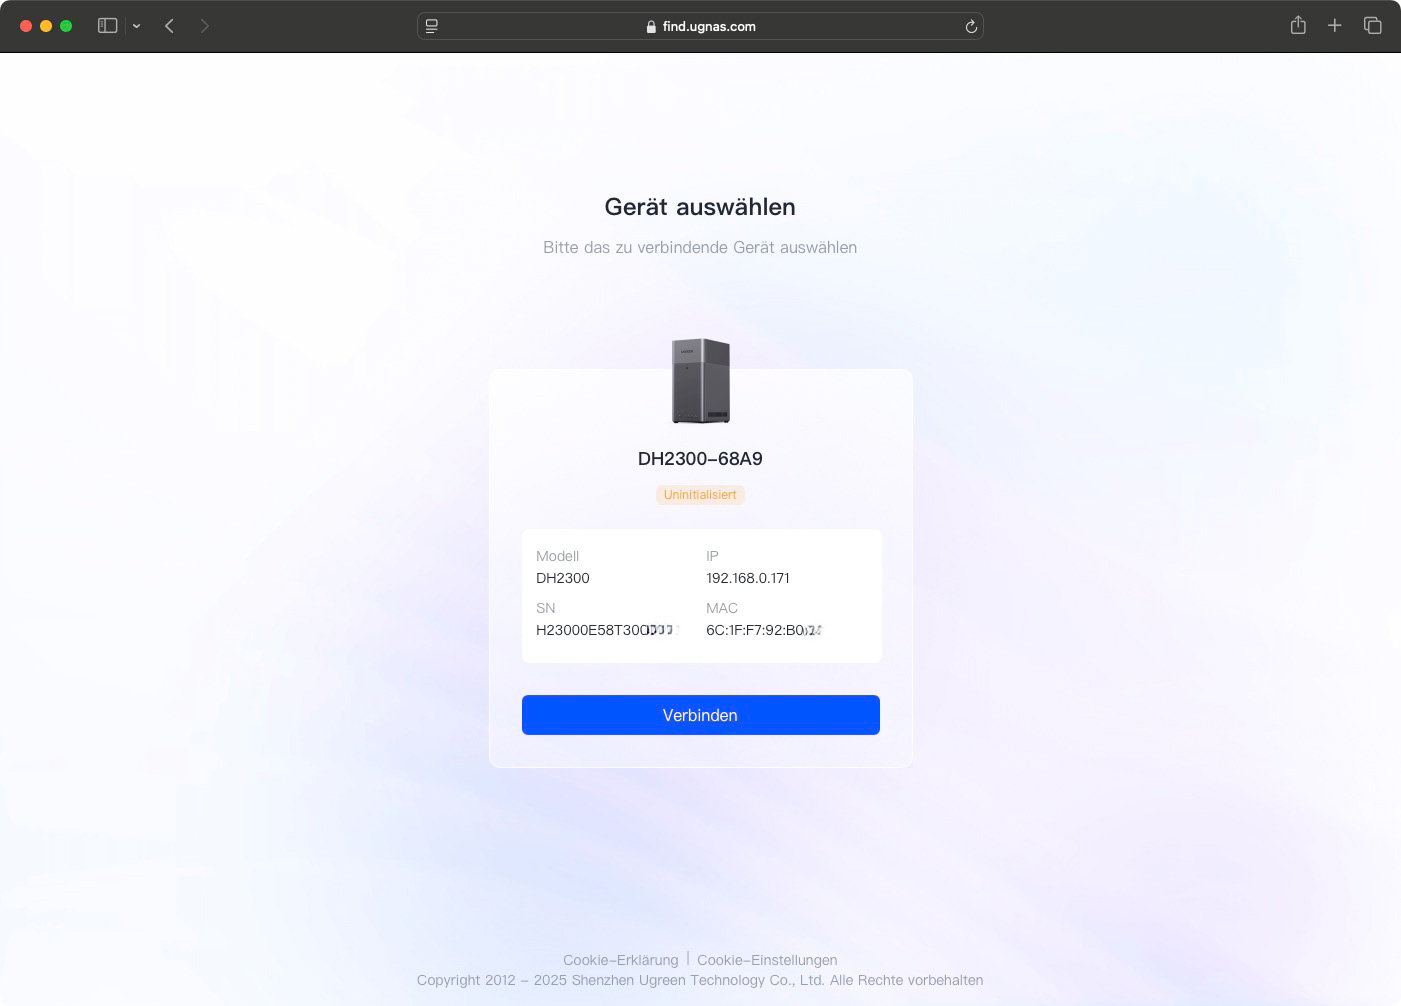
When you visit the find.ugnas.com website, the NAS is displayed along with its current information, such as the serial number, MAC address, and IP address, and you can connect to the device.
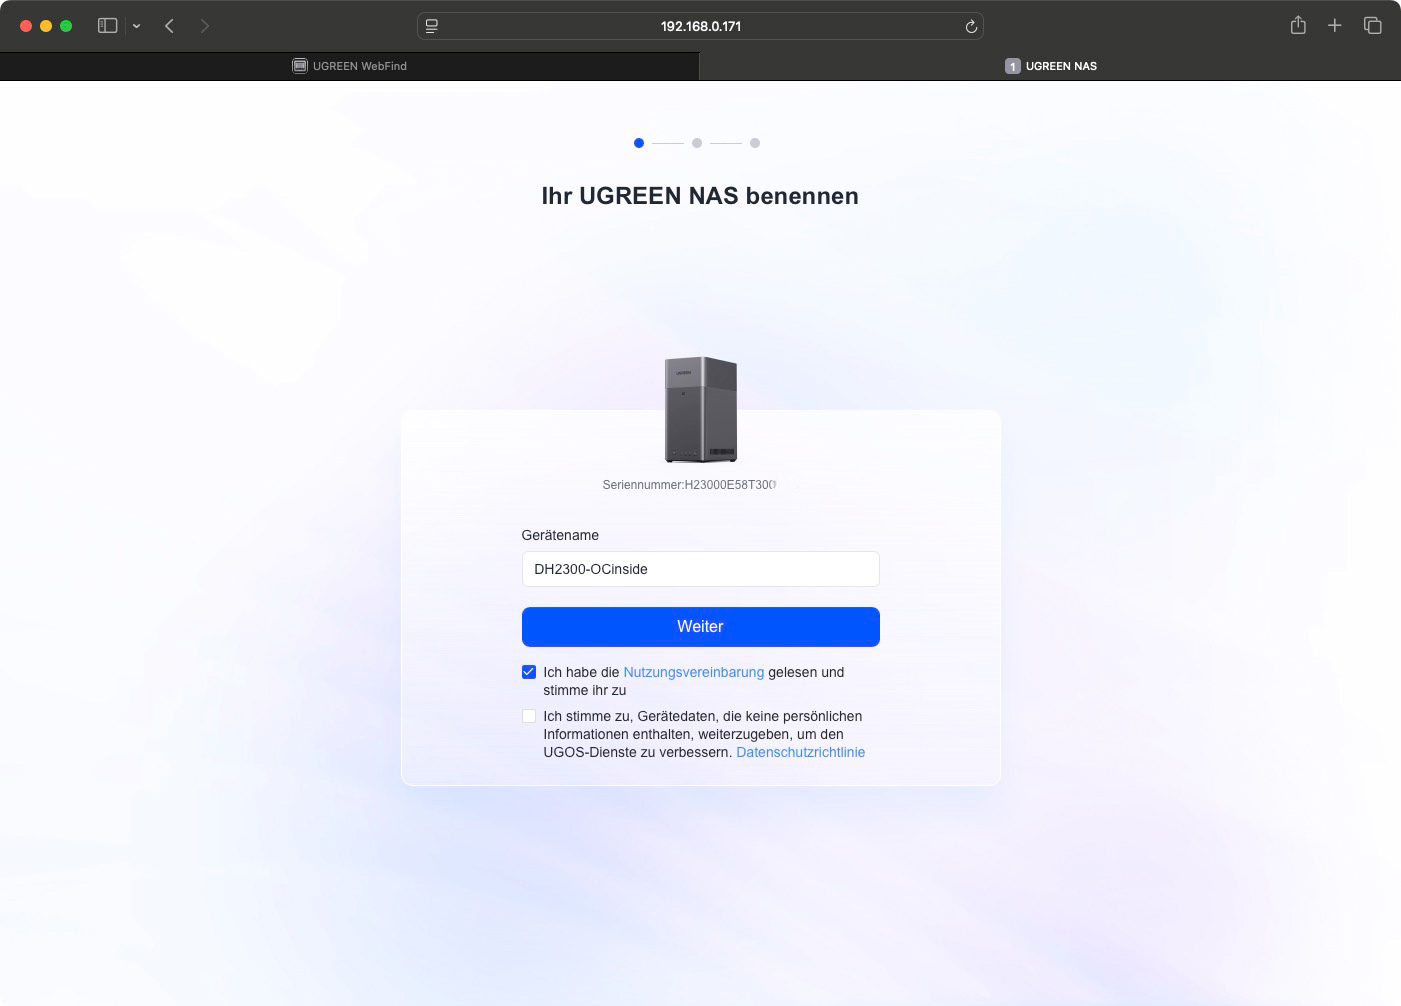
You will then be guided through the initial setup process. Here, you will set a name for the device.
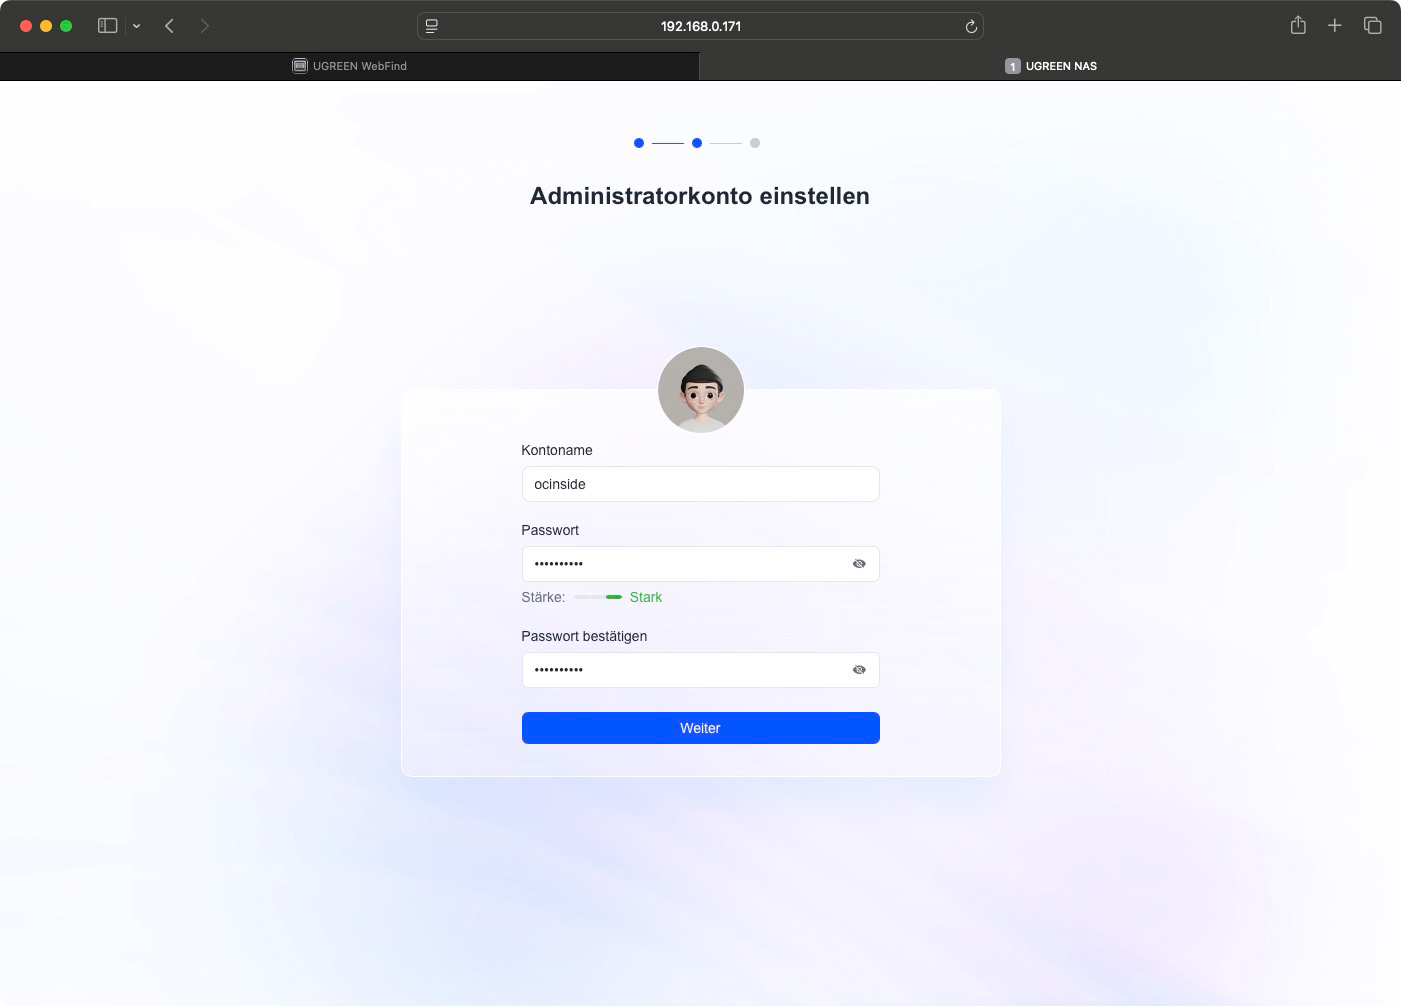
Then create your first admin account…
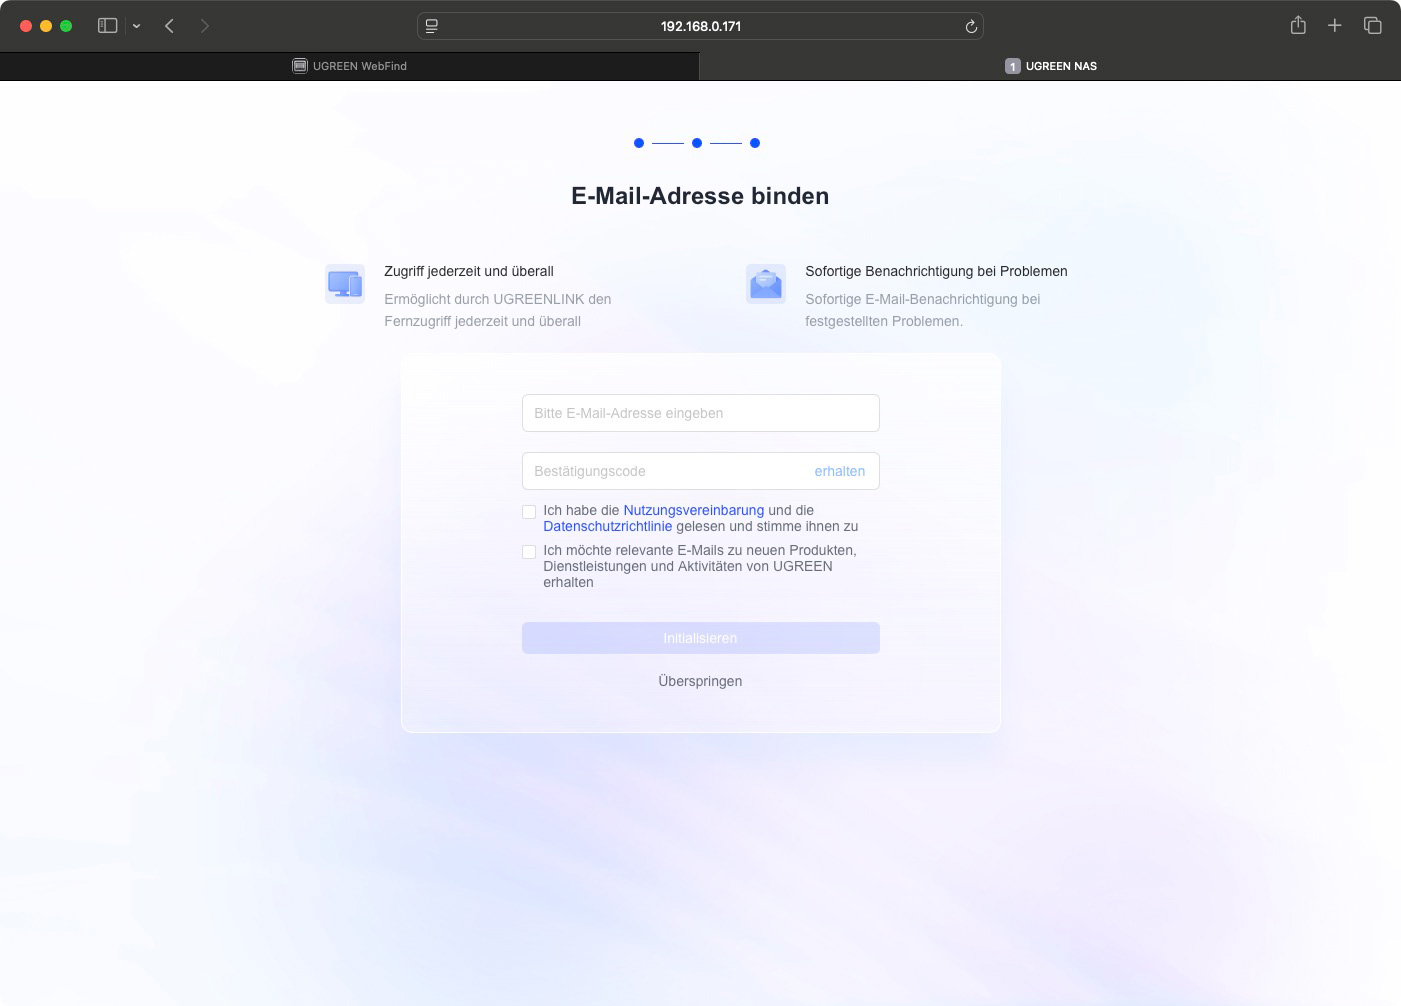
… and can also set up remote access. This allows you to access the device using the mobile app for iOS or Android, even when you’re not at home.
Setup takes a moment; after that, you can log in to the NAS web interface using the admin account you created during the initial setup.
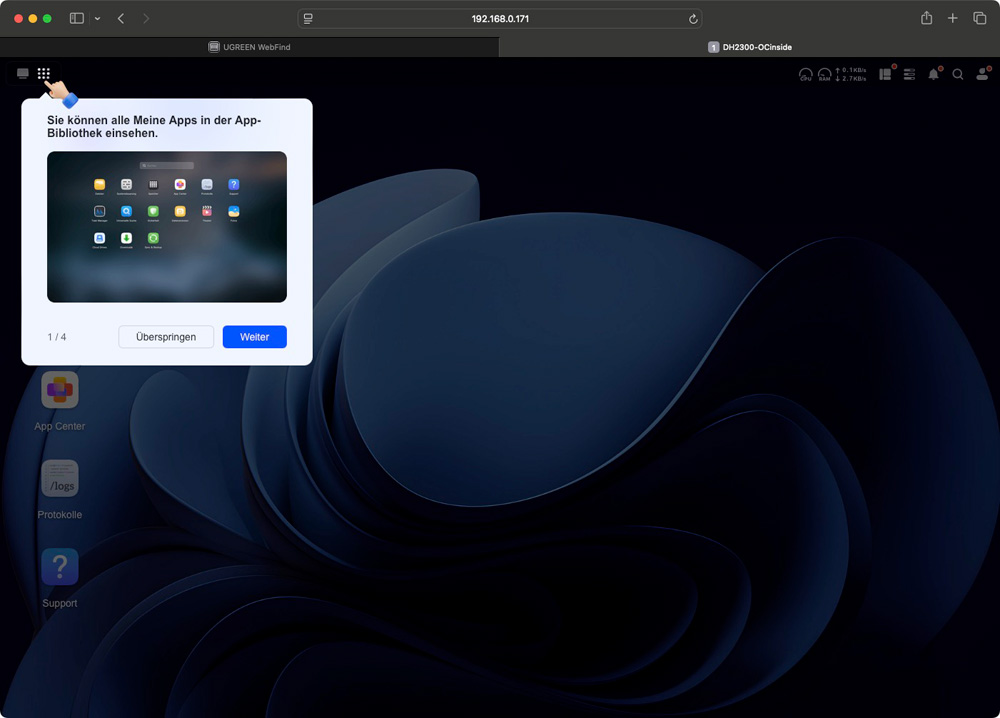
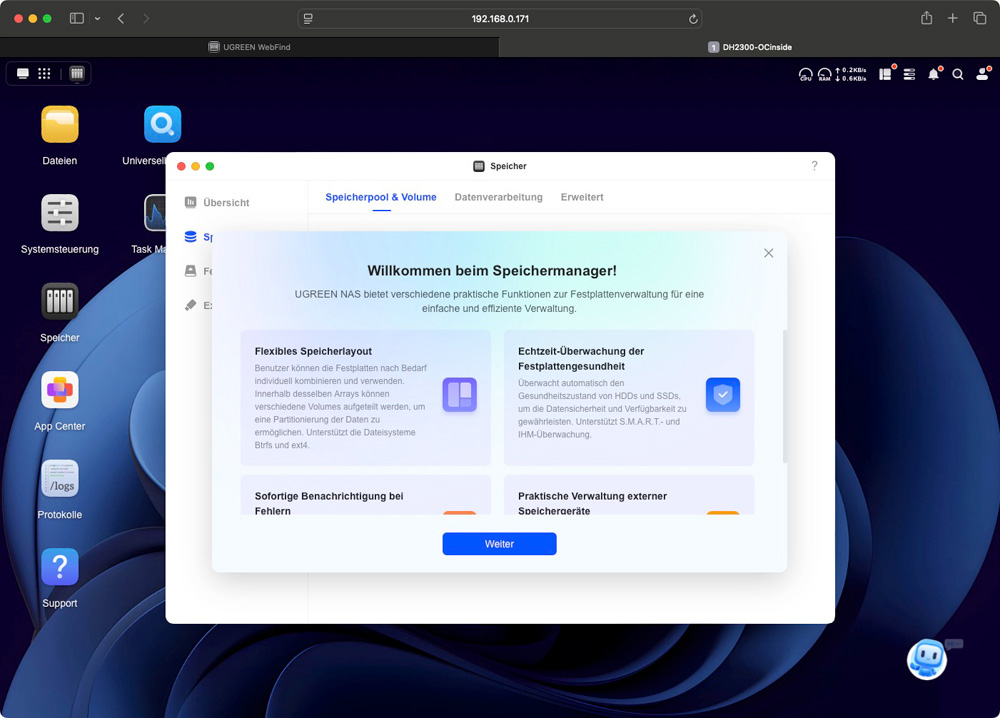
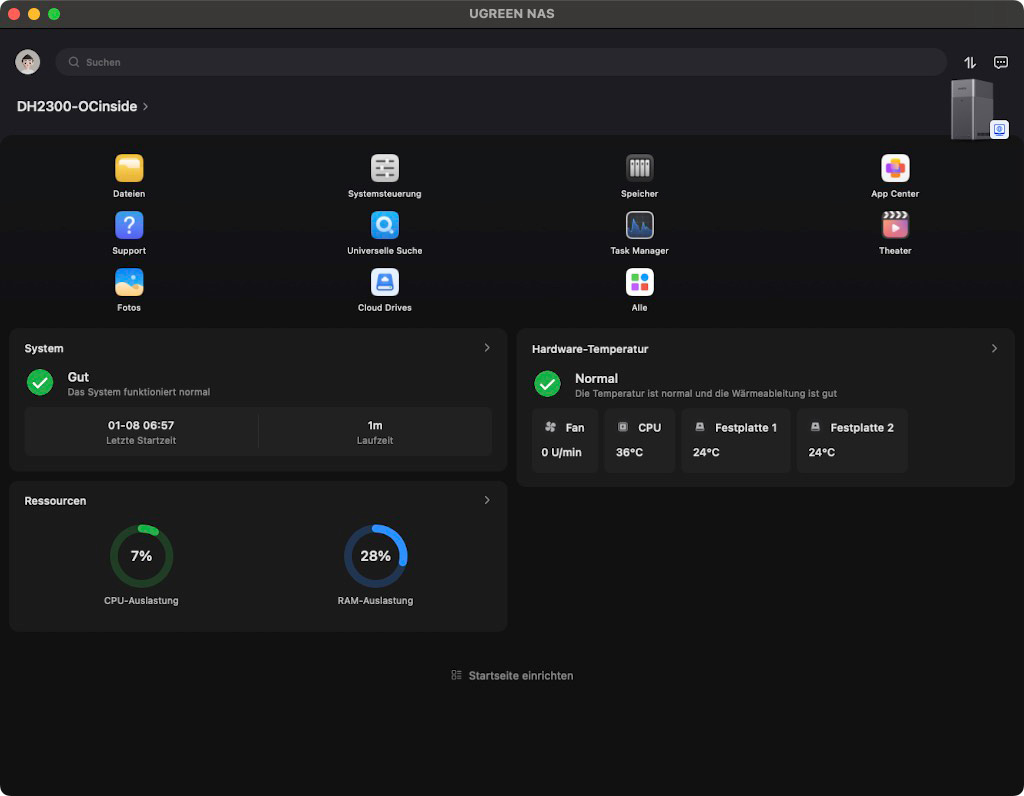
The user interface is simple and well-organized. Key functions are displayed as icons directly on the page. Additionally, when you log in for the first time, an automatic tour of the most important controls will start.
The user is then automatically directed to the storage setup screen to configure the two hard drives. This is a pretty good and user-friendly solution.
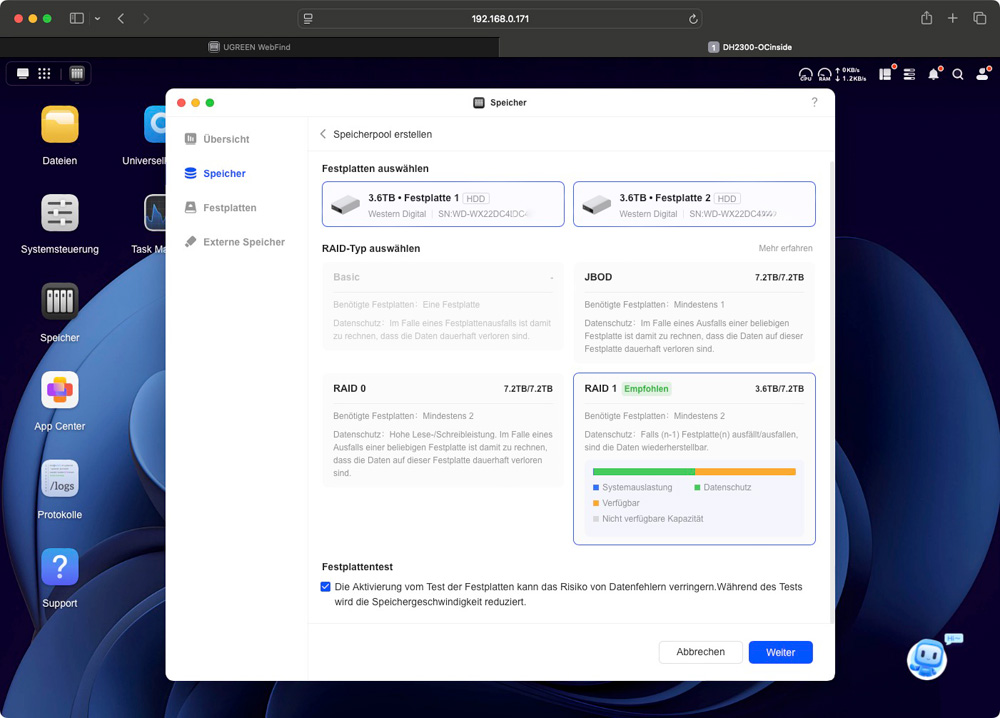
Ugreen NAS RAID Selection …
Since there are only a maximum of two hard drives, the available configurations are limited to JBOD, RAID 0, and RAID 1. In this case, we strongly recommend using the RAID 1 option to prevent data loss in the event that one of the two hard drives fails. However, the usable storage capacity will then be equivalent to that of a single hard drive. In our case, that amounts to 3.6 TB, which is the effective capacity remaining from the two 4 TB drives.
Creating a storage pool and volume is quick and easy.
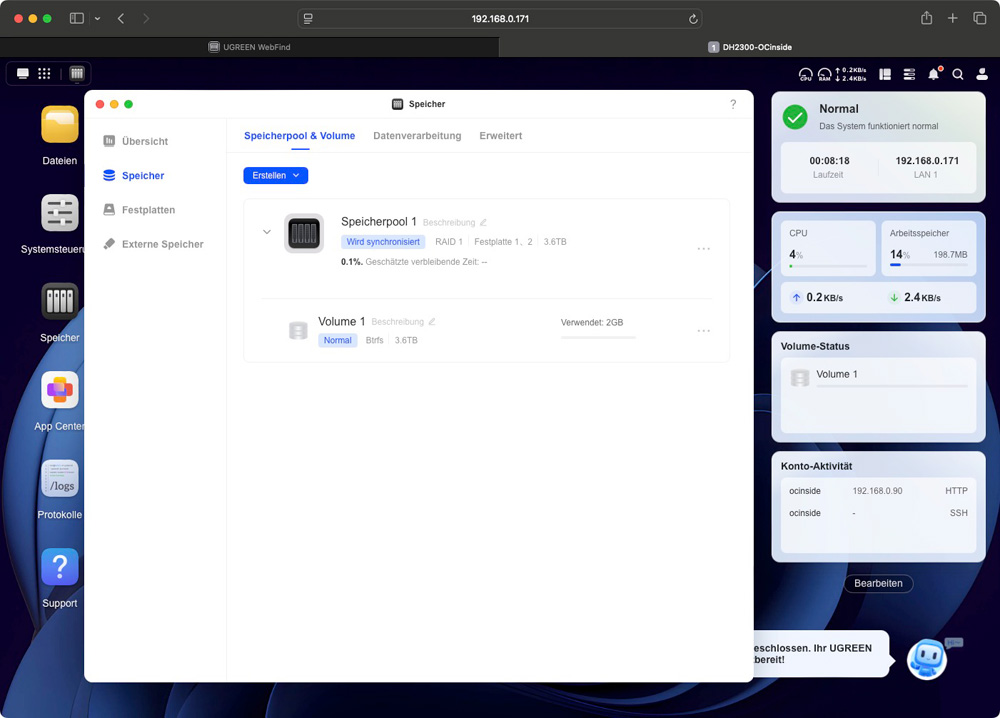
The user is then directed to the file service settings, where they can share folders or set up backup destinations such as Apple Time Machine.

Ugreen NAS User Management and Folder Sharing …
You can access user management through the Control Panel. Here, you can create users and groups and set access permissions for existing folders.
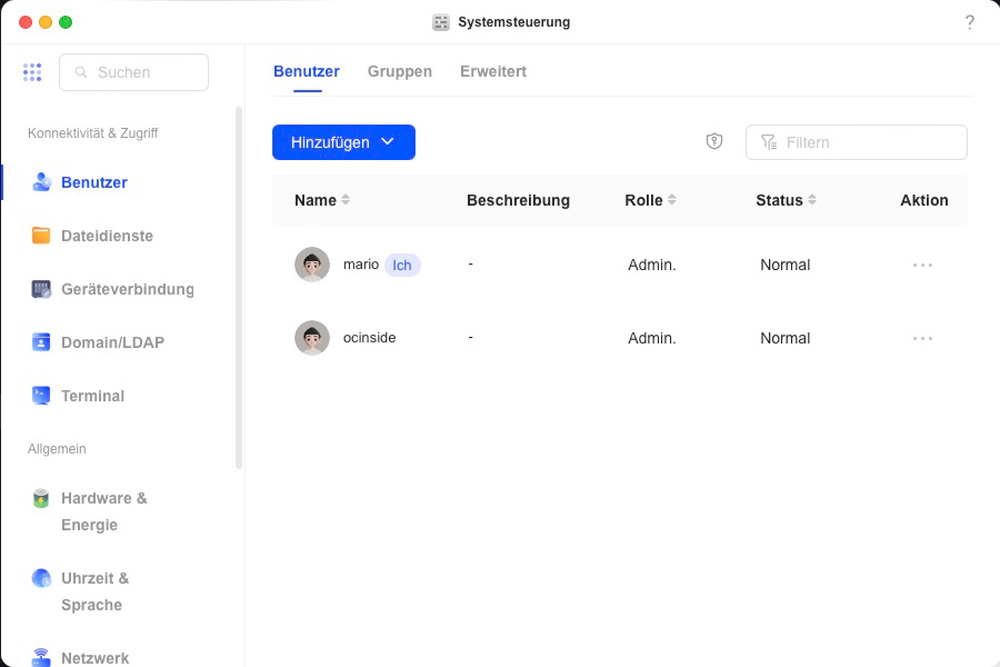
The settings meet the standard minimum requirements for a NAS. Ugreen hasn’t reinvented the wheel here. Users are either admins or “regular” users and can belong to different groups with varying permissions on shared folders.
Users who have enabled access to the NAS via terminal (i.e., SSH or Telnet) can only log in this way if they are an admin user. Regular users do not have terminal access.

The following file-sharing protocols are available: SMB (Windows File Sharing), FTP, NFS, rsync, and WebDAV. The Apple protocol AFP is not currently supported. However, Macs work well with SMB. You can, however, enable the Bonjour protocol via the advanced settings and create a special Time Machine folder. This allows a Mac on the network to use the NAS directly as a Time Machine backup storage device.
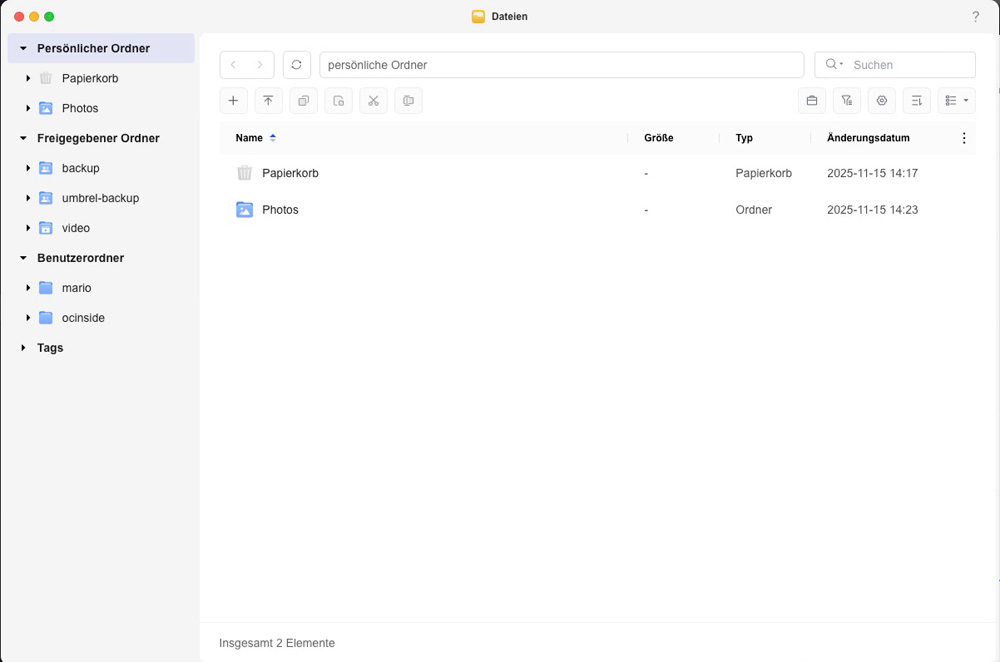
Ugreen distinguishes between user folders and shared folders. The “Files” app on the NAS allows you to access these folders directly in your browser. It only displays the content that the logged-in user has access to. However, the app does not allow direct access to the actual file system. That said, this is not necessary in most cases.
In terms of basic user and file management functions, the Ugreen NAS system is no different from other systems on the market.
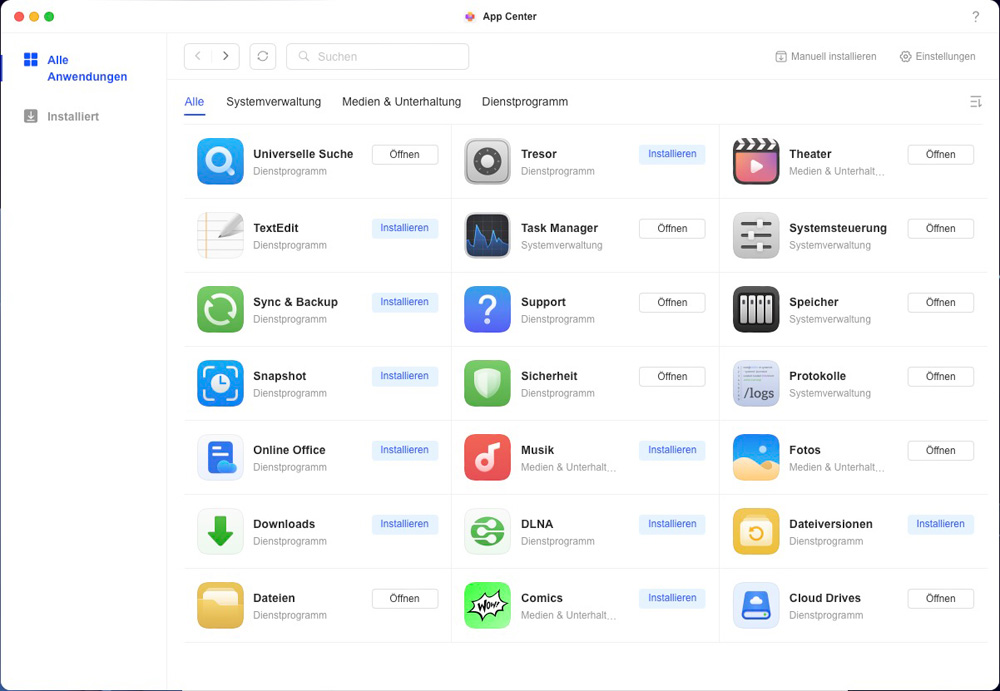
Ugreen NAS Apps in the App Center …
You can install additional components on the NAS using the App Center application. This works the same way as on other systems, such as Synology or QNAP. At the moment, the selection is still quite limited, as there is no third-party software available yet.
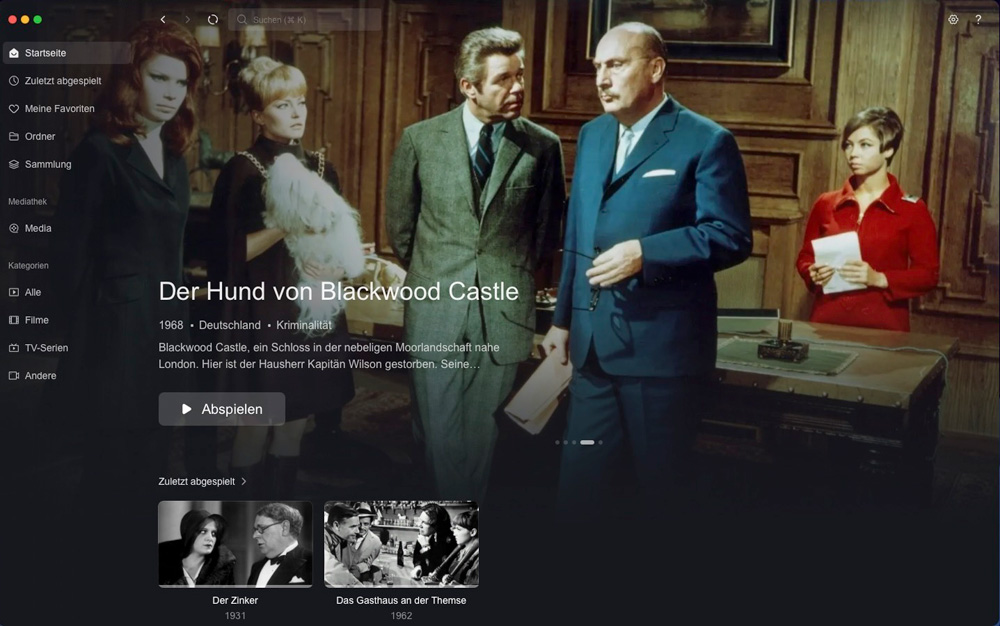
Ugreen Video App …
In the Media section, there are apps for music, photos, and movies. The latter also allows you to play videos through the DH2300’s HDMI output. However, this can currently only be initiated from the iOS or Android app. Movies launched via the web interface are played in a browser-based player. The VideoApp attempts to automatically download the appropriate media data from the internet based on the file name. If you want to use the DH2300 as a media server connected to your TV, you must first ensure a local network connection and then start playing movies using a mobile device (phone, tablet).
If you own a Mac with an Apple Silicon processor, you can also install the iOS Ugreen app on it (not to be confused with the native PC/Mac Ugreen app) and use it to start playback on the HDMI output from your Mac.
There are also several apps available for productive work, such as an online office suite or a text editor. However, the most useful features are integrations—for example, with external cloud storage for backups and data synchronization—or support for snapshots and file versions for shared folders and files.
What the Ugreen DH2300 can’t do …
Unlike the larger Ugreen devices, the DH2300 does not support Docker or the running of virtual machines on the NAS. The processing power and, above all, the limited 4GB of memory simply aren’t sufficient for this. The NAS is designed for simple use as data or backup storage in a home environment. Beyond that, however, the functionality familiar from other devices is significantly limited.
Ugreen DH2300 NAS Power Consumption and Speed …