

Water cooler conversion instructions …
For everyone who would rather read our new AIO mod instructions, we have spared no effort to prepare the tutorial in written form and to store it with pictures from the video.
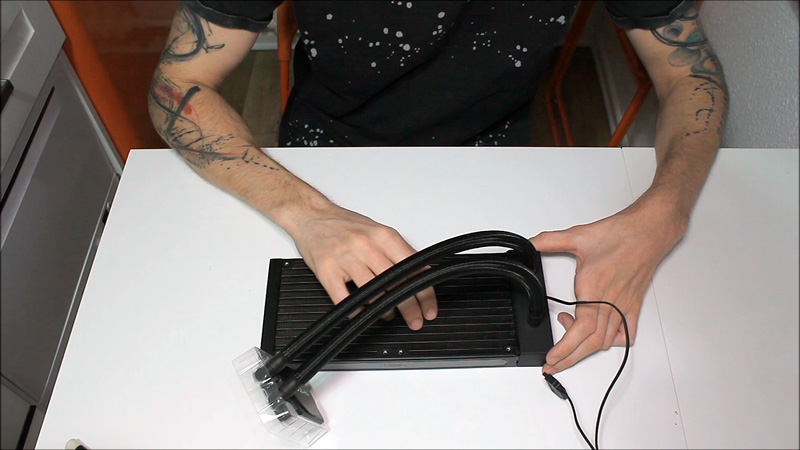
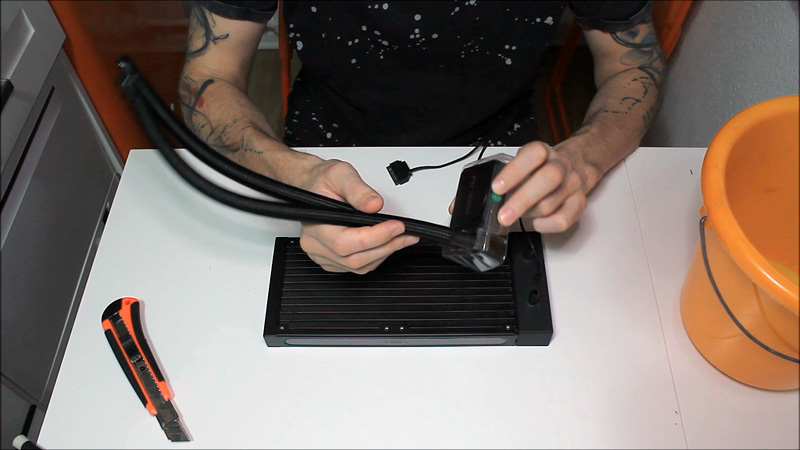
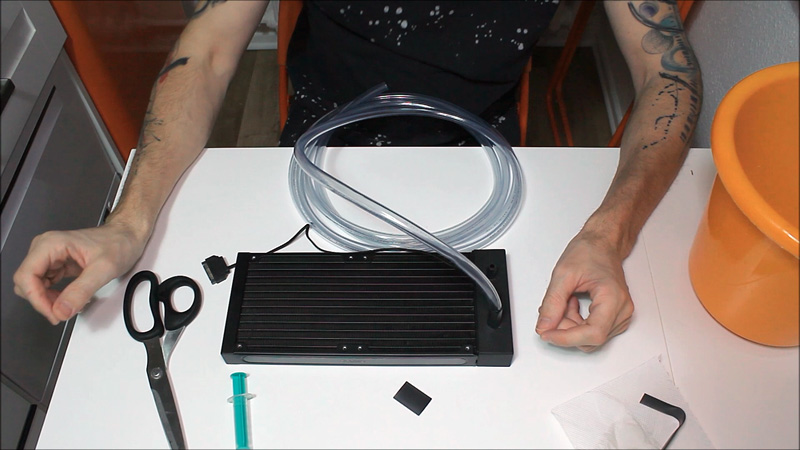
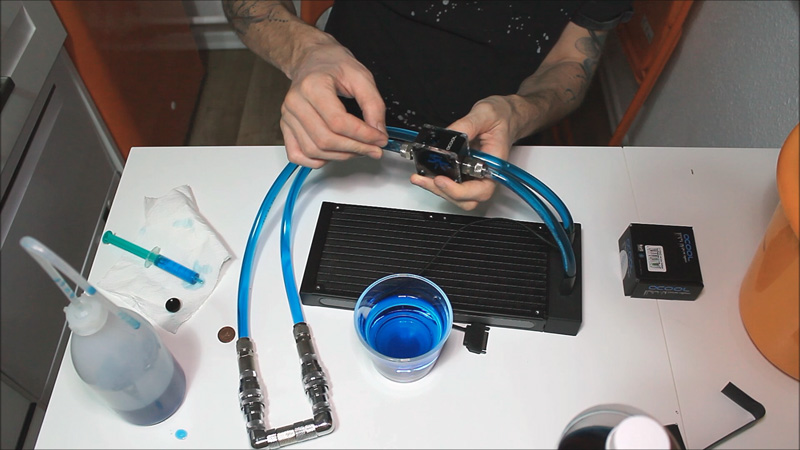
Let’s take a closer look at the AIO first. A special feature of the Antec K240 is that Antec did not place the pump in the cooler, but around the radiator. That’s why this part is a little bigger than usual and we have a power connection there. We will take advantage of this by, in principle, removing the CPU cooler part together with the hose and only using the radiator with the pump, in order to then connect quick-release fasteners later and by means of these quick-release fasteners we can then plug and unplug components for testing.
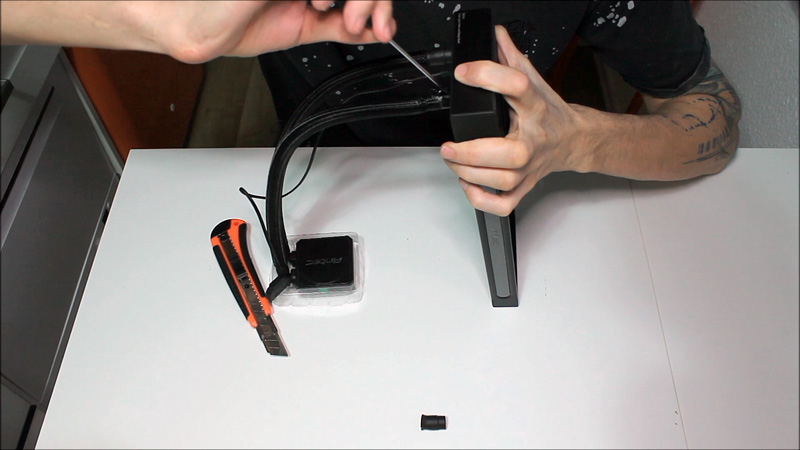
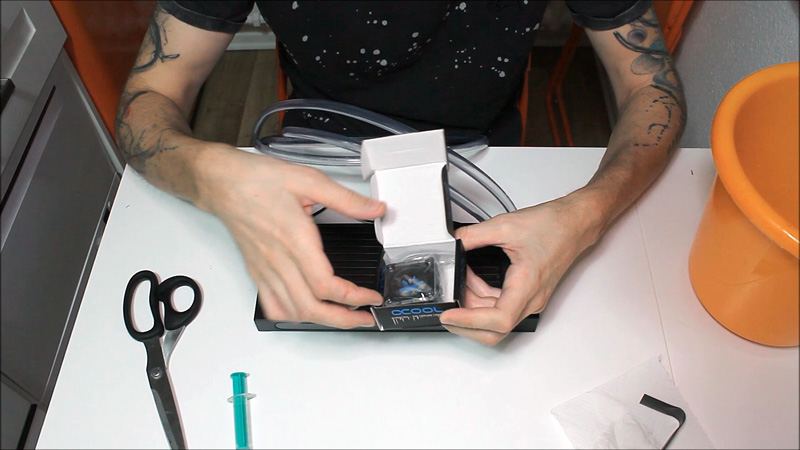
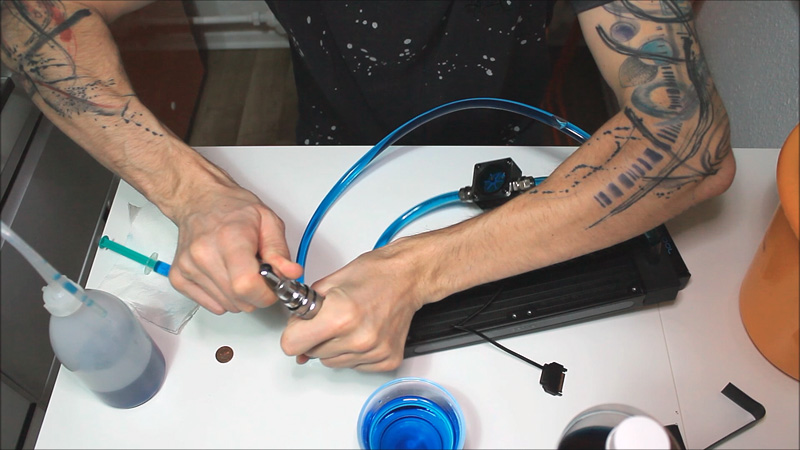
Let’s just have a look … Of course the AIO manufacturers don’t want you to take it apart, so everything is double and triple secured. We first cut this shrink tube with the carpet knife and then levered it out with a small flat-blade screwdriver. That goes well. Now we have the fitting with the fabric hose over it, we will first try the same thing and see what happens and there is already a leak.

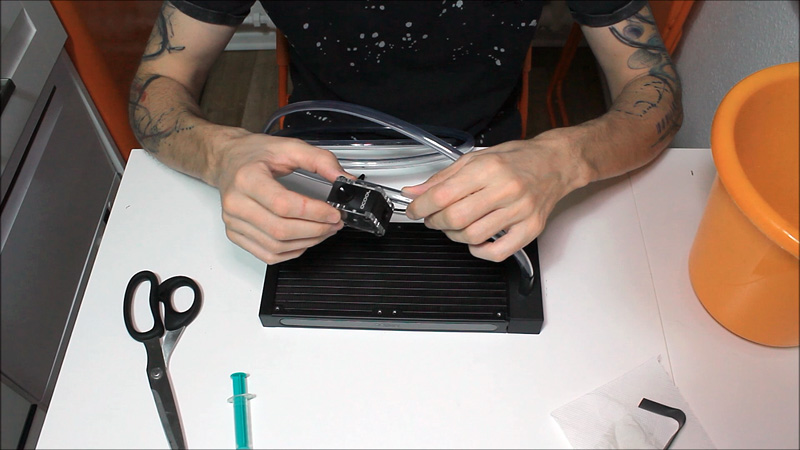
Again, we made a slot with the carpet knife and now go in there with the flat-head screwdriver and pry it apart and then you can already see the fitting.
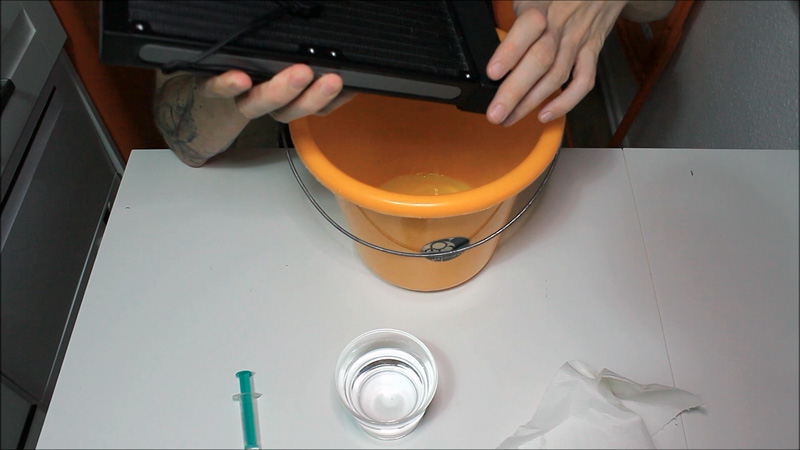
Then the first hose is already off. Now we are trying to get as much liquid as possible out of the loop.
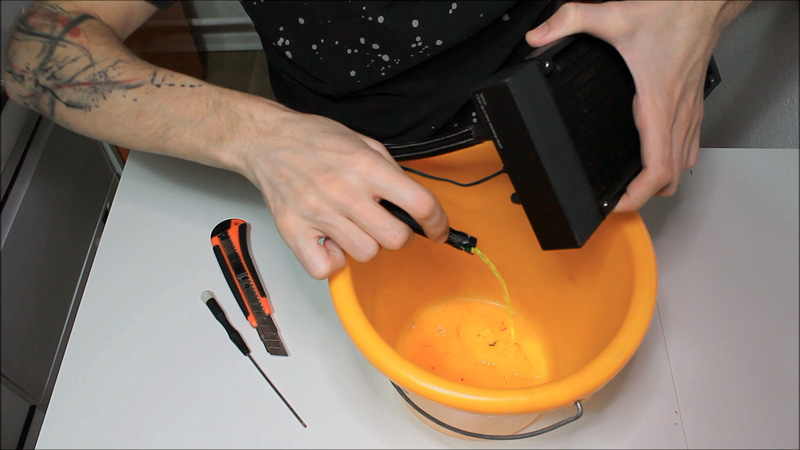
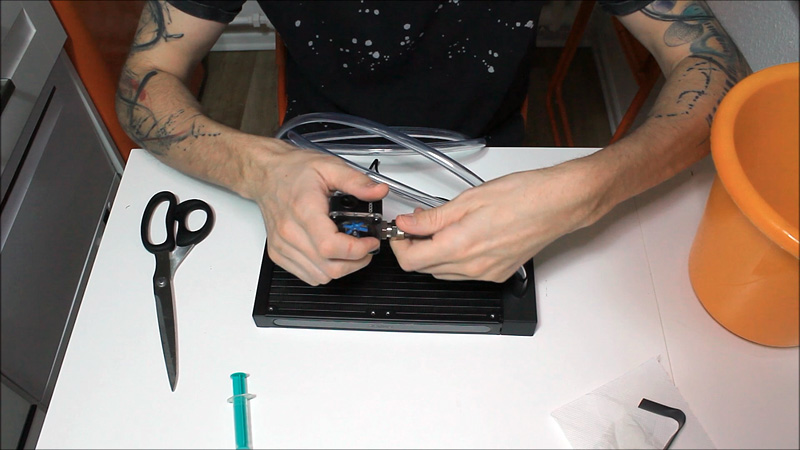
Now remove the second page in the same way. Slotted again and with the flat-blade screwdriver you can now easily take it apart. Another slot underneath … now we get all the remaining liquid out of the radiator.
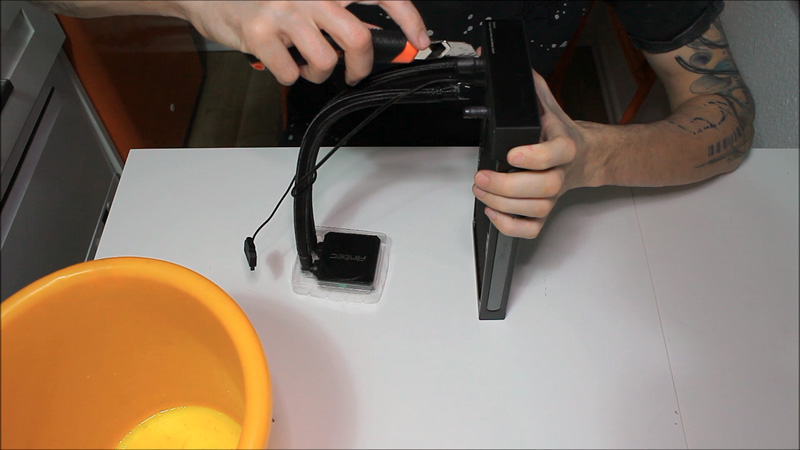
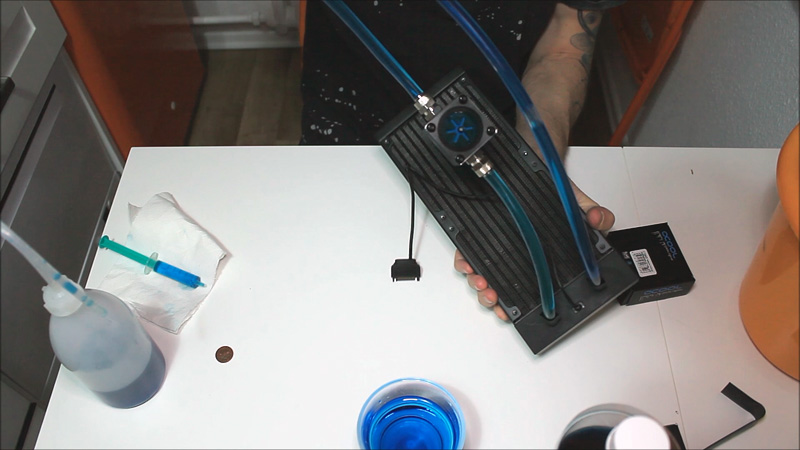
Well, that would be the end of the part. We don’t need the CPU cooler at first, but let’s see what we can do with it. In principle, this is a normal water cooler, let’s see what we can do with it.
So far so good. Next we want to rinse the whole thing a little. We have prepared a glass with distilled water for this, we simply pull it onto a syringe and then push it into the radiator. So much doesn’t usually fit in there. We just repeat the whole thing a few times and then we flush out the old coolant. Shake a little …
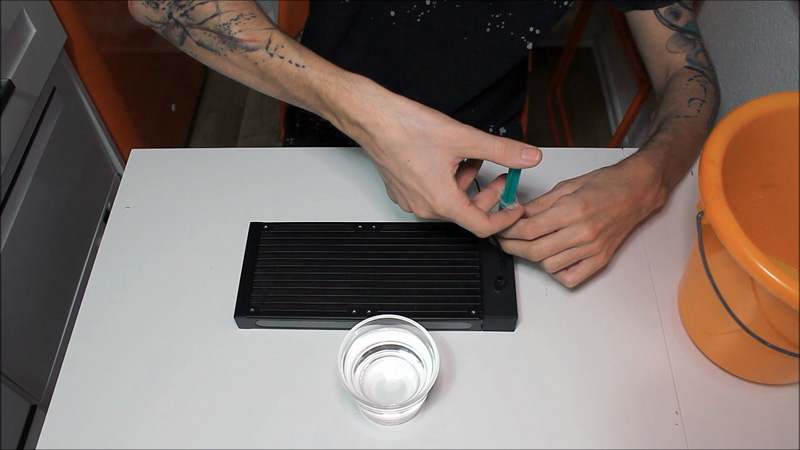
You can easily get a syringe like this in the pharmacy. They may be surprised at first, but when you explain that you need it to do handicrafts, they usually don’t mind.
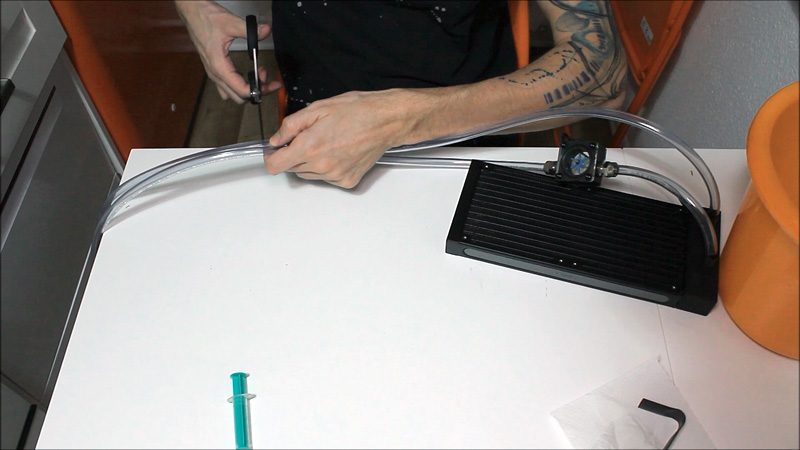
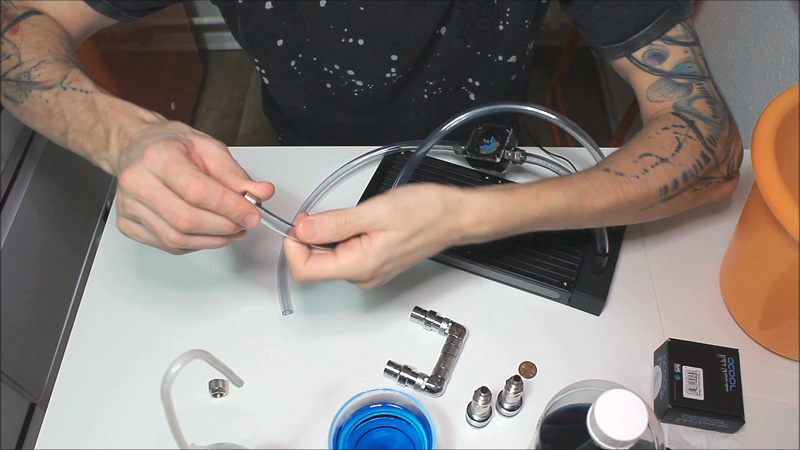
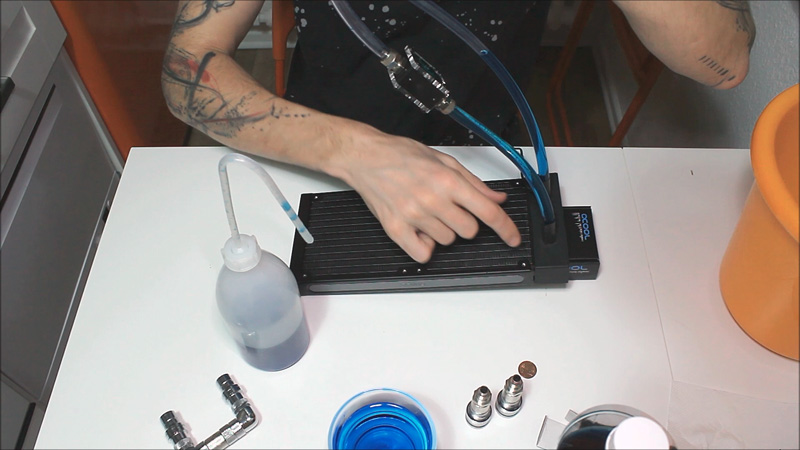
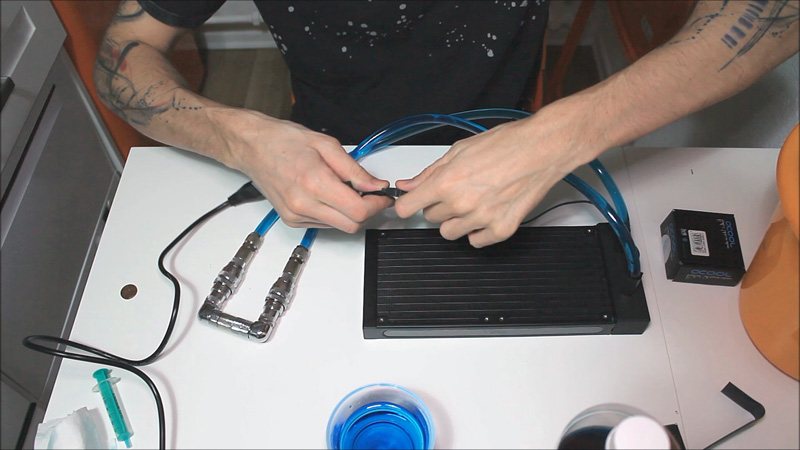
So, we have now freed the radiator from the pump and the remaining tubing, rinsed the whole thing through and now we have normal 8mm hose nozzles. Now we assemble a clear 8mm hose … we have it from the hardware store, but there are also e.g. at Caseking, at Aquatuning, Amazon, etc. … it fits wonderfully over it.
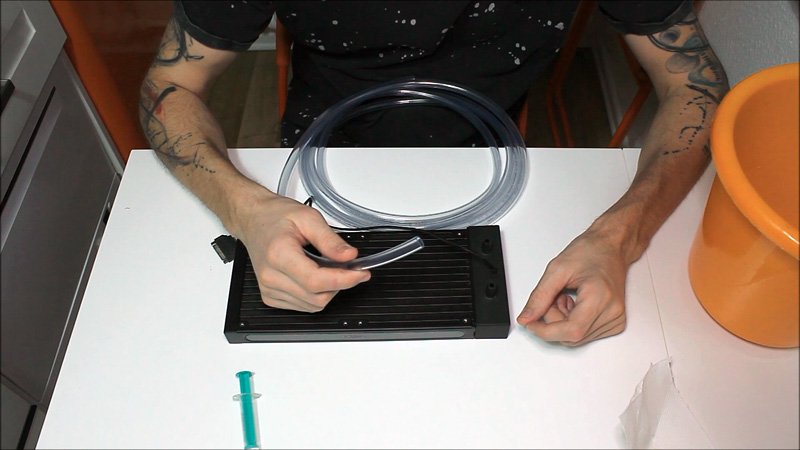
We always like to cut it straight again so that you have a good edge. It is of course a matter of taste, but if you do not find the hose nozzles as great, you can put a little heat shrink tubing over them. I.e. you cut off a 2 piece of heat shrink tubing, longer than the hose nozzle … Be sure to pull the heat shrink tubing over the hose first. It doesn’t work afterwards, or is definitely more difficult. And then you can just pull it over, shrink it tight and then it actually looks really chic, even if it’s actually just a hose nozzle.

The other side just like that.
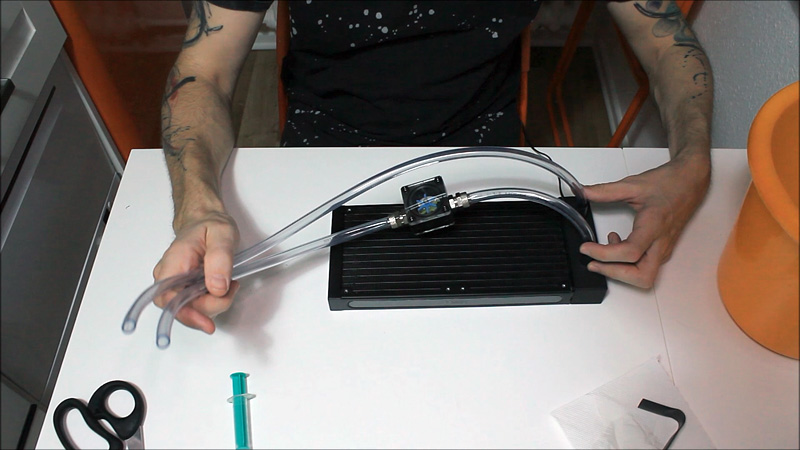
We had already shown it in the other AIO conversion instructions and we will do it again today by using the Eisflügel flow indicator from Alphacool on one side.
This is because it has entrances on 3 sides, so that we can use one side for filling. We won’t fill the entire loop with it, but we’ll try to get the rest of the air out of it by using the third connector. We would use it approximately at this position in between and can then bleed the system well.
For the 8mm hose we use normal 8mm union fittings, i.e. you have the normal fitting and a union nut, which comes beforehand over the hose and can be easily put together and the union nut then secures the hose. On the other side, exactly the same.
In terms of length, most AIO manufacturers normally choose between 35 and 40cm hose length for the hoses. Since this is a test system and it is not built into a housing, we can take a little more so that we have a little more scope. If we now hold both side by side with the flow indicator, because it saves a little hose, it will be about 45 to 50 cm.
Now we have the hose on the AIO, the next step is the filling.
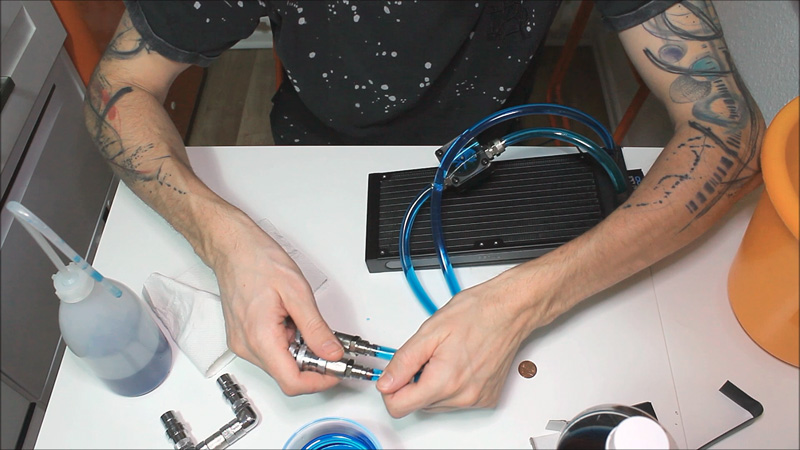
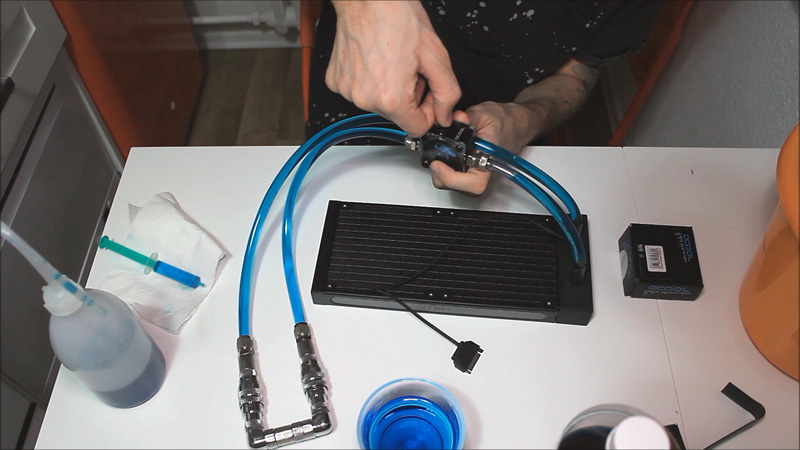
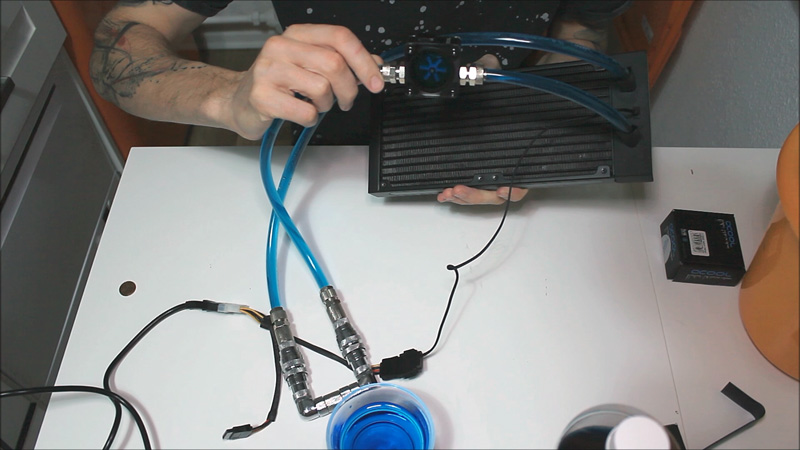
Before we start filling, however, we have to prepare it so far that in the end, if we have liquid in the system, we will get the whole thing completed. Since we are not installing a cooler, but rather the quick-release fasteners mentioned above, we still have to prepare them. These are Alphacool Eiszapfen. These are relatively large, but have the advantage that they can be easily connected to the counterpart and that automatically closes the loop.
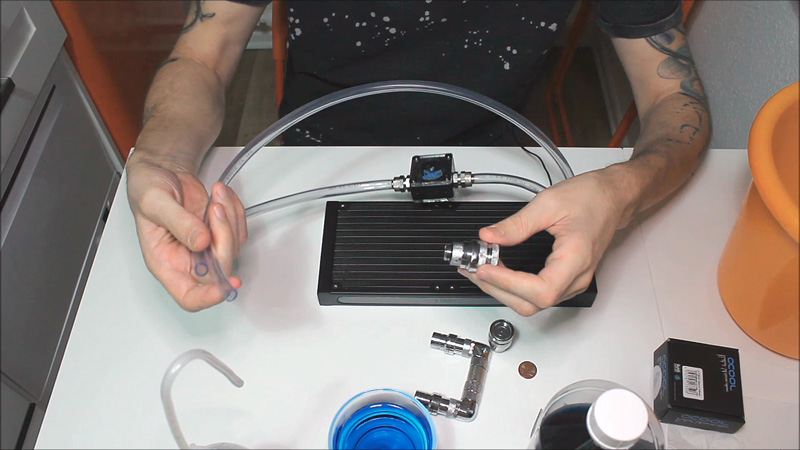
In that case, we prepared the counterpart by connecting the two to a U. Usually there would be a cooler at this point. Unfortunately there is currently only the variant with G1/4 inch external thread. These were also available with a G1/4 internal thread, but were currently not available. That is why we take such nuts, which we then screw over them so that we can then change from an external thread to an internal thread and then simply screw on our union fittings again. The whole thing is relatively large and long and does not look … well it is certainly a matter of taste … but there are certainly nicer things 😀 But in terms of functionality they are simply great and they are perfect for our test system, that’s why we use them.
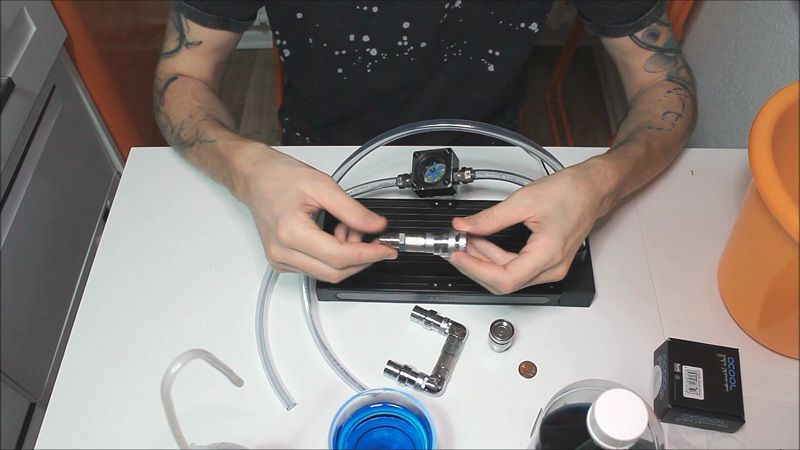
Then we also put the two union nuts over the hose so that we don’t have to do it later if there is liquid in it and then we can start.
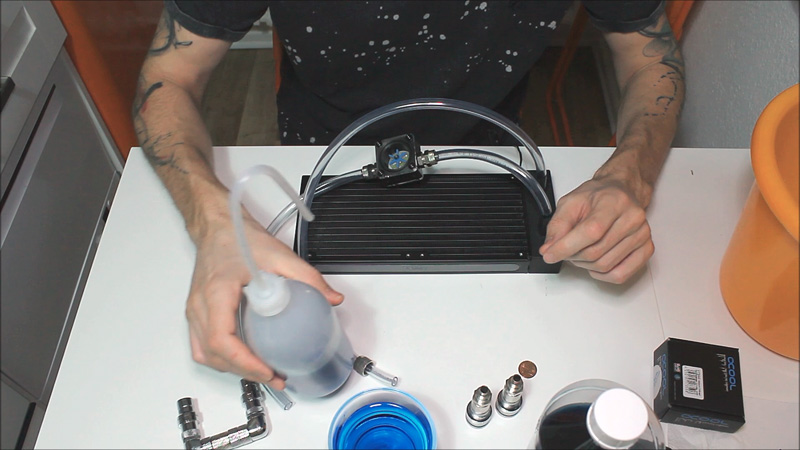
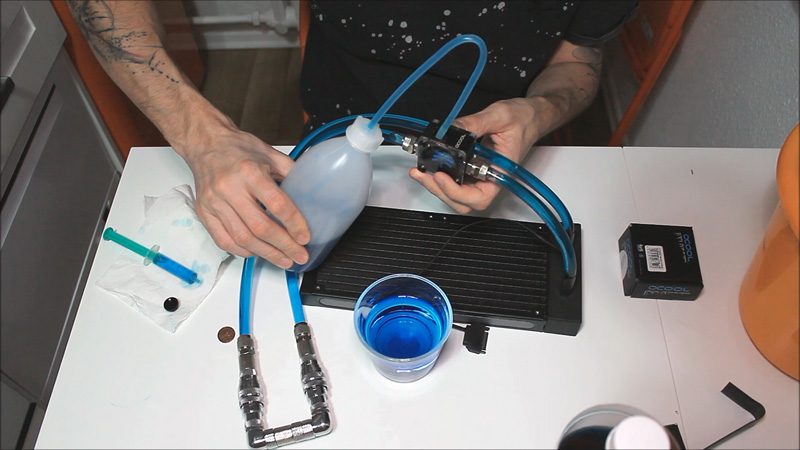
We have such a laboratory bottle here, it has a spray snorkel …
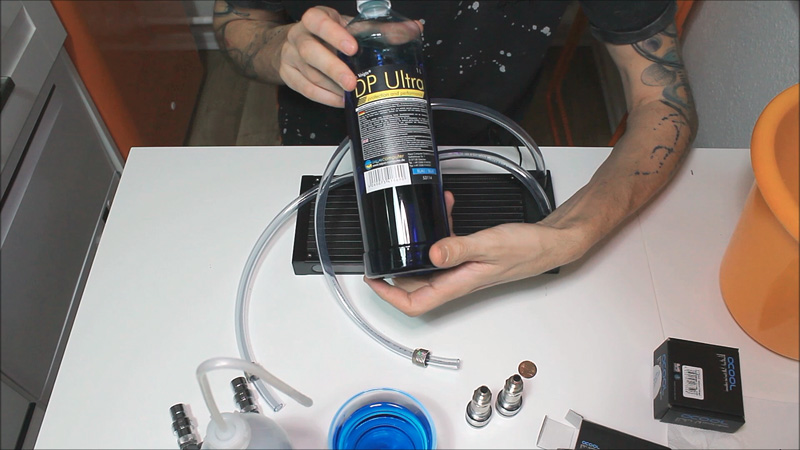
… there we filled in blue DP Ultra liquid from Aquacomputer. We like to use it because the color is very bright and reliable. It doesn’t start to flocculate or discolour at some point. We already use different colors.
Radiators are usually built in two chambers, so that you always have half of the radiator to flow per fitting.
Here the water then flows to the other side and then back, or depending on how the pump is installed. In any case, it is practical if you store the side a bit higher so that all the air comes up from below as far as possible and then hopefully can also escape from the hoses. Here you can see that we get a lot of air from the radio by shaking and the liquid then sags.
For the last bit we take the syringe again, we have prepared the glass again, but this time with the coolant. It is always a good sign that the air is almost out of the system if you fill liquid into one side of the hose and the other side adapts accordingly.
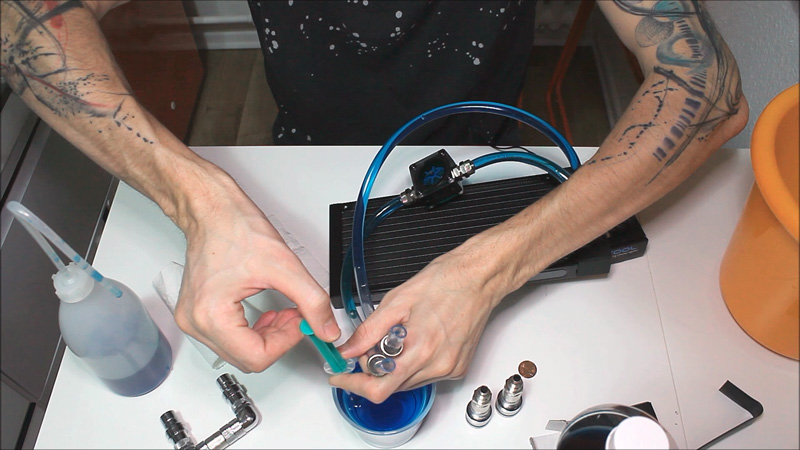
Now we will try to get the hose as full as possible and then attach the fittings. Unfortunately, we cannot push that in with the syringe. We still have a small air bubble in it, but we’ll get it out with the flow indicator.
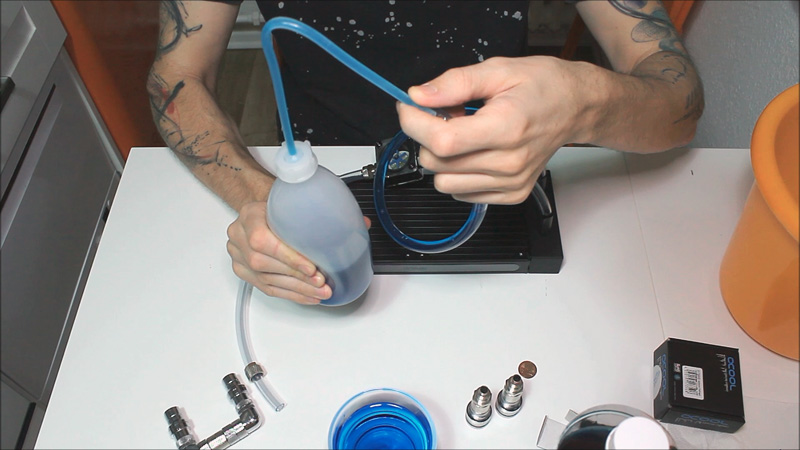
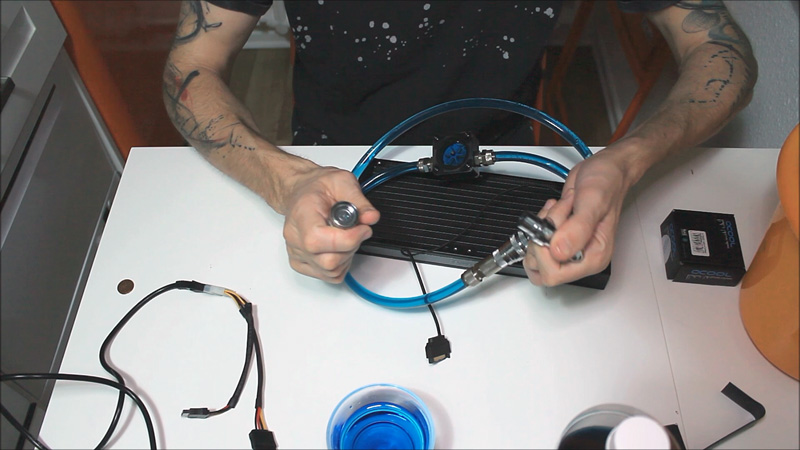
For ventilation we will now take a look at how such a radiator is constructed: you always have two connections and the radiator itself is then divided into two parts. Usually, one half directs the flow to the opposite chamber. Here the water collects and flows back through the other half. I.e. if we want to get the air out of the system, we have to keep that in mind and juggle it back and forth a little. But since we have the pump in the radiator, it is relatively difficult to get past it with the air. We will now connect the system to each other so that we can go the other way around and then finally collect the air in the flow indicator and then fill it up. So that this does not become a tinkering, you should remember to fill the syringe beforehand, since you need both hands afterwards.
Of course there is still some air in here, which we have to get out of there, too, but let’s put it all together, we’re a little excited.
You can see the air bubble quite well, it is now moving up.
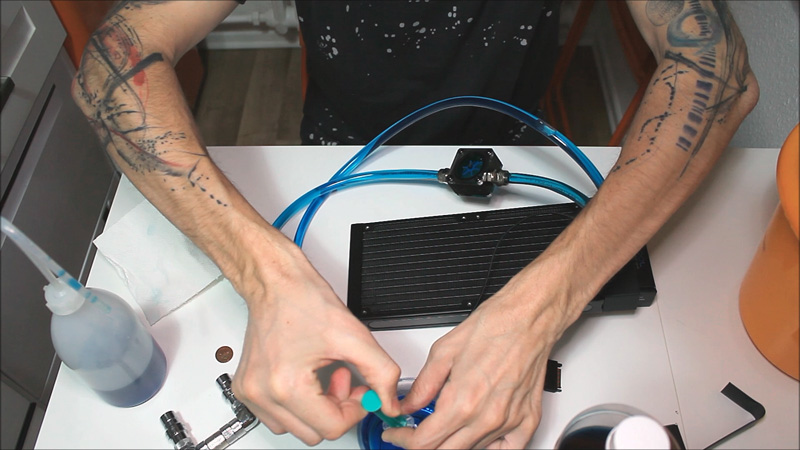
And then it comes on the other side. The air that has now collected here in the flow indicator can be refilled with the syringe.
Given the amount, we can probably use the laboratory bottle again, which works pretty well.
Very good, maybe move a little again … then you can still see it standing in the tube. We will now move this back to the flow indicator in the same way so that we can get it out. Fill the syringe again beforehand.
Since there are no more air bubbles here and the radiator no longer ripples when shaken, almost all the air seems to be out. Of course, this is a game of patience when filling for the first time, but you usually only do it once and then the system runs. Next, we’ll just test it out. We are excited …
Looks good, because the flow indicator is already spinning, there is still a bit of noise in the radiator, but this is normal, as the last bit of air is now pressed out of the pump. It usually takes 20 minutes, half an hour and then it is gone.
The big highlight is that you can easily separate it after the test. A very small drop of blue liquid may escape, but the quick couplings are really great. We will use this for cooler tests soon. Simply a great system! The AIO loop, to which we can now connect individual components, remains perfect!
That brings us to the end of the video. We now have a cool, individually expandable AIO, which admittedly needs a little more liquid, but that’s not a problem so far. We will definitely carry out the next test with it. Because – attention spoiler – we ordered an Eisblock from Alphacool for our ASRock Radeon RX 5700 XT Taichi X 8G OC+, which means that we can use this modified AIO for testing for the first time 😀
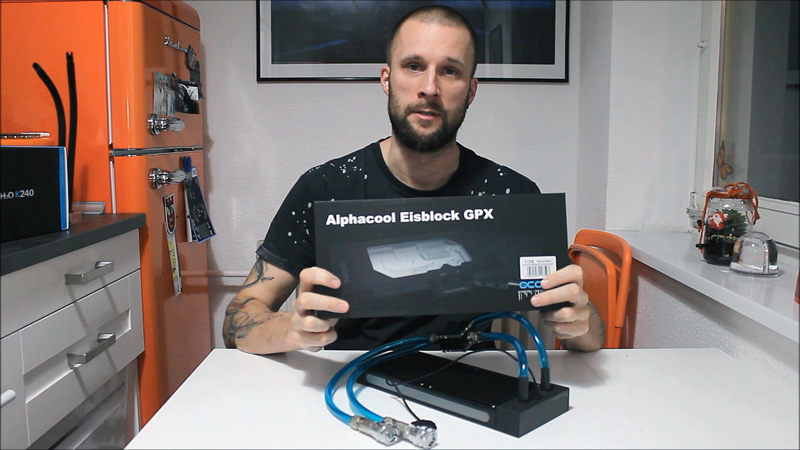
Conclusion of the AIO mod …