

Water Cooler AIO Pump Replace Instruction …
For those who prefer to read our new AIO Mod tutorial, we spared no effort to put it in written form as well and back it up with the pictures from the video.
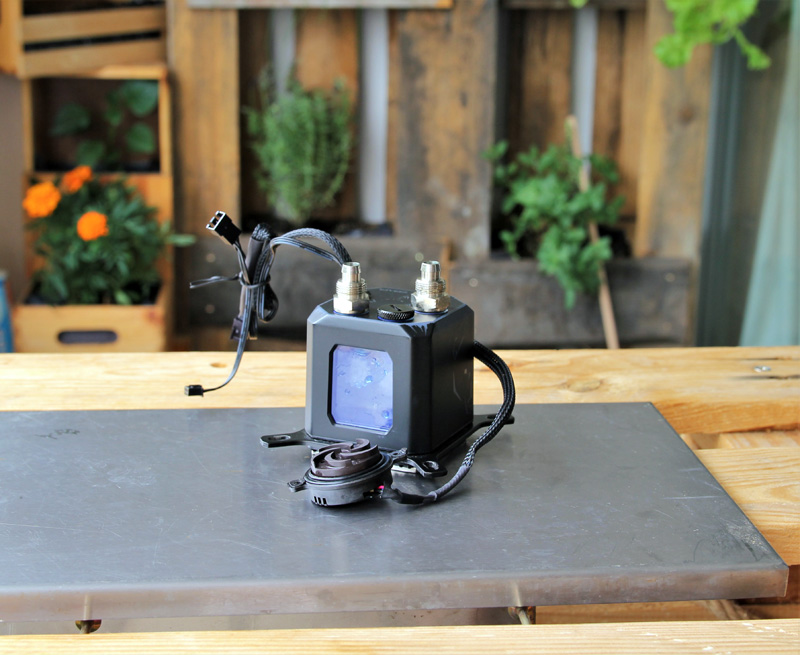
Today we are installing a more powerful pump into the Alphacool Polar Bear Aurora All-in-One water cooling system. By default, the Alphacool DC-LT 2600 is installed in the Ultra Low Noise variant. This manages 75 liters per hour and a maximum head of just under 1 meter. Today we are installing the Alphacool DC-LT 3600. It manages 120 liters per hour and a maximum head of 2.20 meters. Because if you have barely expanded the circuit, added a graphics card cooler, installed 2 or 3 radiator, perhaps the flow is no longer enough.
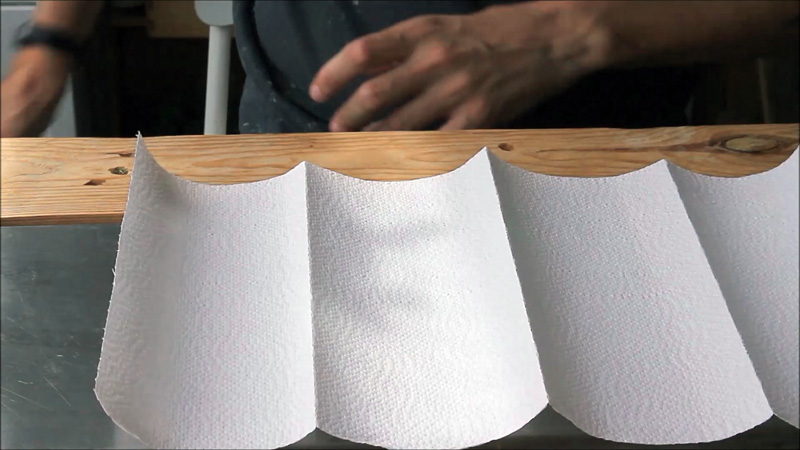
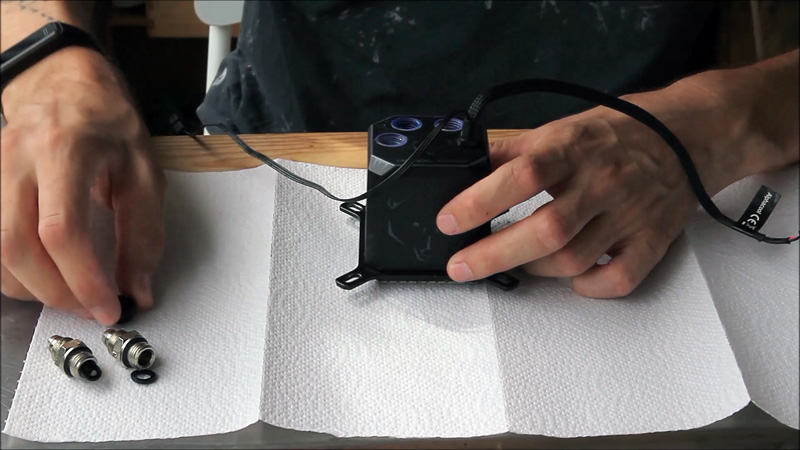
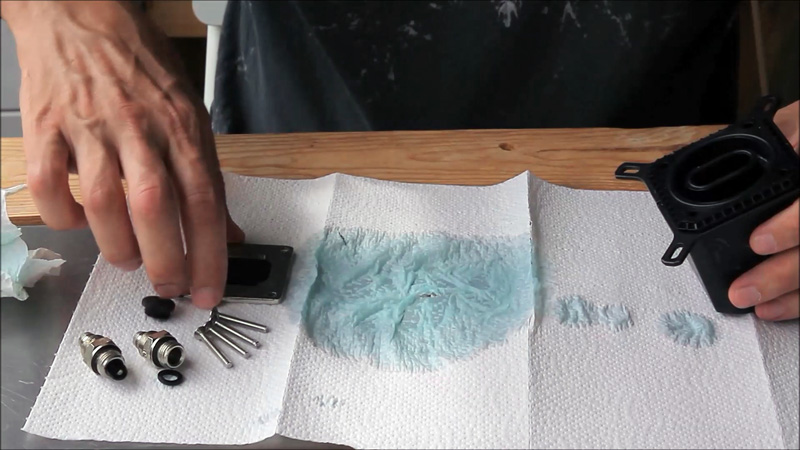
To be on the safe side, we’ll line the workspace with a little kitchen roll beforehand, because there’s a good chance we’ll spill a little while we’re tinkering, too.
We then loosen the installed fittings with an open-end wrench or adjustable wrench …

… and unscrew them completely.
The plug that closes the integrated expansion tank can be easily loosened with a large flat-blade screwdriver.
And set aside the filler plug.
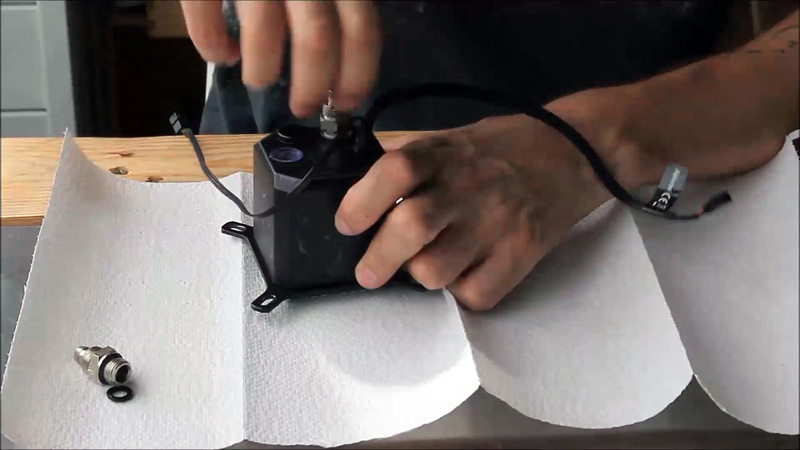
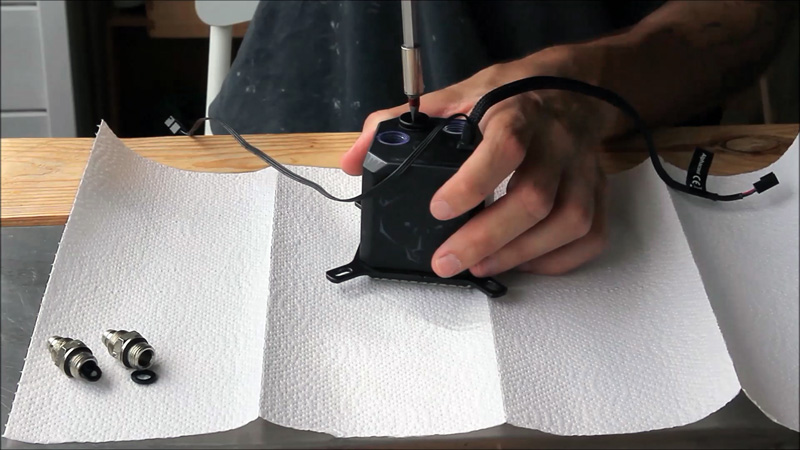
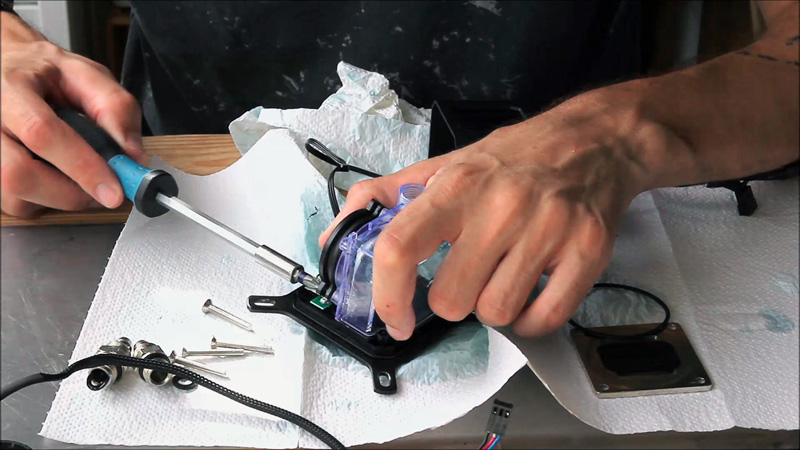
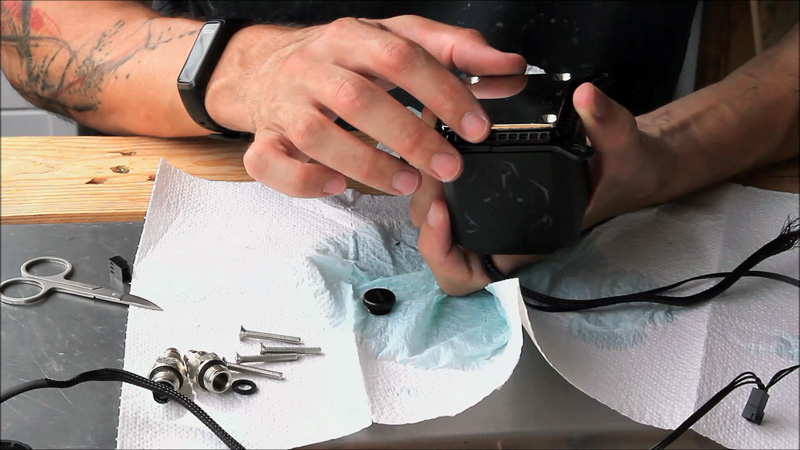
In the next step, we turn our attention to the underside and this is where the kitchen roll comes in use. Fortunately, we put this down beforehand. We do not need an arsenal of screwdrivers here but a bit holder. This has for the advantage that you have a screwdriver, where you can then easily change different bits. In the case, Alphacool has used hexagon socket screws on the bottom.

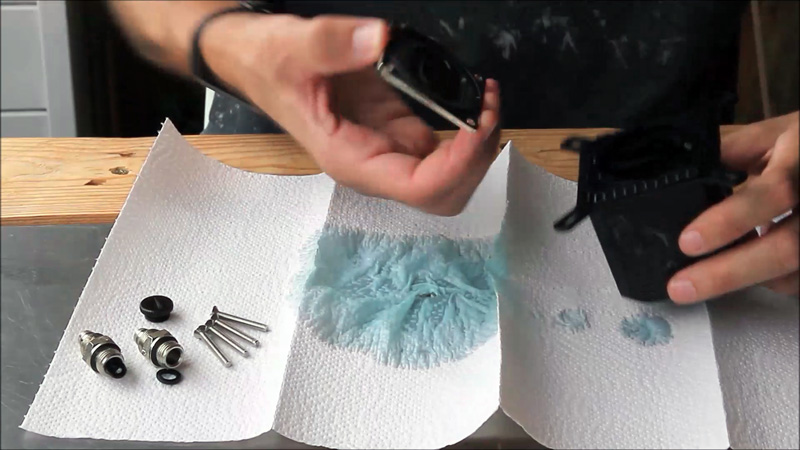
So far so good. Next, we want to rinse the whole thing a bit. For this we have prepared a glass with distilled water, which we now simply pull on a syringe and then press that into the radiator purely. Normally, you can’t put that much in there. We repeat this a few times and then we rinse out the old coolant. A little shake …
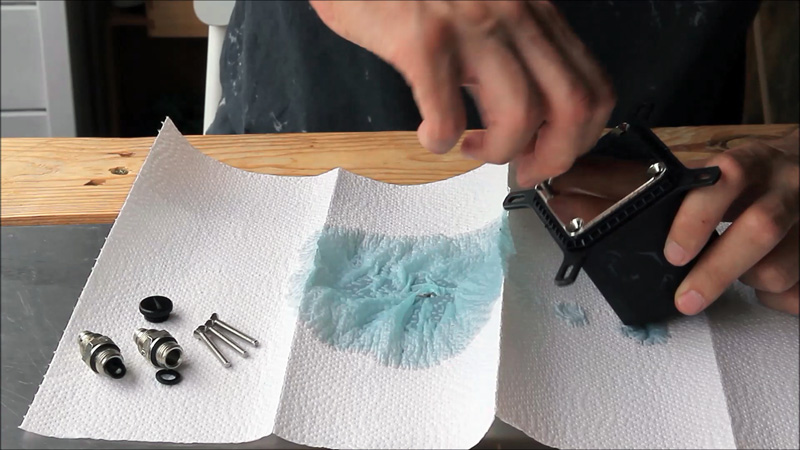
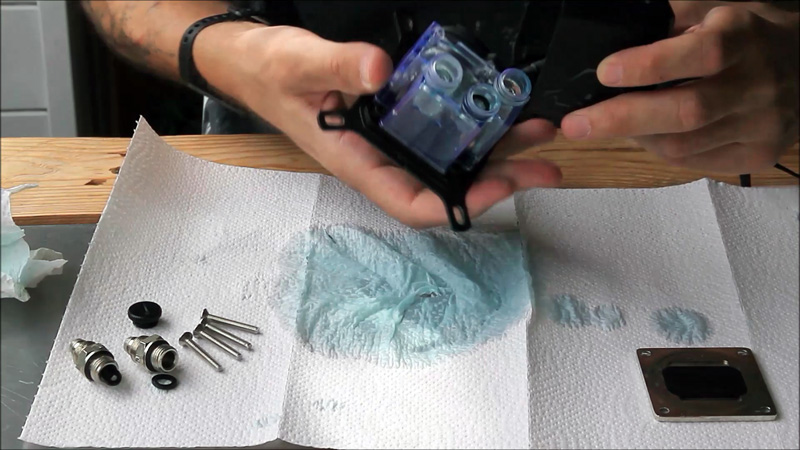
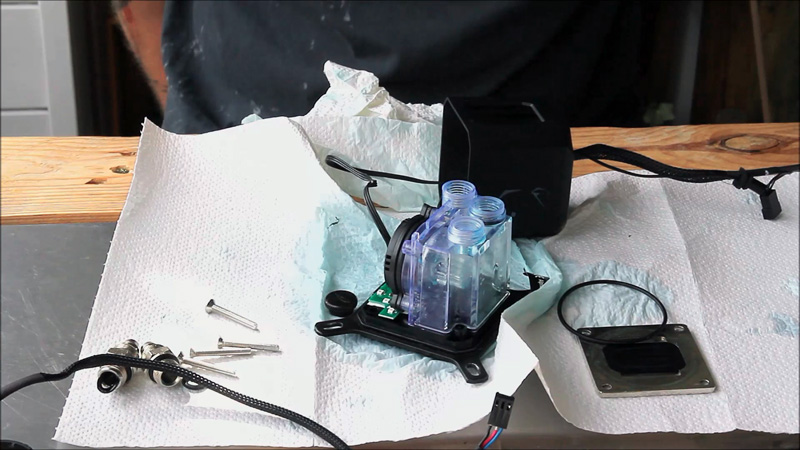
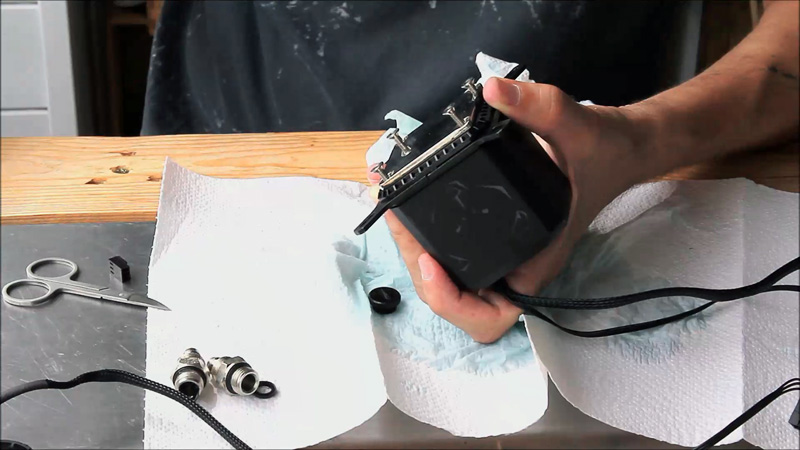
After we had the nevertheless very long screws finally outside, the nickel-plated bottom plate of the cooler came to me then also directly.
The cooler’s structure is comparable to that of normal water cooling systems. Of course, normal is nothing at all, because there is a very fine fin structure and a jetplate directs the course of the water over it.
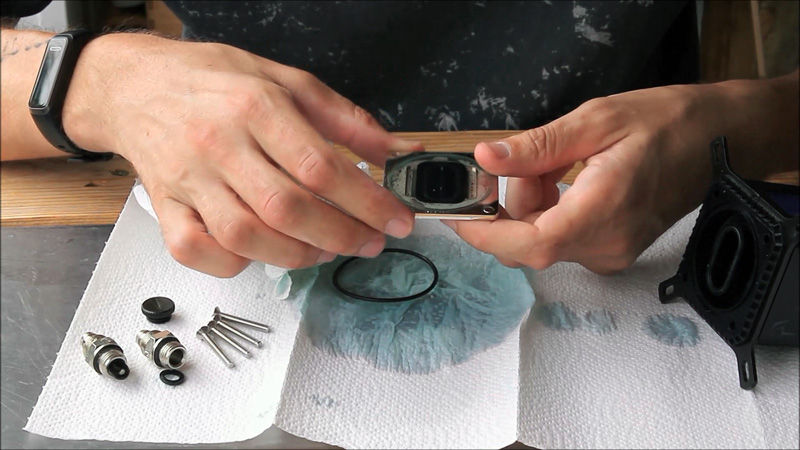
This is often also a source of error, because it is so delicate that if dirt or deposits accumulate there after a while, it can then become clogged or no longer flow well. And that of course affects the cooling performance, so it definitely makes sense to clean it carefully on such an occasion. With the sealing rings, we’ve gotten into the habit of putting them where they come from, so you always know that’s where they belong and they don’t get away.
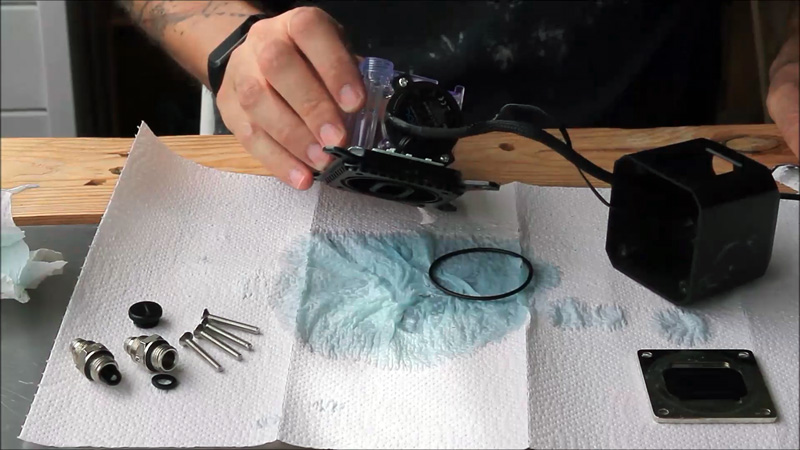
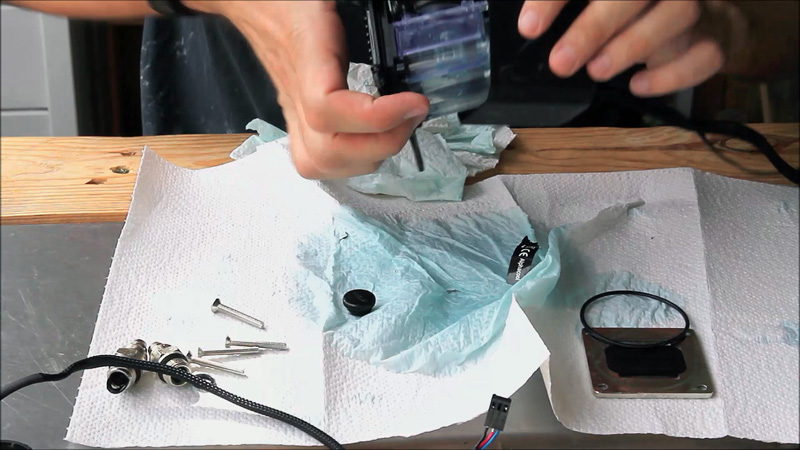
Now that we have taken everything apart so far, we can separate the outer shell of the Eisbaer from the inside.
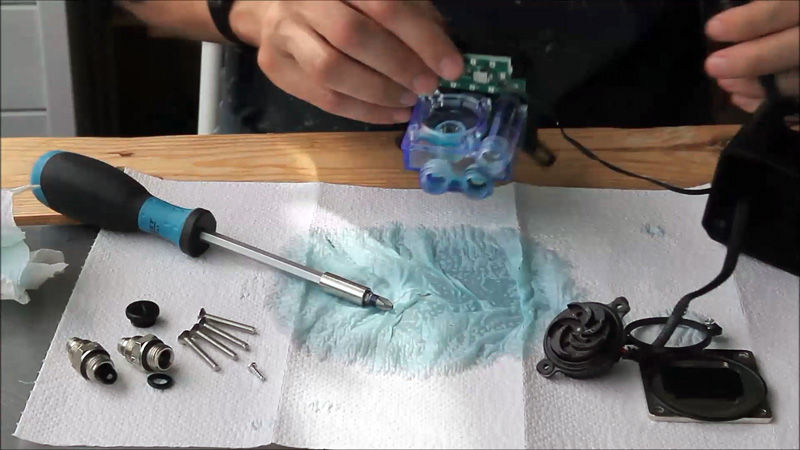
The interior then ultimately consists only of the expansion tank is the small of the pump and the lighting electronics. And in this case also the base holder, since we have not dismantled it before.
The DC-LT 2600 pump is connected to the expansion tank by means of a retaining frame and two cross screws and can be easily detached.

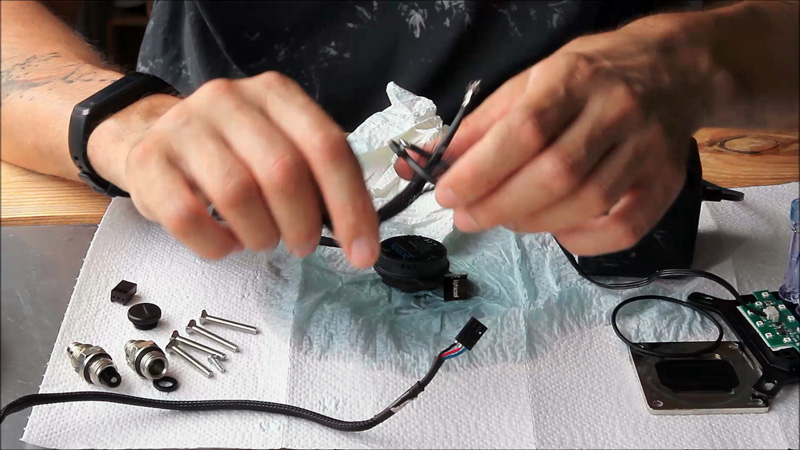
We cannot yet remove the pump, as the connection cable is routed through the housing of the Eisbaer.
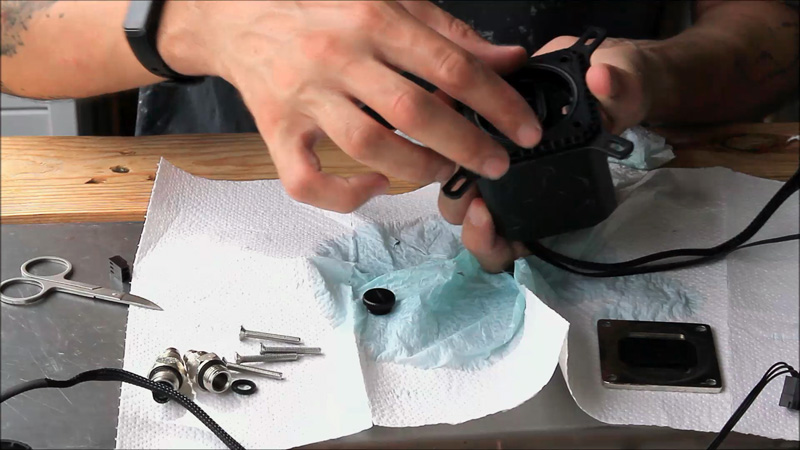
This time we use a small slot bit to push down the latches of the metal contacts in the plug (there is even an alternative latch ejector tool for this), so that we can then separate them from the cable with the plugs.
Then we can pull the cable through the small housing hole.

Keep the retaining frame and the screws, you will need them later for mounting the new pump.
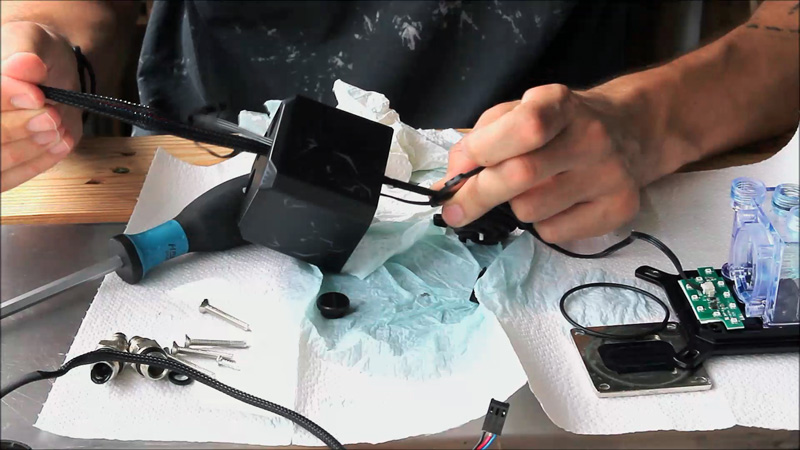
To install the new DC-LT 3600 pump in the Alphacool Polar Bear, we do the same thing we just did, basically backwards. That is, we also remove the connector from the new DC-LT 3600 pump so that we can pull the cable through and then reattach it afterwards.
In order to be sure about the order, which pin belongs where, we plug the connector socket of the old pump together again. Just loosely, so that we have an orientation later and do not accidentally reverse the polarity.
After we have removed the plug, we can lead the cable of the new pump through the housing. However, you should definitely remember to before pulling the holding frame over.
Otherwise, once you’ve pulled the cable through the case, you’ll be annoyed if you have to do it all over again.
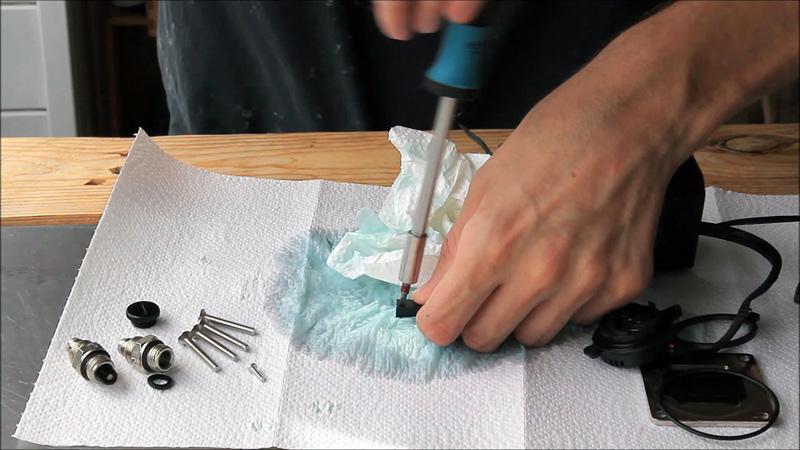
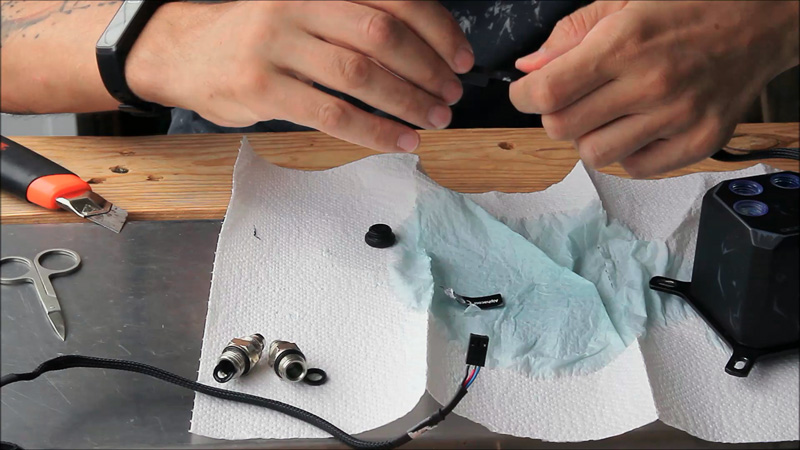
Before you can reattach the connector housing to the pump’s connection cable, you have to bend back the latching lugs of the contact springs so that they later sit well in the connector housing again. This can be quite fiddly. We used a pair of nail scissors as a crimping tool because we had a very small contact area and could still apply good force.
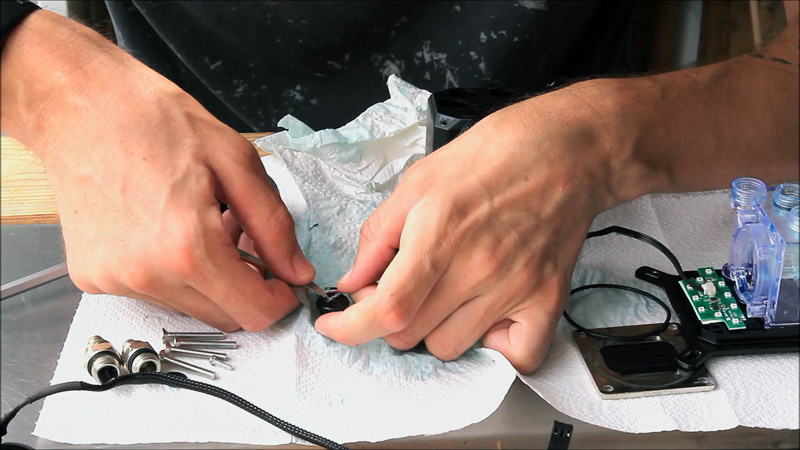
If all ropes tear there are these plugs but also as a set to crimp. Or you could also cut off the plug from a defective fan or from the old pump and then solder it on, if that suits you better. So for every emergency there is a solution, so that you certainly end up with a working pump there again.

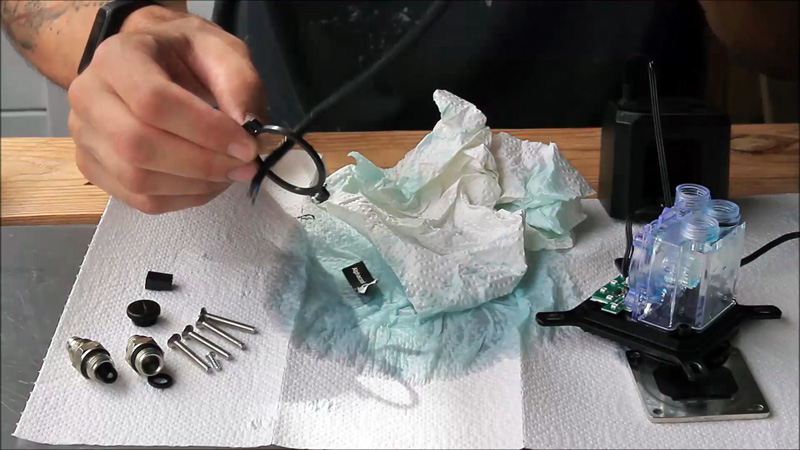
The pump we can then simply re-connect to the old frame …
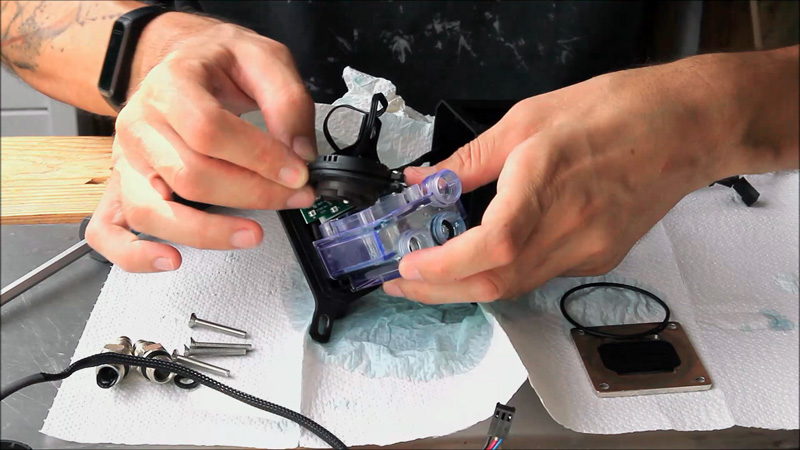
… and mount the two cross screws on the expansion tank.
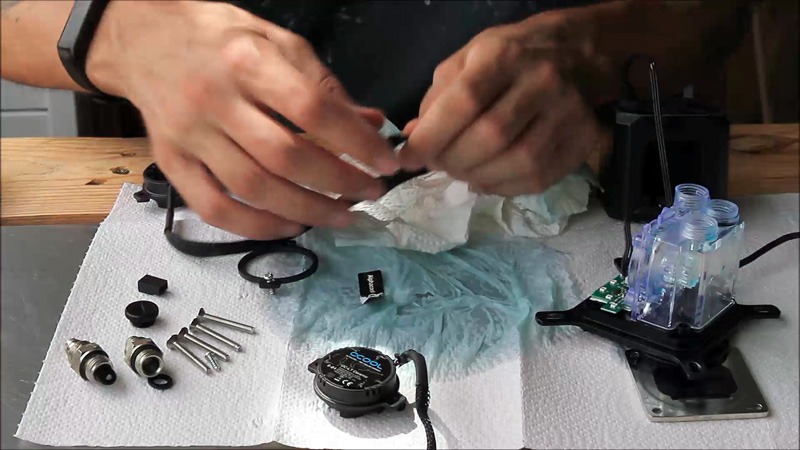
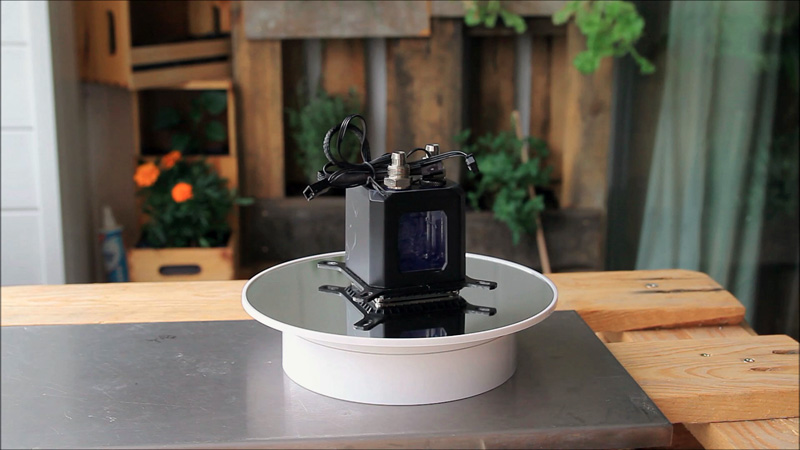
Almost done!
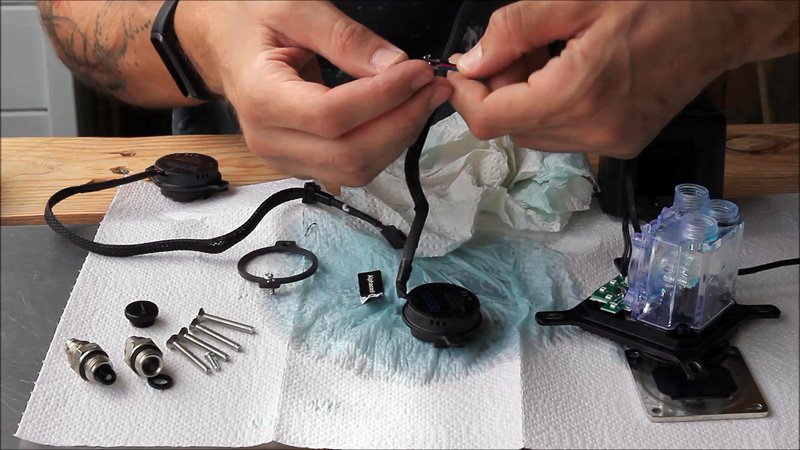
Now we can already pull the lid of the AIO back over the entire inner workings and adjust the cables.
Now the seal is also put back in place so that no water leaks out later.
And also the base plate comes back to the intended place.
Then we tighten all screws again evenly crosswise.
Thanks to video editing, you didn’t see that the shrink tubing slipped off my sleeve 100 times in between and we tried to get it back on. In the end, we decided to simply shrink a new piece of heat shrink tubing over it.
Then it will look clean again. And that brings us to the end of the tutorial. We hope the AIO Mod tutorial helps a little bit and wish you a lot of fun building it.
Continue to the conclusion of the AIO Mod …