
Layout, design and features interior …
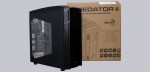
Afer removing the sidepanel the big cable harness catches out eye. The many external ports need a connection to the interior.
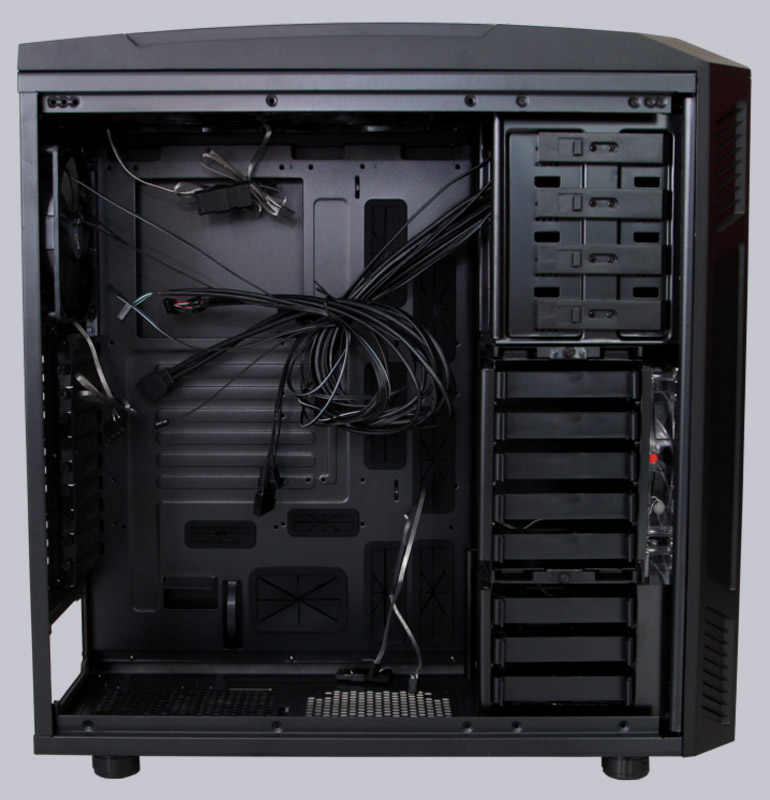
Aerocool could have worked more effectively, three seperate molex power plugs surely aren’t necessary for a case.
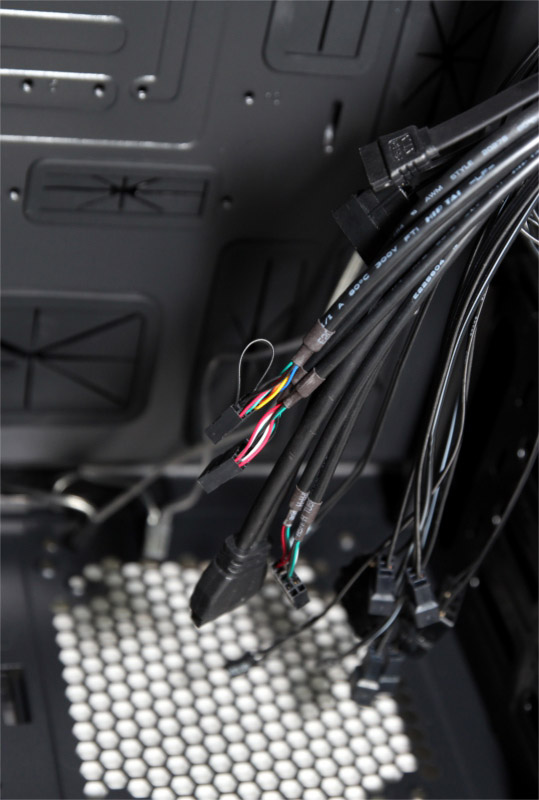
The PSU seems to be very important for Aerocool, as it is not only protected from dust but also sits on 4 rubber pedestals so vibrations can’t reach the case.
All of the 5 pre-installed fans can be connected via 3-pin connector to matching sockets or with molex plugs directly to the PSU. The second method forces the fans to operate at maximum speed. The fans are overall pretty quiet, but not completely silent if connected to the XPredators fan control. At 100% they make a lot of noise and it does not make any difference in respect to noise if the air ducts are opened or closed. So they are mostly there for optical reasons.
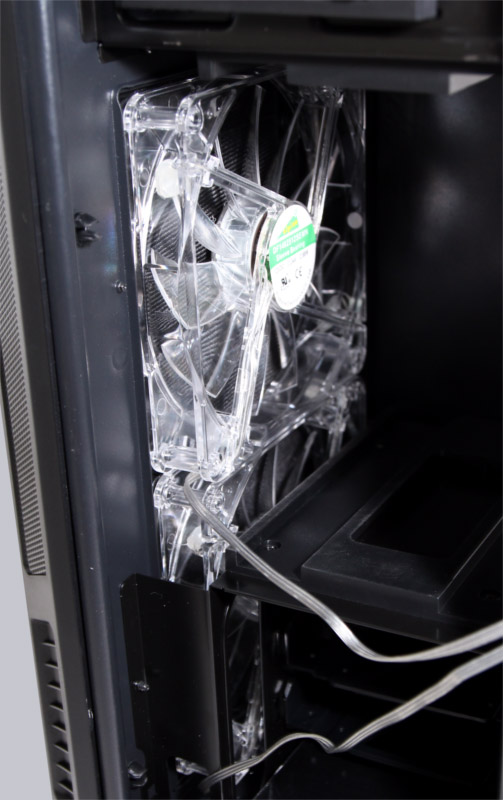
The top side leaves space for radiators with up to 280mm length. To remove the preinstalled fans you need to take the top cover off first.

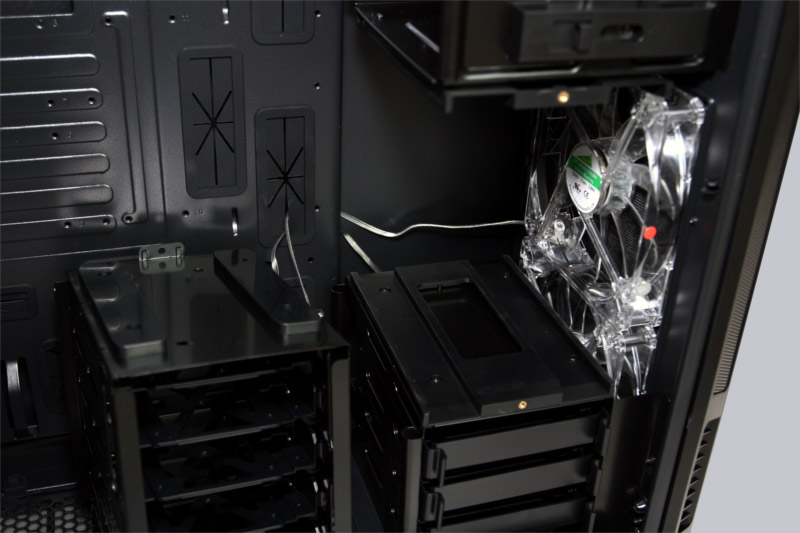
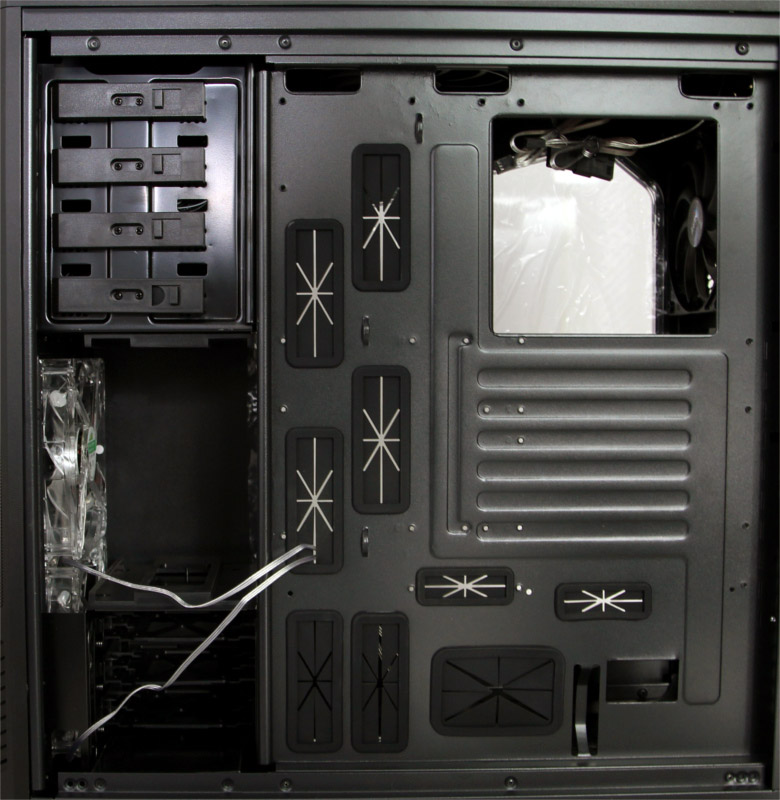
The Xpredator II let’s you install up to 8 hard drives.

In the age of NAS systems and storage capacities of several Terabyte hardly anyone uses much more than 2 hard drives in their system. Therefore you can remove the drive cages.
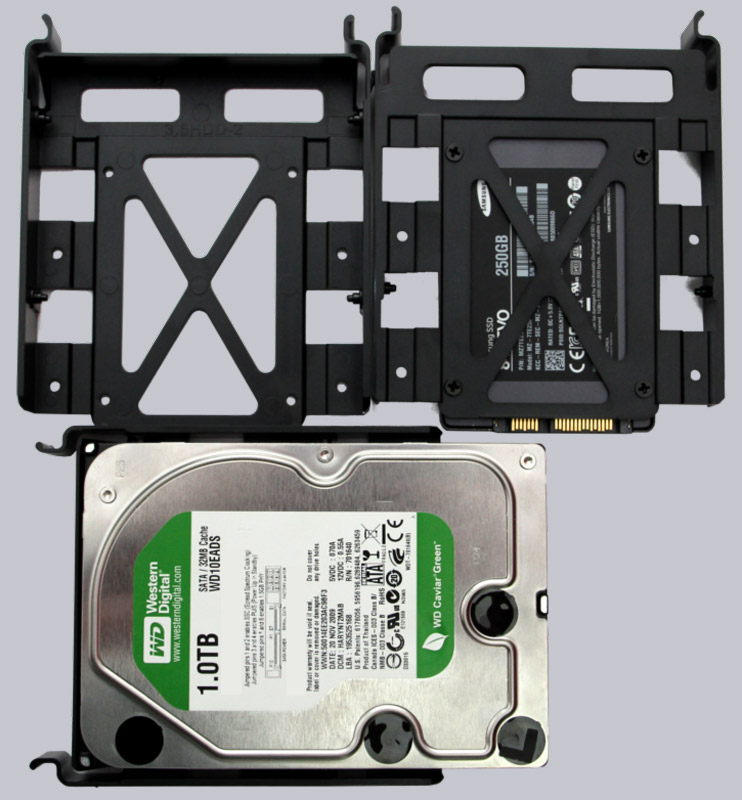
The drives are screwed onto plastic trays. Unfortunately these sit a little lose and without further decoupling inside the bays.
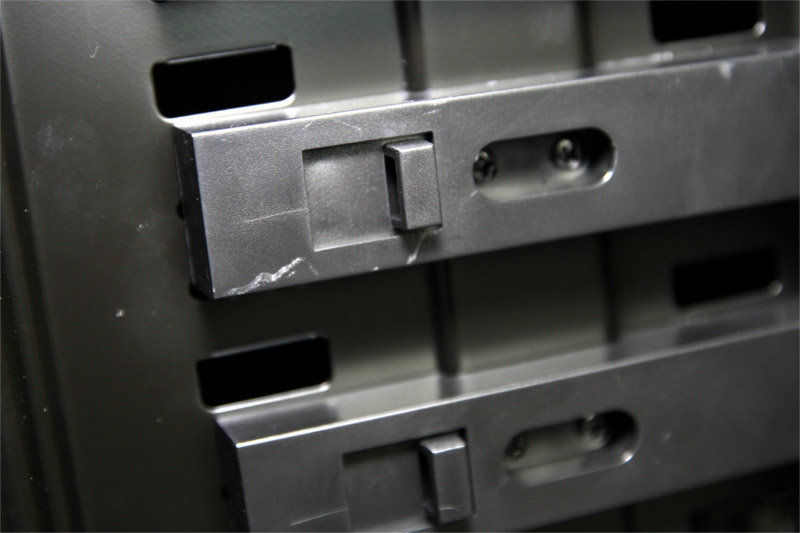
The optical drives can be installed completely tool-free on the other hand. They simply snap in place.
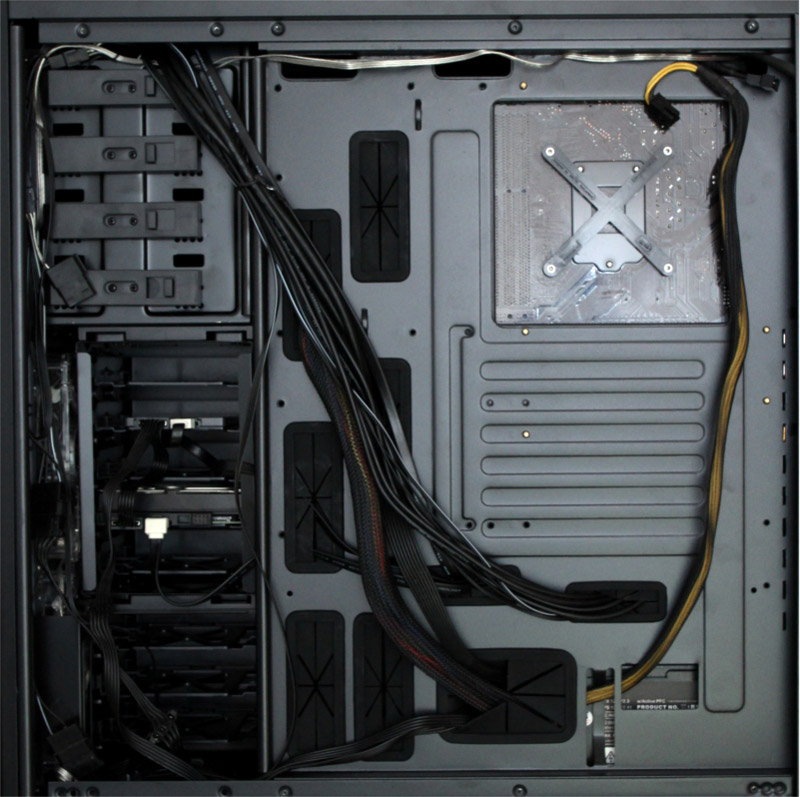
The mainboard tray has a big opening to easily access the back of the mainboard to install backplates for CPU coolers.
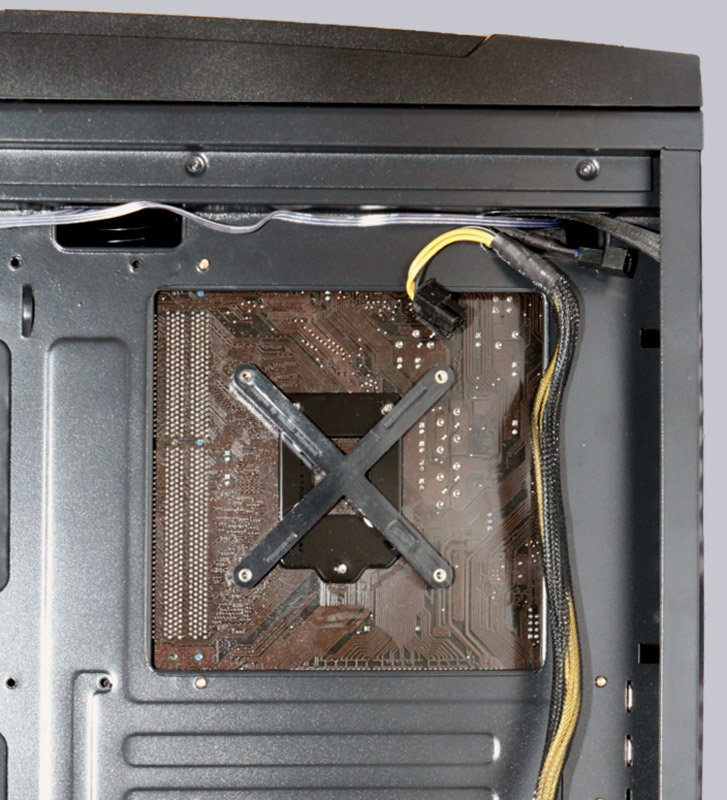
Cable management is very important with this amount of cables. Aerocool included several openings around the mainboard for this sake. Because of the rubber inlays cables can lie mostly hidden.
The space behind the mainboard tray is rather mediocre despite the cases size. But it is still wide enough to hide even big power cables.
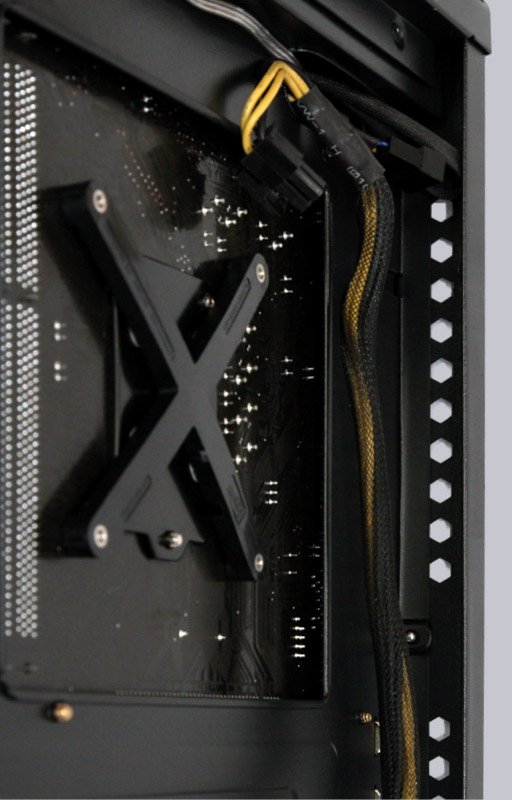
A bigger problem is the lack of edges around that space to run the cables through. With most cases you can make cables nearly disappear because of these small spaces around the edges. With the Xpredator II you need to hide cables close to the drive bays. Unfortunately the mainboard tray is designed in a way that does not allow cables to be run to the front party in many positions.
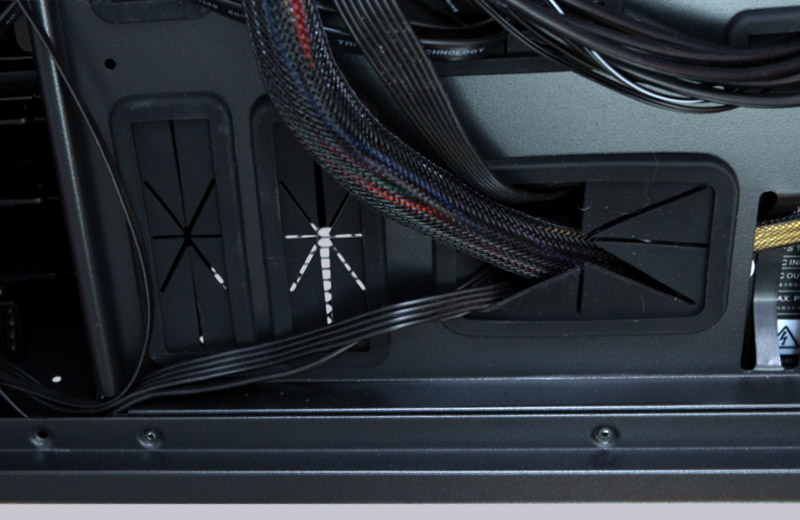
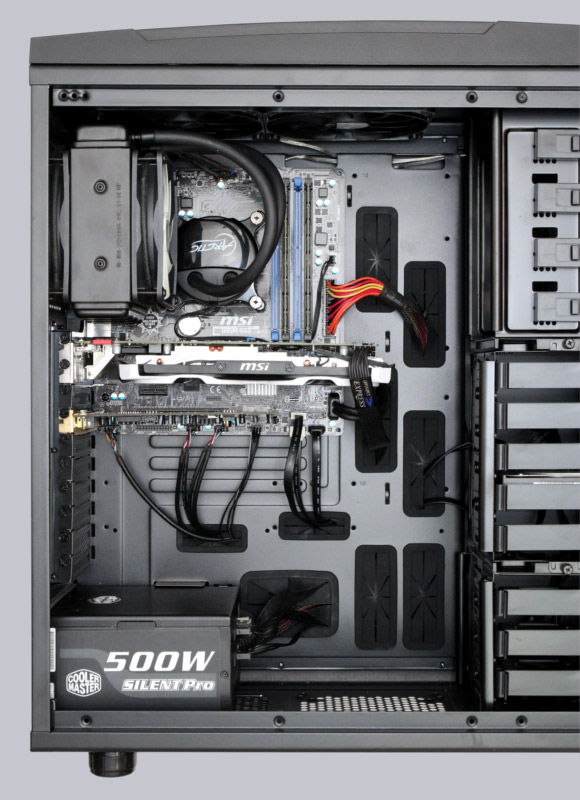
With a little bit of patience you can still run the cables tidily.
The case procides so many space that our mATX system looks tiny even with an AiO CPU cooler installed.
Aerocool XPredator II result and general impression …