

Installation …
Prior to installation you should make your mind about where to put the radiator and which way the pump should face. The ring used for mounting the pump can be rotated in nearly every direction and fastened with a small turn. After this step the the remaining installation is a piece of cake.
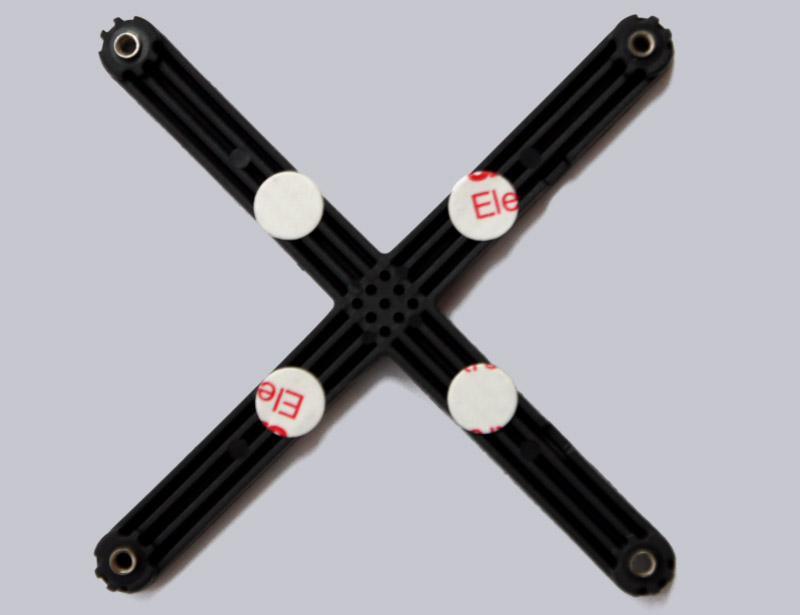
On the back of the mainboard – in case of a Intel socket 11xx cross shaped – the backplate must be mounted.
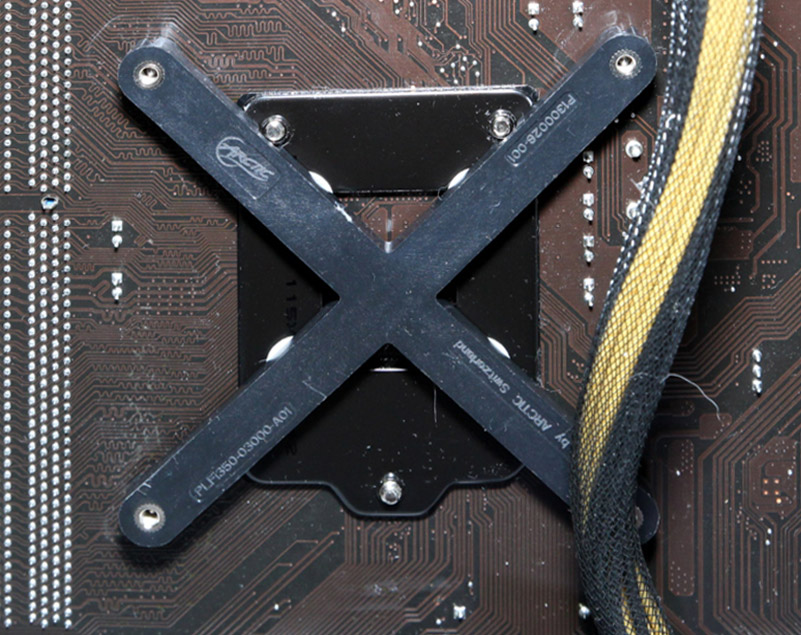
Thanks to 4 adhesive pads it is kept in position.
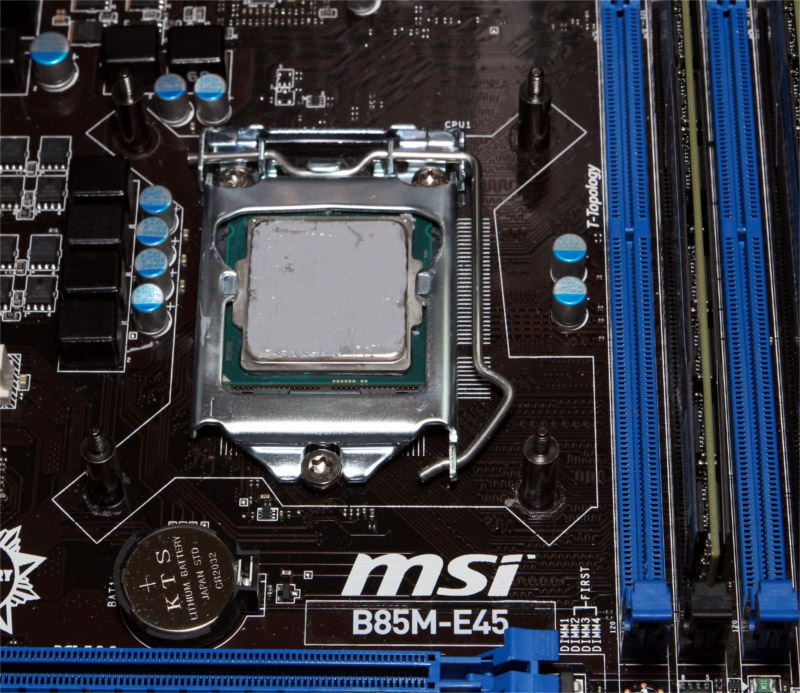
On the front the 4 matching spacers are installed and thermal paste must be applied to the CPU. The supplied Arctic MX-4 has relatively low viscosity and therefore easy to use.
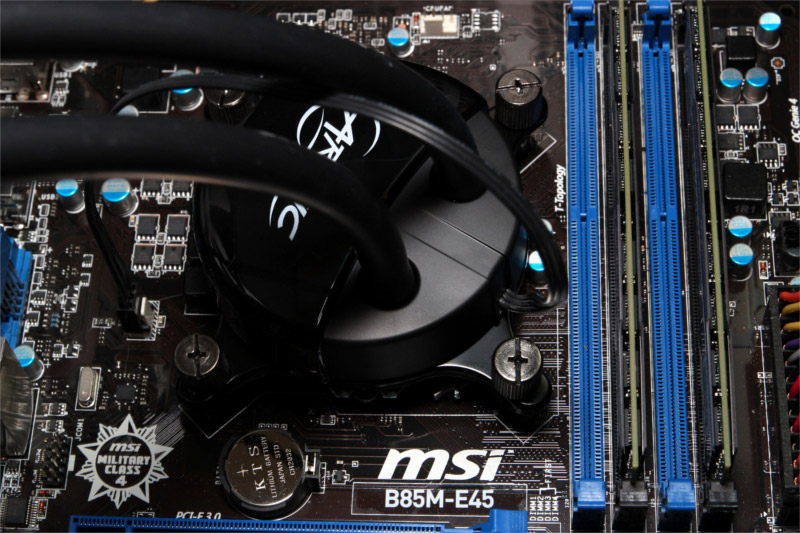
Afterwards the pump with the mounting ring and fixed with 4 thumb screws. For the correct pressure you should use a screwdriver anyway.
The installation of the radiator might be a bit fiddly because the long screws need to be lead through the case and fan first before reaching the thread of the radiator.
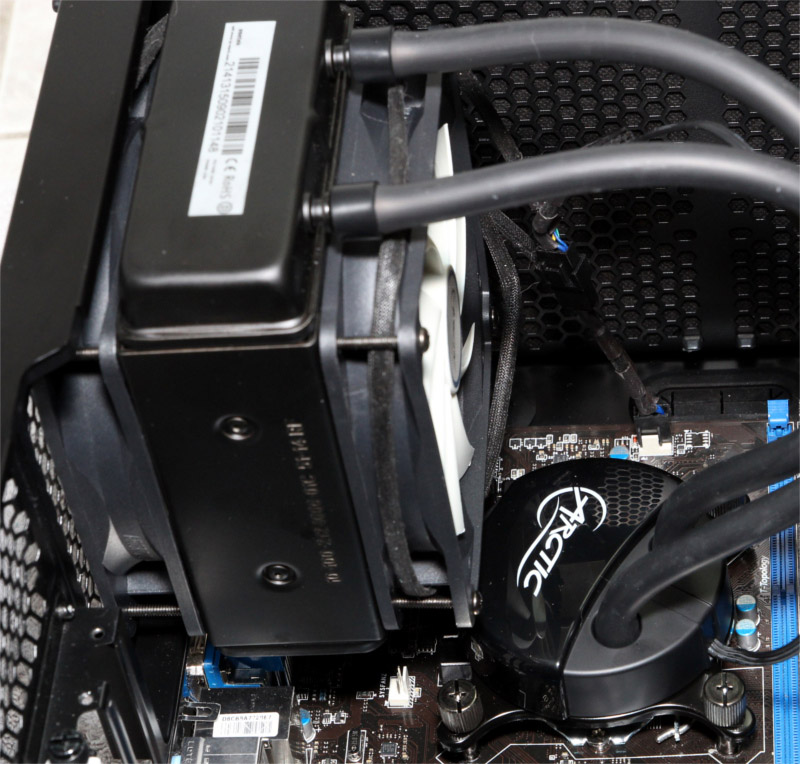
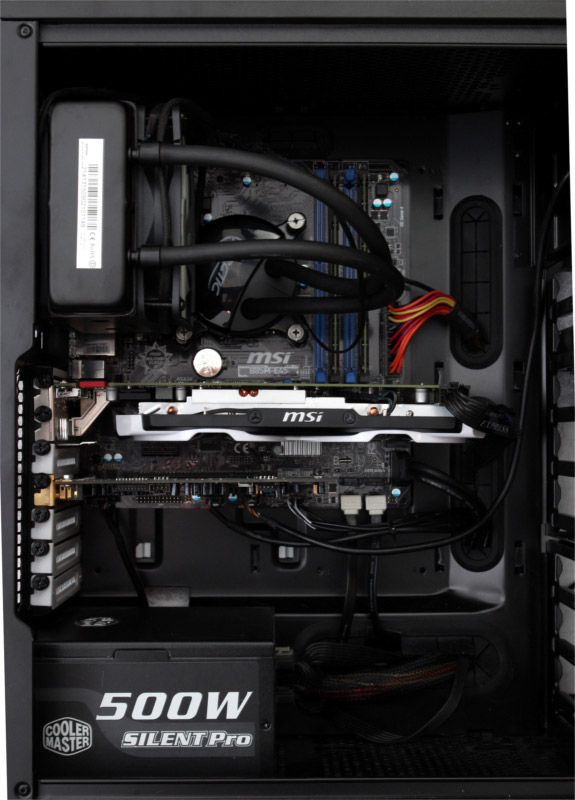
After installation one of the advantages over tower coolers becomes obvious. There is plenty of space to reach other components. Therefore there are no limitations towards RAM and the mainboard stays easily accessible.

There is also plenty of space towards to top of the case and video card for additional fans or heatsinks.
Arctic Liquid Freezer 120 setup and test results …