
Installation …
For the installation in an AMD AM4 system it needs only a few handles, because the original backplate of the motherboard is used and no spacer bolts are needed. Only the included mounting strips have to be mounted with one screw on each radiator.
Here we see the already screwed on brackets.
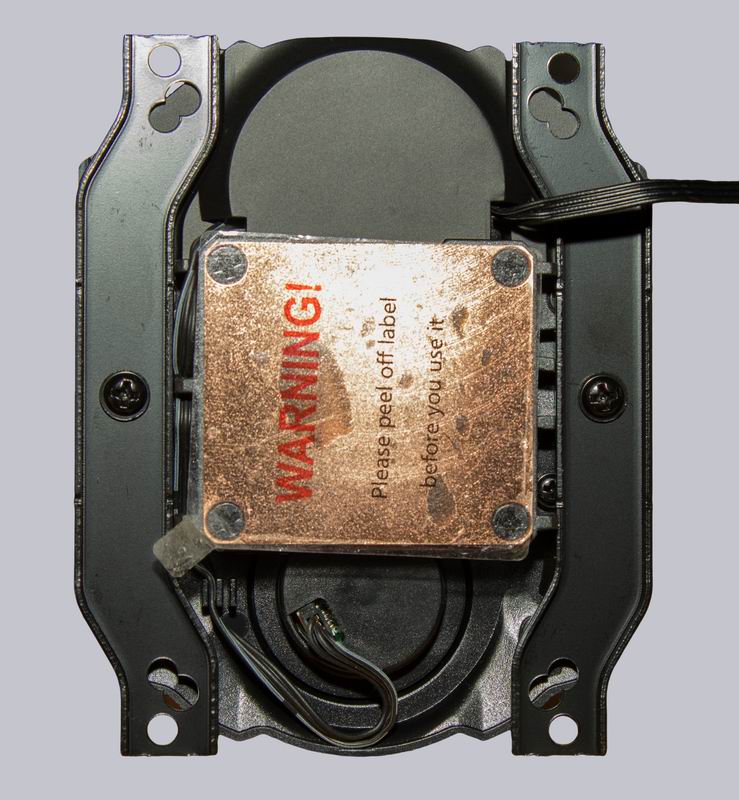
Then fix the cooler with 4 screws to the backplate of the mainboard, after the CPU has been wetted with the only drop of heat conducting paste, which is included in the set, and the protective foil has been removed from the copper cooling plate.
Fortunately, the hoses do not cover any of the 4 mounting screws. So we can enjoy a perfectly fitting CPU cooler after only a few steps and without fiddling. Above and to the left of the CPU we see the black, passive VRM heat sinks, which are additionally surrounded by cooling air from the 40mm fan attached to the pump.

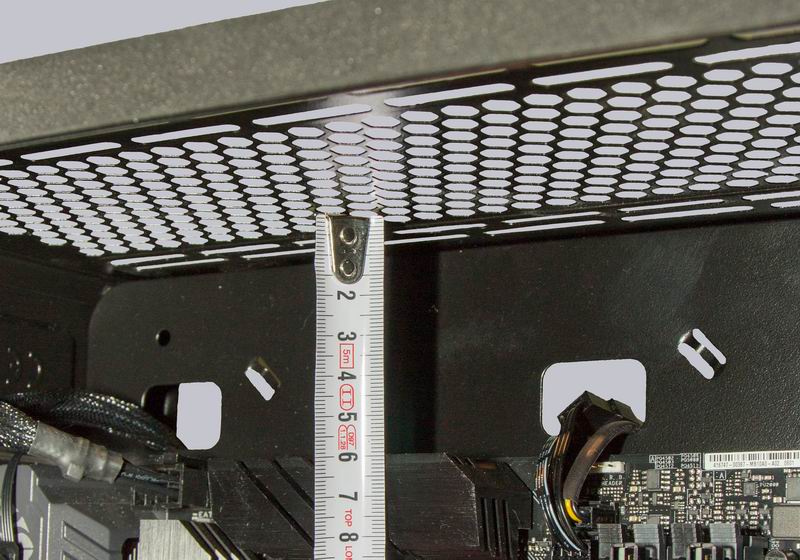
Unfortunately we encountered problems with our Thermaltake Versa H26TG test case, which, according to the manufacturer, should be able to hold up to 360mm radiators at the front and at the top, with regard to the mounting of the radiator. Unfortunately only 120mm wide radiators fit at the front and there wasn’t enough space at the top. The existing 59mm are unfortunately not sufficient to accommodate the 65mm high radiator/fan package. So you should definitely check in advance whether the desired housing/cooler combination really fits together or if necessary you would have to mount the fans from the outside.
So for the following performance test the radiator had to remain outside. Since we operated the previous radiators in this system with the case open and the case fans switched on, this should not cause any serious differences in the test results.
Arctic Liquid Freezer II 280 AIO water cooling test setup and results …