
Practical testing …
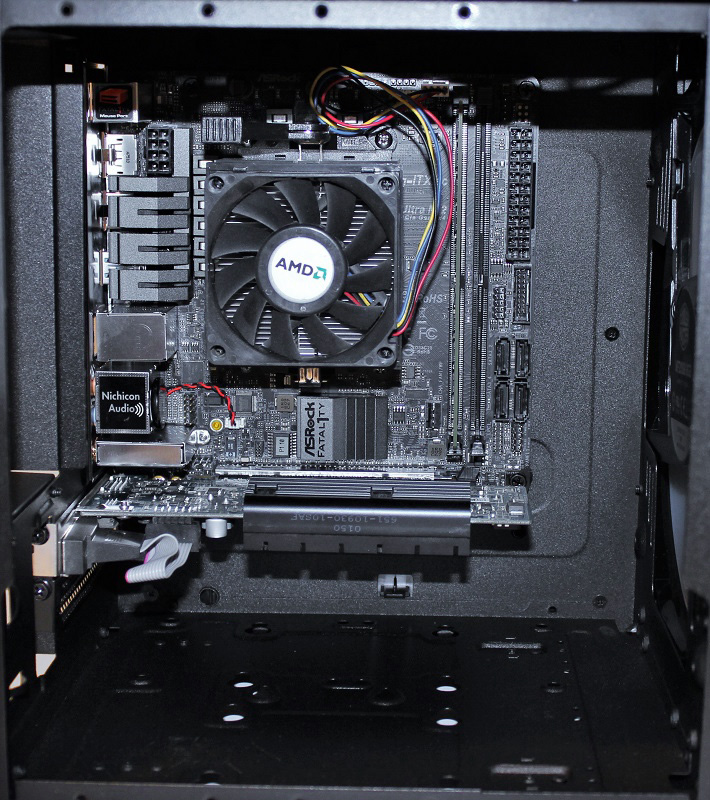
When assembling, we first screw our ASRock Fatal1ty X470 gaming ITX/ac motherboard into the case, equipped with CPU, RAM and AMD Wraith Prism cooler …
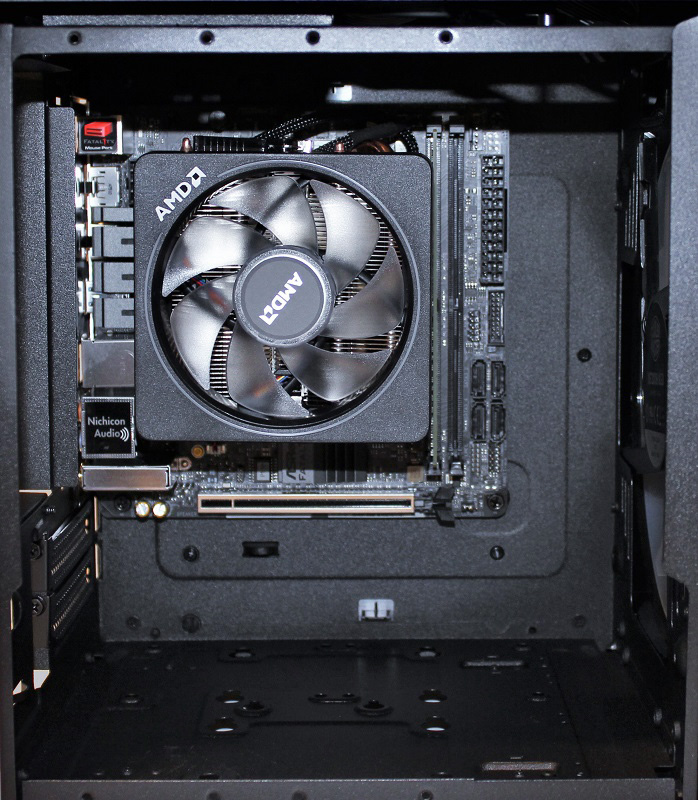
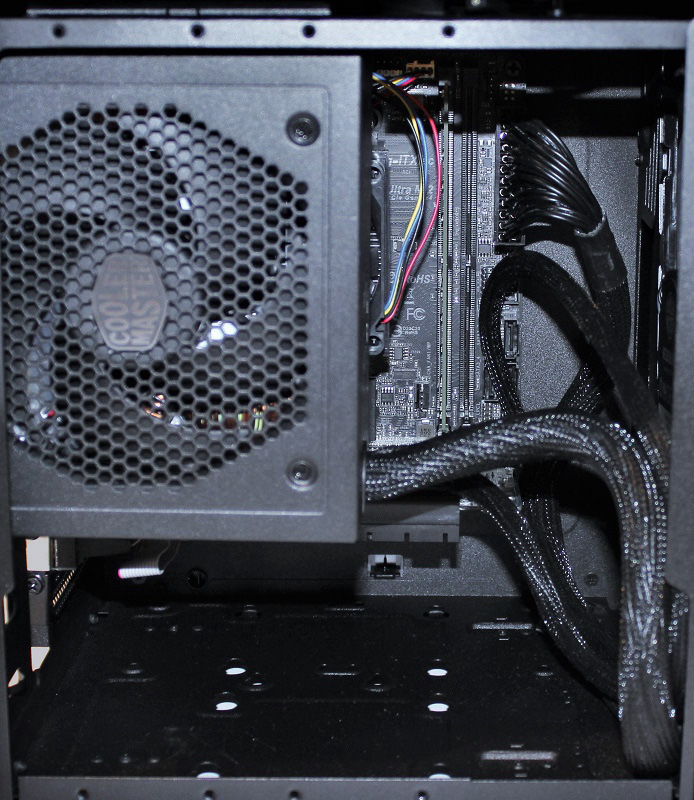
… but already had to realize here that we will get problems with the power supply.
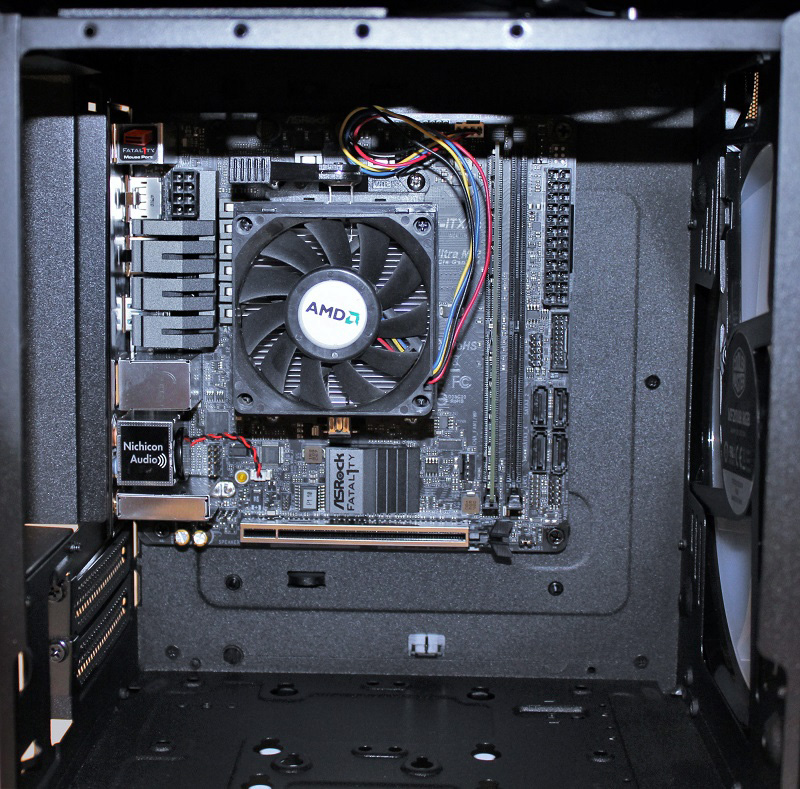
Therefore, we installed a small boxed cooler.

While there is a quite useful range of compatible coolers from other manufacturers, we would have preferred if at least all the usual boxed cooler would have fit.
Matching the good cooling concept of the chassis, we use a passively cooled graphics card. Here you have to plan well in advance and look for a short version of the desired graphics card series. Fortunately, there is a good selection of mini variants.
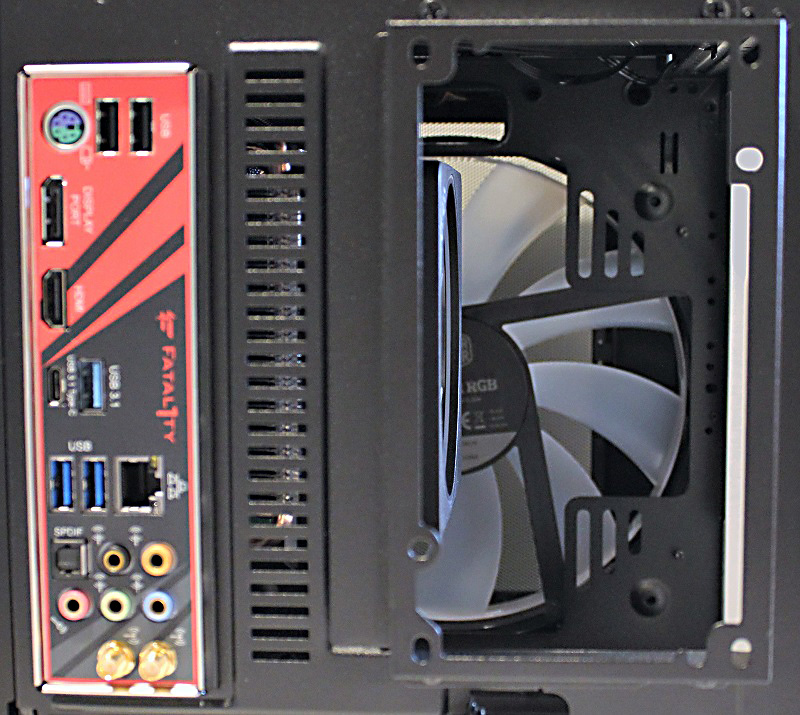
Then we install the power supply and now you can see again why you better not have a window in the side panel 😉
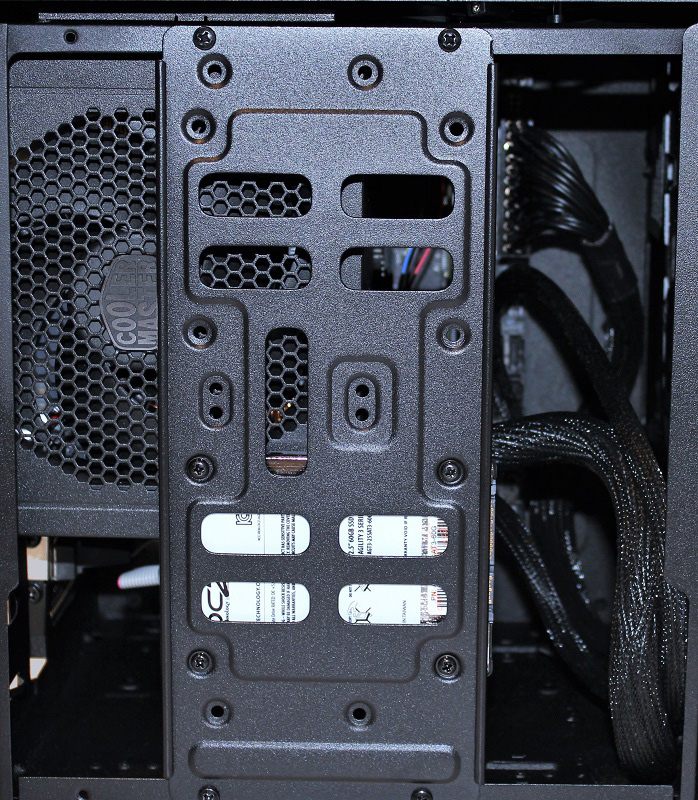
Finally, the side plate with SDD screwed, done!
All in all, you should plan well in advance which components you would like to use in the Cooler Master MasterCase H100, but almost everything is possible.
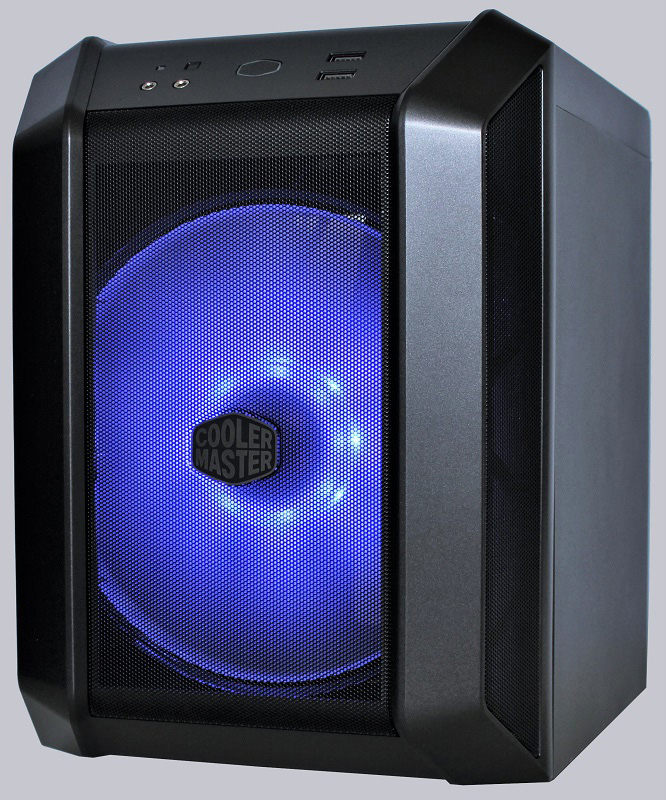
Optic …
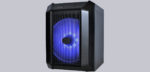
After switching on, we see very nice the 200mm RGB fan glow, which is already pre-installed in the Cooler Master MasterCase H100.
At the end of the practical test, we also take a look at the RGB optics of the MasterCase H100 and, as always, have a video in our OCinside YouTube Channel, have fun :tv:
Note: Please allow our cookies first to see this external content!
Cooler Master MasterCase H100 result and general impression …