
Construction, design and features – inside …
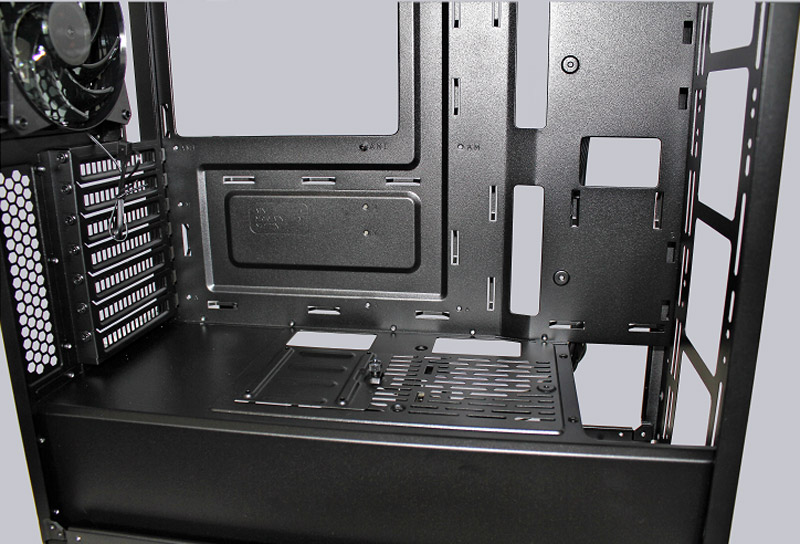
In addition to the mainboard and the fans, you can also install the 2.5″ HDD / SSD in the main area, the power supply and the two 2.5″ / 3.5″ bays are hidden behind a veneer in the lower area.

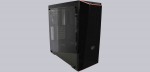
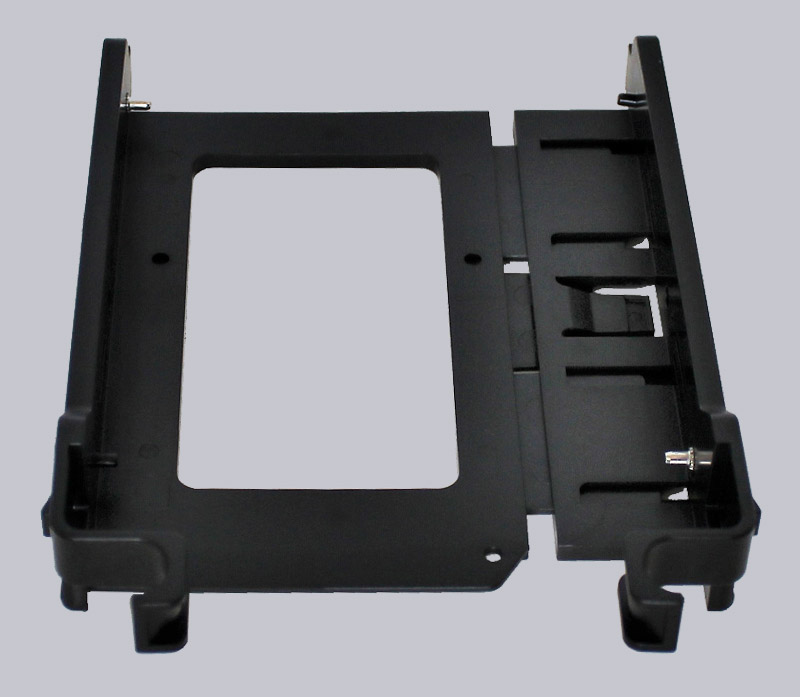
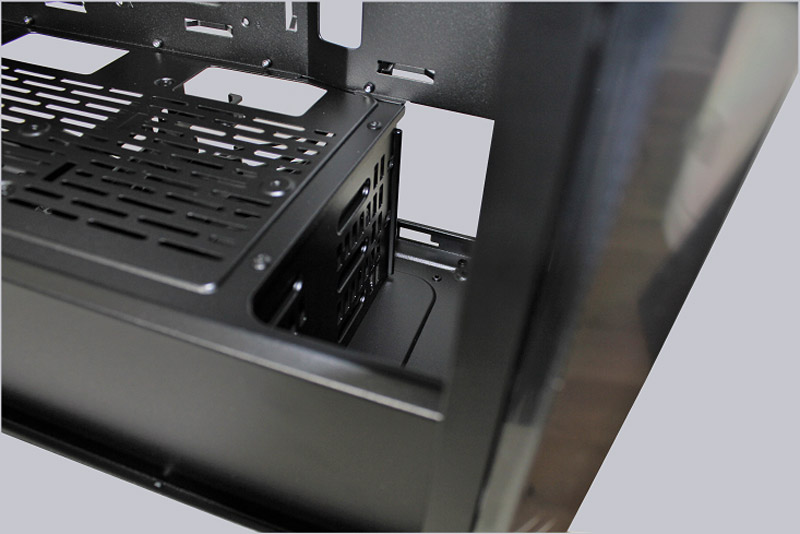
There are passages for cables in the usual places. Cable management can thus be optimally laid on the back, and thus hidden from the field of view. The bracket for the 2.5″ drive can be attached in 4 different positions.
Top right …
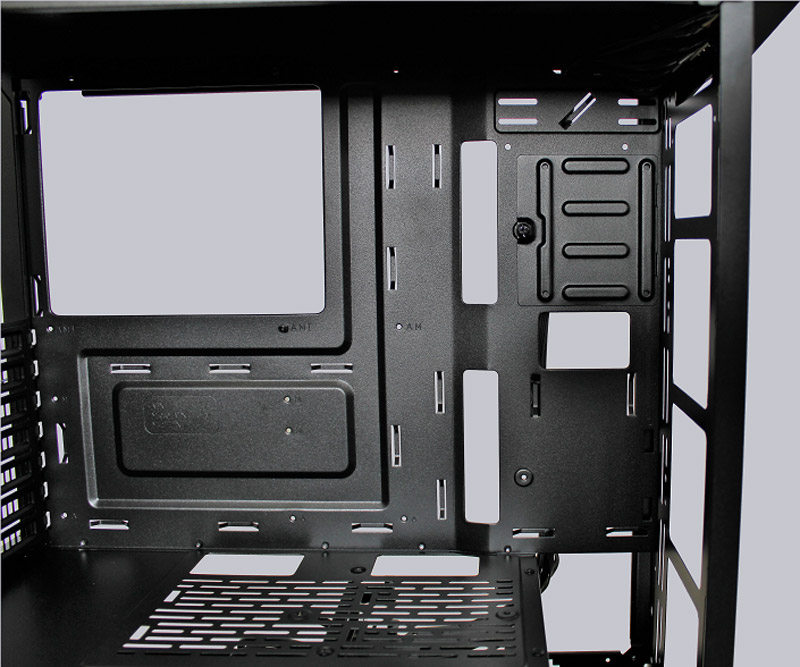
… bottom right …
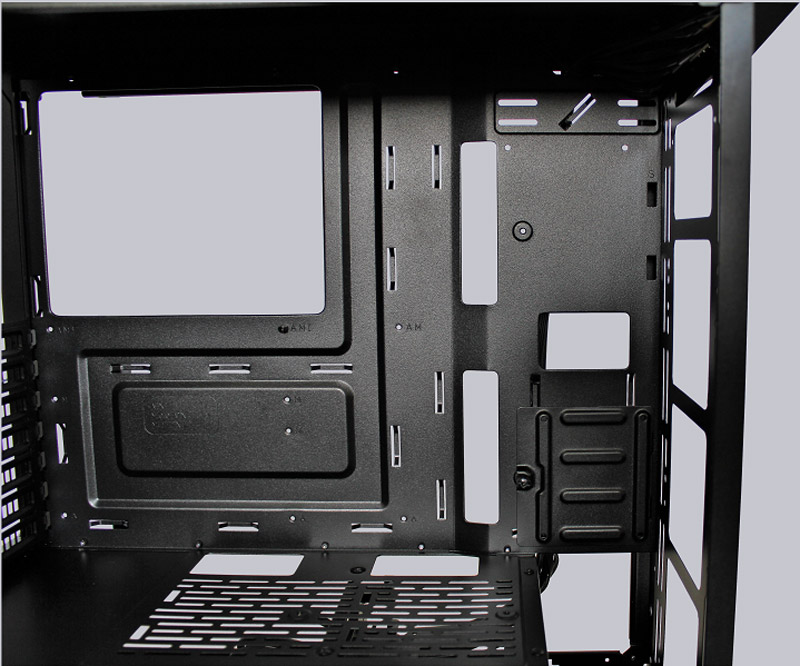
… on the ground right …
… and at the bottom left.
There would be the chance to install more than one drive, but only one bracket is available. Cooler Master, however, offers more brackets at the in-house Sparepart-Shop for each 4,95 Euro.
This way the case can be expanded by up to 3 additional 2.5″ installation options.
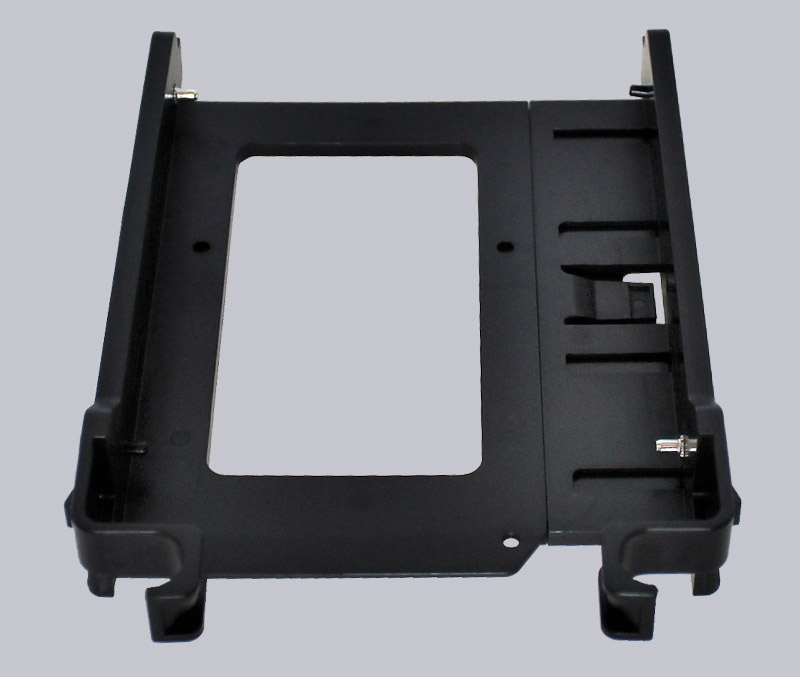
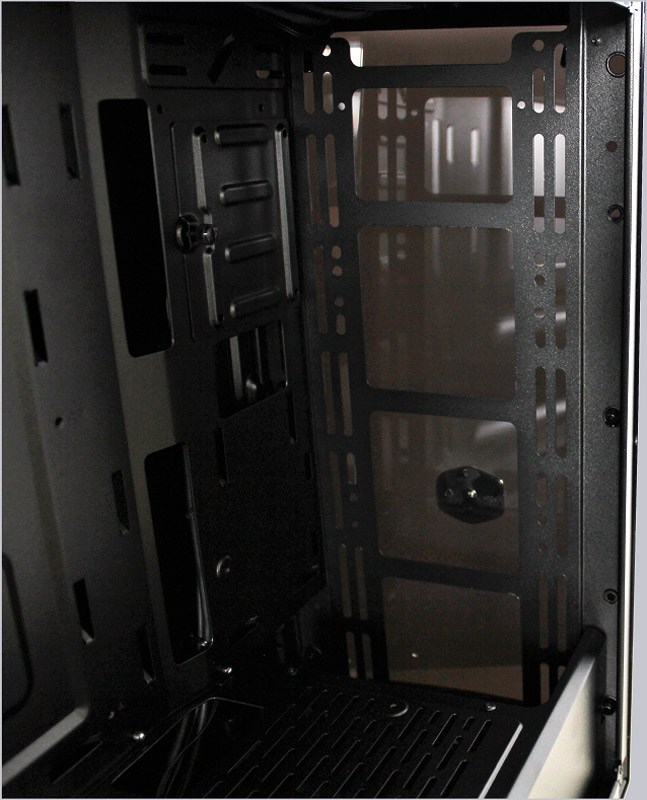
Turning the housing around, you will find the two 2.5″ / 3.5″ mounting frames and the shaft for the power supply. On the mainboard back there are also sufficient tabs for cable ties.
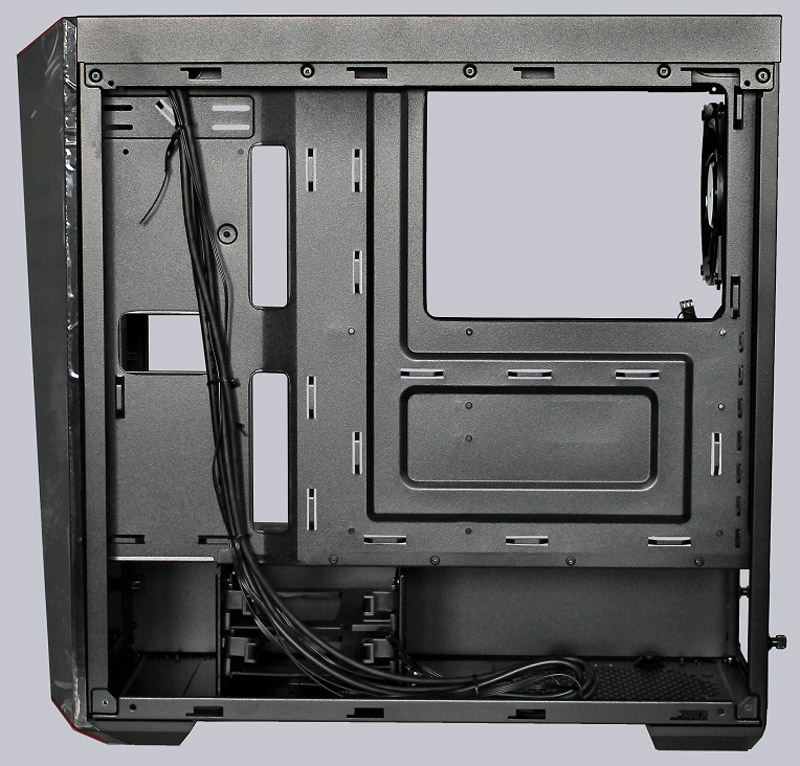
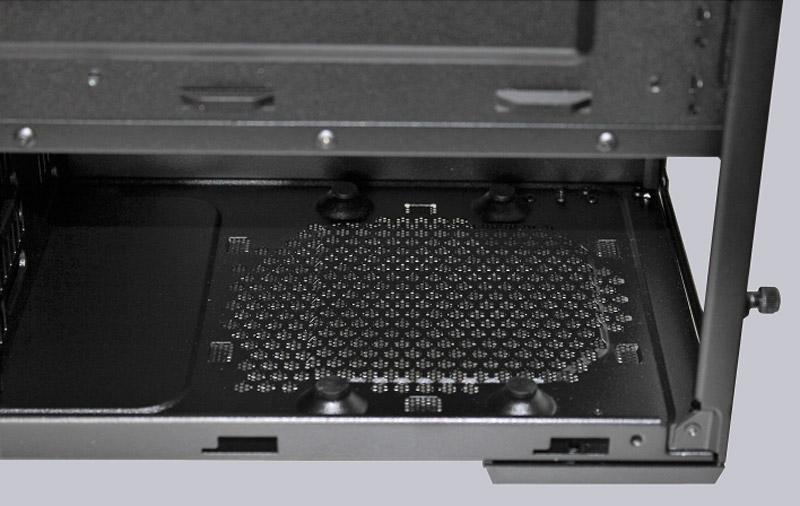
4 rubber buffers are provided for decoupling the power supply.
The 3.5″ frames are integrated to the left of the power supply.
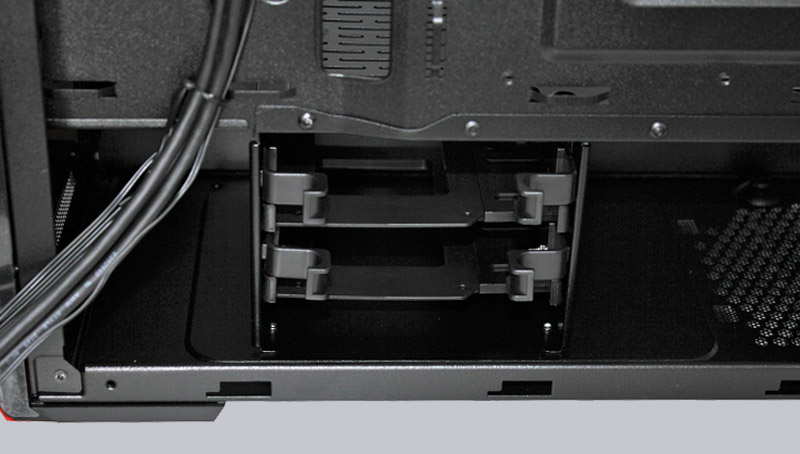
They are completely plastic, apart from the metal halves, and offer no decoupling.
However, Coolermaster has come up with a solution for fast assembly. With a centrally placed lever …
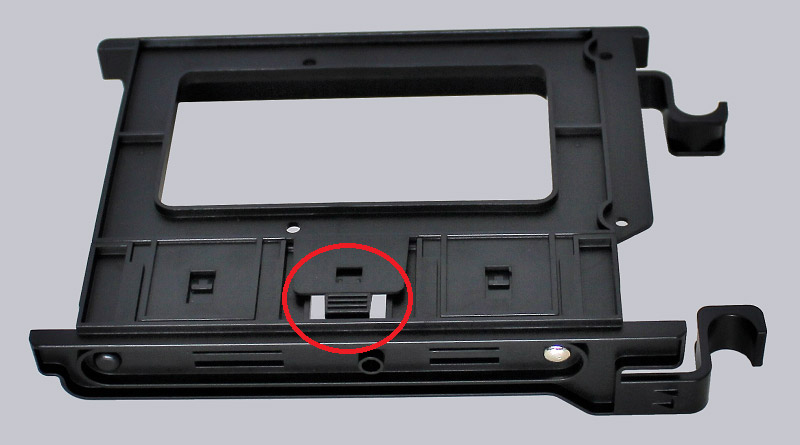
… the frames can be pulled apart.
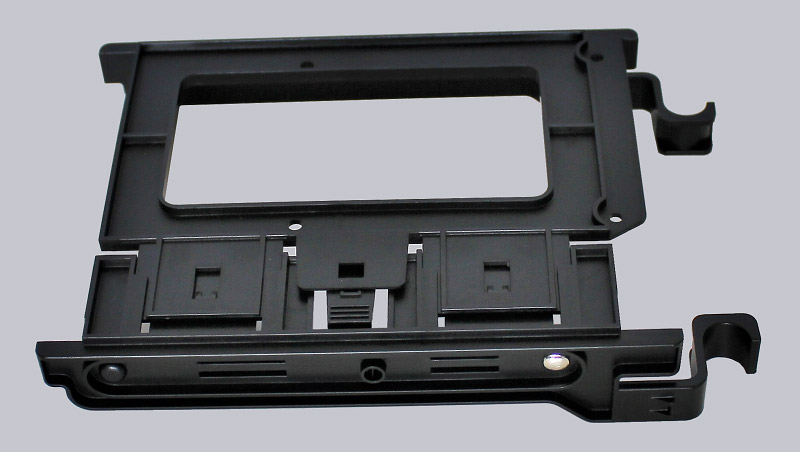
You can then just insert the 3.5″ hard disk and push the frame back together.
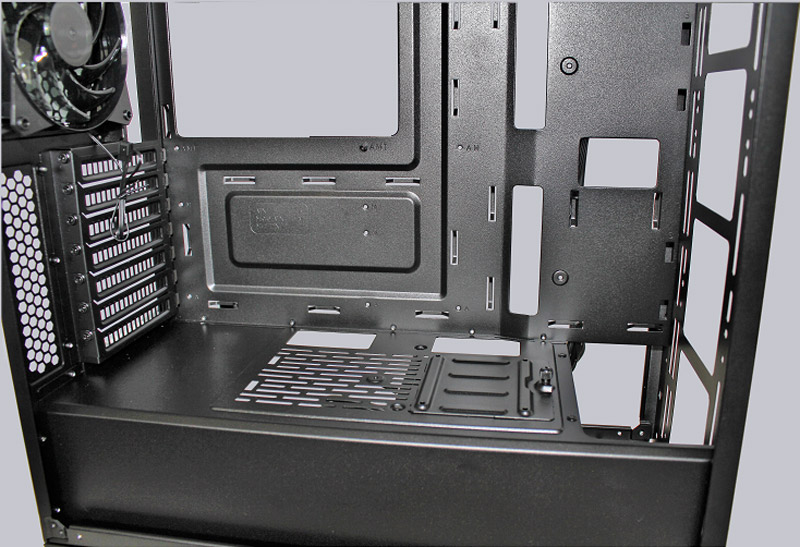
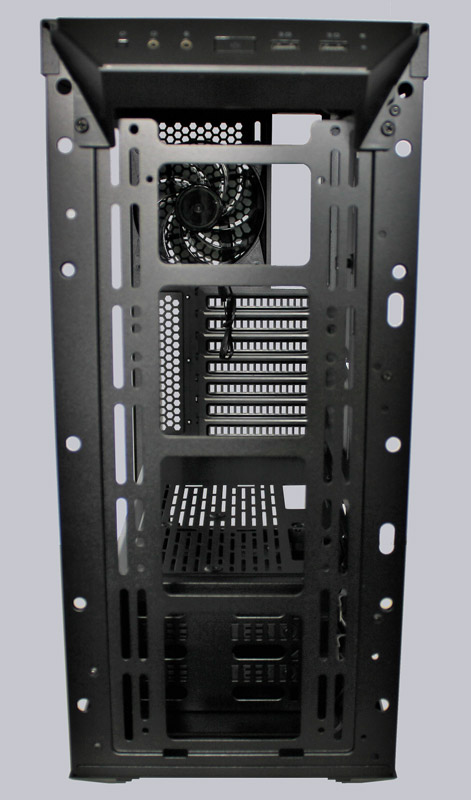
In order to mount 2.5″ drives, 4 holes are provided for screwing to the bottom of the hard disk. Slots are integrated to conduct the airflow of the lowest front fan over the drives.
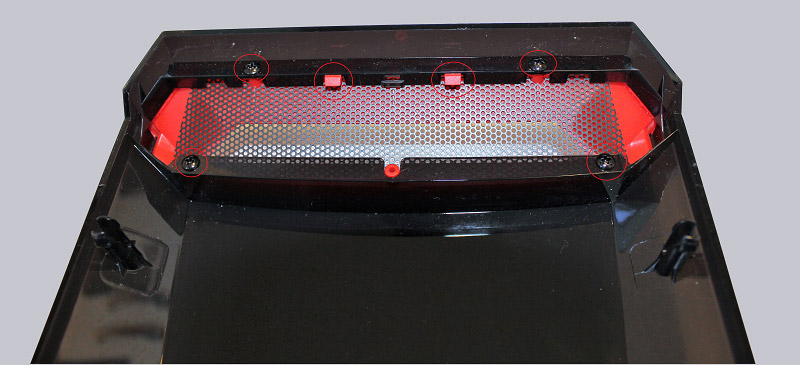
Here you can see the front area from inside.
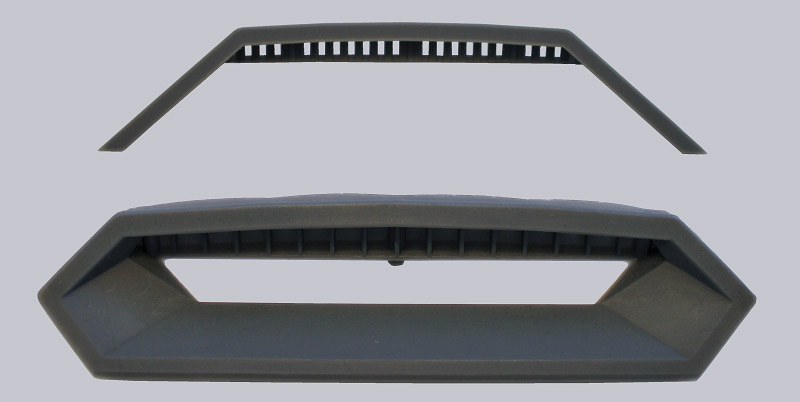
Another feature, which we have already mentioned, are the front panel bezels. In order to change the bezels, it can simply be pulled forward.
The bezels are equipped with screws …
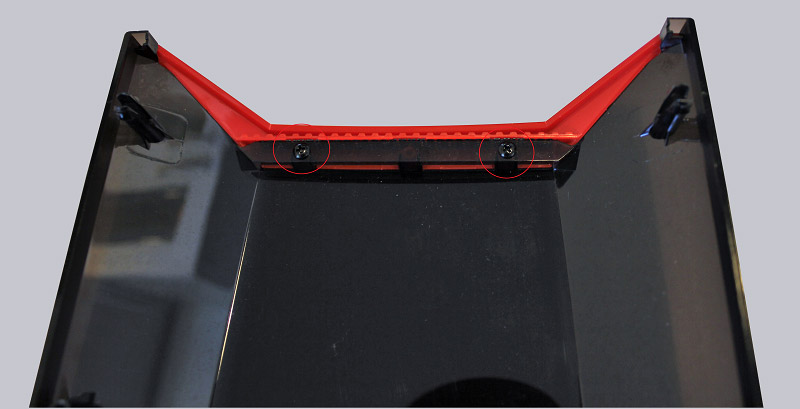
… as well as with latching lugs.
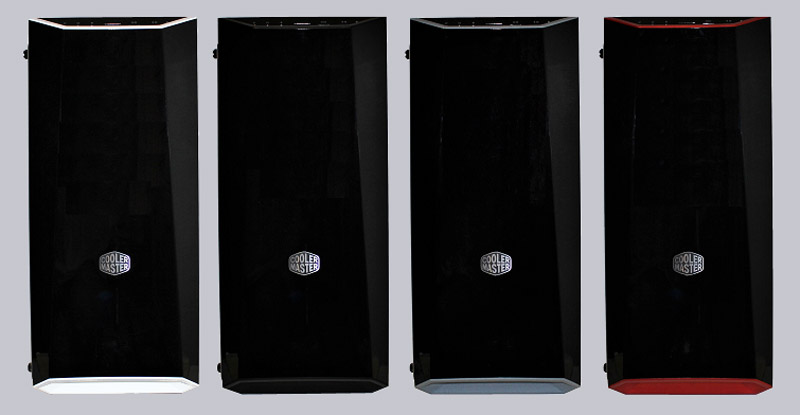
There are no additional mesh grids, so they must always be replaced when changing the bezels. Cooler Master has included red, black and white bezels, but also offers 3D printing templates to download. We have also tested this and ordered a set of gray bezels.
Here is a picture of all 4 color variants next to each other.
Cooler Master MasterBox Lite 5 benchmark values and test results …