
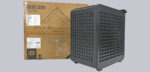
Layout, design and features – exterior …
Quickly set up the right housing …
Standard PC setup
Desktop setup
Testbench setup
Inverted setup
Attachable cable holder
Let’s first take a look at the Cooler Master Qube 500 Flatpack from the outside and then get straight to work.
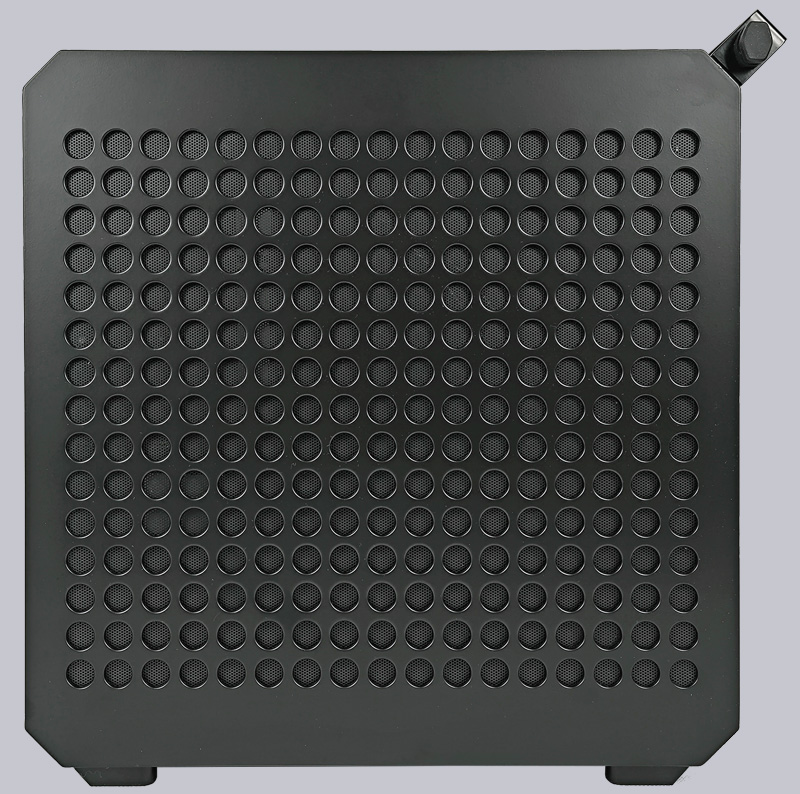
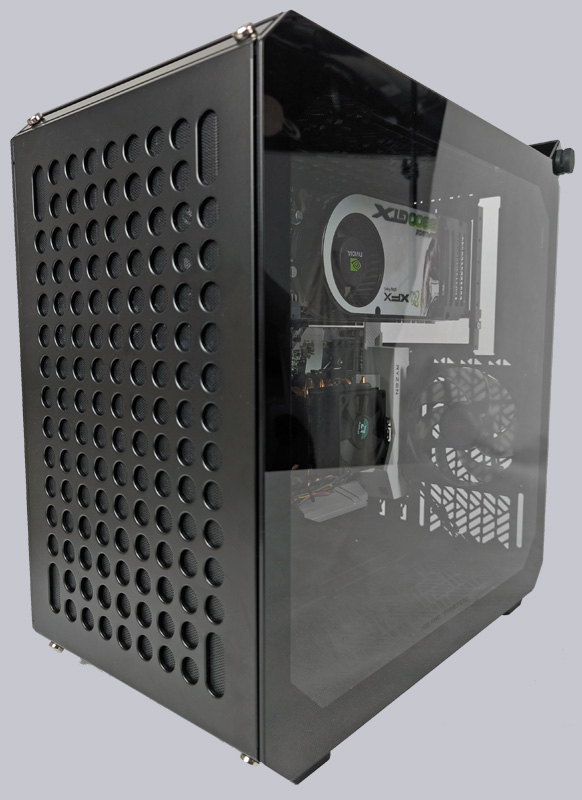
The front of the Cooler Master Qube 500 Flatpack is a mesh front, i.e. a perforated design that continues on all sides. All mesh parts are fitted with a dust filter that is easy to remove and clean.

Standard PC setup …
One side panel is made of toughened smoked glass, where the components installed for testing can already be seen through.
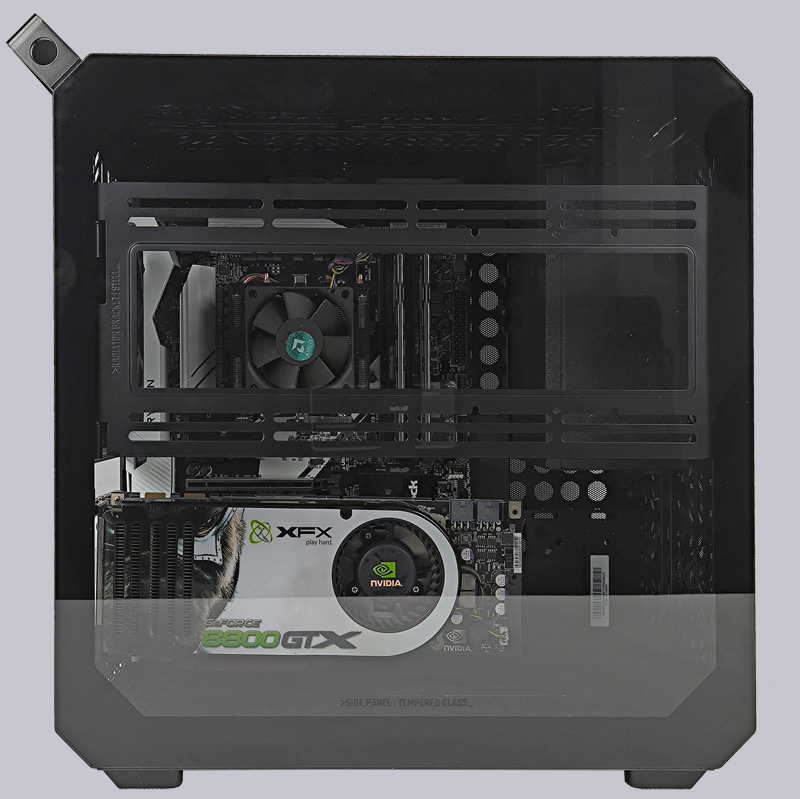
Like the front, the other side panel has a perforated mesh design.
The same design can also be found in the lid, which also ensures good air permeability.
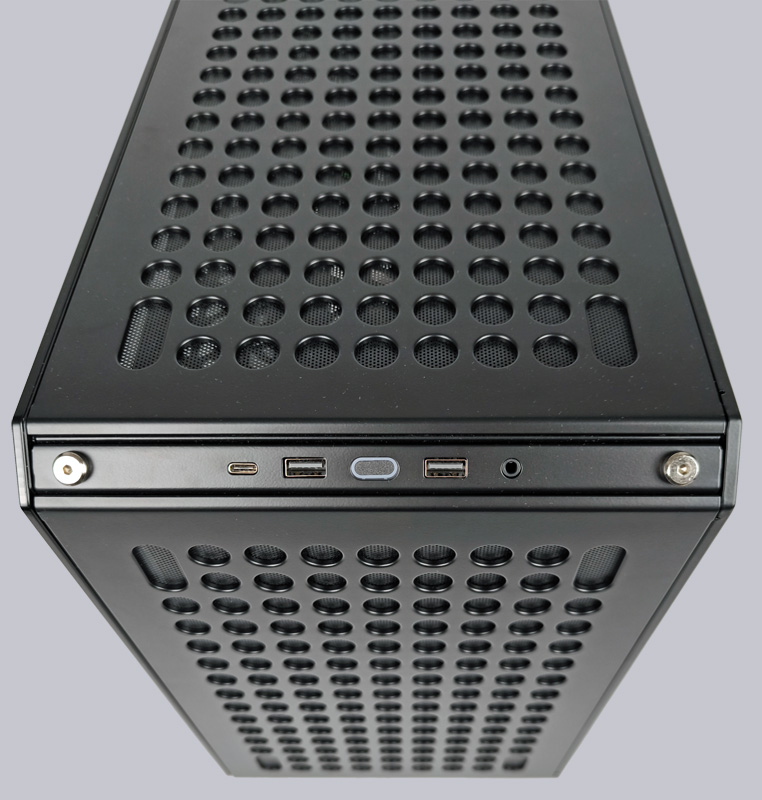
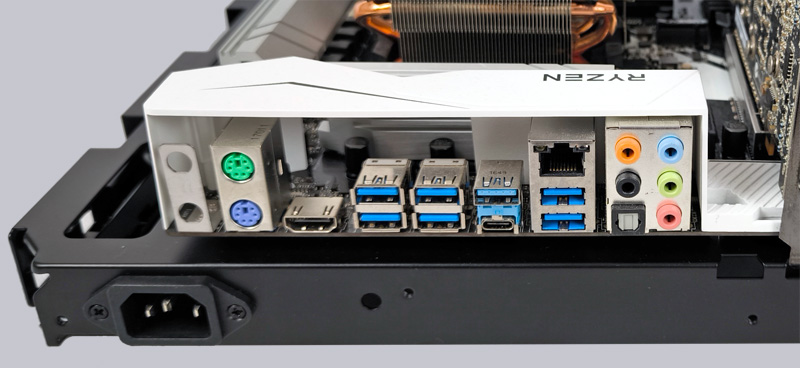
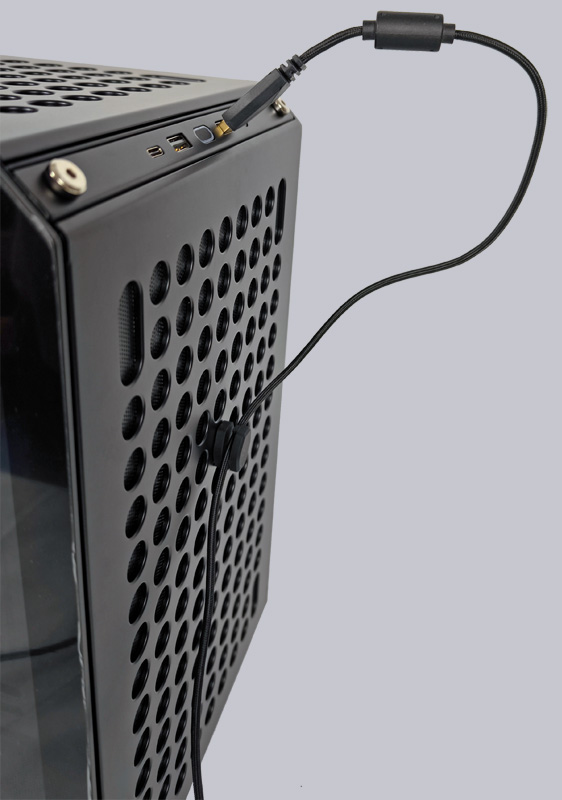
On the front panel, from left to right, there is 1x USB-C, 1x USB 3.2 Type-A, the illuminated power button, 1x USB 3.2 Type-A and a 4-pin 3.5mm jack plug for the headset.
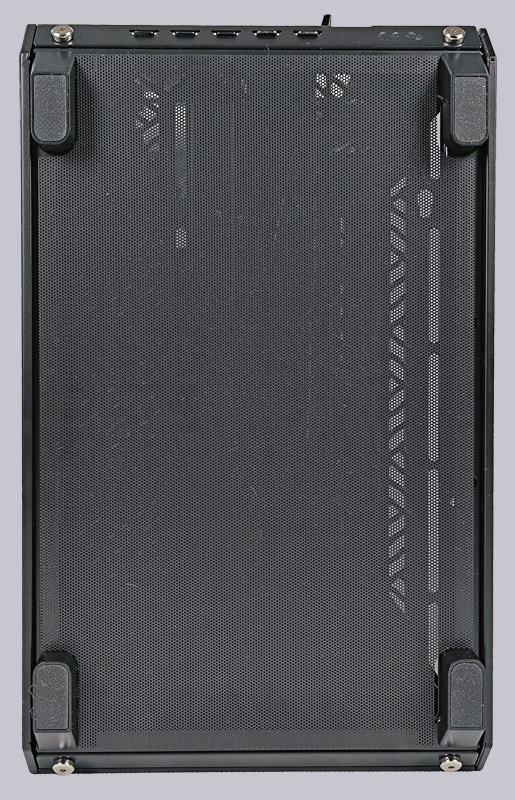
There is an additional filter on the underside, which protects the inner workings from dust.
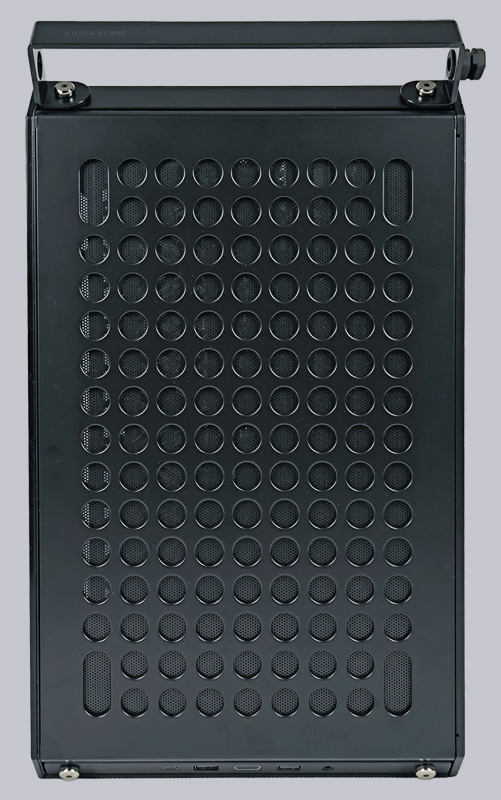
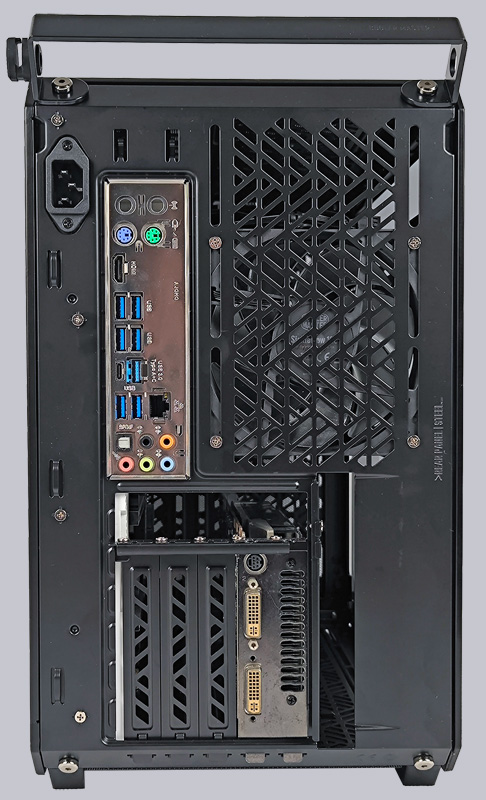
The rear view is decorated by the removable handle.
Desktop setup …
If you want to use the Cooler Master Qube 500 Flatpack as a desktop case, all you have to do is place the rubber feet on the large mesh side panel and place the case horizontally on the table.
Testbench setup …
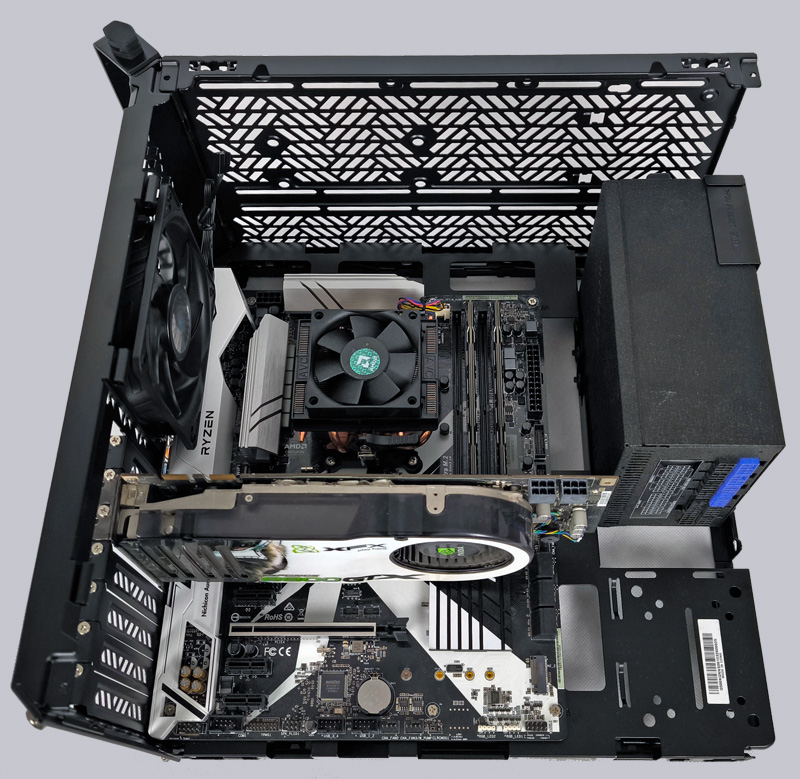
The entire housing has a modular design, so that it can even be used as a test bench.
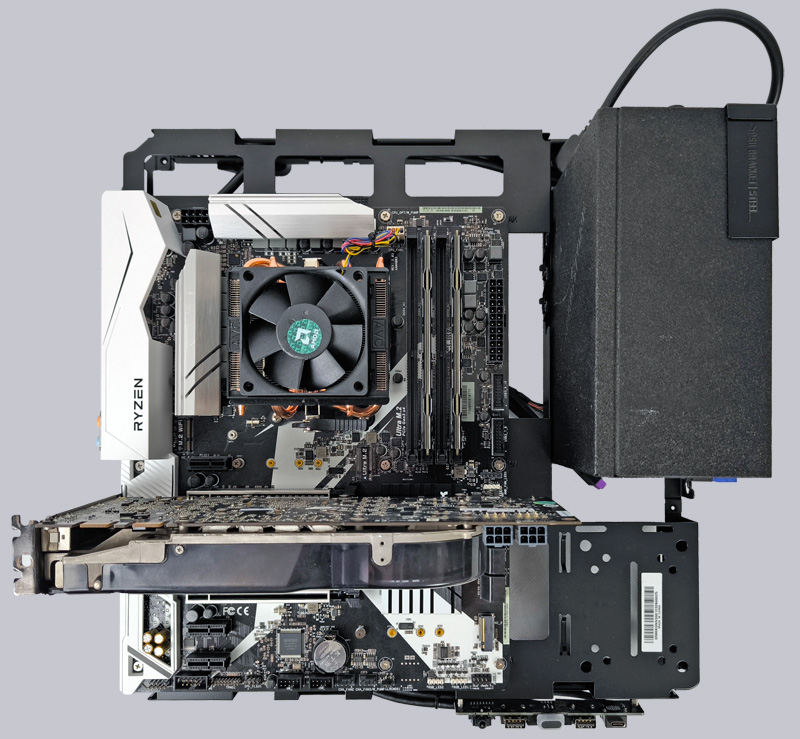
The connection panel is mounted on the side of the mainboard tray.
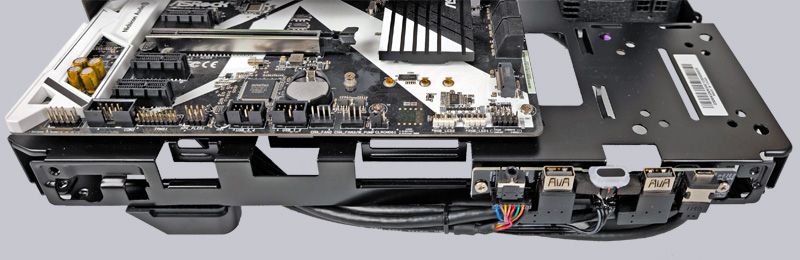
According to the instructions, it remains mounted on the motherboard tray. However, the graphics card is only held by the slot bracket and there is no way of attaching an AiO, for example.
We would therefore recommend installing the back and top for the test bench as well. This would still provide easy access to all components and a 280mm AiO could be installed on the outside of the lid. This also avoids the limitation to 53mm and still allows easy access to the upper connection for e.g. CPU power connection/fan. In addition, the graphics card has a good hold and protects the PCIe slot.
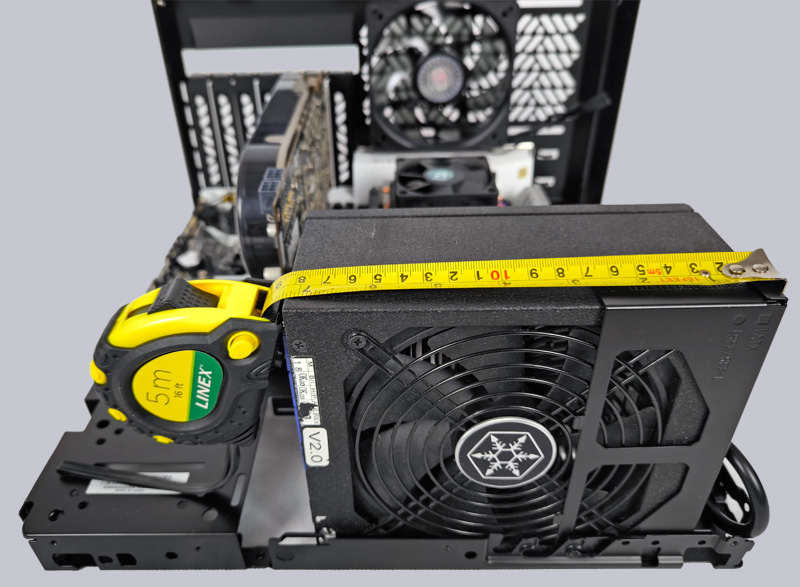
The power supply unit installed here is slightly above Cooler Master’s maximum 173mm, which makes it very tight. To make things easier, the cables should be plugged into the power supply unit before installation. Installation would be much easier with a slightly shorter power supply unit.
Inverted setup …
The Cooler Master Qube 500 Flatpack can also be used as an inverted case. All you have to do is remove the feet and dust filter at the bottom, pull off the lid and unscrew the rear handle. The enclosed hexagon socket wrench is used for this. Then simply fit the feet onto the lid, attach the dust filter and turn the housing onto the feet. Then replace the lid and refit the handle at the top back. That’s it!
Attachable cable holder …
There is also a practical cable holder on the handle.
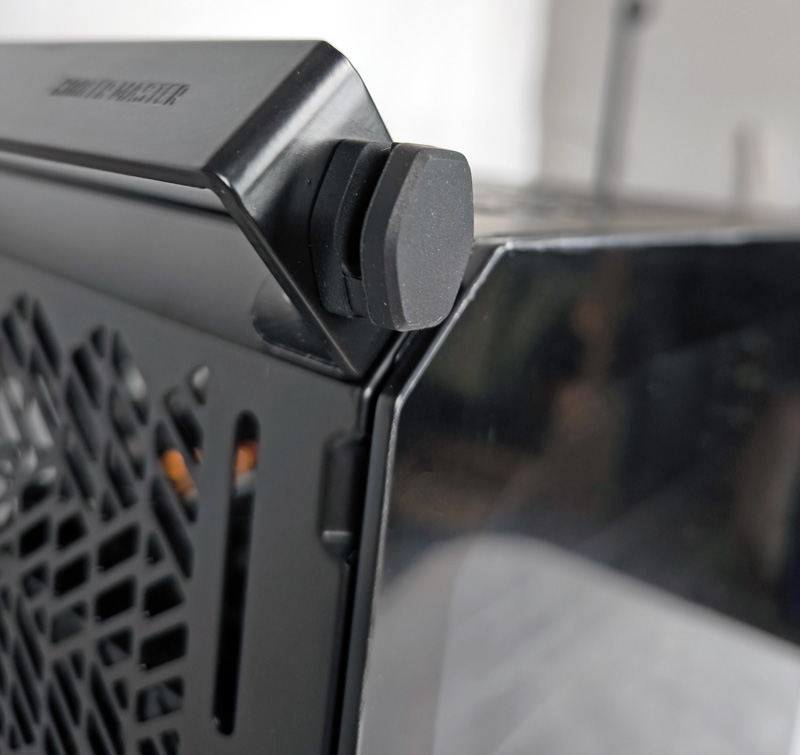
This can be removed and clicked into any position on the housing.
The Cooler Master Qube 500 Flatpack is a modular case that can be used in a variety of ways: Normal construction, as a desktop case, as an inverted case or even as a testbench. Overall, the Qube 500 Flatpack case can therefore be used very flexibly and offers many small but fine details.
Cooler Master Qube 500 Flatpack Layout, design and features inside …