
Layout, design and features …
The Cooler Master XG Plus 650 Platinum comes in black.
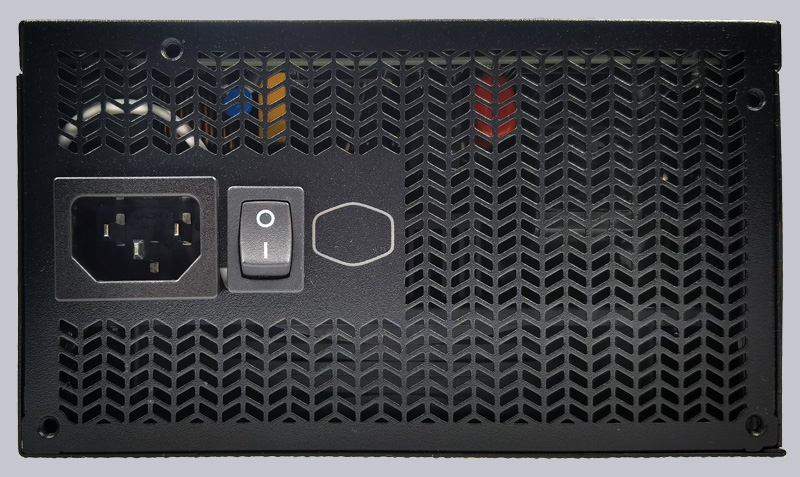
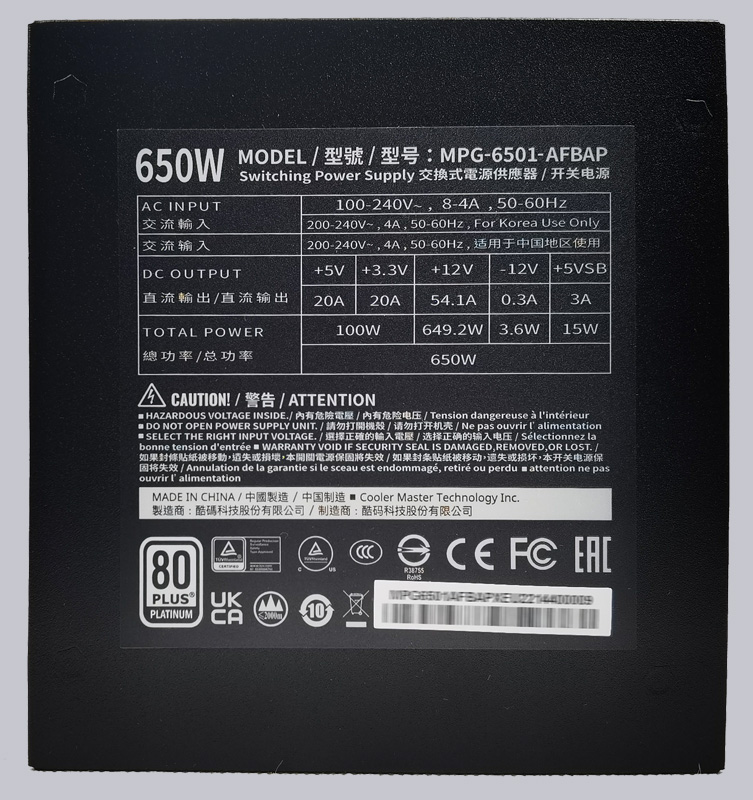
On the back side there is no switch for 230V/115V changeover, so you can’t set wrong voltage here.
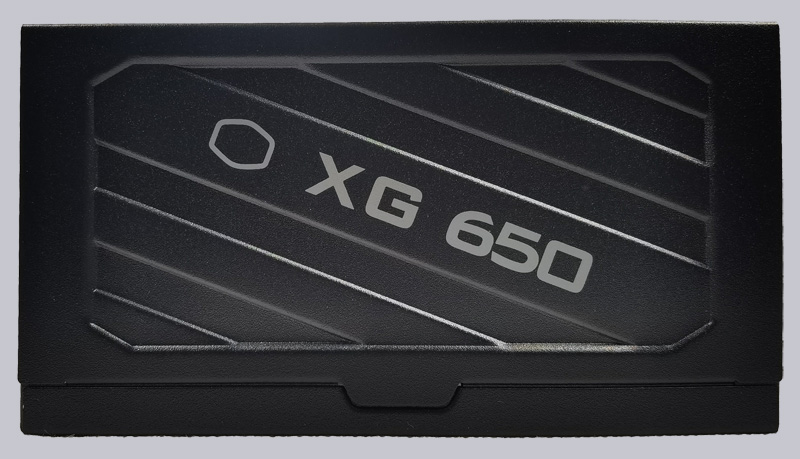
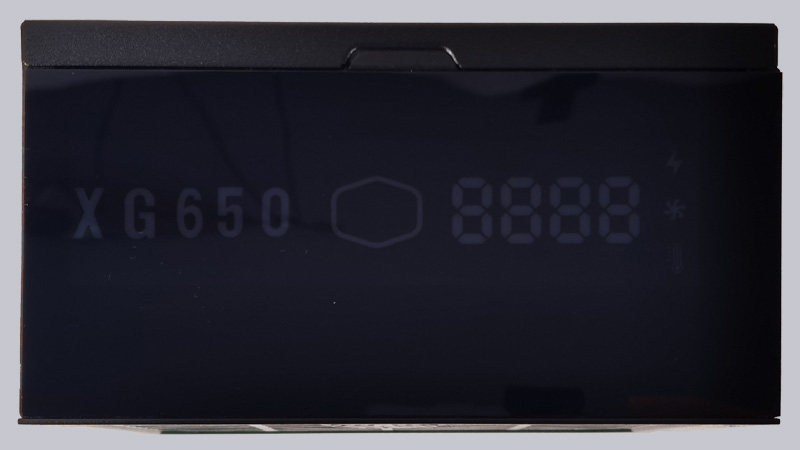
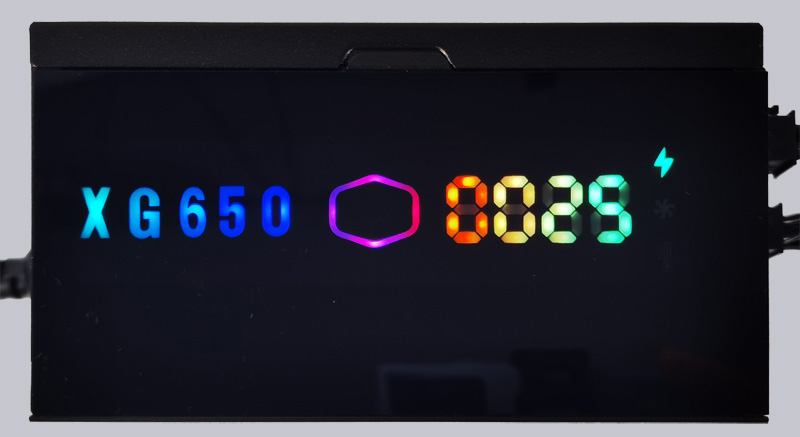
The display is located on the side where the nameplate is normally applied and is therefore visible.
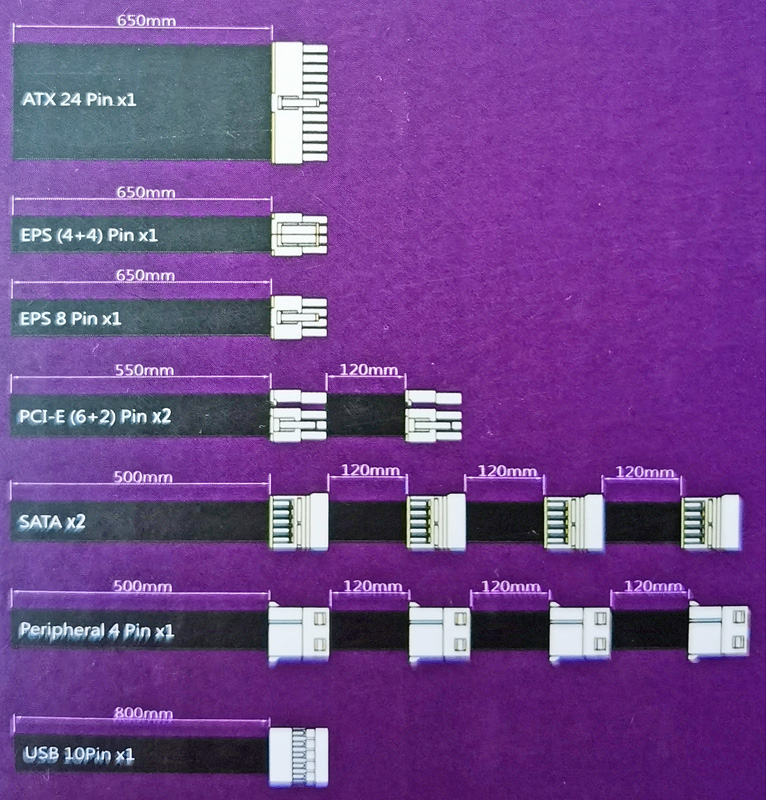
The power supply is fully modular …
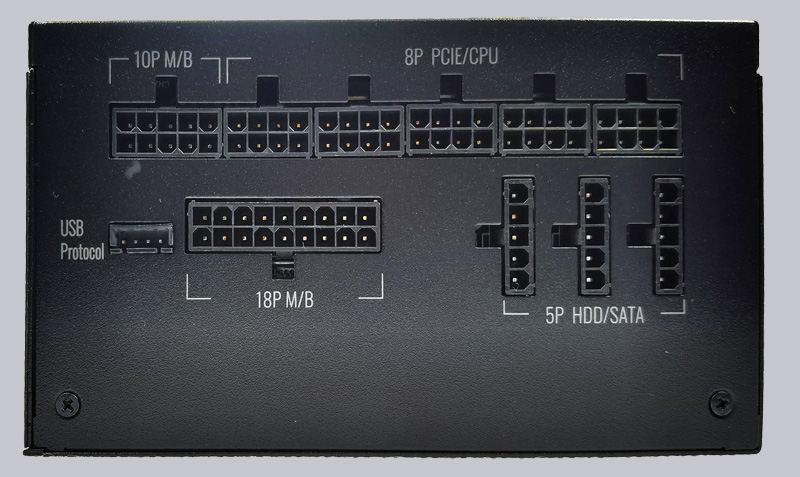
… and all connection are well labeled and coded, so there is no risk of confusion.
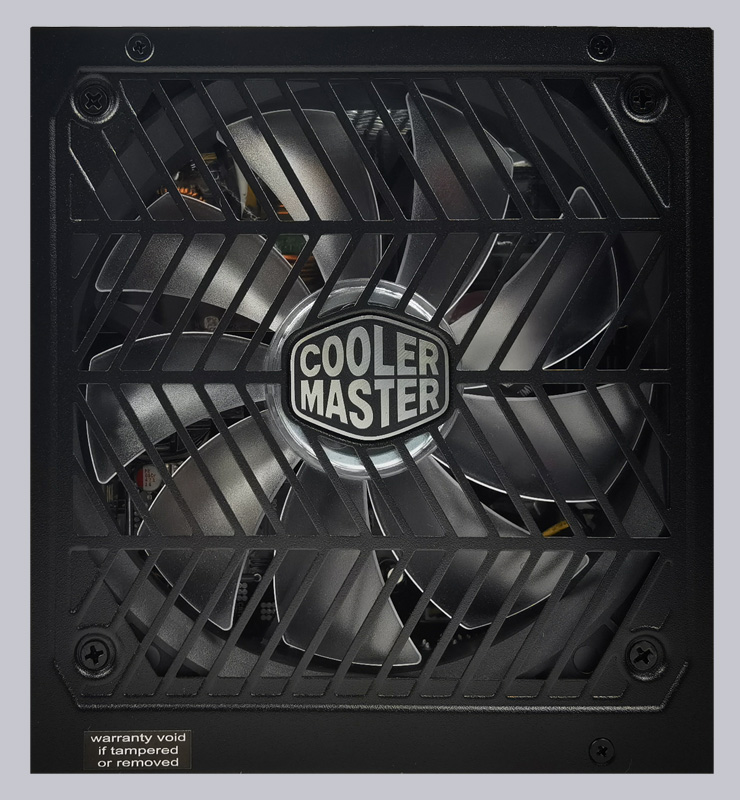
The power supply is cooled with a 135mm fan.
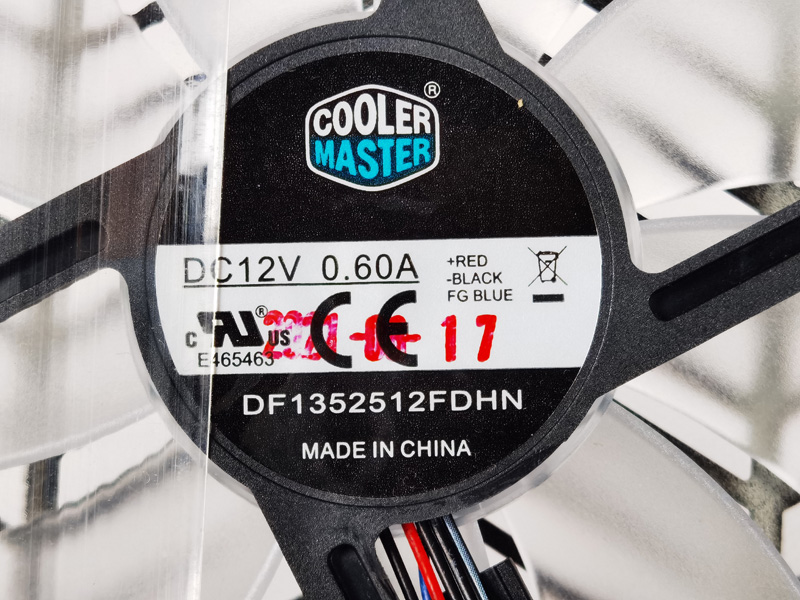
The Cooler Master fan is called the DF1352512FDHN and is rated at 12 volts DC and 0.60 amps max, which is about 7.2 watts max.
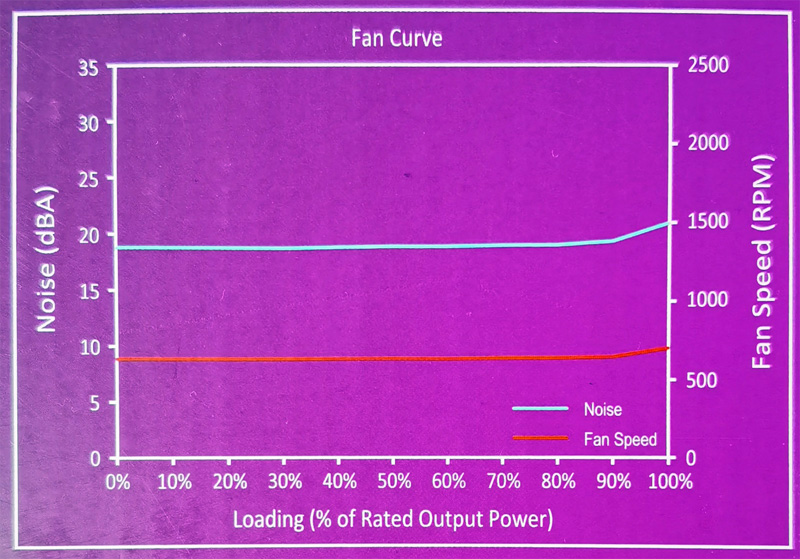
The fan curve and also the LED display, provides information that the fan consistently moves in a range around 650-750 rpm and is thus absolutely silent.
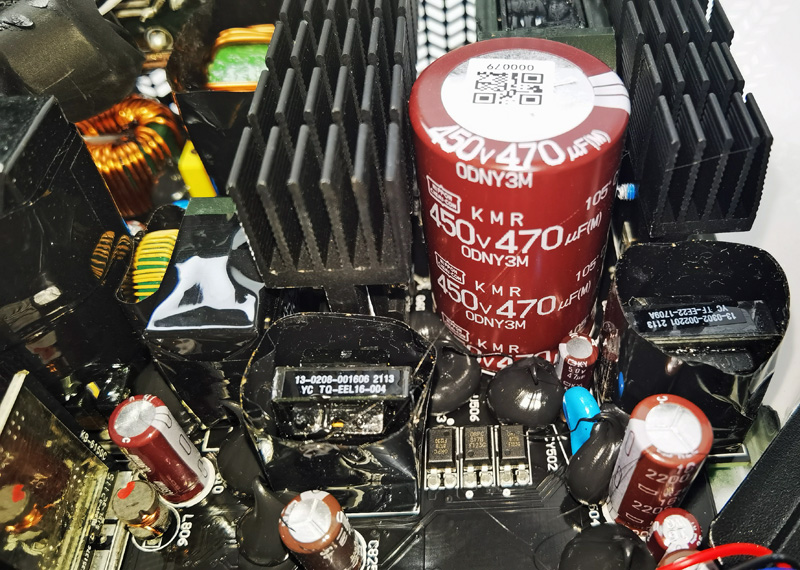
When we look inside the Cooler Master XG Plus, we see a well-designed and cleanly manufactured PCB that features high-quality components. Sensitive components such as the coils are protected with a special adhesive against coil whining.
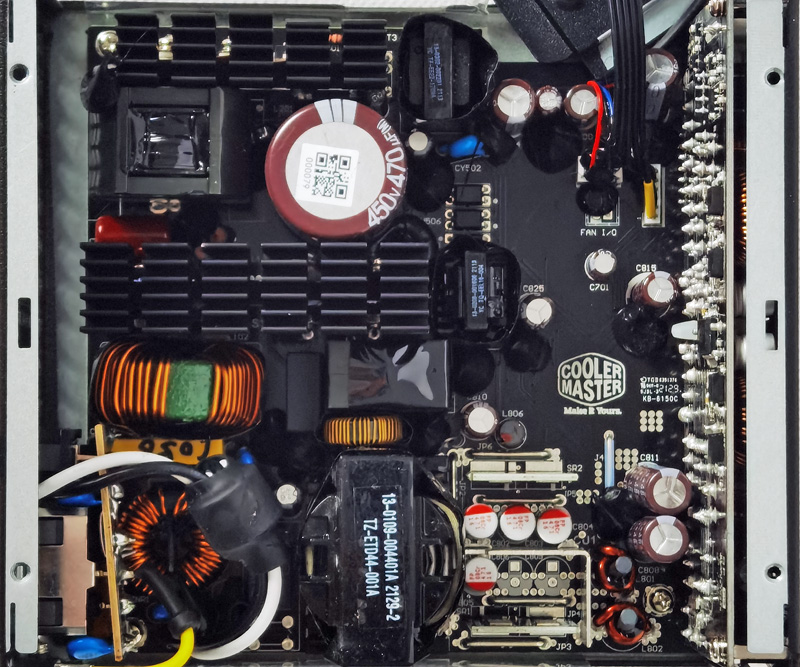
Solid Japanese capacitors are also installed here.
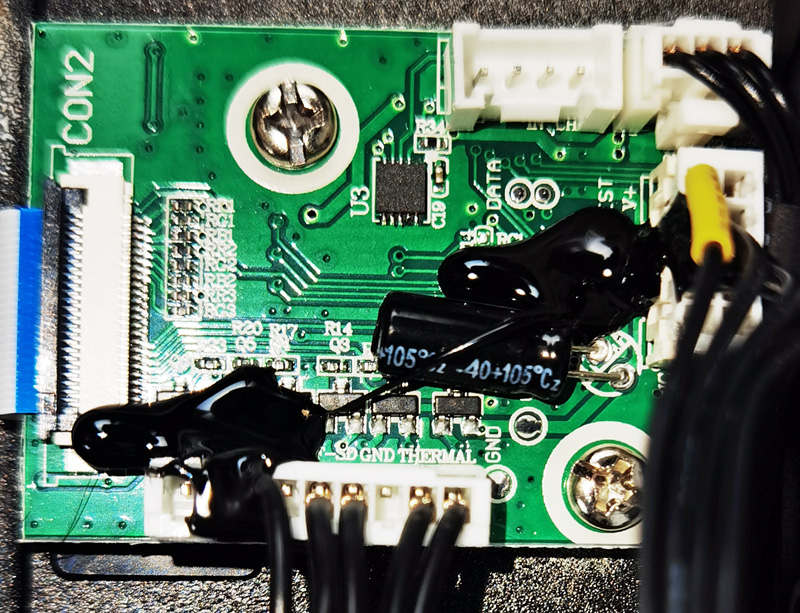
The corresponding control board is located directly behind the display.
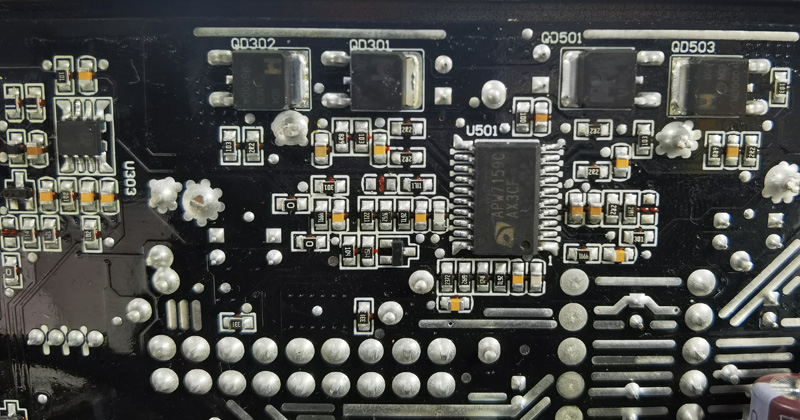
Of course, the power supply also has all the important protection circuits that should be standard nowadays. With overload protection (OPP), overcurrent protection (OCP), overtemperature protection (OTP), undervoltage protection (UVP), overvoltage protection (OVP) and short-circuit protection (SCP), you are on the safe side here. These are realized with the PWM controller Anpec APW7159C.
From the certification symbols, you can easily see that this power supply has gone through and passed all the important certification.
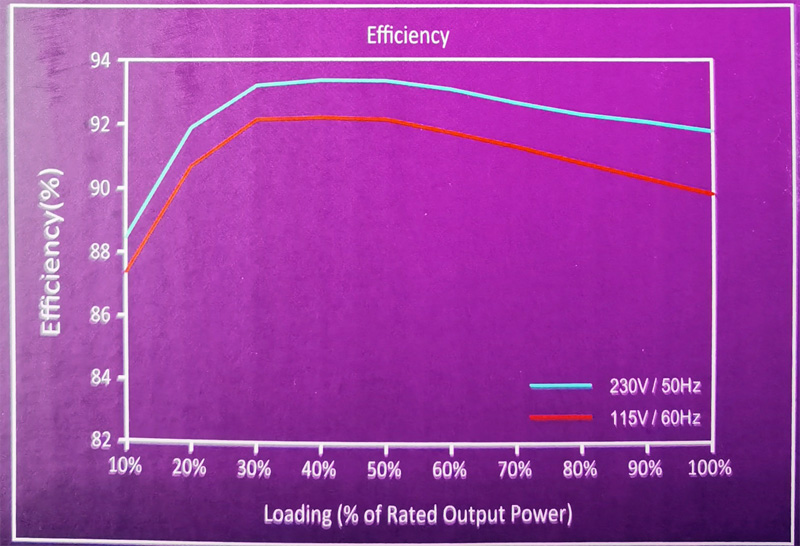
A look at the efficiency curve also shows that the Platinum certification is consistently above 91%, maximum 93%, at 230V between 20 and 100%. Typically, the efficiency under 115V is a little worse.
All cables are long enough to be used in a common big tower.
Software …
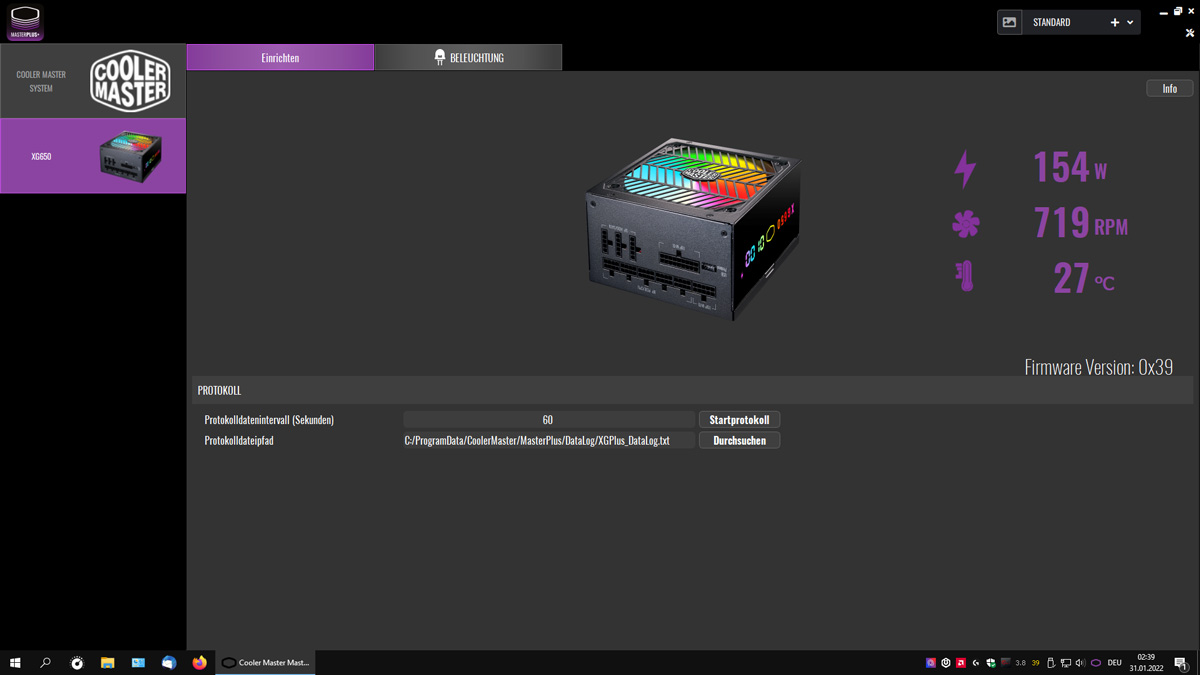
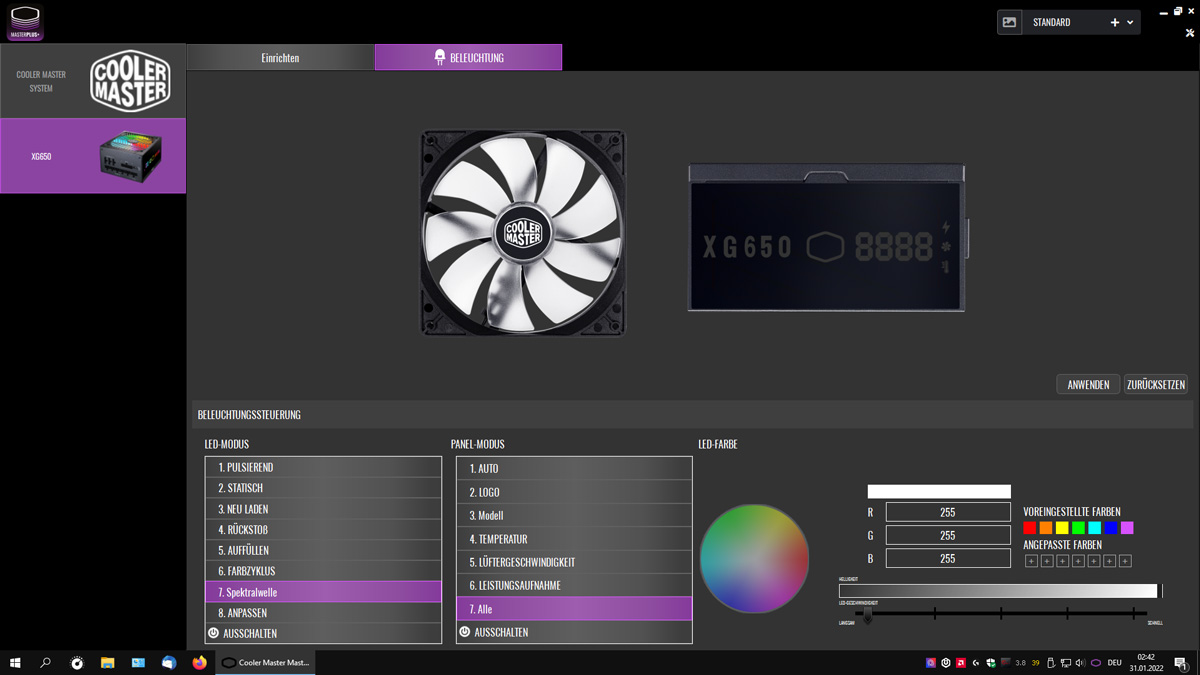
Since the power supply comes with the Cooler Master Masterplus+ software to control the display, we take a quick look inside here. On the system page, we see an overview of the temperatures, voltages and utilization of the CPU and graphics card.

The tab for the power supply reveals the data on the display. These are up-to-date and identical to the values that the display shows. You can also immediately see that our system needs just over 150W in idle with the software open. The consumption can also be logged for later display. All three data are logged: Consumption, temperature and fan speed.
The display can also be set under lighting. Manufacturer logo, temperature, consumption and fan speed are preset and cannot be changed. The latter 3 share a display and rotate alternately on the display.
For example, this is what the fan speed display looks like.

For example, the instantaneous power increase is displayed.
And here you can see the effects again in a small video (the flickering is only visible in the video).
With that, we now jump into Practical testing …