

Layout, design and features …
Now it’s time to take a closer look at the M65 RGB Elite. The Corsair M65 RGB Elite is the improved successor of the Corsair M65 Pro RGB. Among other things, the thumb buttons have been redesigned, the optical sensor has been upgraded and the mouse has become lighter overall. The frame is made of anodized aluminum, which looks chic and valuable.
The upper side is rubberized and the two side parts are made of very finely structured plastic. The used materials of the Corsair M65 RGB Elite feel very quality.
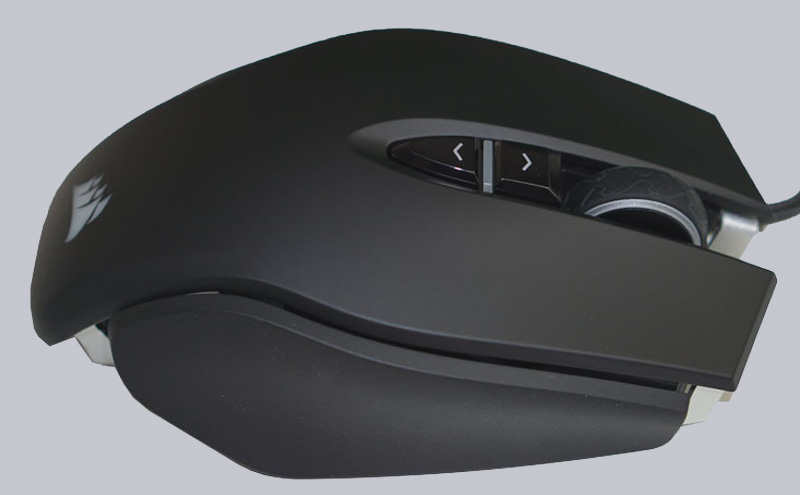
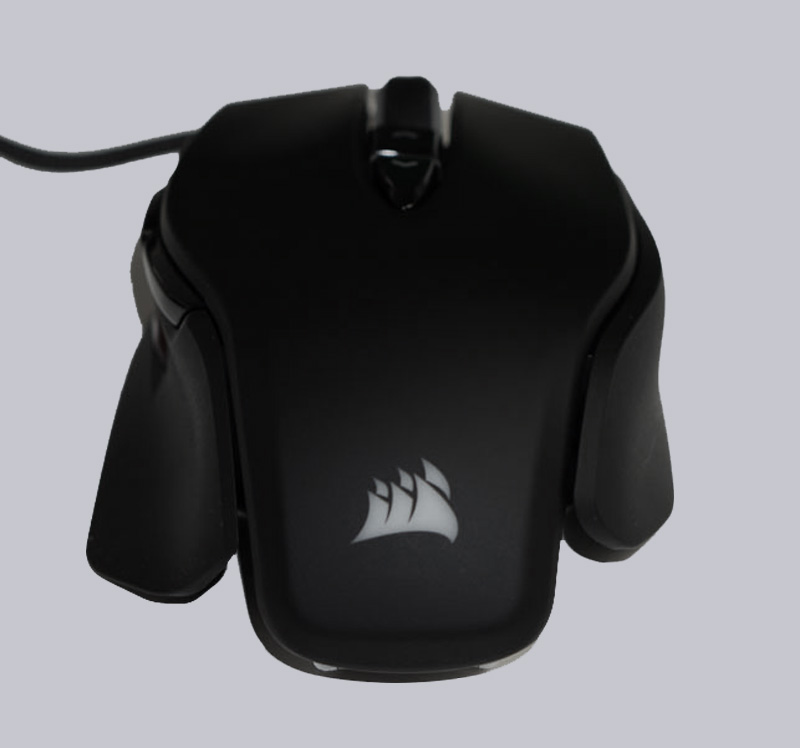
Of course, the illuminated logo on the mouse should not be missing. How to control the Corsair logo is shown in the software.
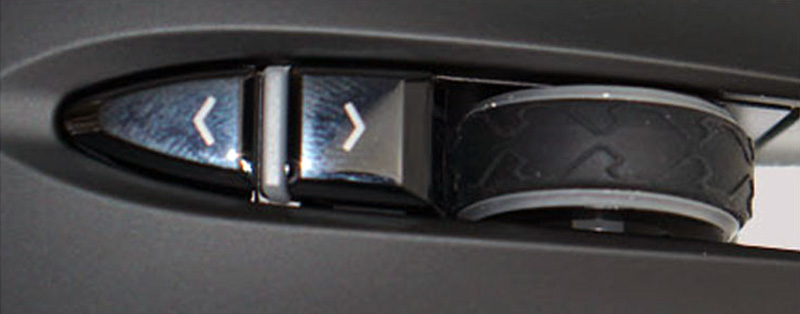
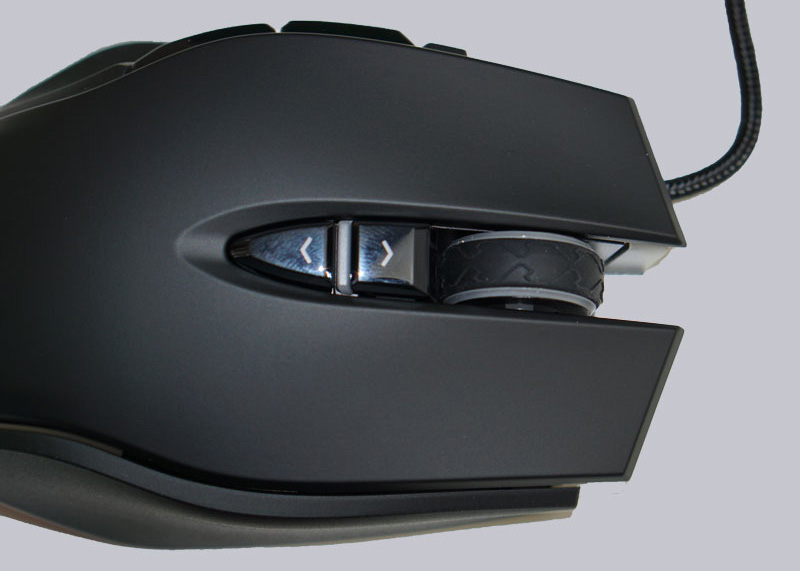
The Corsair M65 RGB Elite has eight freely programmable buttons and two DPI switches (pre-programmed are the intervals 800, 1500, 3000, 6000 and 9000). Between the two switches there is a DPI-Indicator LED. The mouse wheel is rubberized and has a profile. It can also be spinned and pressed.
Omron switches operate under the two main buttons.
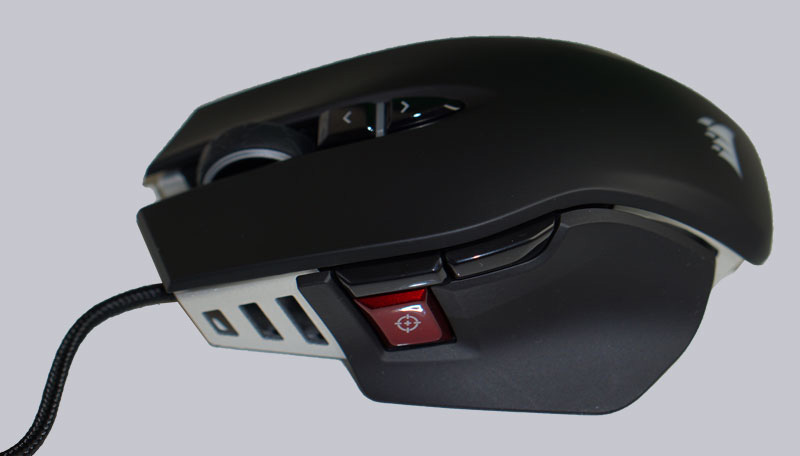
On the side there are two thumb buttons and the sniper button, more about that later.

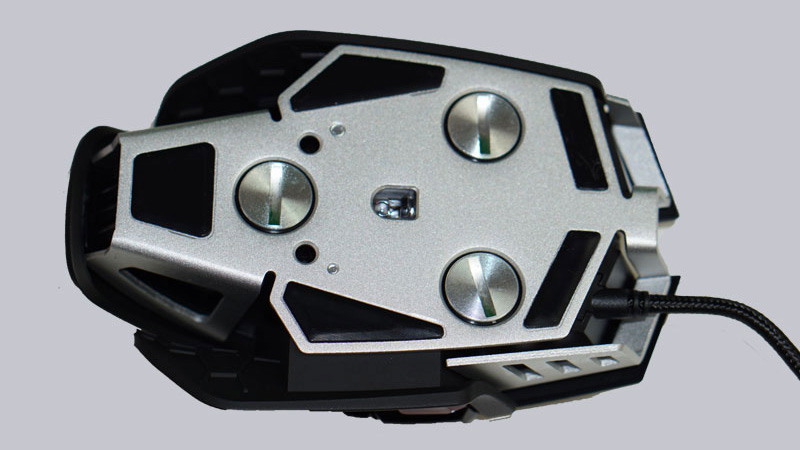
On the underside of the mouse we see the aluminium frame, the sliding pads, the optical sensor and the screws for weight optimization.
The sensor is a PMW3391, which was developed in cooperation with PixArt. It is also used in the Corsair Ironclaw. The sensor reacts lightning fast and reproduces the input undistorted. Even with low DPI and sensitivity values, the mouse reacts very accurately.
The weights of the mouse are taken out quickly. Thanks to the large recesses there is no need for special tools to remove the screws. A 1 cent coin can do the job. There are 3 weights of 6 grams each, so you can adjust the weight between 97 and 115 grams. For our tester the heavy setup with all weights fits best.

We would like to have a short look at a special feature of the mouse. In red with a crosshair the sniper button jumps directly into our eyes. The function of this button is to reduce the sensitivity when sniping. How the button works in practice is described in our practical test.
Furthermore, on the upper side we find the lighting zones, which we can configure in the software.
Software …
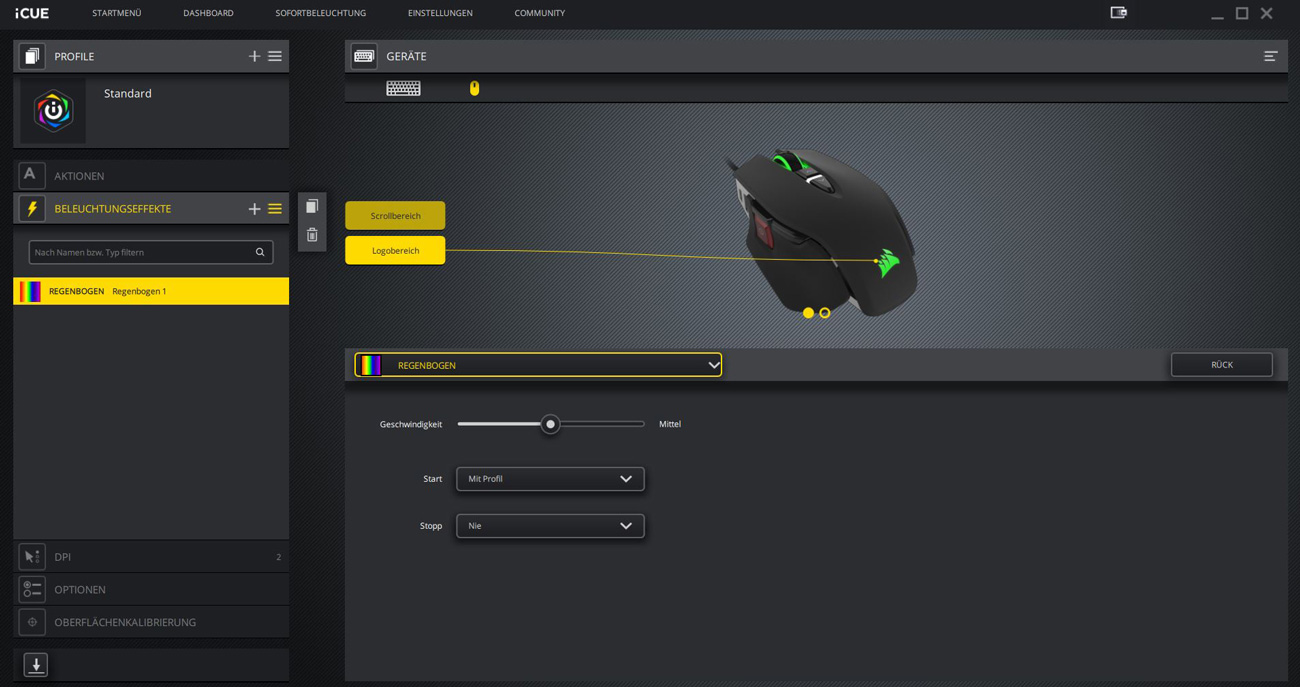
Using the iCUe software, we can control and customize the lighting.
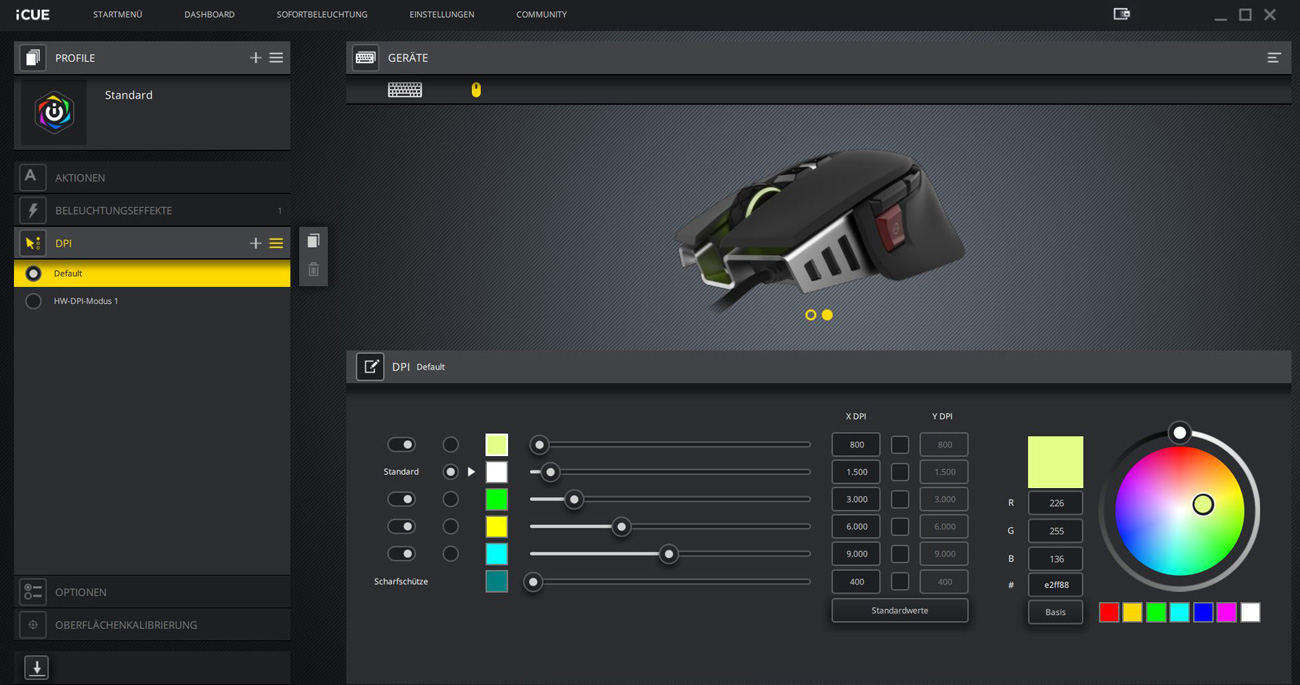
For the DPI indicator LED we can assign a color to each of the five DPI levels. The sixth slot of the DPI settings belongs to the sniper button.
The mouse wheel and the Corsair logo are freely configurable and can also be linked to the known profiles (rainbow, colour pulses, etc.).
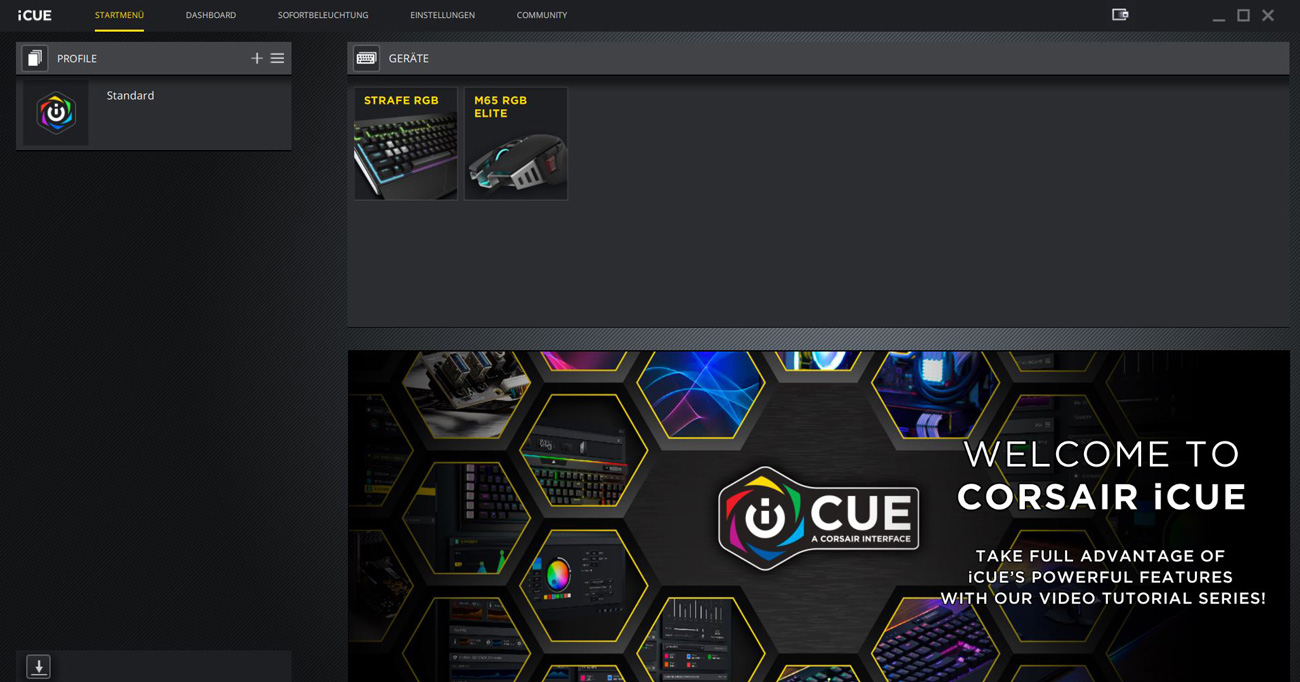
We already know the iCUE software from the beginning. At that time it was very limited in its functions and not very user-friendly. The iCUE software can now be controlled intuitively and has all the necessary functions. We can choose from many predefined lighting profiles or create our own. The DPI profiles are also very easy to set.
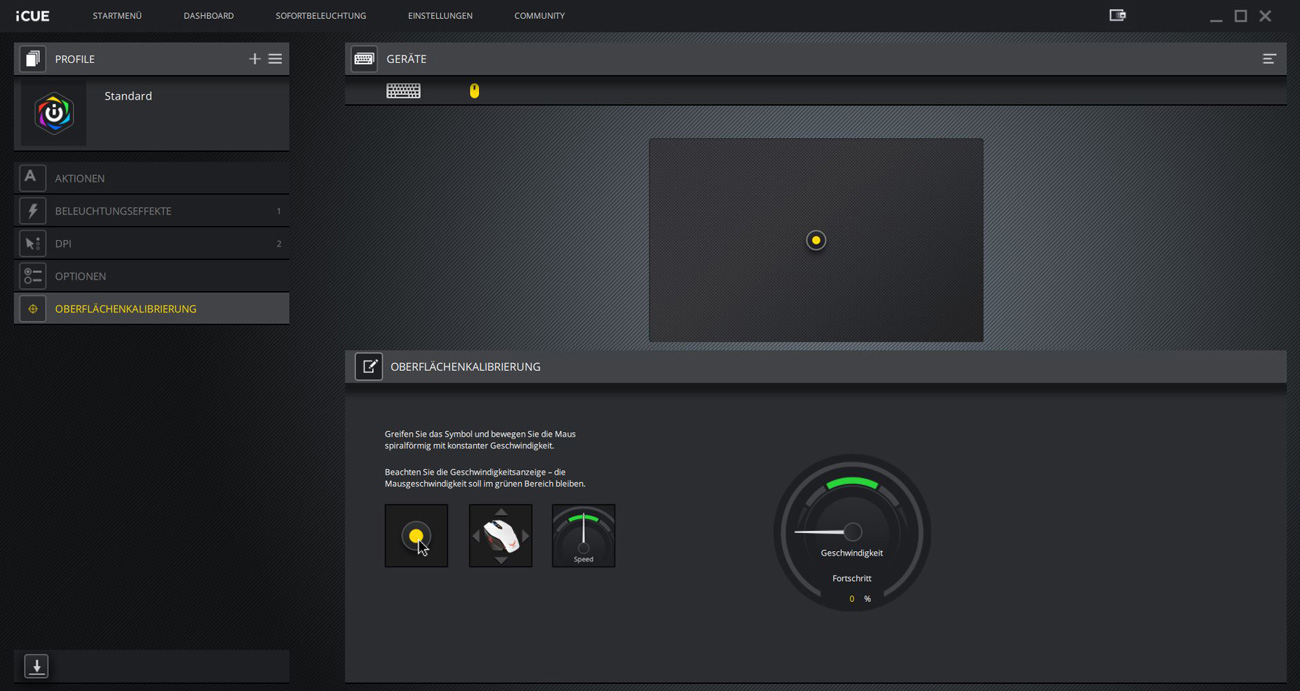
All settings can be saved directly to the mouse thanks to the internal memory. There is also the possibility to perform a surface calibration where the mouse adapts to the existing mouse pad. Corsair seems to have put a lot of effort and time into the software, we think the iCUE software is really good now.
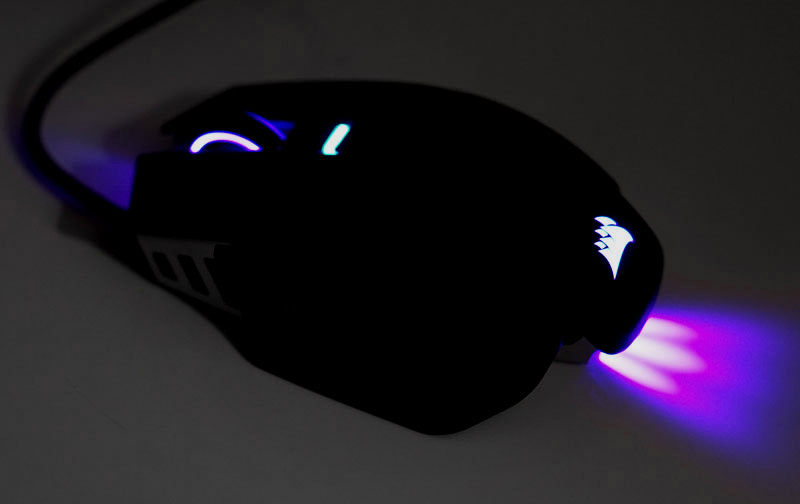
RGB Effects…
Here you can see the RGB effects of the Corsair M65 RGB Elite mouse in action.
The following picture shows the mouse illumination again from the other side.
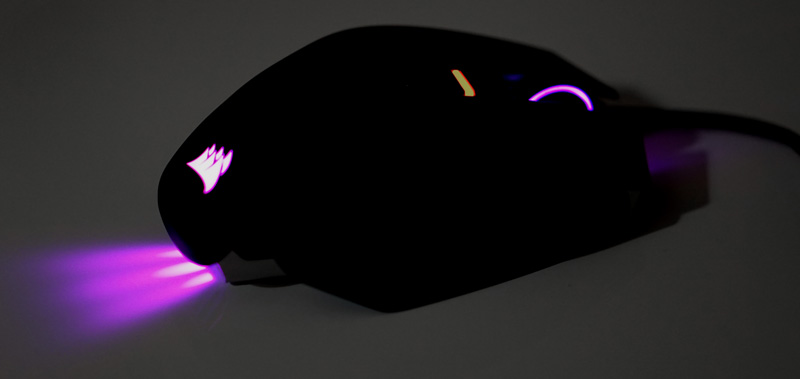
And to get an impression of the Corsair M65 RGB Elite effects, we made a short video.
Corsair M65 RGB Elite Gaming Mouse Practical testing …