
Installation …
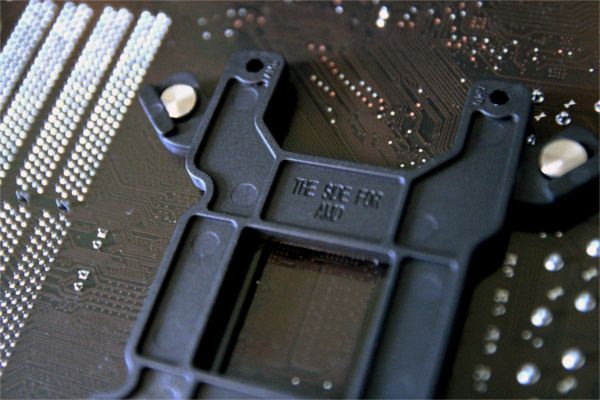
If the motherboard tray doesn’t have a cutout, there’s unfortunately no way around of removing the motherboard from the case. Afterwards you can easily mount the plastic backplate. It should be noted that in our case with an Intel system the lettering “this side for Intel” must point toward the mainboard.
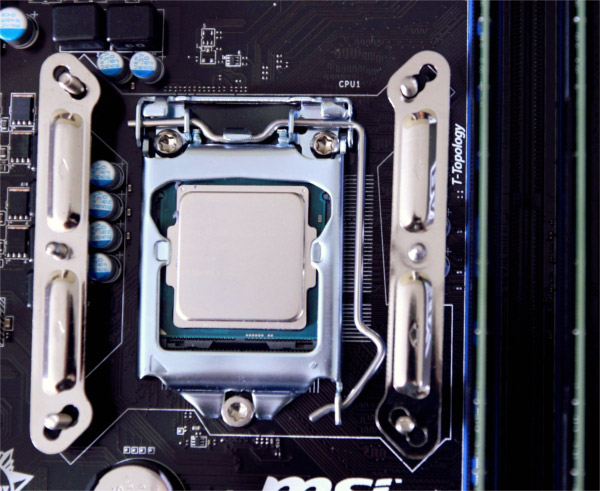
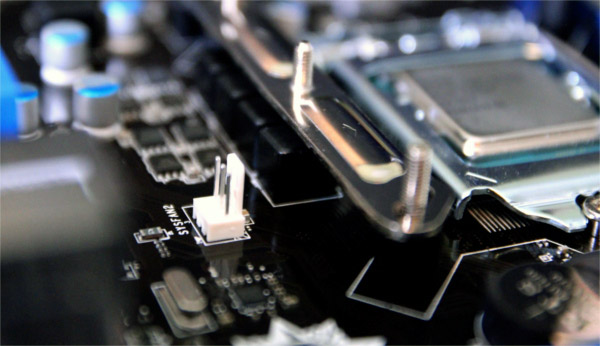
Let’s continue on the front side of the mainboard. For our socket1150 system we used, as explained in the manual, the straight metal bars and the center hole.
At least at this point the fan has to be removed. But this comes easily thanks to the plastic clips. Thermal paste is applied to the CPU next. For this purpose there is a tube with Dow Corning TC-5121 included.
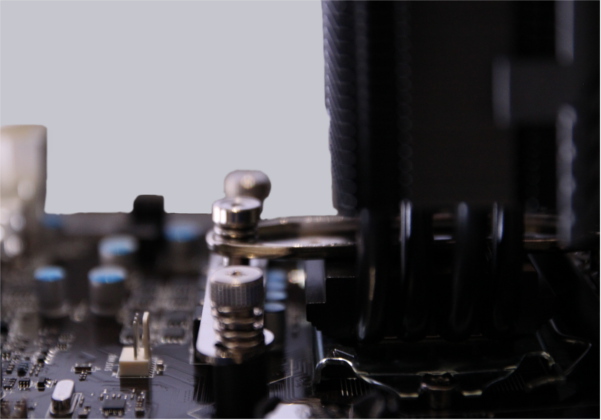
The actual contact pressure is generated by a sturdy metal bar that lies across the bottom plate of the ETS-T40F-BK and is screwed to the side bars. The assembly of this metal bar came harder as expected. Neither is it visible nor explained in the manual that the pins sit in slotted holes and need to be adjusted in the correct position first.
As soon as this obstacle is overcome, the fan can easily be remounted. This step can be done without problems even when the mainboard is back in place.
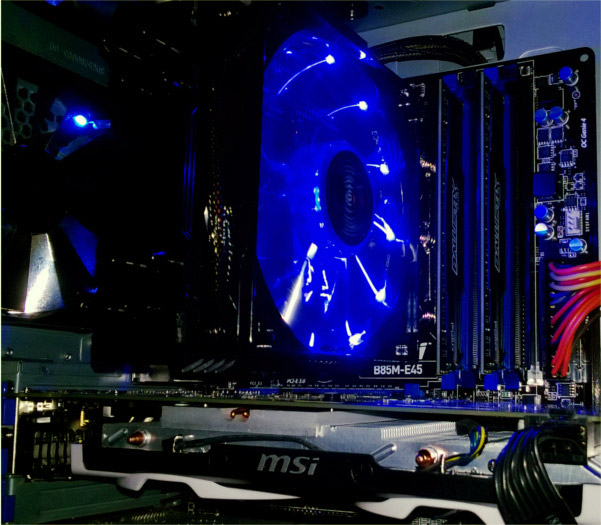
After installation you can see that there is plenty of space. Especially high Ram heatspreader should cause no issues.

Only the chokes lying behind the CPU have just a millimeter space to the side bar.
After installing the mainboard back in the case, the cooler can show its performance.
Enermax ETS-T40F-BK setup and test results …