

Installation…
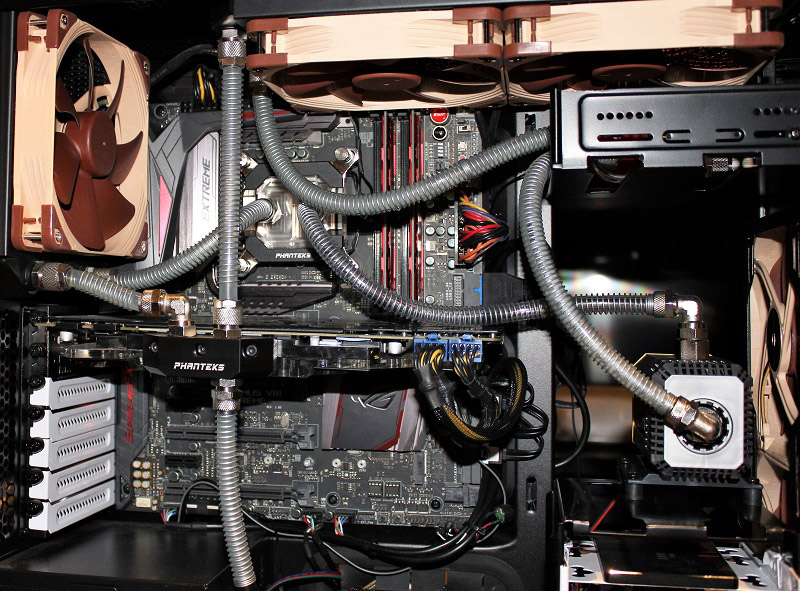
For the practice test, we’ll link directly to our last water-cooling test, the Mayhems Aurora coolant. The Glacier C350i will replace the NZXT Kraken cooler in our test PC and joins to its graphics card cooler colleague, the Phanteks Glacier GTX 1080 Ti ASUS Strix RGB in black. Since the NZXT Kraken also took on the task of the pump at the same time, an Aquacomputer Aquastream XT Advanced was also integrated into the system.
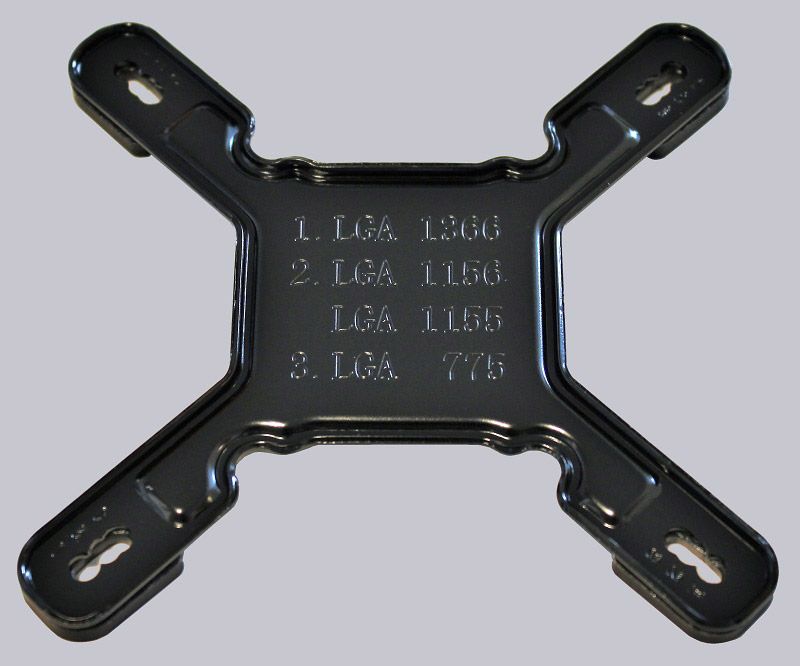
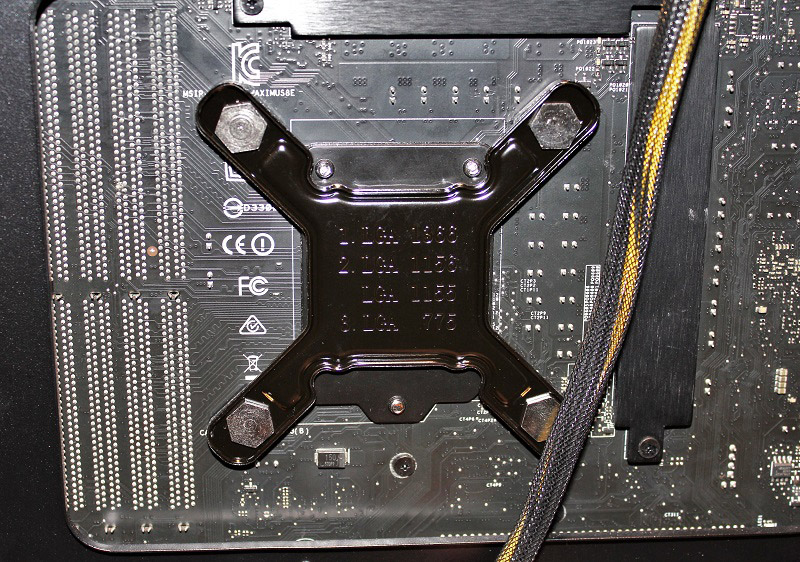
For assembly, we first look at the backplate, it is conveniently labeled.
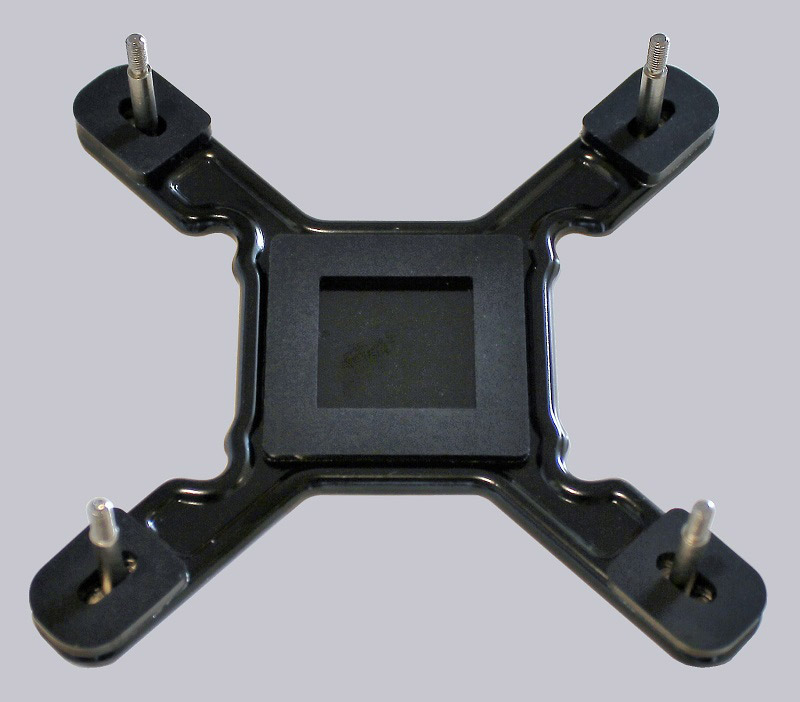
The glands are then inserted through the existing CPU socket mounting holes …

… so they protrude on the side of the backplate that faces the motherboard. This is upholstered with sponge rubber.
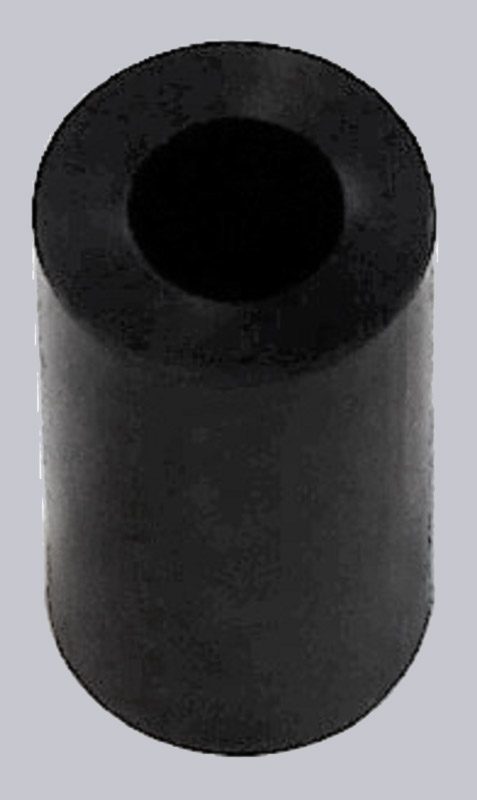
Later, these plastic sleeves are also important …
… but first we put the backplate on the motherboard from the back and put the screws through the motherboard. Here we already realize that this will be a fumble affair. From the front, however, it looks like it’s on schedule.
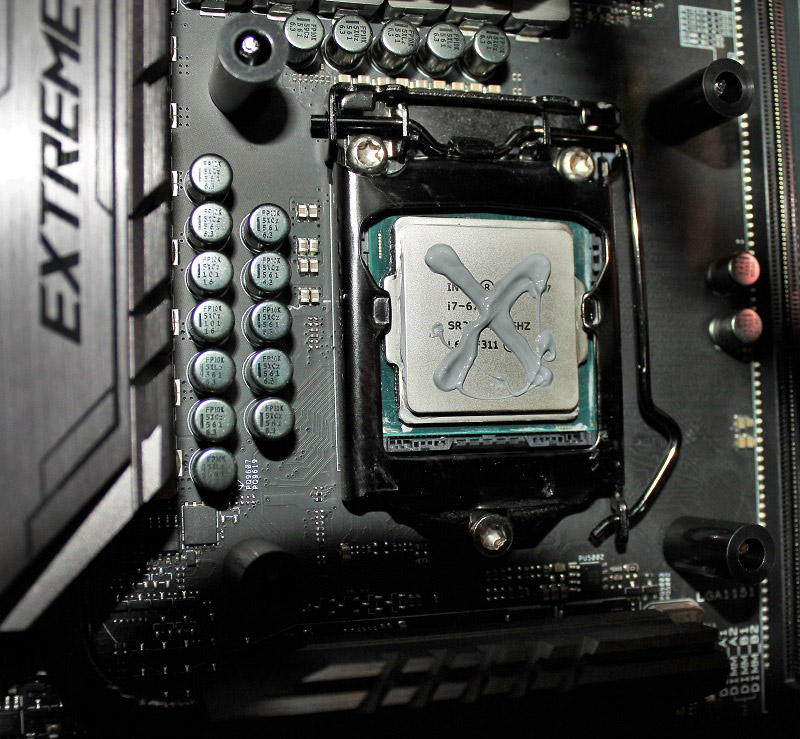
Next, quickly the plastic sleeves on the glands. And do not forget thermal grease.
Unfortunately, the assembly was then fumbler as expected: Since all the small parts of the holder are only slightly put on each other, of course, they move at the slightest touch or fall directly out again.
In the end, we managed to temporarily secure the backplate and the screw connections from the back (tip: do not use adhesive tape, if necessary, use painter’s crepe and remove it immediately after installation). If you do not retrofit an existing system with the Glacier C350i, but build a new PC with it, it’s easier, because you can mount the cooler, when the mainboard is not installed.
However, we think Phanteks could have designed a mount that will be bolted to the motherboard just as other cooler manufacturers would.
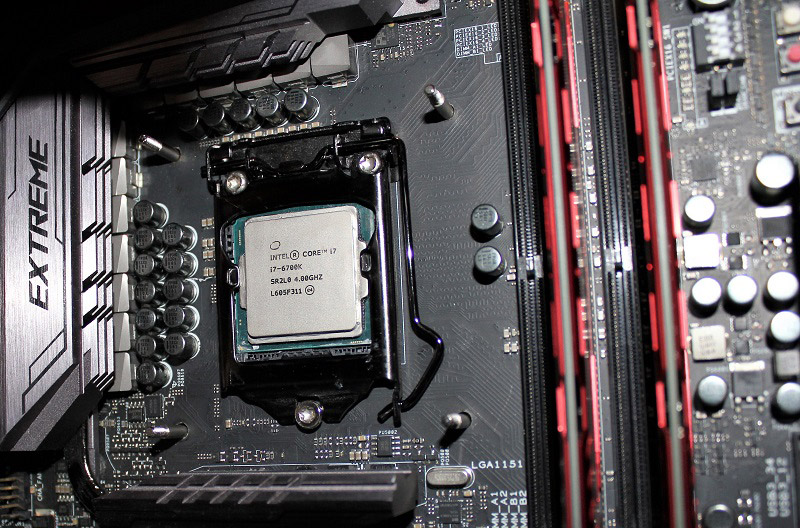
Now just put on the Glacier C350i, screw down, hoses on it and ready 🙂
Phanteks Glacier C350i test setup and results …