
WLAN ESP8266 module Software …
There are several programs to work with the module. The most comfortable program is probably the Arduino IDE. The software can be downloaded for free via the following link:
Arduino IDE
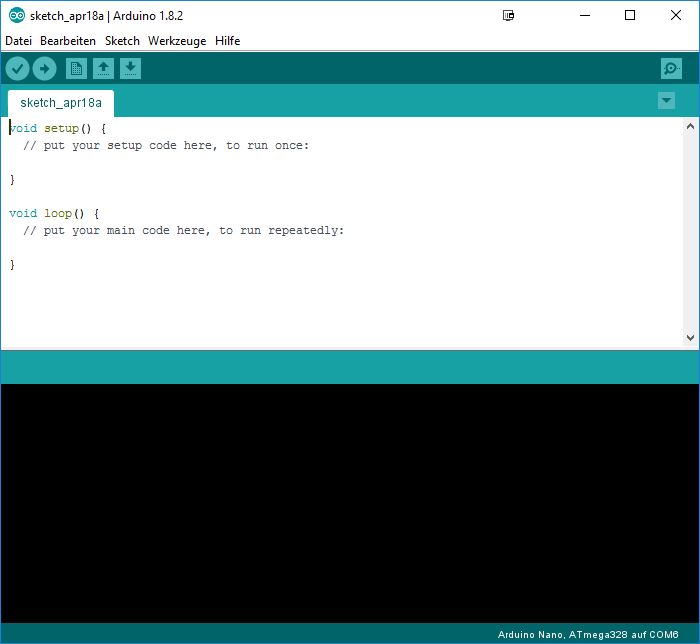
After installation we should be rewarded with the following screen.
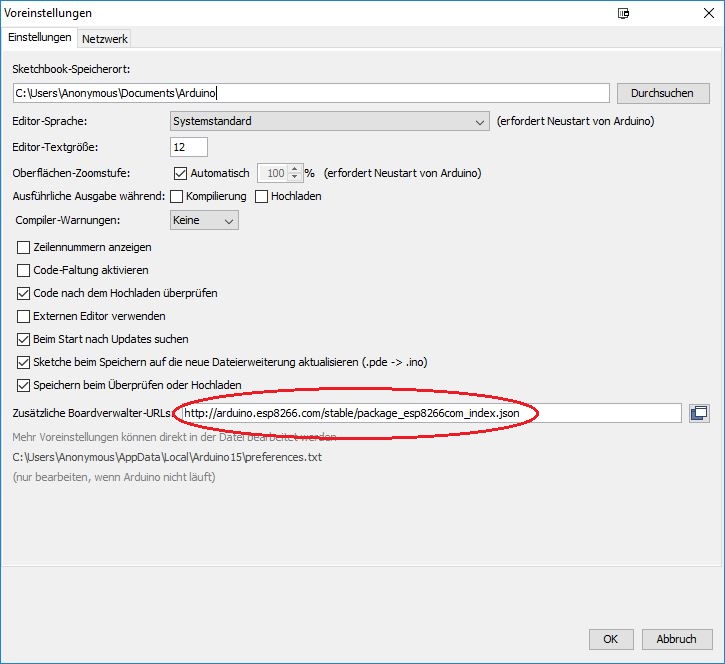
In this state, however, the software is not able to communicate with the ESP module. For this we need a so-called library or a board driver which we install now. To do this, we first enter a new source in the board administration. Under File/Datei, Settings/Voreinstellungen we find the option.
The address is: https://arduino.esp8266.com/stable/package_esp8266com_index.json
Afterwards we go via the menu Tools/Werkzeuge at the point Board: Arduino Nano to the board administrator and search for the ESP8266 driver via the search field.
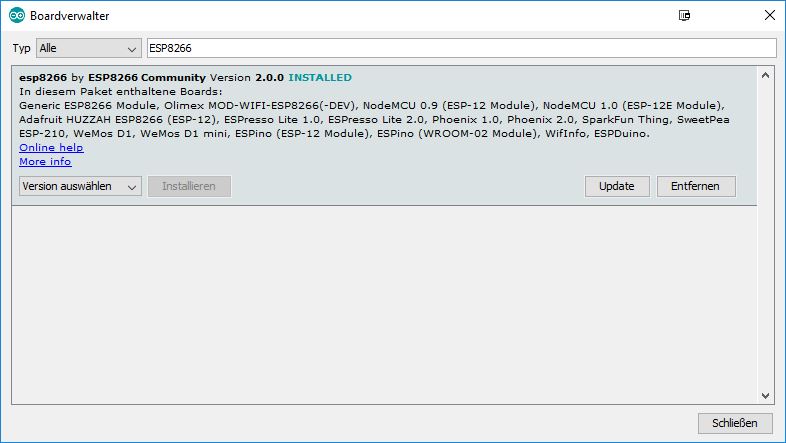
We select and install version 2.0.0. Newer versions create some inexplicable communication problems and should therefore not be selected. At this point we have set up the software to communicate with the ESP8266 module. Let’s dedicate ourselves to a second software which is also able to upload the ESP module to control or program. This is the ESPlorer.
Here the program can be downloaded: ESP8266 Download
Starting this Java application you get the following interface.
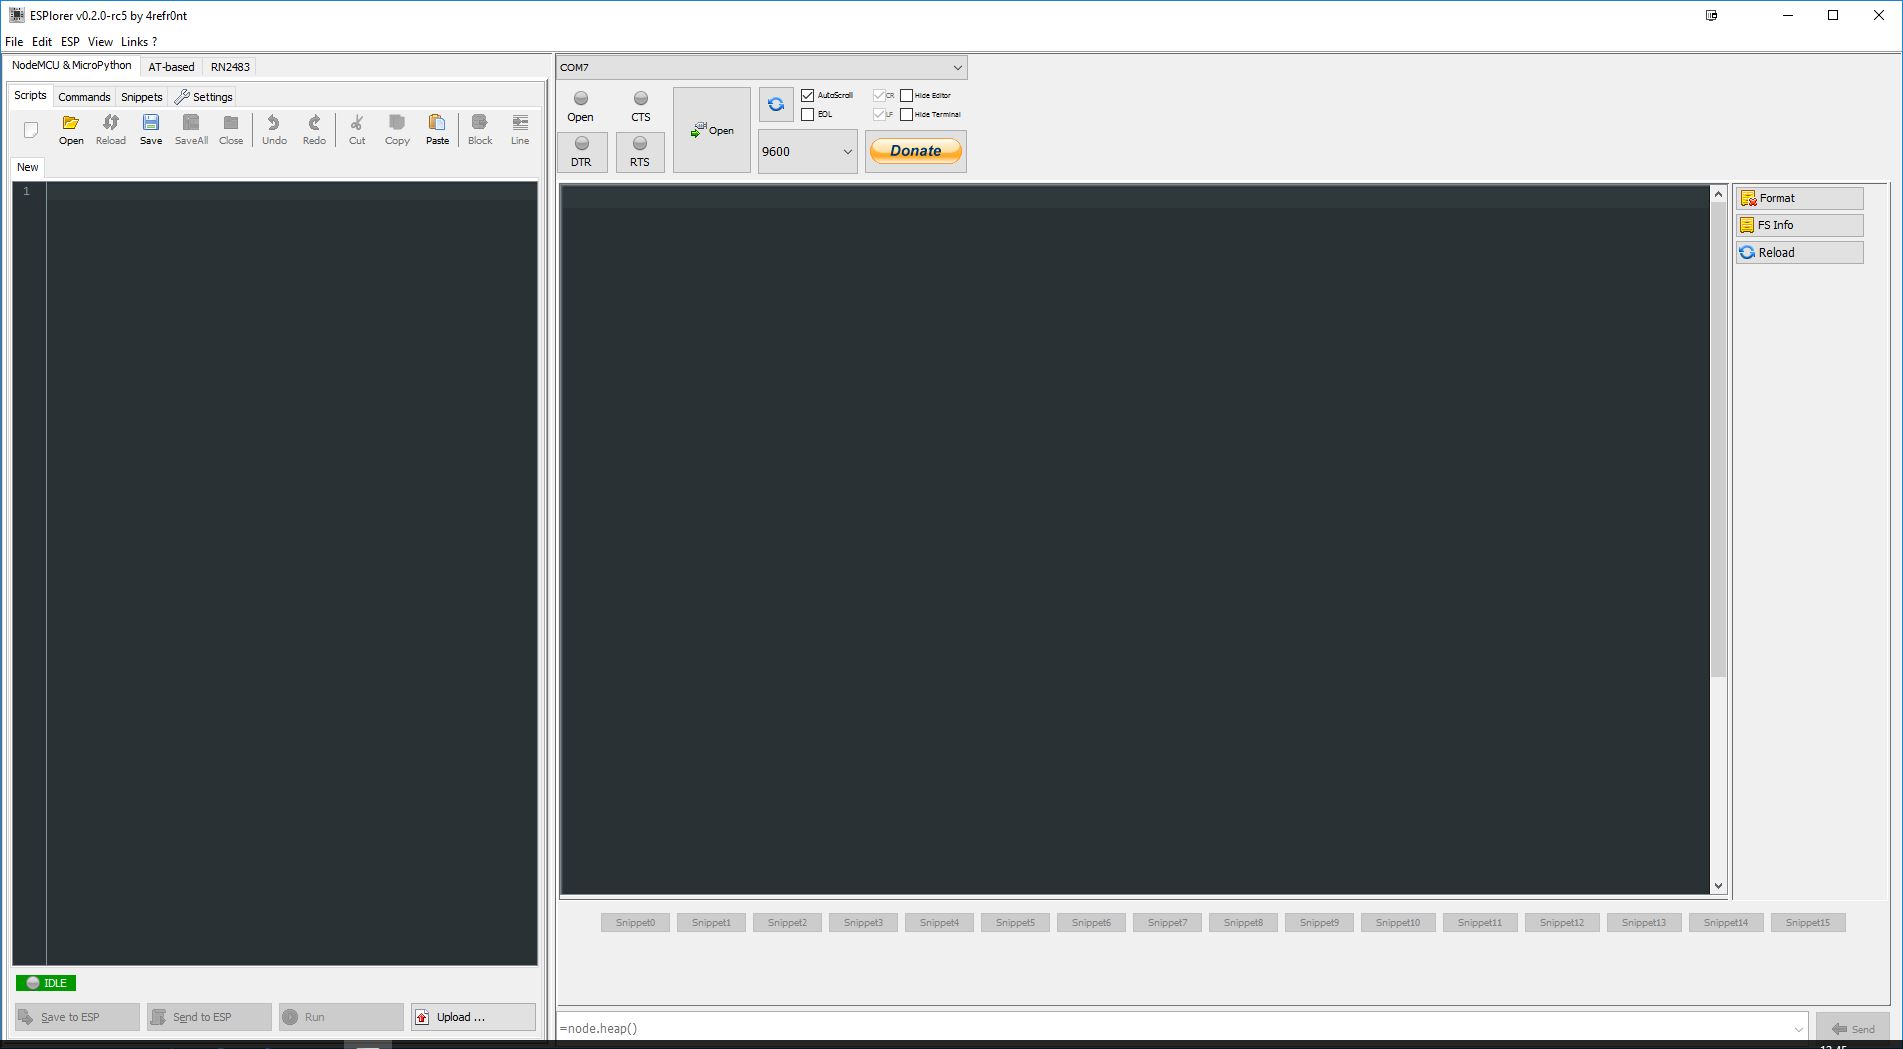
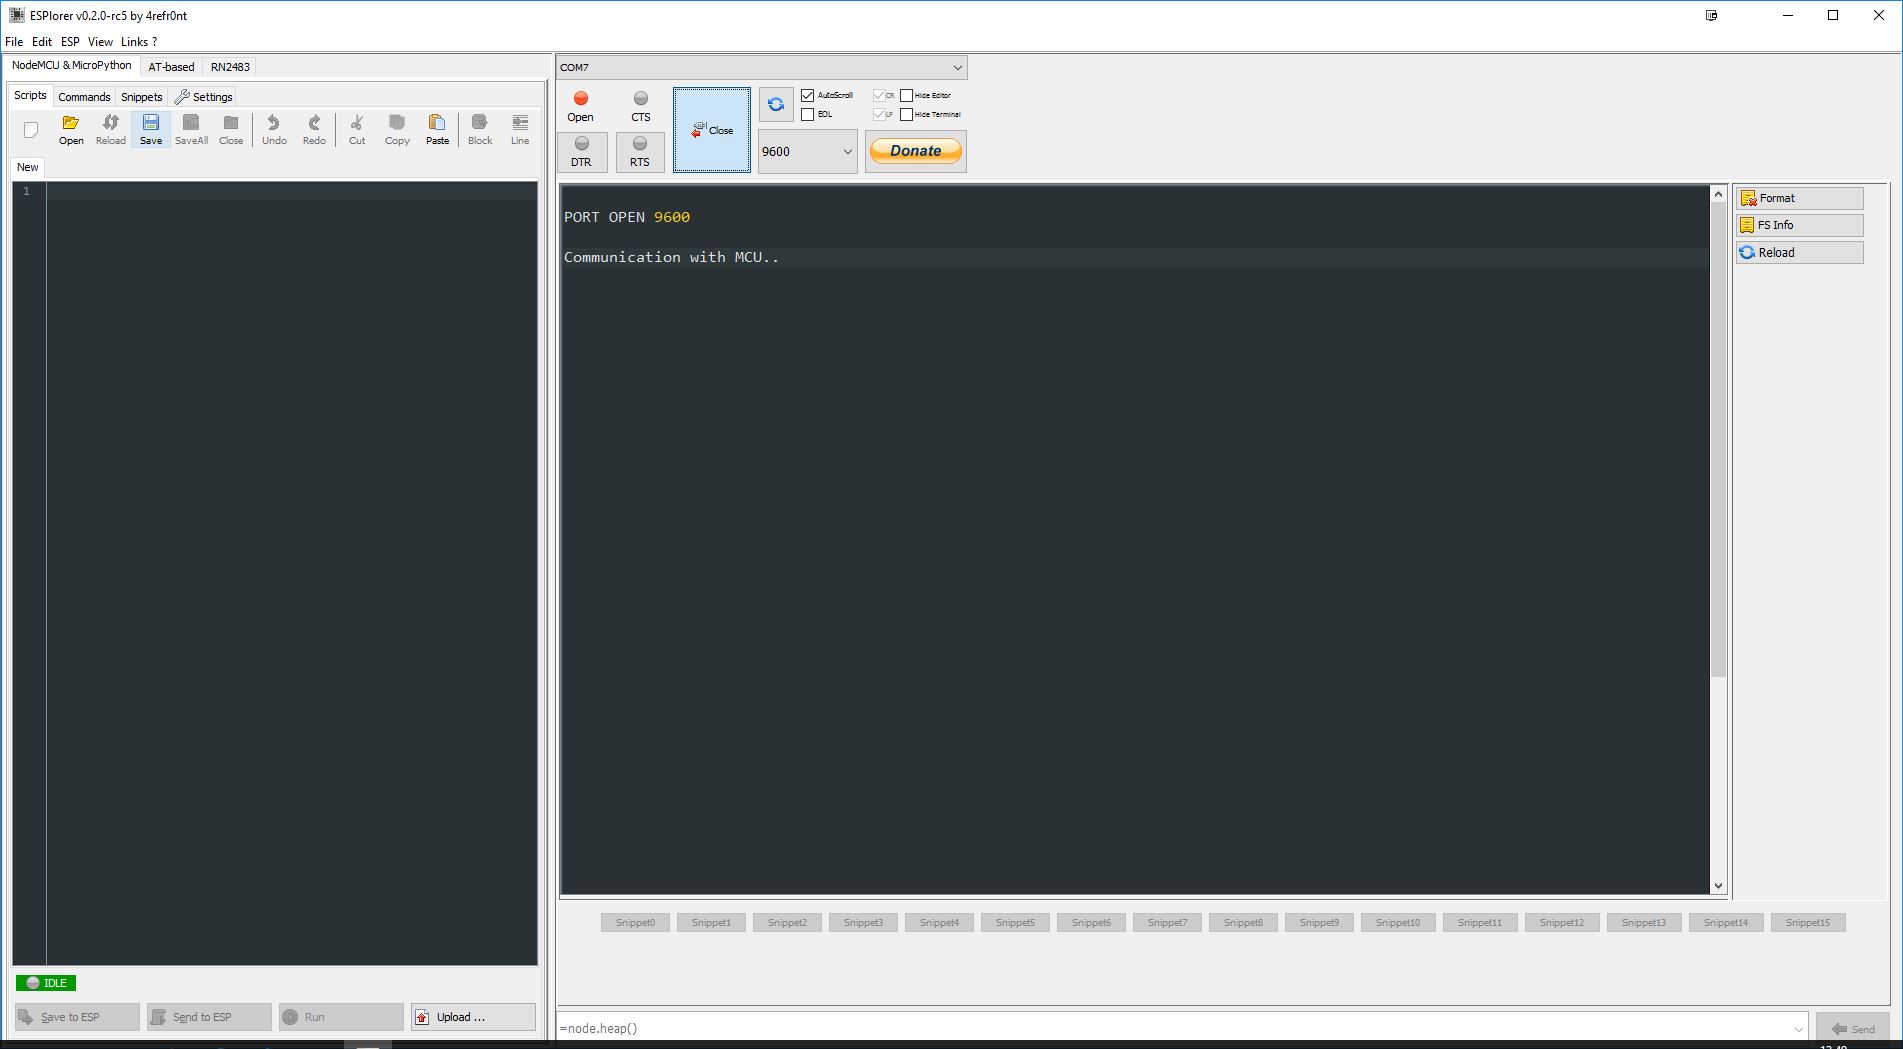
We select the appropriate COM port under which our module was detected. With the connection speed you have to try something, because each software uses its own setting regarding the baud rate. In our case, the module runs at 9600 baud. After pressing the Open button it can happen that nothing happens. In this case we switch to the AT-Based tab in the left window.
A double click on the upper left button labeled “AT” should give us the following indication.
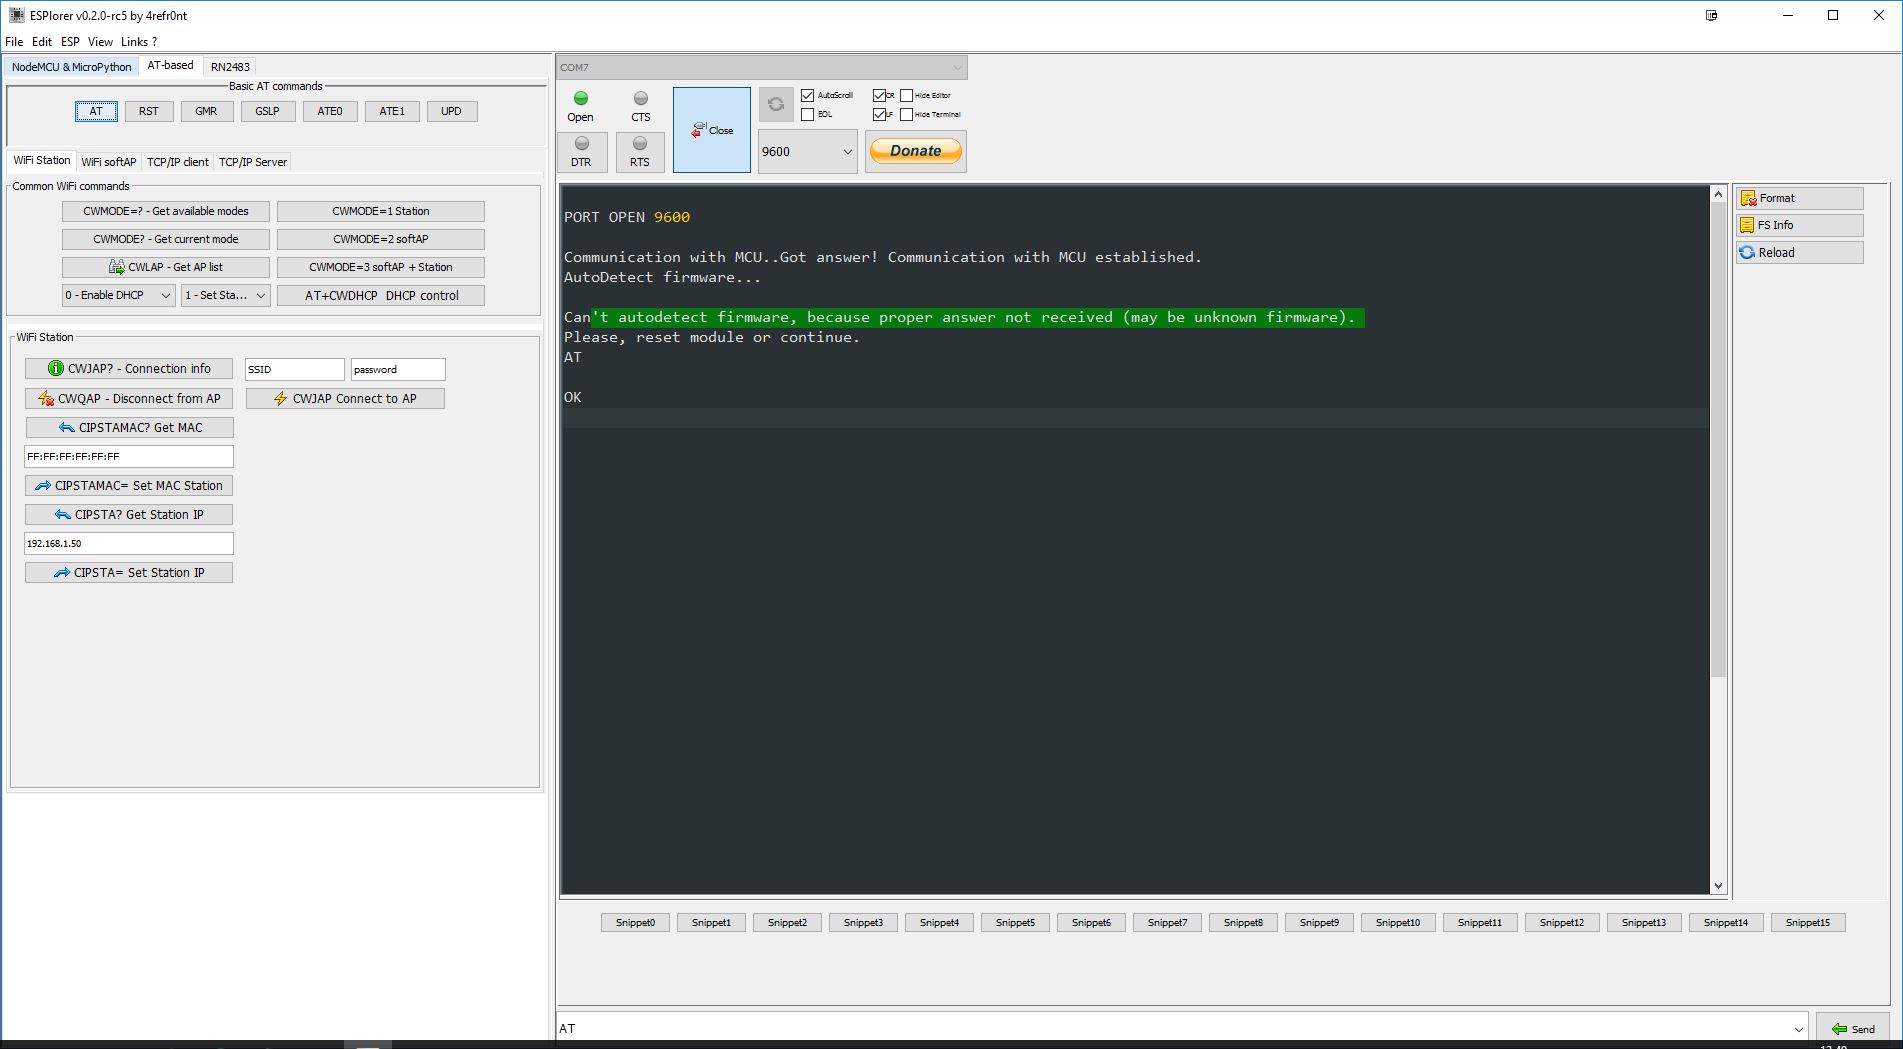
The error message does not require any further attention, since it is possible that the firmware is not recognized correctly, but all other functions still work. The important display occurs after the AT command. With “OK” the ESP8266 confirms the correct reception of the signal. If there are display problems, you should change the baud rate.
That concludes this part of our little software digression. With the AT commands it is also possible to control the ESP8266, even if it is very tedious. A small list of commands can be found at the following link.
AT Command Set ESP 8266
But now we would like to explain the steps to convert the ESP8266 into a controller for Smart Energy devices. In addition, we come to our modified practical test. 😉
WLAN ESP8266 module Practical testing …