
Today, we would like to focus on an IT branch that is currently enjoying great popularity and is forecast to continue to grow strongly in the coming years. We are talking about Smart Energy. In particular, we would like to take a closer look at an IoT module that allows us to control domestic devices via smartphone. The NodeMCU ESP8266MOD module contains WLAN functionality, various inputs and outputs, a relatively powerful CPU and enough memory for programs. In this WLAN ESP8266 test with ESP8266 tutorial on OCinside.de we will program the mentioned functions ourselves and also deal with some enhancements, such as ultrasonic sensor, PIR sensor, infrared receiver, relay card, GPS module and 320×240 display.
Many thanks for the support …
Many thanks für the support to Marauder25.
The WLAN ESP8266 module has at review date a price of approx. 6,99 Euro.
Here you can buy the ESP8266 module. *Ad
The delivery of the WLAN ESP8266 module …
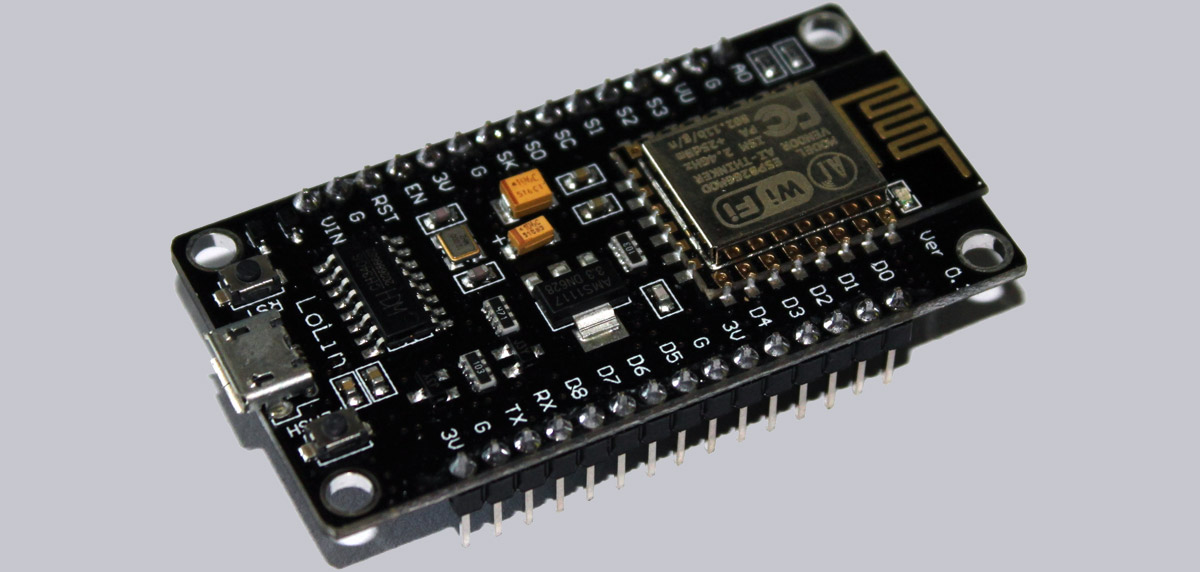
At this point, we would like to deviate from our usual procedure and not only present the module, but also give a brief overview of possible Add-Ons. Let’s begin with the actual control module ESP8266 which is also called NodeMCU in this version. An USB cable is normally not included and must be purchased separately.

Now we would like to talk about some useful extensions …
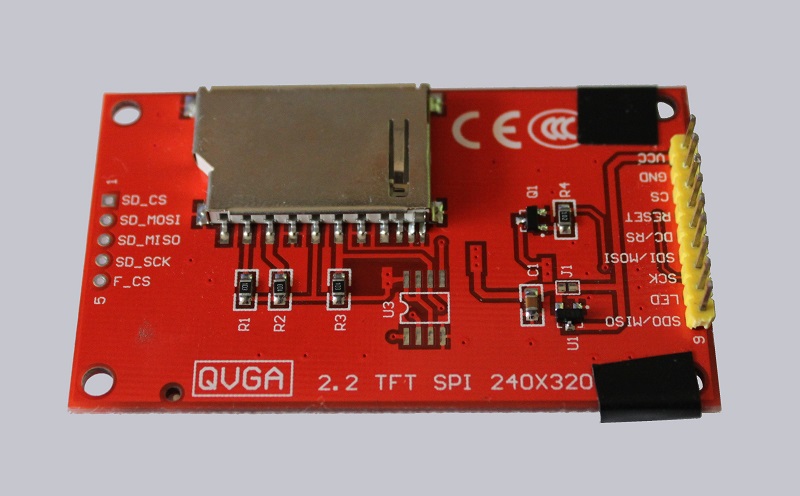
This is a 2.2 inch TFT display with a resolution of 240×320 pixels.
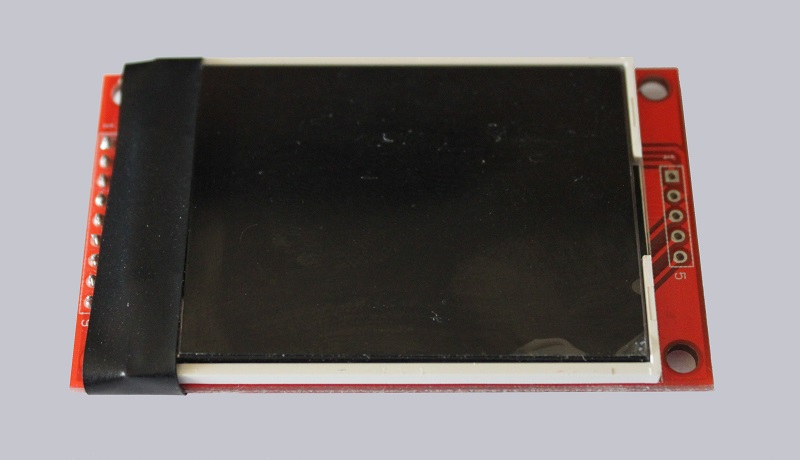
This is a special display with an already mounted SD card reader. In addition for displaying data or states, it is also possible to write to a memory card. It can later be displayed and evaluated in Excel, for example.
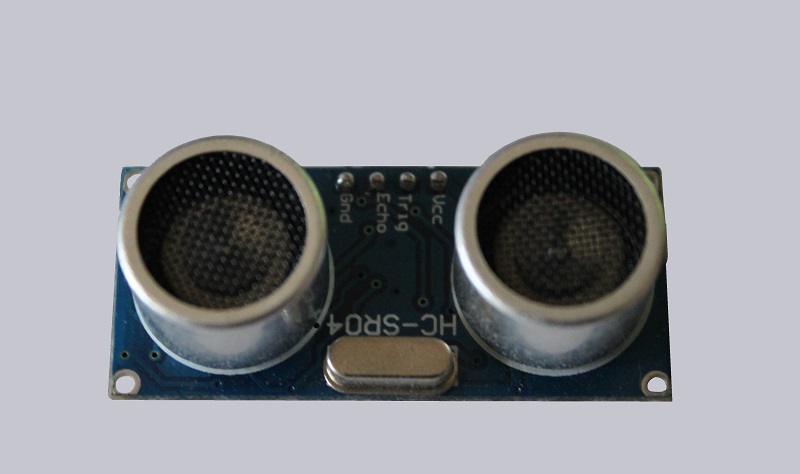
The following module is an ultrasonic sensor consisting of a transmitter and a receiver. It can be used to measure distances between objects relatively accurately.
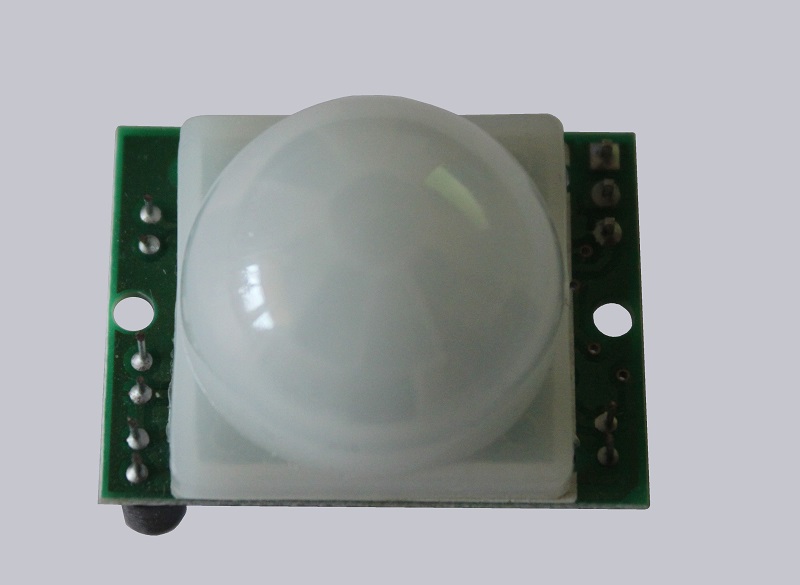
When it comes to detecting motion, this low-cost passive infrared sensor (PIR) is the right choice. Due to its size of 3.2 cm x 2.4 cm, it can be mounted relatively inconspicuously and still monitor a few meters of surface area.
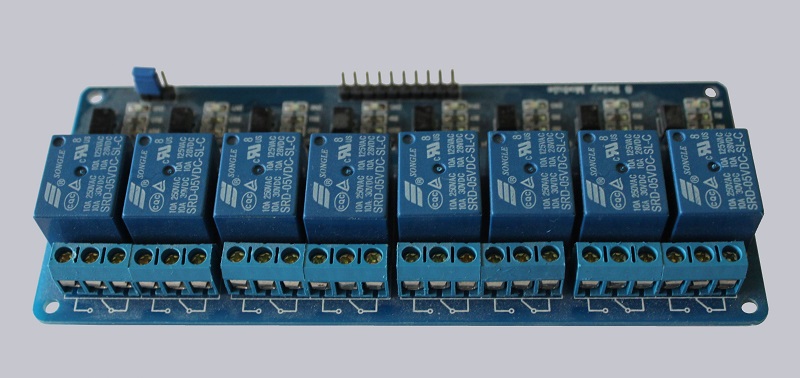
The relay card shown here is actually the most important component in terms of Smart Energy. This makes it possible to switch higher loads and thus also control motors or heaters automatically.
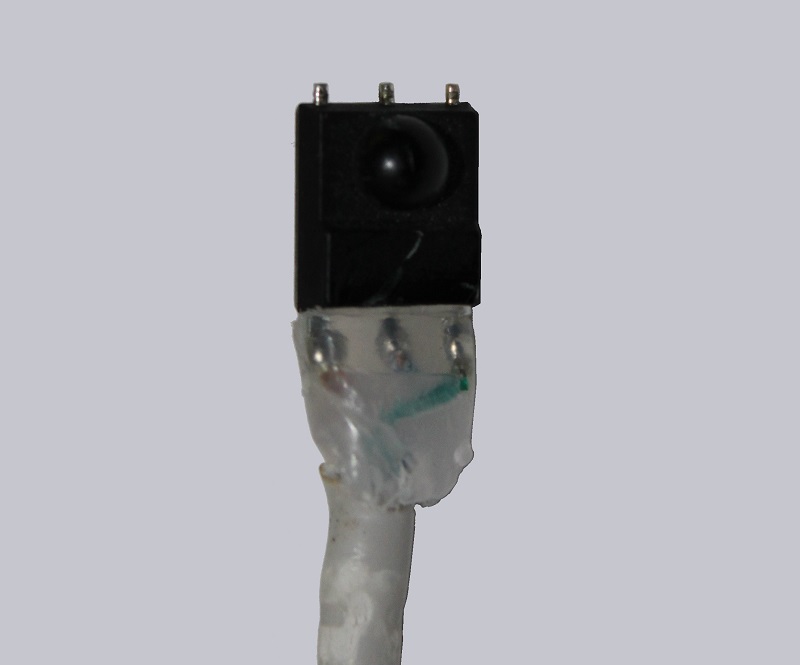
Our good old friend, the infrared receiver should not be missing. This can be easily connected and read out. This enables a used remote control to live a second life as a Smart Home Device. For example, to switch devices other than the discarded TV.
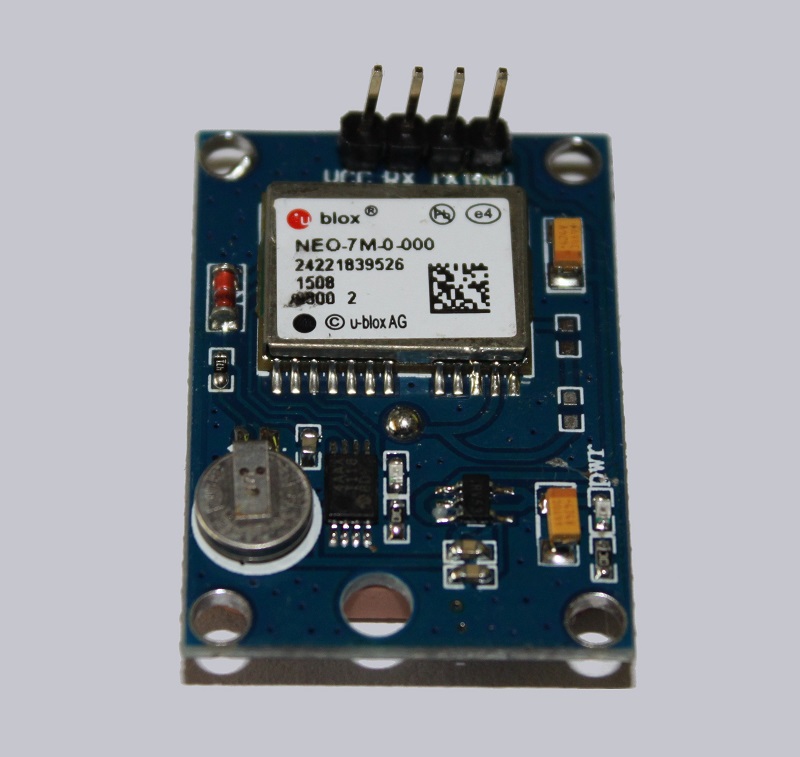
And last but not least, a module that is probably the most exciting for many: This is a U-Blox Neo-7M GPS module. The possibilities of use would include, for example, opening a garage door when entering the place of residence, or monitoring the position of your own bicycles or car.
This concludes our brief overview of the sensors. Of course there are even more interesting modules on the market, such as a gyro sensor that can be used to hold a platform horizontally, even if the construction underneath is tilted or rotated. Pressure or temperature sensors can be used for do-it-yourself fan control. Let’s now come to the technical details of the ESP8266 module.
WLAN ESP8266 module technical data …