
Unfortunately, we must say that often separates the wheat from the chaff when it comes to the cooler installation. What is the best cooler good for, when the mounting robbed your last nerve.
Unfortunately, in our opinion the Eclipse IV is one of that kind. As already noted, each type of screw is located in a separate labeled bag. This is necessary because Spire’s illustrated instructions are not very accurate. Only in text form and with 4 badly copied images the installation is explained.
However, attaching the backplate together with cooling holder is really too complicated.
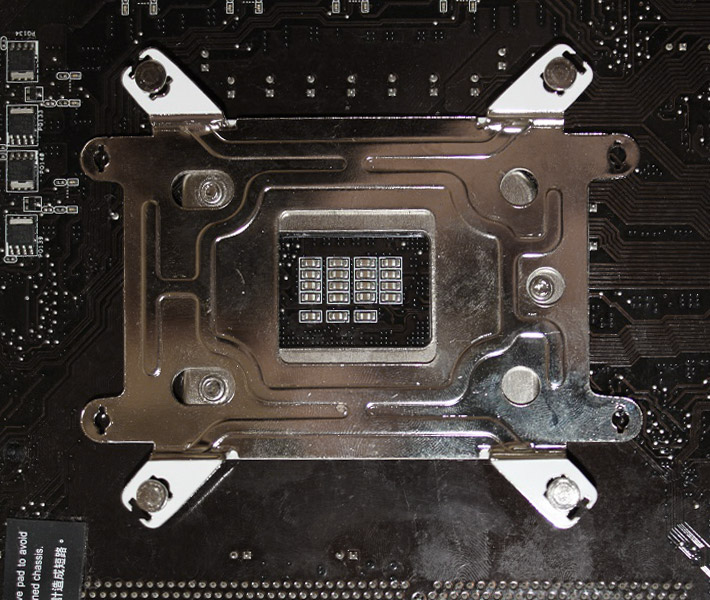
At best, the user should be equipped with four arms and hands. He first has to put the four screws in the Backplate and insert it losely into the mainboard holes. Then the 4 washers follwing, and 4 metal sleeves that need to be plugged in from the other side. While this construct is now holding, you put the two mounting rails in place, also hold this in place and tighten the nuts on the screws first mentioned.
The Assembly finally can be done with fixing the backplate screws by some duct tape. So who does not want to mount the CPU cooler overhead should resort to this method.
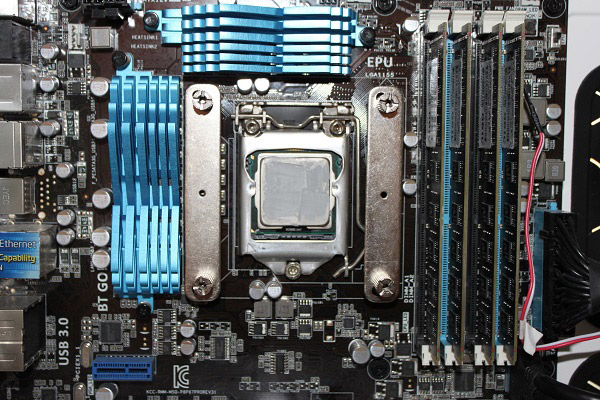
Is this accomplished, the cooler can be mounted. This is followed by the assembly of the two fans. Here also lacks a picture showing how the fan are mounted by means of brackets. The only plausible assembly has no optimal visual impression, but keeps the fan in position.
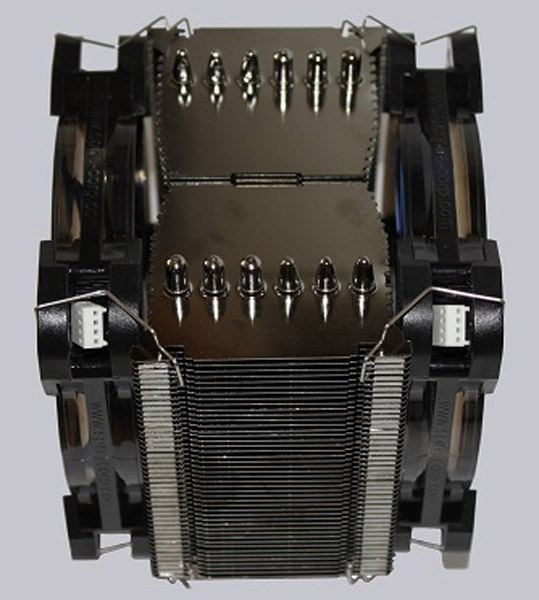
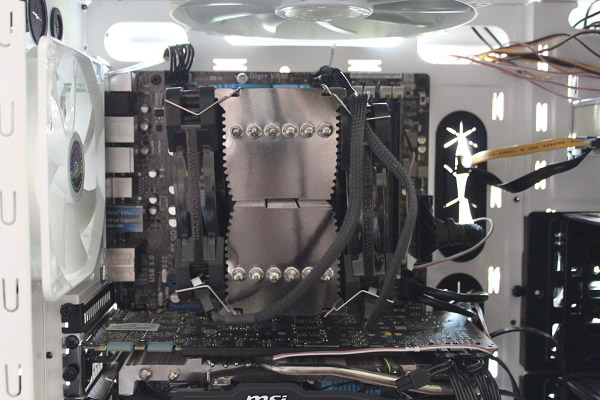
It was hard to put the end of the Y-adapter into the connector of the fan. But ultimately, the heatsink was fully mounted on the socket and was ready to do his work. As can be seen on this picture, the HSF filled yet another purpose. By design, the hot air is discharged also from the RAM modules, which also improves cooling performance.
X2 Products Eclipse IV Setup and Results …