

3D Printer Heating Bed Insulation …
Another very small but nice modification is the heating bed insulation. Because heat is lost under the heating bed, it is better to give it to the glass surface to shorten the heating time a little bit and save some power during printing.
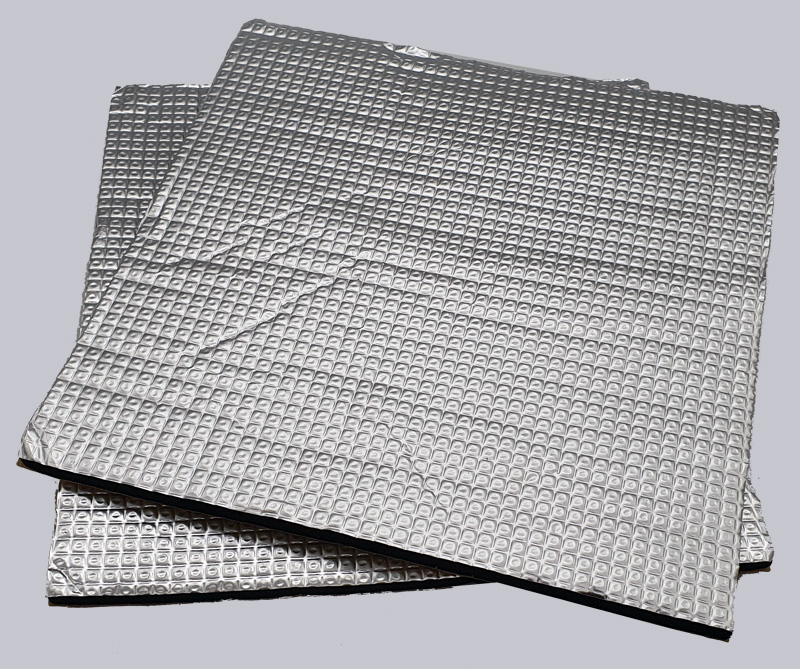
We chose this self-adhesive ruthex 3D printer heating bed insulation 220x220mm for just under 10 Euro, with two pieces included in the set.
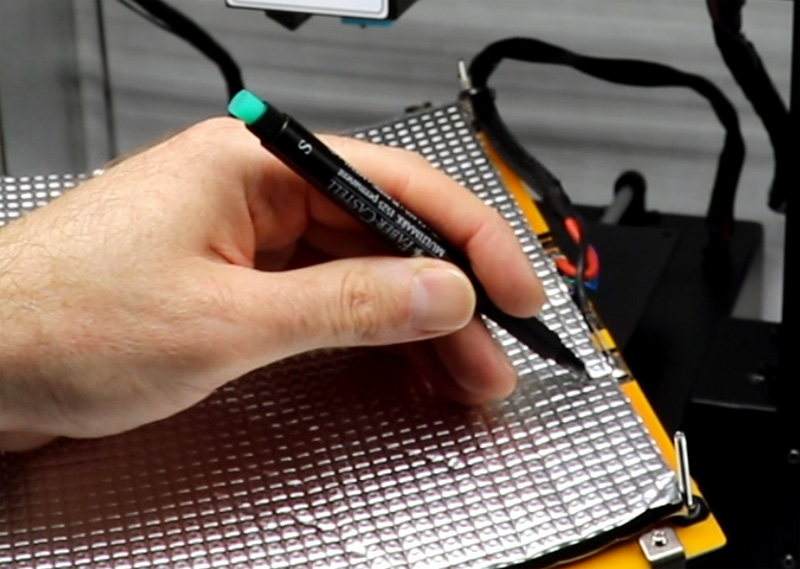
You first unscrew the four thumbscrews of the heated pressure bed and remove the heatbed, then simply hold the heatbed insulation to the bottom of the heatbed, draw the four corners of the spring-loaded attachment and the heatbed connection cable, and cut out the four corners and the location of the heatbed connection cable.
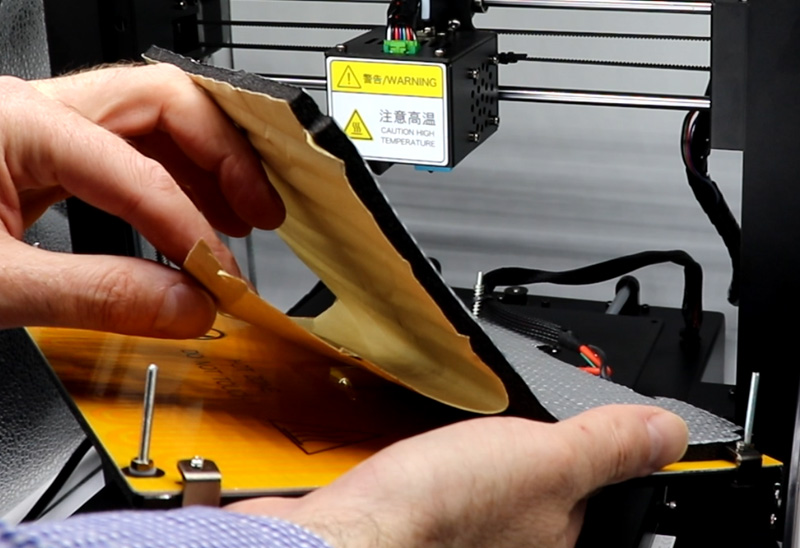
Then, step by step, pull off the backing film and stick the mat against the heater from below.
Here you can see again a small animation of how to isolate the 3D printer heating bed.
And this is how everything looks ready assembled.
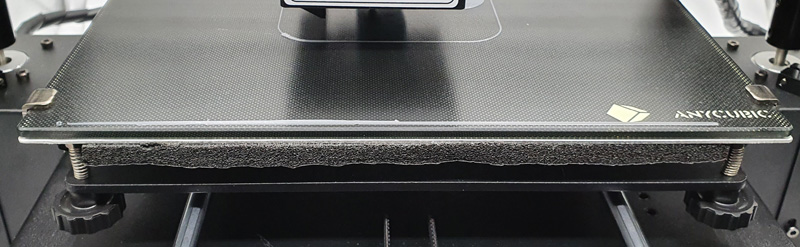
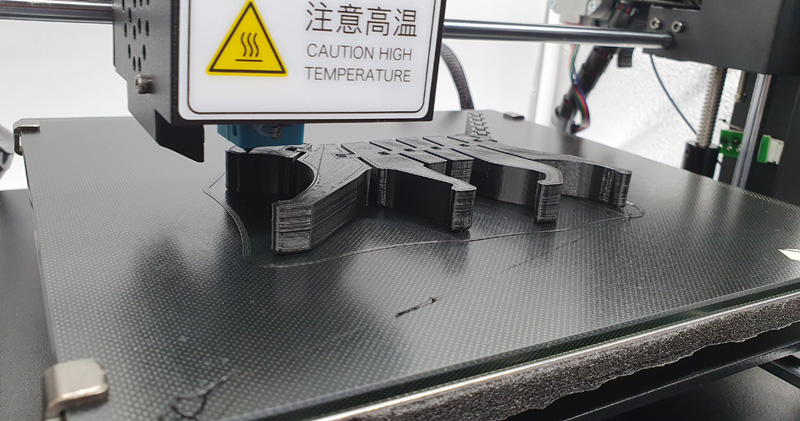
Already we can print as usual, but quieter, more energy-efficient and more beautiful.
Retrofit 3D printer WiFi and make it WiFi capable …