

Making 3D printers quieter …
Anyone who has switched on their new 3D printer for the first time and fed it with data will certainly inevitably come up with the idea of reducing the volume, because most 3D printers are not really quiet, at least not out of the box. But wait! Don’t just turn off the fans or brutely reduce the speed to make the fans quieter, because of course, just like in a PC, several fans are used for cooling, which is absolutely necessary! Nevertheless, you can optimize quite a bit, especially with the fans, and that’s why we’ll start with that right away.
3D printer fan replacement …
Quality has its price! And so it is not surprising that cheaper fans are often installed in cheaper 3D printers, which are unfortunately usually also somewhat louder. You can already hear when an airflow hits a resistance such as a ventilation grille, but the fans’ own noise can be avoided with high-quality fans. In addition, you should use fans that are as large as possible in order to move a large airflow as quietly as possible at a lower speed. So if you don’t want to reduce the airflow, but still want a quieter PC or 3D printer, you should use larger fans with better bearings, such as hydrodynamic bearings, and at least the same airflow volume.
For example, here is a noise from a small 60x25mm Papst 612 N2/GHH fan at 6700 rpm with about 33 CFM flow:
And this is what a 120x25mm Twister Bearing (magnetic bearing) fan sounds like in comparison at about 1800 rpm with about 75 CFM of airflow:
So the difference is enormous and we take advantage of that by mounting larger or at least better quality small fans if possible.
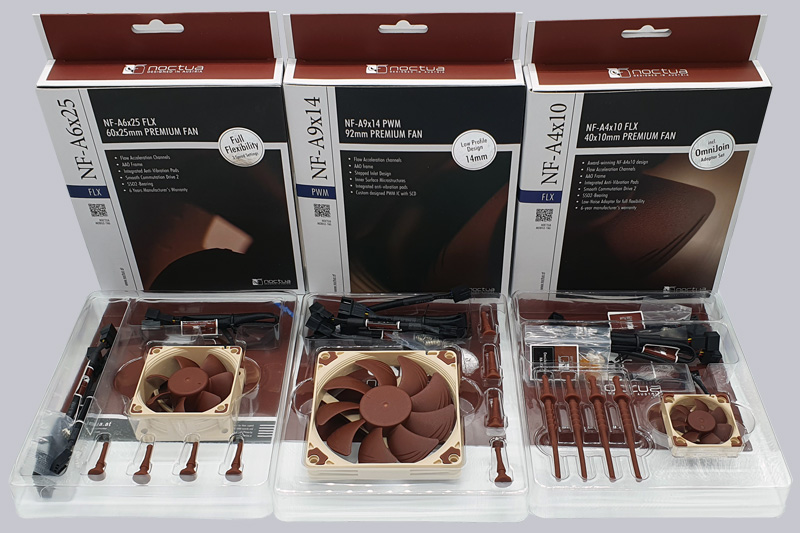
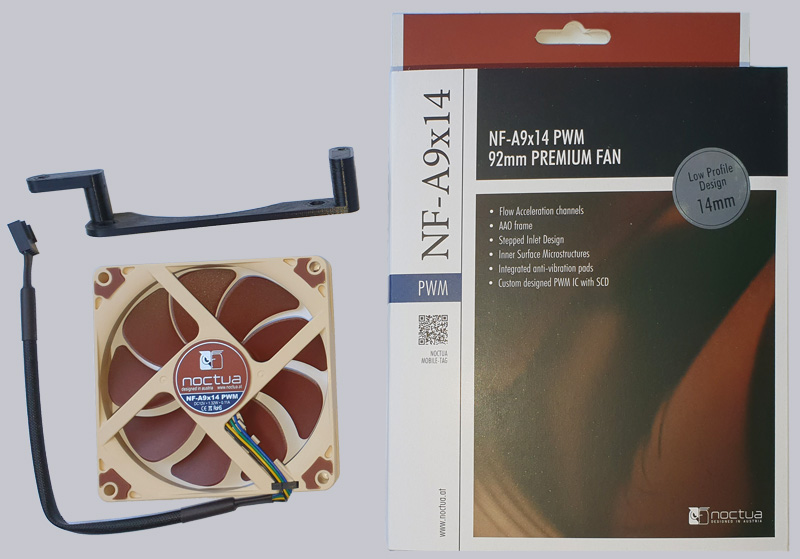
We decided on a couple of fans from Noctua here. More specifically, a Noctua NF-A4x10 FLX as a hotend fan, a Noctua NF-A9x14 PWM (or Noctua NF-A9x14 HS-PWM chromax.black.swap) for the motherboard and a Noctua NF-A6x25 FLX fan for the power supply. Here you can order the Noctua fan.
3D printer hotend fan replacement …
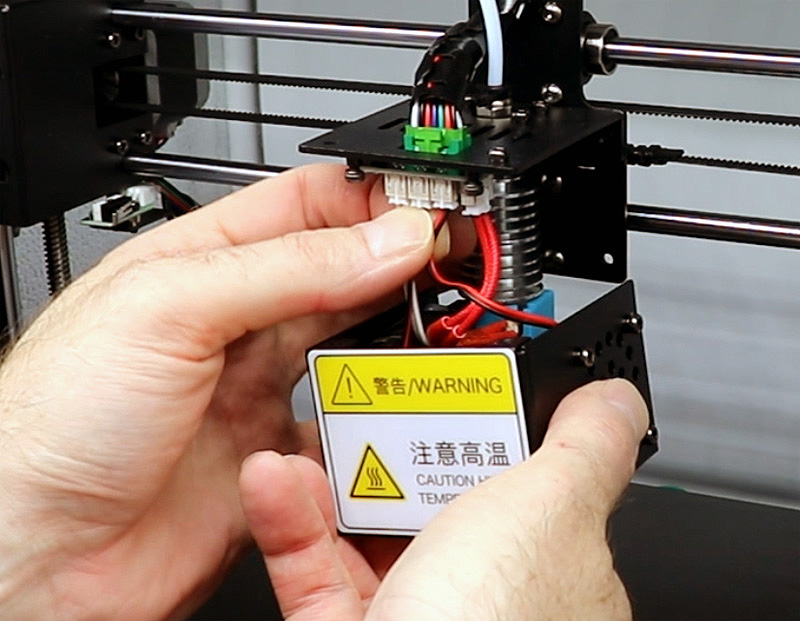
First we remove the hotend cover with the component fan and the hotend fan.
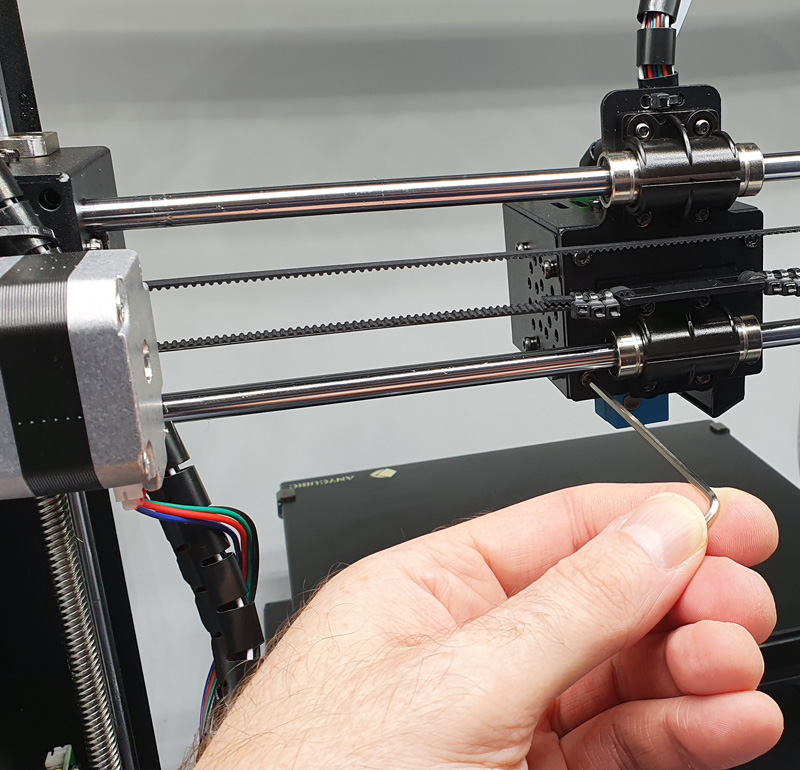
Then we note the order of the connection cables and carefully pull off the two fan plugs. Most of the time, you have to help a little with a small flat-blade screwdriver, but don’t slip off under any circumstances.
Here is again a small animation about it.
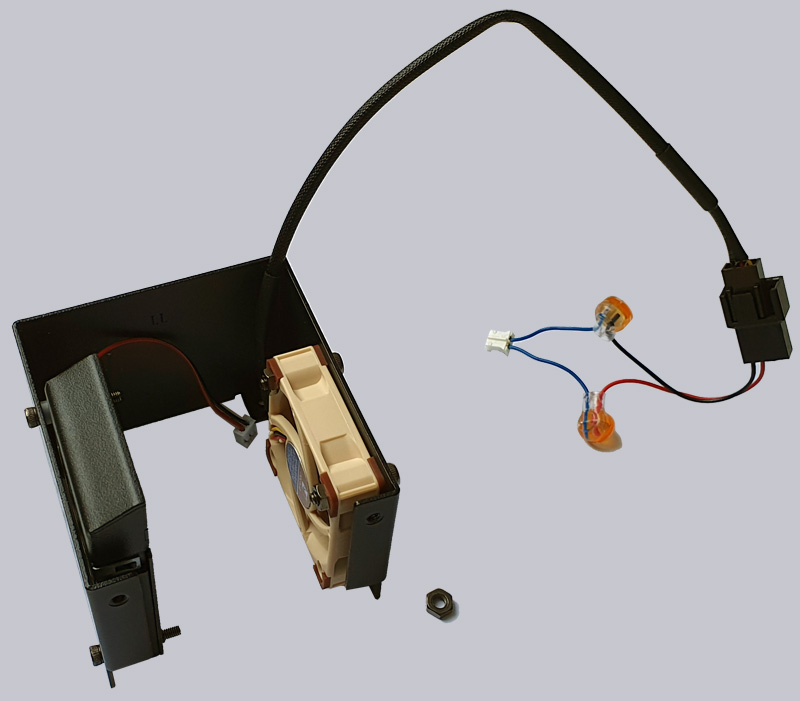
We leave the left component fan on the frame and only remove the 4 screws including the washers of the right mounted hotend fan.
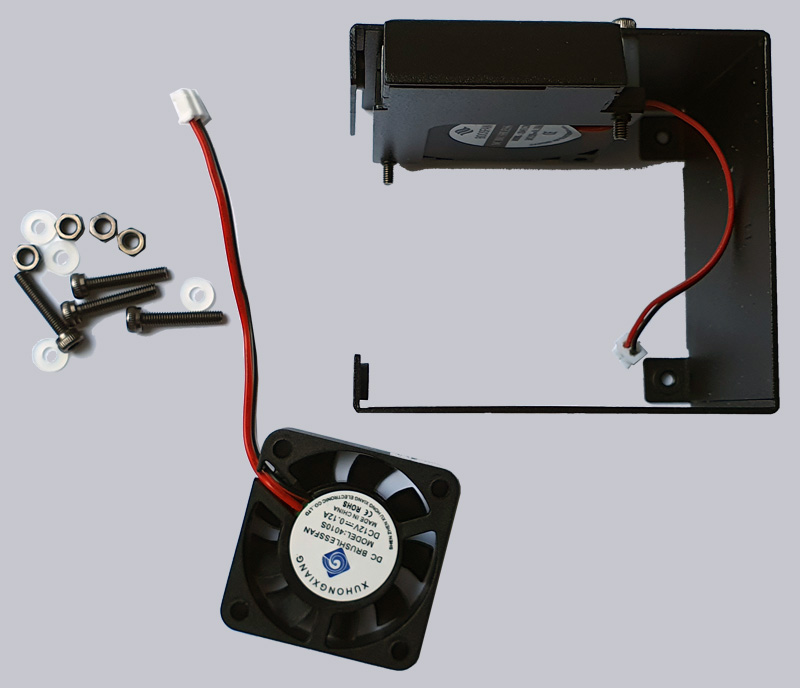
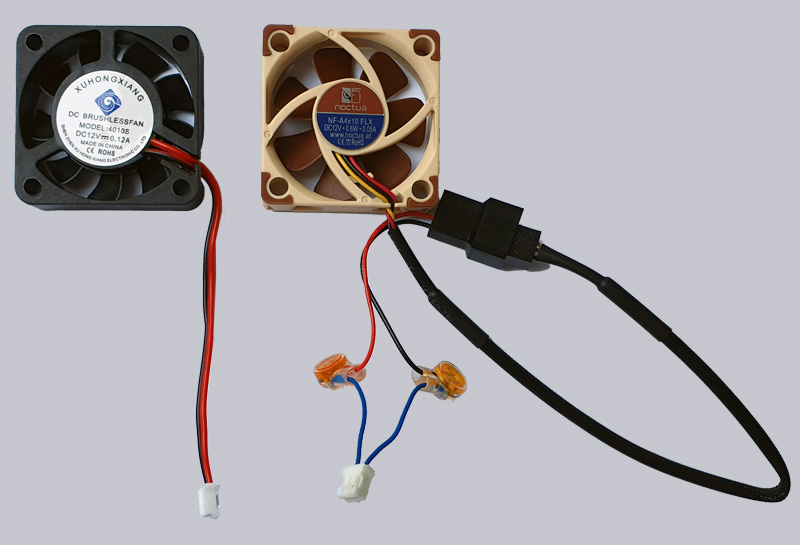
Unfortunately, since the fanConnection are different, we pinch off the connector of the old 4010S fan, insert each of the cable ends into one of the 3M Scotchlok connectors, insert the wires of the included Molex adapter, and press the 3M Scotchlok connector together firmly and evenly with a pair of combination pliers or vice.

On the left you can see the old fan and on the right the finished new hotend fan consisting of the Noctua NF-A4x10 FLX with 3M Scotchlok without any low noise adapter.
Now the fan is mounted again in the frame in such a way that it blows into the hotend housing, i.e. the nameplate of the fan points inwards and small arrows on the sides also indicate the running direction and direction of the air flow.
Now reconnect the two cables. Who forgot to note it 😉 … at the middle connector the component fan is plugged in and at the right connector our modified hotend fan is plugged in.
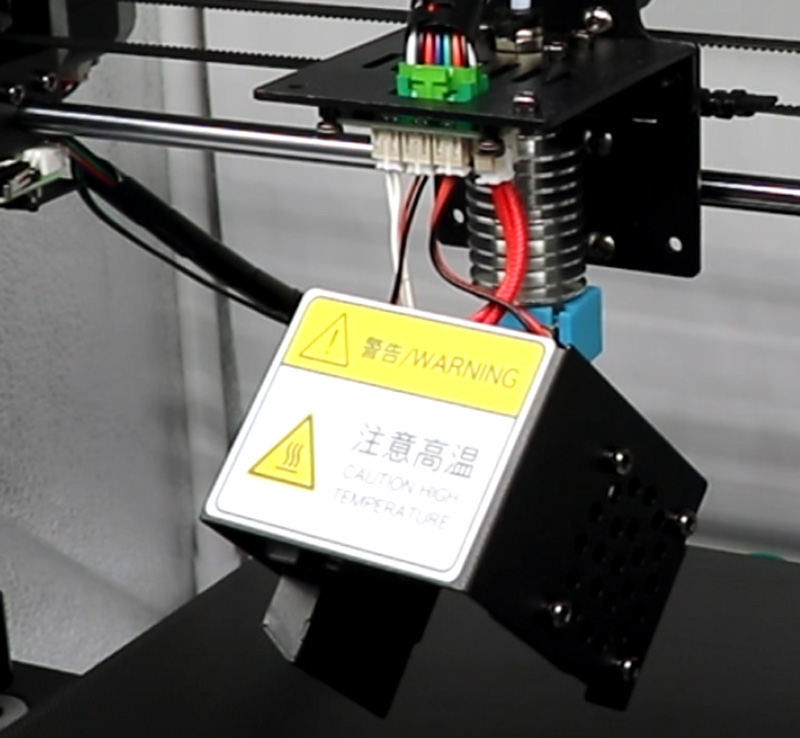
Then we can already put the hotend housing back on and screw it tight. If you haven’t shortened the fan cable, it’s best to fold it up a bit and then tie it with a small cable tie so that it cannot get against the hot end!
3D printer mainboard fan replacement …
We continue with the mainboard fan, which is unfortunately also enormously loud ex works. And just here again the size of the fan plays an important role, because the stepper drivers (stepstick) must be cooled very well, so that they can exploit the high performance for the stepper motors.
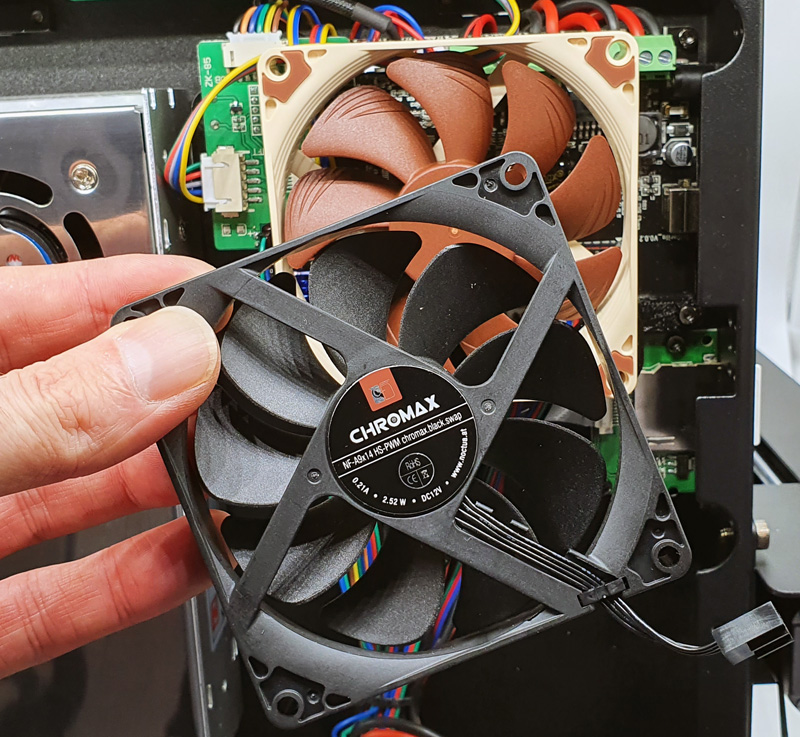
To ensure good cooling of the Stepsticks, we opted for a larger NOCTUA NF-A9x14 PWM fan. Alternatively, you can also choose the NOCTUA NF-A9x14 HS-PWM chromax.black.swap if you value the black color, because Noctua fans have otherwise always come in brown, which is not everyone’s cup of tea.
To mount the larger fan, we us first print out the following 92×14 fan mount with the 3D printer, which can be found here: Fan_Support_92x14_A_V2
Here you can see the unpacked fan along with the printed bracket that will later place the fan above the motherboard.
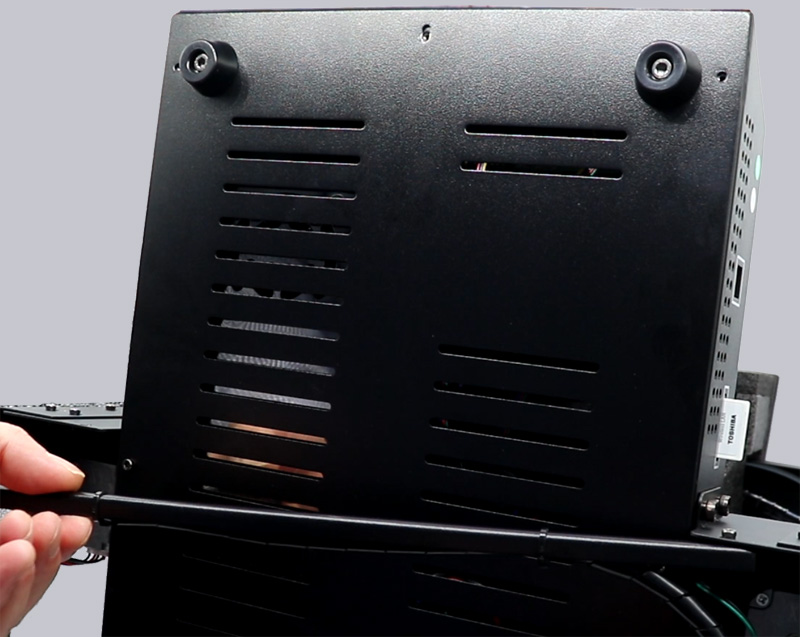
Important note! Be sure to unplug the 3D printer from the power outlet, as there are exposed contacts on the original power supply where you can get an electric shock!
Now it’s time to get down to business! Either we dismantle the upper structure of the 3D printer again or we carefully tilt the 3D printer forward to access the lower cover. This is attached with a few hexagon socket screws, all of which must be loosened and completely unscrewed. We also unscrew the center brace with the cables and just let it hang down.
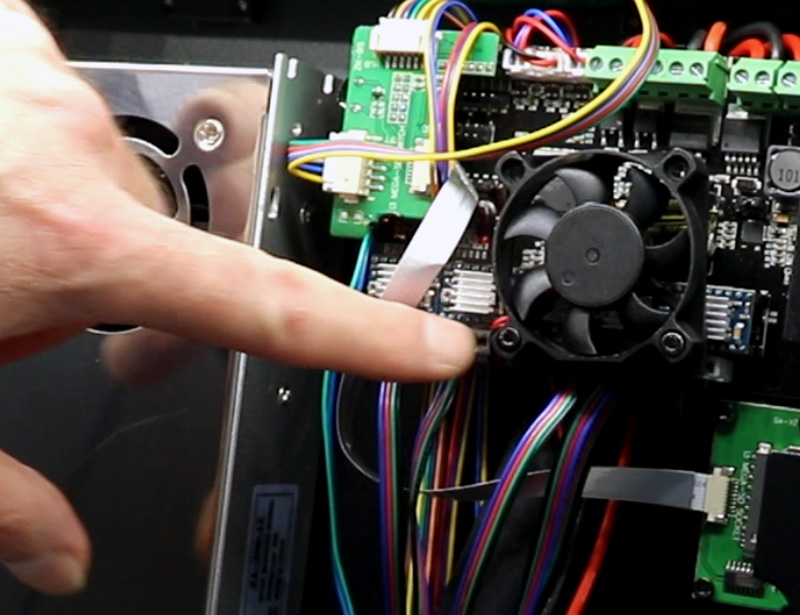
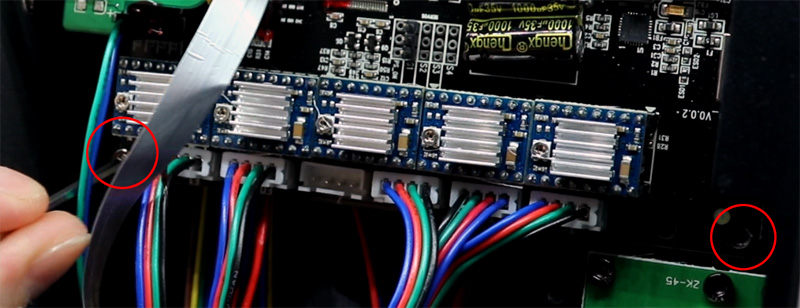
Then we already see the inner workings of the 3D printer, where we first unscrew the small mainboard fan from the old metal bracket.
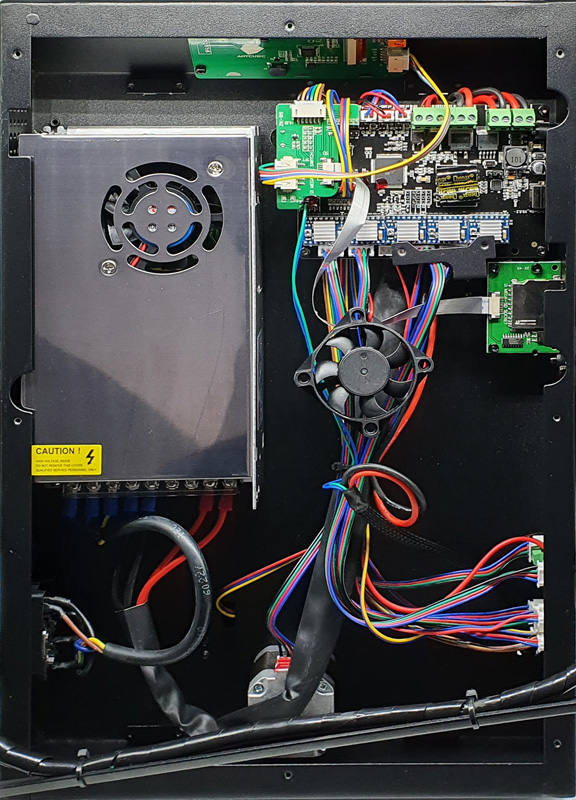
Here you can see the complete interior again.
Then, from the back side, i.e. under the print bed sled, we remove the two screws of the small metal frame. and remove the old fan bracket.
Now we unscrew the two screws in the lower two corners of the mainboard.
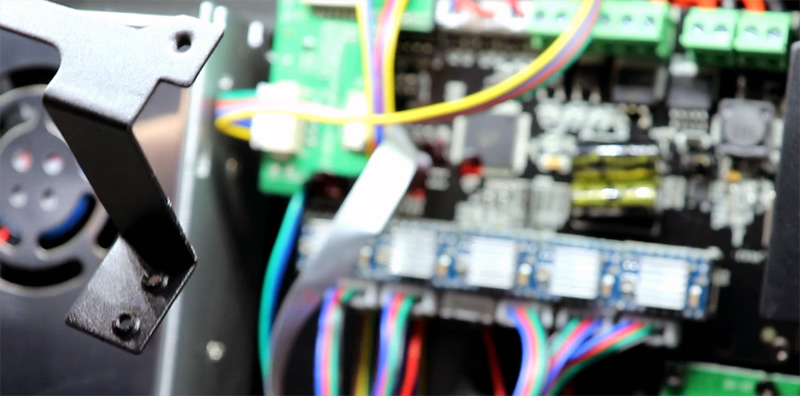
Now we can screw the fan to the printed frame with the supplied self-tapping screws from the side facing away here.

Attentive readers will have noticed two important details at this point:
– For one thing, the print of the new fan mount looks scary. This is because we used the 3D printer out of the box after brief bed leveling without any fine tuning for this fan holder print, as it would be pointless to adjust the 3D printer first and then install the new stepper motor drivers. However, the holder doesn’t have to be particularly beautiful either, it just has to be practical.
– On the other hand, we have already mounted the new steppers in this picture (see the following page). This is because the step sticks are mounted under the fan and since we just disassembled it anyway, we would recommend replacing the step sticks at this point before screwing on the new fan. So it’s best to go over to the driver replacement first and then install the new fan.
So at this point we just pretend to continue with the fan mounting, although we have already mounted the new TMC2208 V2.0 stepper drivers, because that is optional. Now the fan mount with the 92x14mm fan screwed in place is screwed to the mainboard in both corners and floats above the stepper drivers again. Optionally, as described before, you can also use another 92×14 fan like the chromax.black. And there are many other mounts for other fan sizes available for download.
The fan cable is best simply passed under the motherboard and then connected to the motherboard where the small fan was connected using, for example, the included NA-RC12 ultra-low noise adapter and then the Noctua NA-AC2 3pin to 2pin adapter.
3D printer power supply fan replacement …
Now we continue with the last fan for the time being. However, the PC power supply is a component that runs on 230V AC and you can get an electric shock from the large buffer capacitors even after unplugging it! For this reason, we do not want to tempt anyone without the necessary expertise to disassemble something like this. So please don’t open the power supply without professional qualification, you don’t necessarily have to replace the fan, insofar we don’t go into details any further.
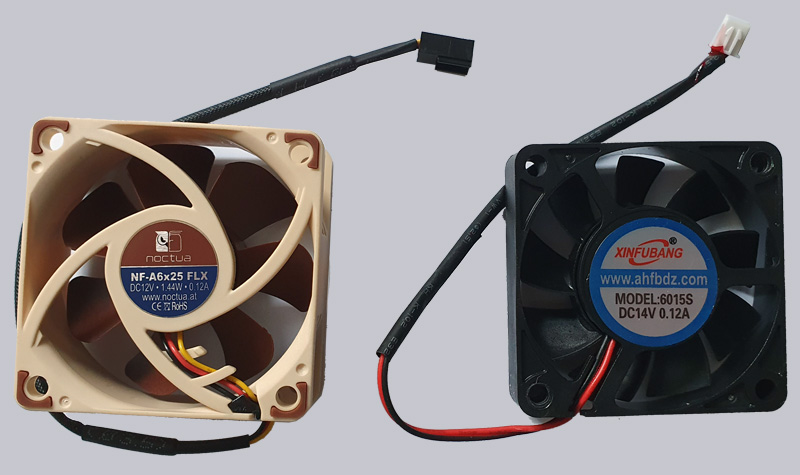
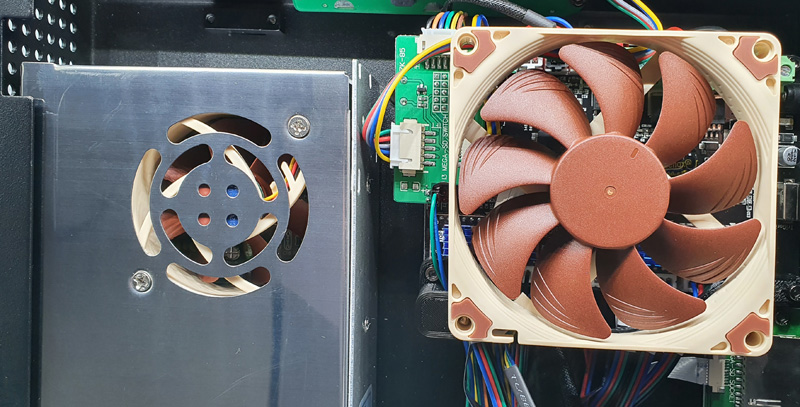
This is the Noctua NF-A6x25 FLX fan that we swapped out for the Xinfubang 6015S 14V DC fan shown on the right with NA-RC10 ultra-low noise adapter NA-RC12 and a 4pin to 2pin adapter as the power supply fan.
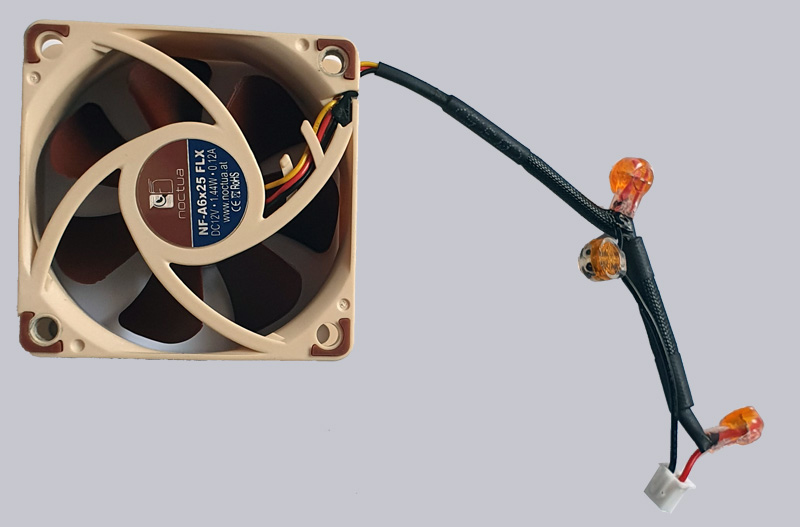
However, to keep the airflow inside the PSU as unaffected as possible, it’s best not to just plug all the adapters in one after the other, but to solder them together carefully and use heat-shrink tubing, or at least connect them together with the included 3M Scotchlok single-wire connectors. Here you can see the Noctua NF-A6x25 FLX with NA-RC10 ultra-low noise resistor and 2-pin female connector, which could be pinched off the original fan.
And this is how the fan modification looks ready. It would be even better if you cut out the power supply plate in front of the fan and then screw on a fan grille on the outside. Because even with the fan mod, the PSU is unfortunately not 100% silent, since the airflow of the fan is too strongly obstructed by the sheet metal and thus a noise is unavoidable. There is also unfortunately not enough space in the PSU case to mount the fan with some clearance. Another solution would be to print an appropriate power supply cover or to replace the 3D printer power supply completely with a high-quality power supply, as we have already recommended in the great 3D Printer Conversion Guide.
Now we can remount the bottom cover plate and the brace, rotating the plate once so that more ventilation slots are directly above the large motherboard fan.
But not only the fans make noise on a 3D printer, but also the stepper motors, at least with the original stepsticks.
Thus, we already come to the next small modification of the 3D printer, the stepstick exchange …