

Fine tuning and backup solution …
Now that everything is basically set up, you’re welcome to open a drink of choice. Because now it gets a little more complex. If you have ever connected your PC via WLAN and LAN at the same time, you will have noticed that Windows sometimes reacts a bit strangely here. This is due to the fact that all network connections are basically treated the same. But since our client is permanently in 2 networks, we have to do something about it.
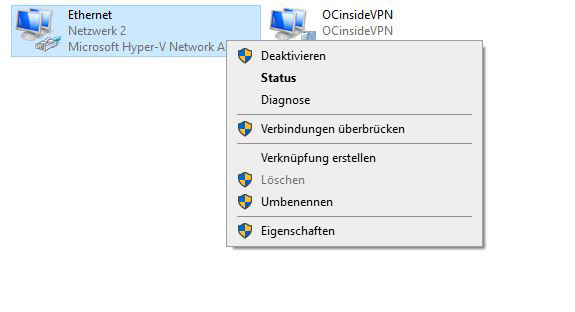
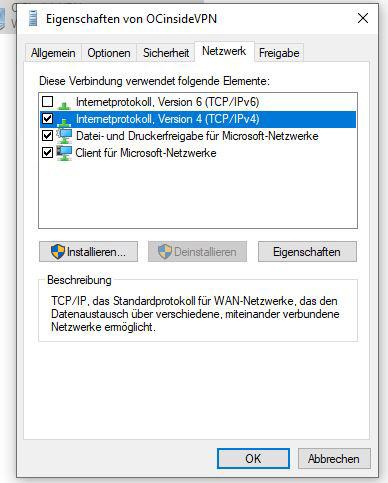
The magic word here is metric, because this regulates the prioritization of the network cards under Windows. A high priority is achieved with a low numerical value and vice versa. In order to enter this finally, we must click with the right mouse button again on “Properties” at the respective network connection …
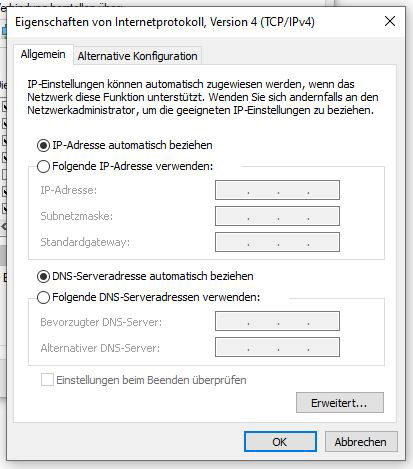
… Select IPv4 and then click on “Properties” again.

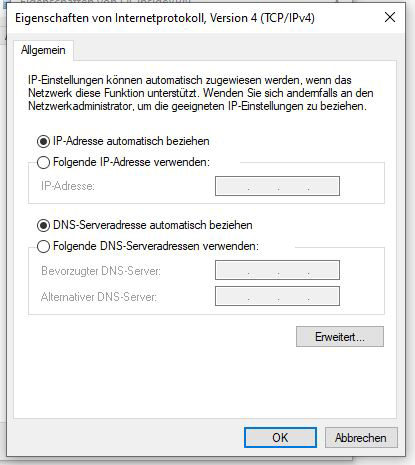
In the following window, select “Advanced …” once …
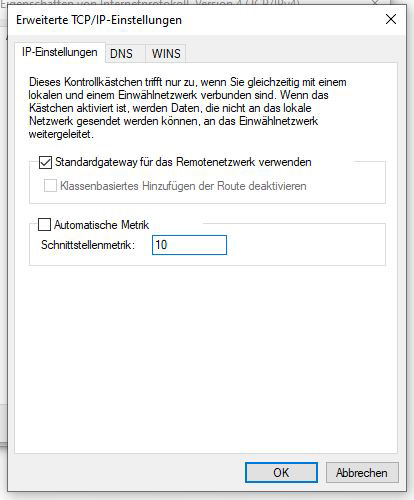
… and here we can finally adjust the metrics of the network connection. Basically, you can enter whatever you want here. The value should only have room to “go down”. We have chosen the value 4250 here.
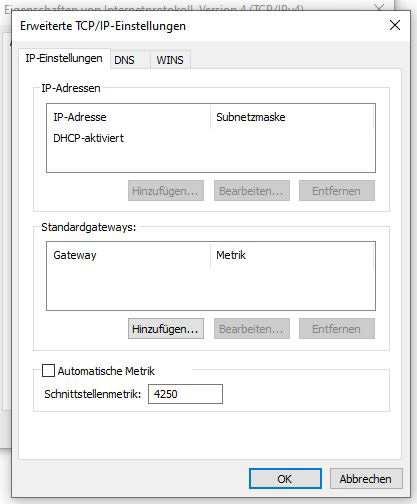
Finally, confirm everything with “OK”. Of course, the process must be repeated for all network connections. If the connection to the Internet is to be made via a WLAN connection, the metric must of course also be adjusted here.
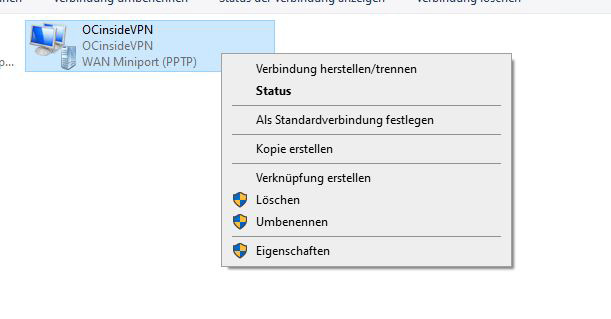
To set the metric for the VPN connection, proceed in the same way.
In the next window click again on “Network”, “IPv4” and Properties.
Here again click on “Advanced…”.
Now we can finally enter the metric. We have decided on a value of 10 here. Since 10 is significantly smaller than 4250, Windows will from now on always try to connect via the VPN as the very first thing.
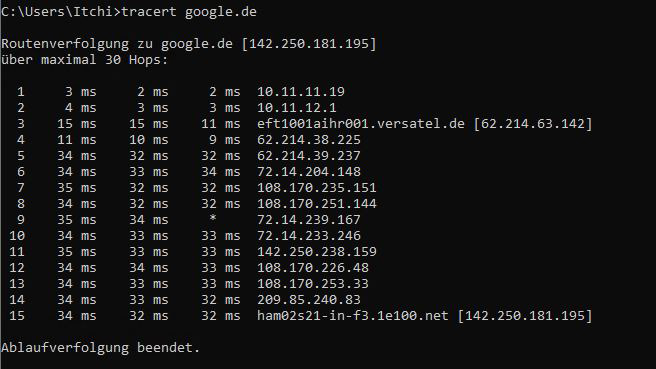
To illustrate this, we followed the path to google.de via a command prompt. As you can see, the path starts in our VPN network (10.11.11.X) instead of the router (192.168.179.X).
Since Windows now prioritizes our VPN connection, it should of course also always try to keep it alive. Unfortunately, Microsoft probably simply forgot to include an option for automatically reconnecting the VPN connection. Or it didn’t make sense to implement it from a sales point of view, because otherwise it would be difficult to sell certain enterprise products. Be that as it may, fortunately many roads lead to Rome.
We have decided to take the detour via task scheduling. For this you simply have to import 2 tasks on the client, which you can download HERE together with the corresponding scripts. To do this, unzip the ZIP file into the “scripts” directory under C:\ …
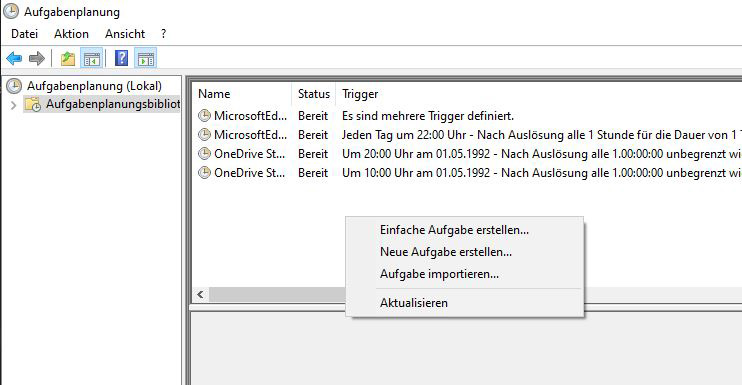
Next, open the task scheduler via the start menu on the client and select “Import task…” after right-clicking.
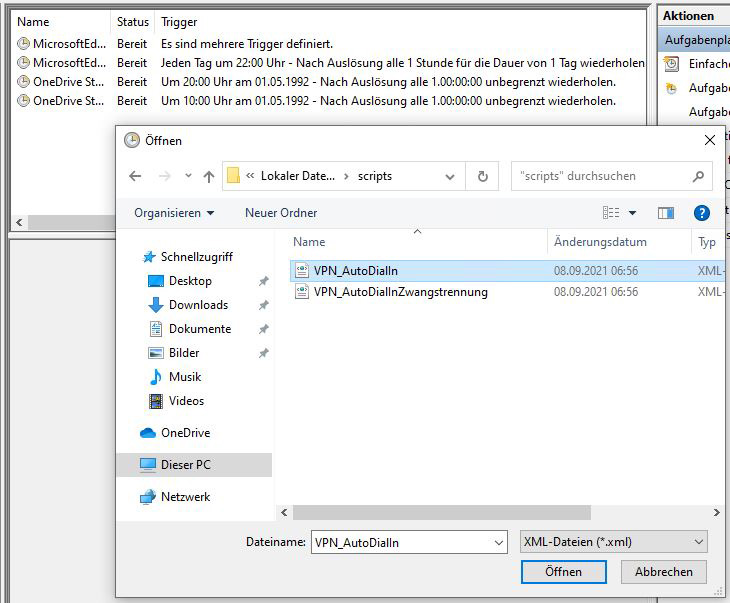
Now change to the directory C:\scripts and select the file “VPN_AutoDialIn.xml”.
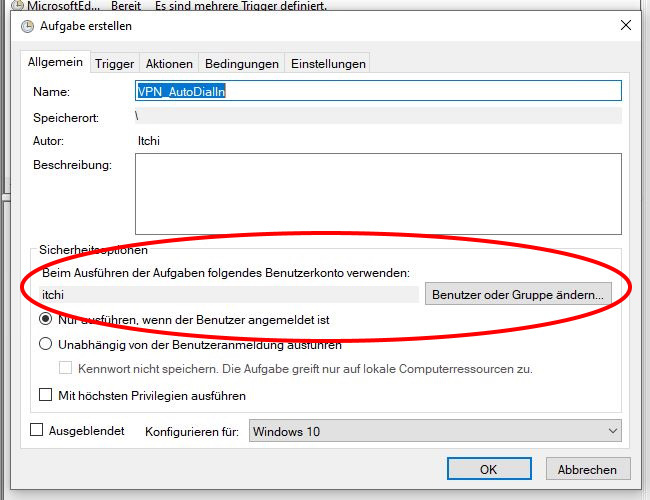
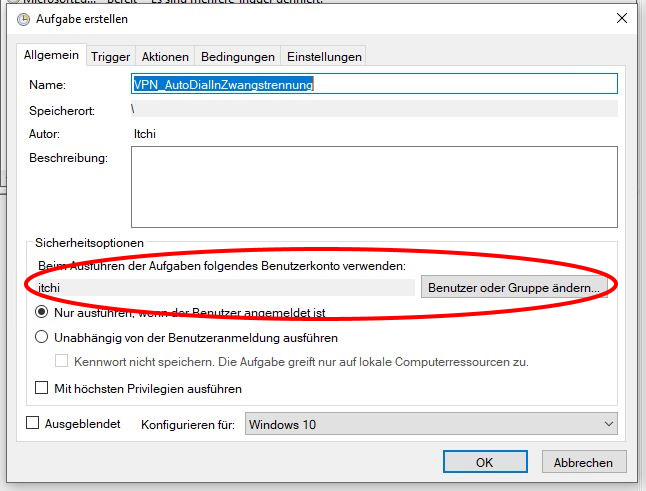
Before you can import the task, you should click on “Change user or group…” and select the currently logged in user.
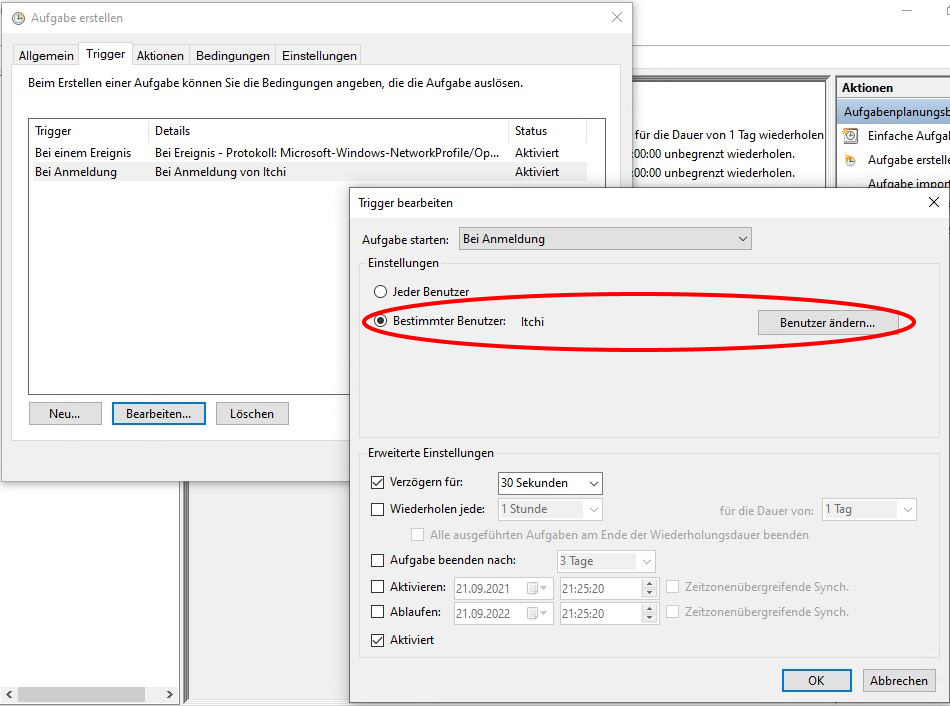
You have to do the same again under the tab “Trigger” and here at “At login”. Then simply confirm with OK.
Now you can import the second script, also here you have to adjust the user accordingly.
As a last step you have to adjust both scripts (under C:\scripts) with your data so that they work.
Once you have done this, the client should connect automatically after the user logs in or when the DSL connection is interrupted. You can simulate this by simply unplugging the network or disconnecting the VPN connection manually.
VPN Backup …
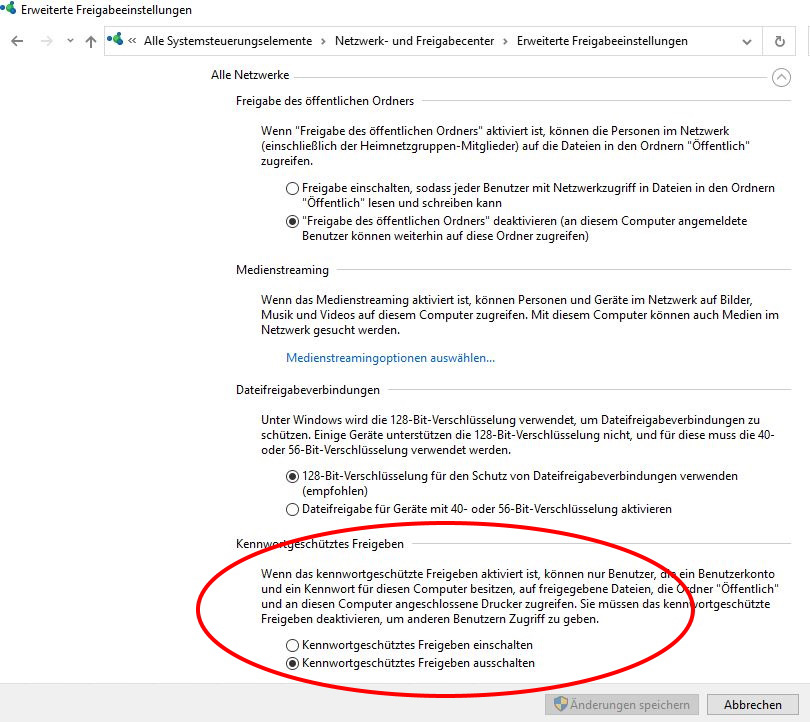
Now we come to the VPN Backup. For this to work, you must first set up a share on the clients. This should contain read and write permissions for the group “Everyone”. In addition, it is recommended to deactivate the “Password protected sharing” in the network center under the advanced sharing options.
Now that our client is accessible and has a share, we only need to set the synchronization of the corresponding directories on the VPN server. For this purpose, we create a directory “scripts” under C:\ as we did on the client. Copy the task and the backup script which can be downloaded HERE into this directory.
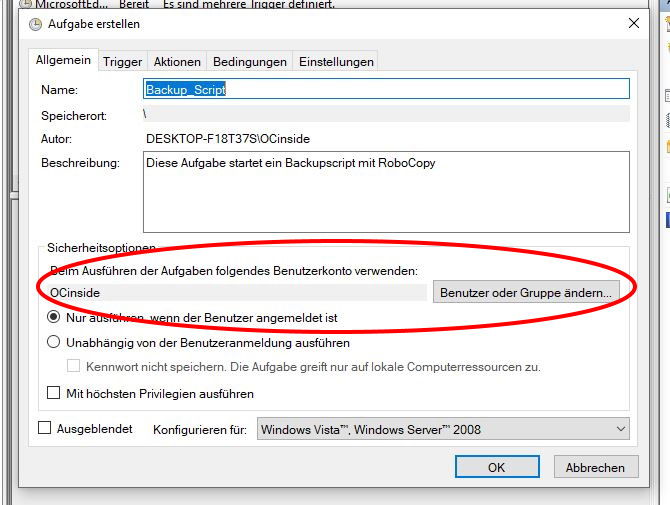
Then open the task scheduler as usual and import the corresponding task template. Again, you have to adjust the user who should execute the task and, if necessary, under “Trigger” the time at which the backup should take place.
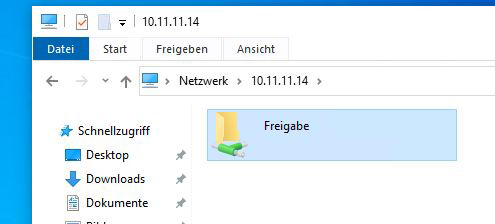
Before you start the backup, you can test whether you can access the share from the server. To do this, simply enter the IP address of the client in the Explorer and press Enter. Now the share should appear.
If this works, you only have to enter the IP of your client in the backup script. So that you do not have to do this regularly, it is recommended as mentioned at the beginning to assign a fixed IP address to the client PC in the router. Of course you can change our script as you like and adapt it to your own folder structure.

Now let’s come to our conclusion of the VPN workshop …