
Installation …
To make the assembly instructions easier to read, Thermaltake decided to split it up into separate ones for Intel and AMD systems.
The backplate needs to be installed on the backside of the motherboard in such a way that the used platform (“Intel” in our case) is readable.
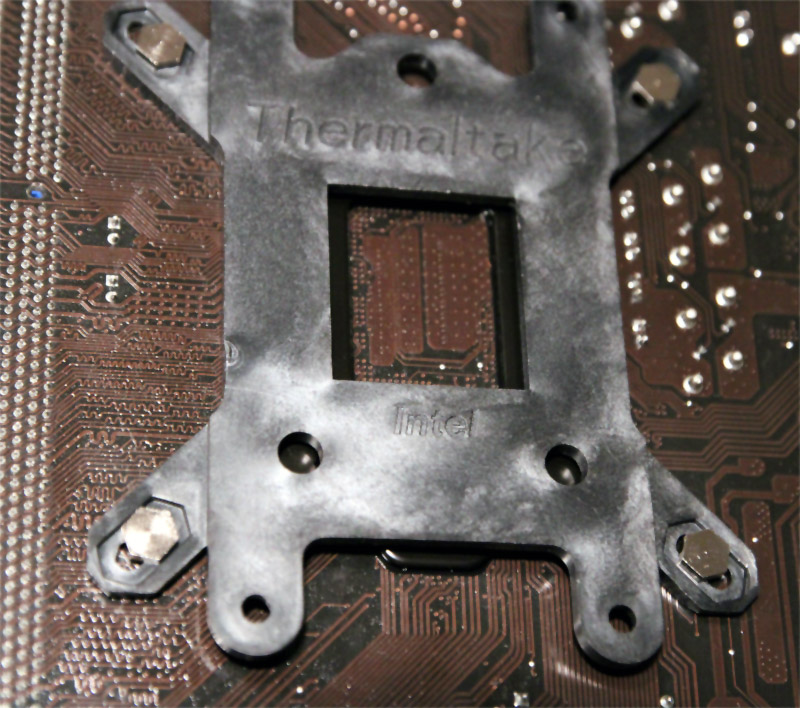
Because of the threaded plastic spacers the screws can’t fall out when the motherboard is turned over during installation.
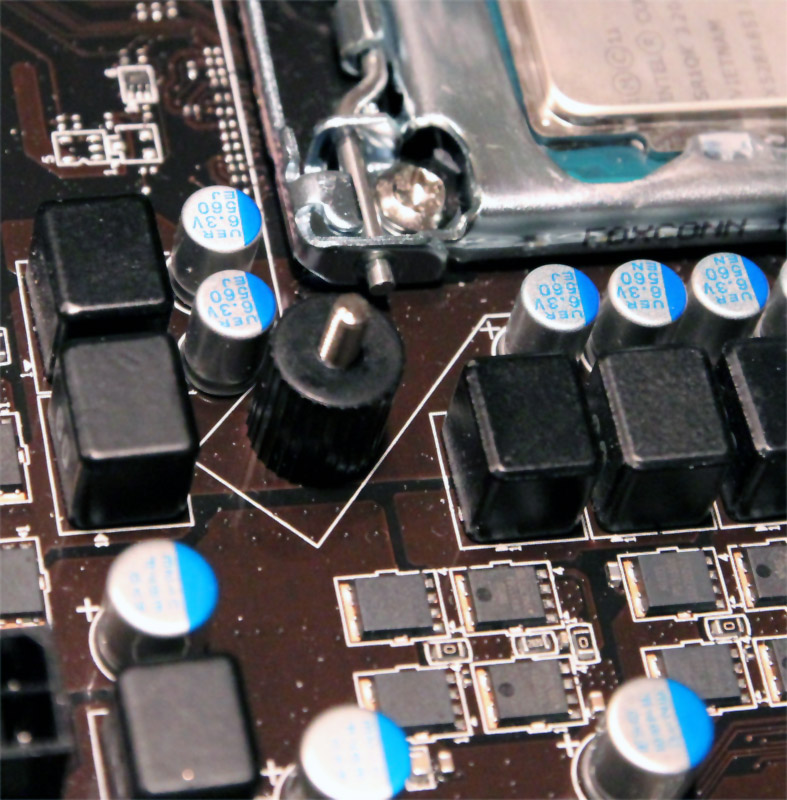
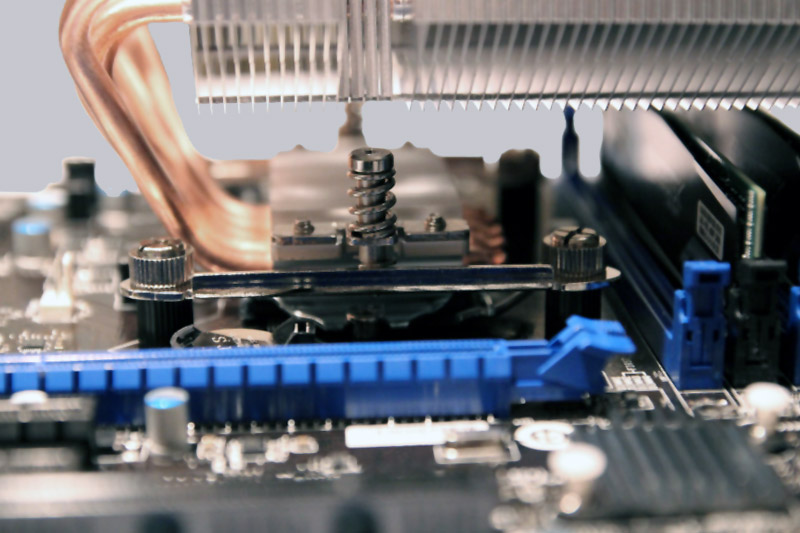
After fastening the metal plates on which the heatsink will later be mounted, we put a thin layer of thermal-grease onto the CPU as usual.
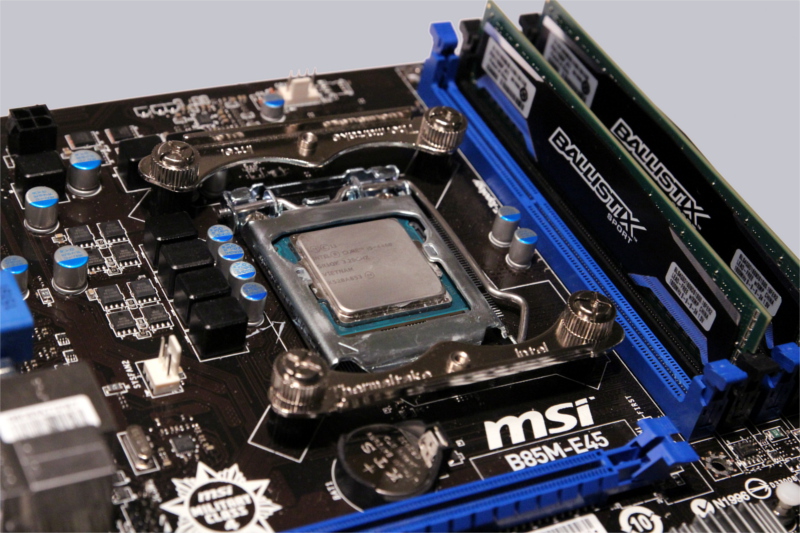
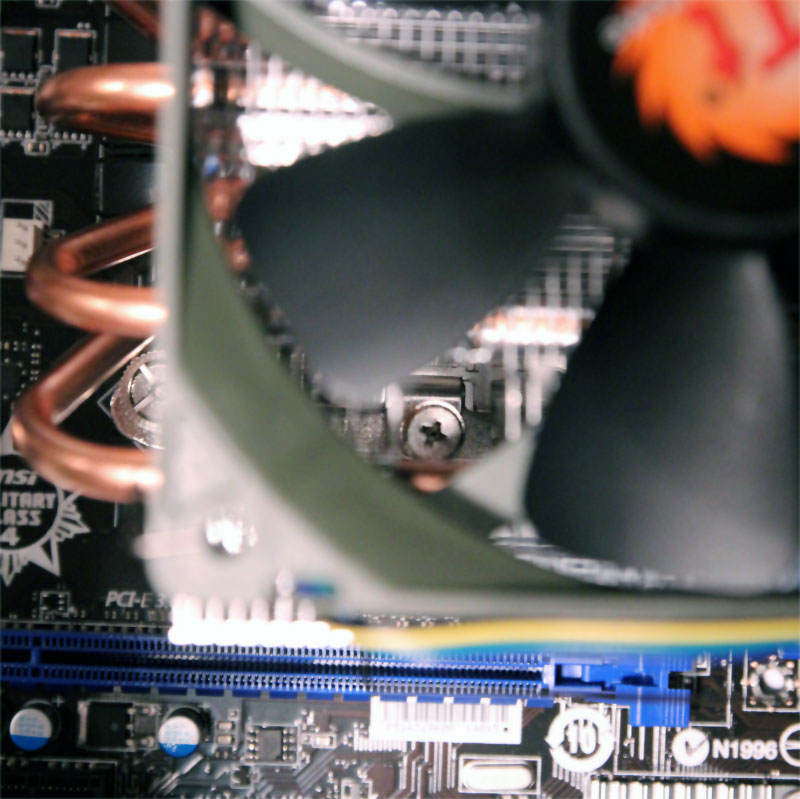
The next step can often be frustrating, because big heatsinks can limit the access to the screws. But Thermaltake really put some thought into this and left gaps in the heatsink. This way the screwdriver can easily reach the screws even with already mounted fan.
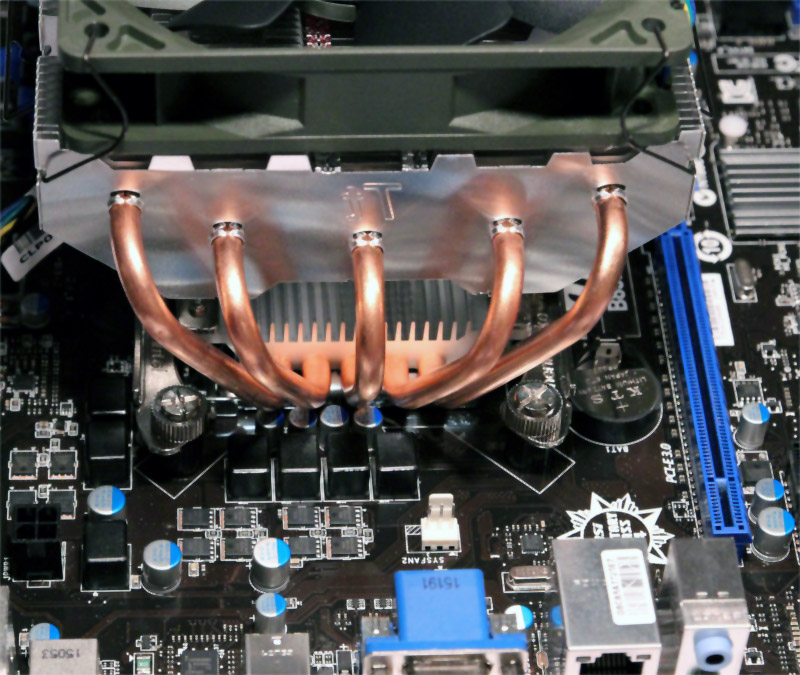
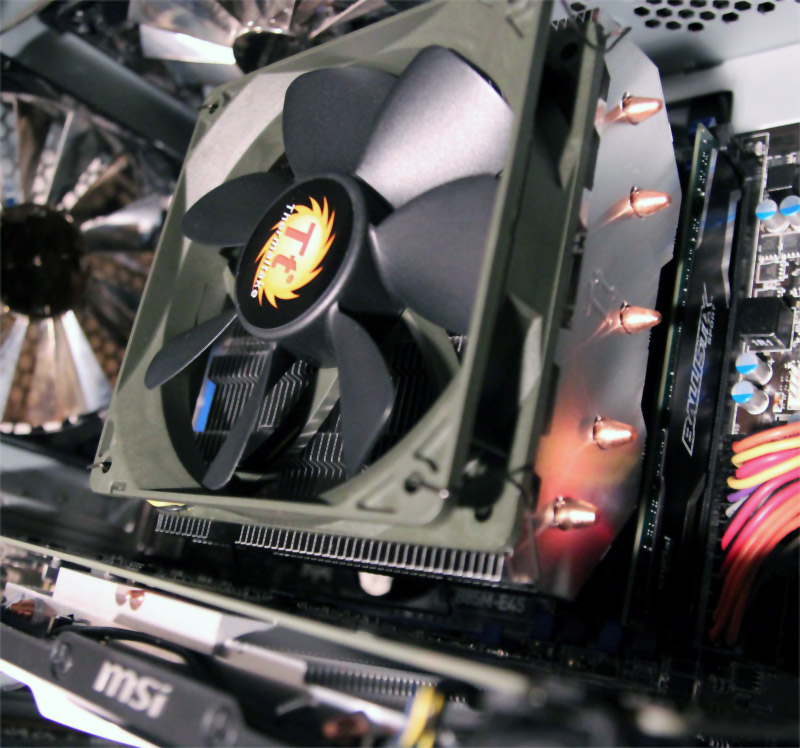
Here you can see the mounted cooler.
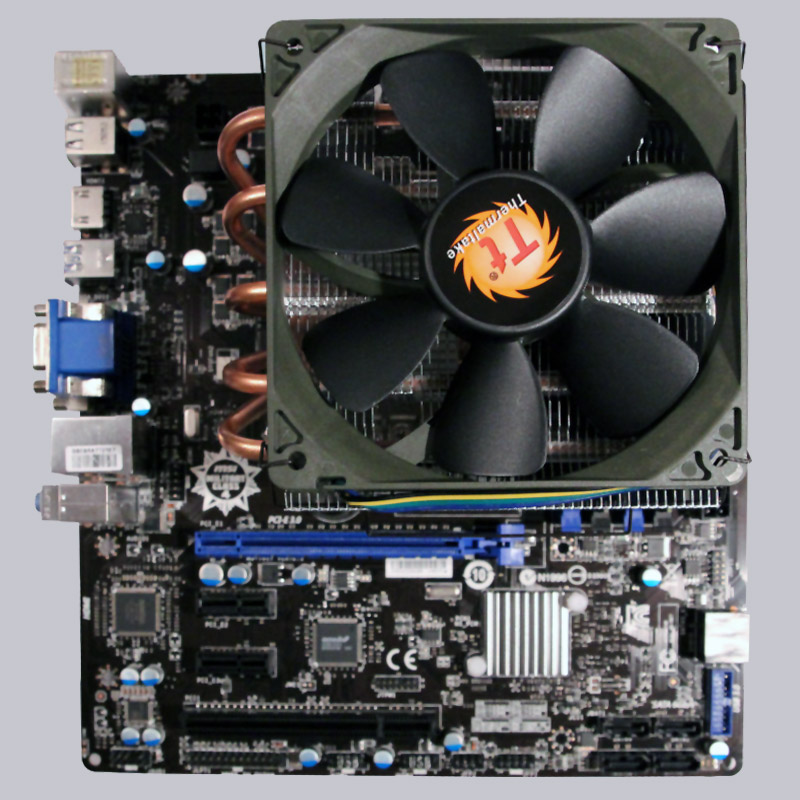
The heatsink towers over all of our 4 RAM slots, so that you cannot use high heatspreaders on the RAM. But those are barely necessary considering that the Ram is also cooled by the airflow of top-blow coolers.
There’s plenty of space on the other sides. We could access all the power and fan connectors easily even on our m-ATX motherboard.
Still 1,5cm to the video card in the top PCIe-Slot.
Because of the top-blow design the cooler has a height of 105 mm including the fan. This way we have 6,5cm space to the side wall of our Cooler Master RC690 case.
Thermaltake BigTyp Revo setup and test results …