The subject …
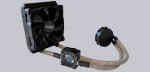
This time we repair a AIO water cooling unit, which was offered as defective on Ebay …
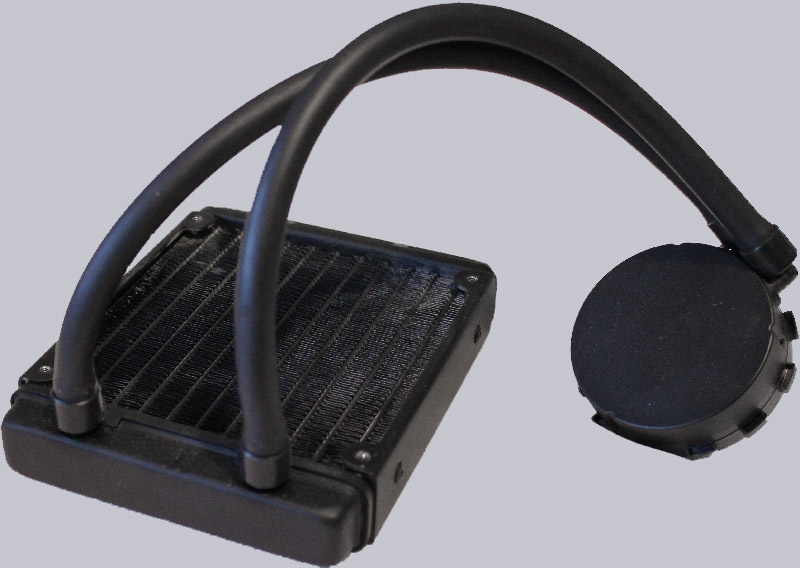
An Asetek 550LC.

Anyone who has read the first or second AIO manual will soon recognize that this AIO model also has the well-known round design and looks very similar to the previous AIOs from Arctic or NZXT. The reason for this is that Asetek, as an AIO pioneer, manufactures many water coolers of this type available on the market. “Manufacturers” such as NZXT, Arctic or Corsair only provides the individual adjustments for some models, e.g. the LED lighting at NZXT.
This AIO water cooling looked at first view relatively good. A short test run at the 12V power supply, however, quickly let us hear gurgling and chattering which did not get better even after a few minutes and well-meant movements of the AIO.
Here is a sound recording of the AIO before the maintenance:
Disassembling the cooler and troubleshooting …
Since the disassembly works exactly as in the first and second part of the AIO Mod instructions, we save the extensive description this time and continue with the abnormalities and the search for errors.
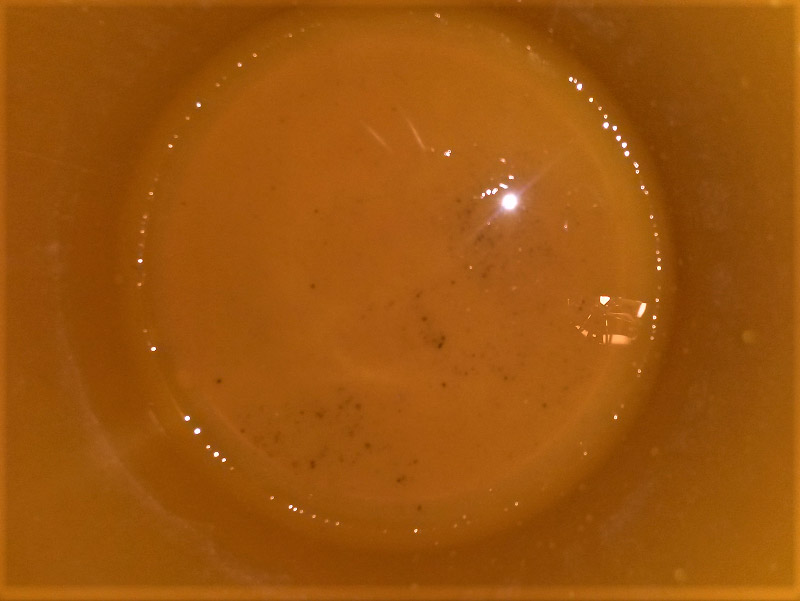
Again we left the coolant in a small bucket. The many small black impurities, which of course have nothing to do with water cooling, are easy to recognize.
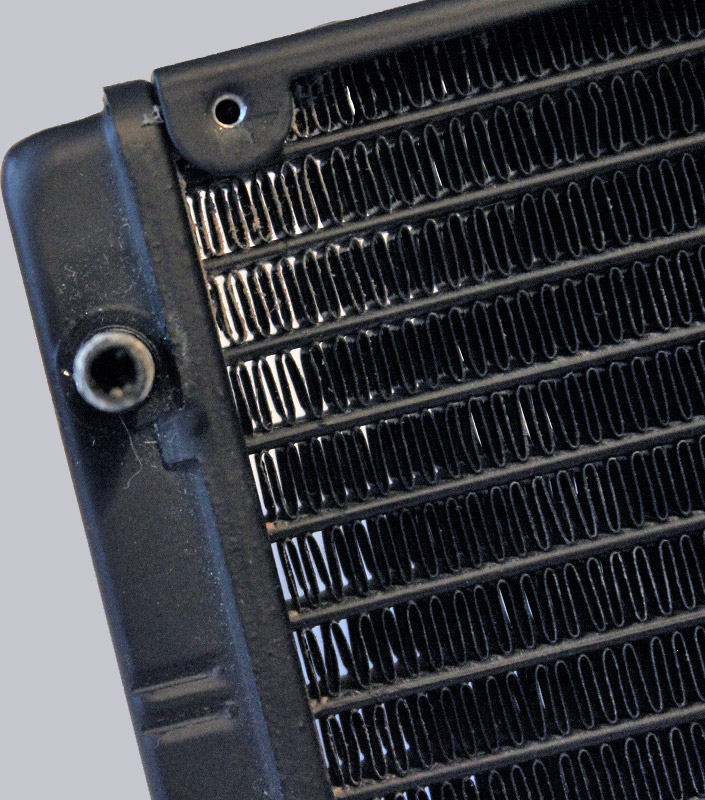
Next, we take a look at the radiator.

Its connections are quite dirty.
Then the cooler / pump unit was next …
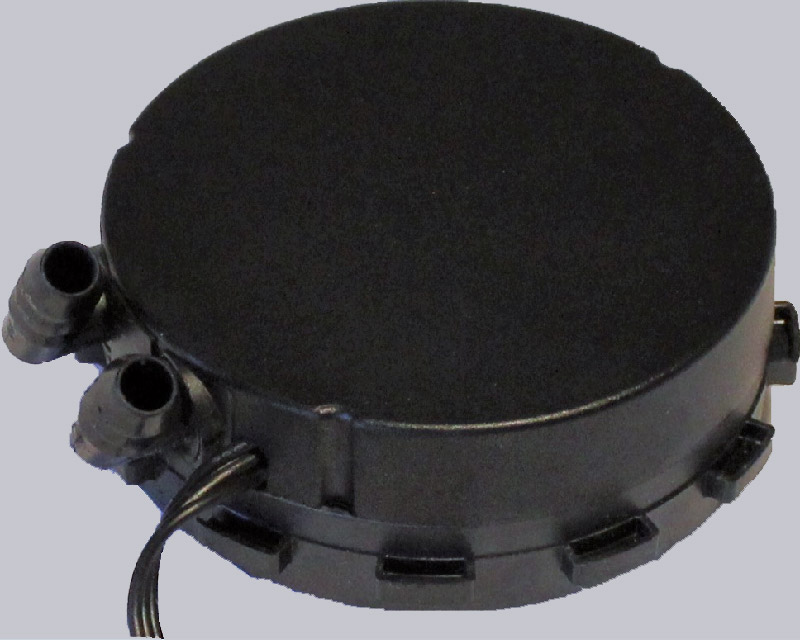
… which is taken apart in several steps.
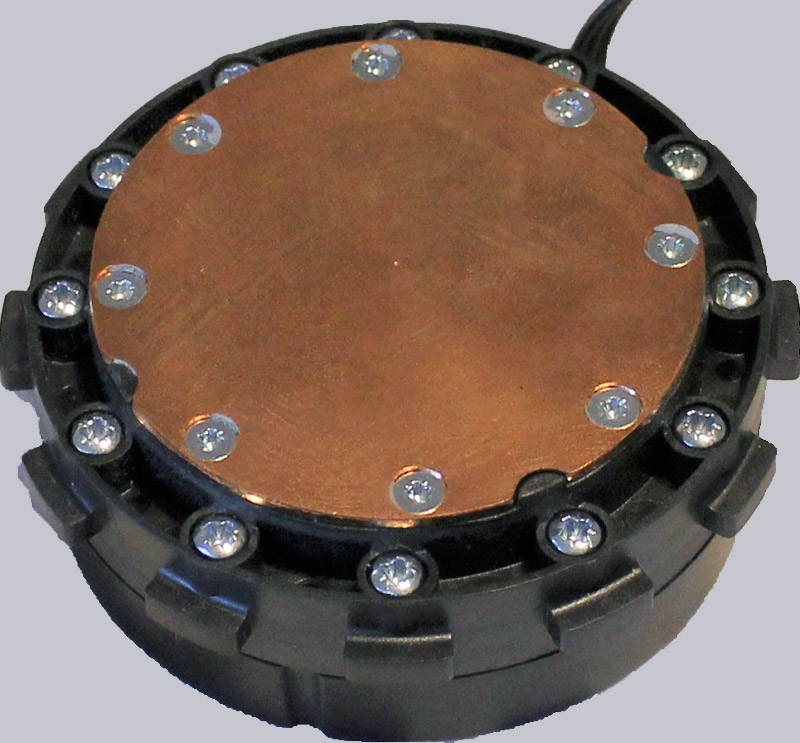
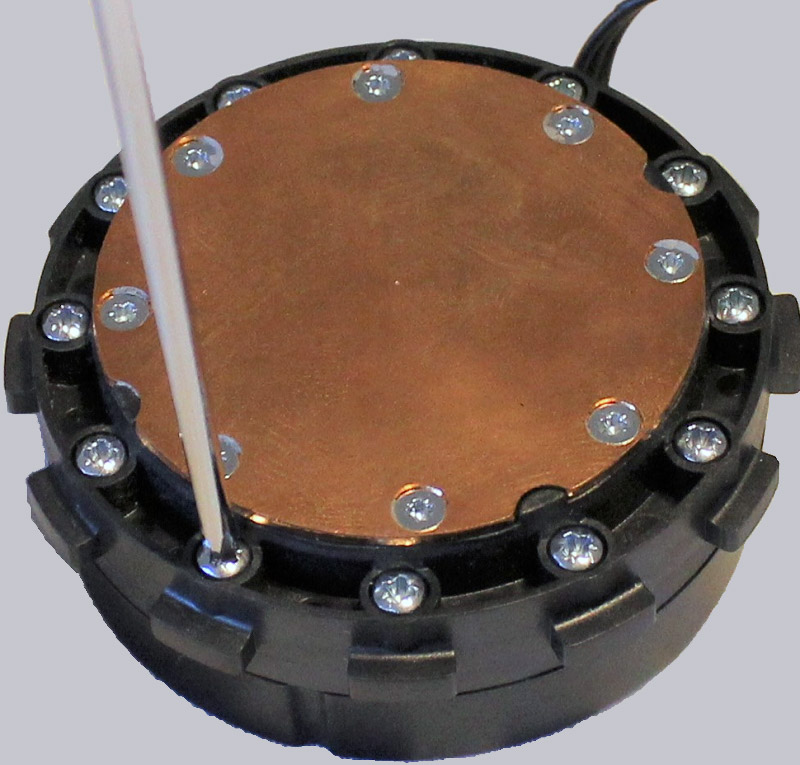
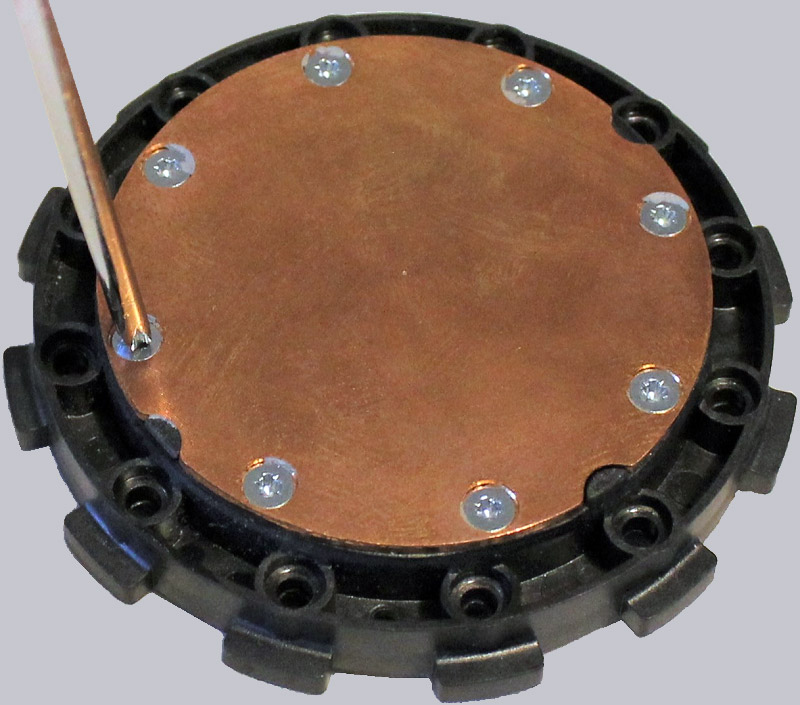
First, the outer screws are loosened around the copper plate. At this point again the note: The screws are very soft, so please use a screwdriver, which fits well, in order not to damage the heads!
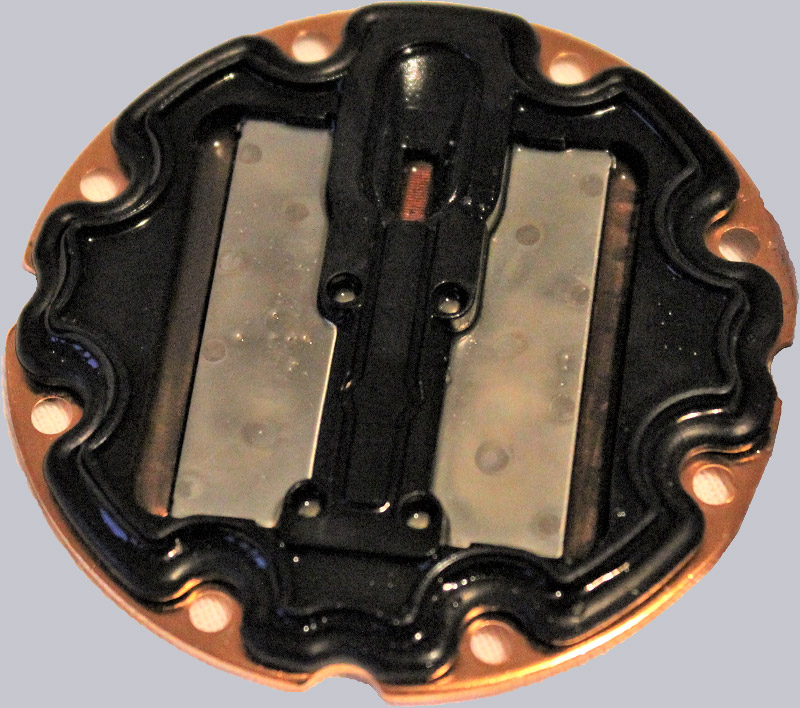
Afterwards the familiar look in the pump housing …
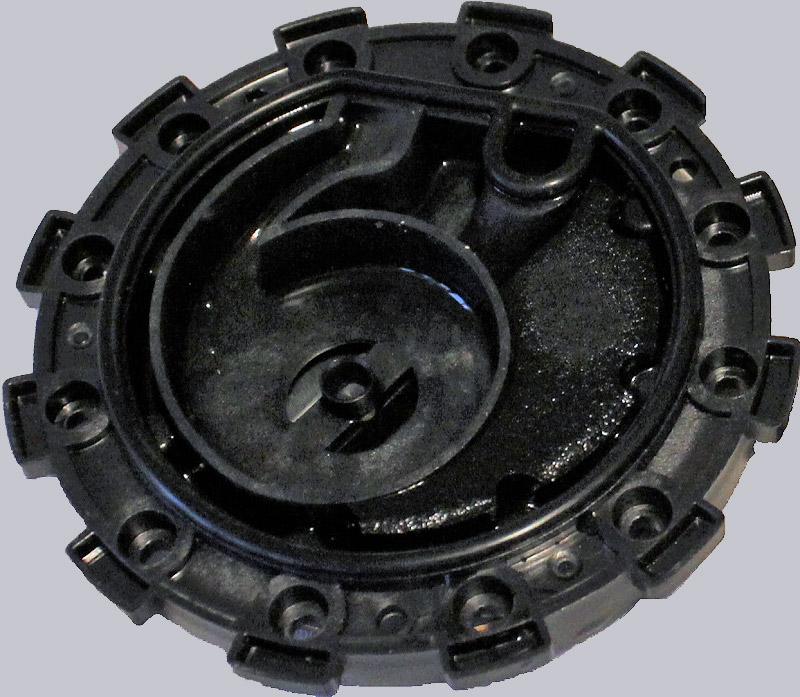
… but here again we see small black impurities.
Now we disassembled the copper plate …
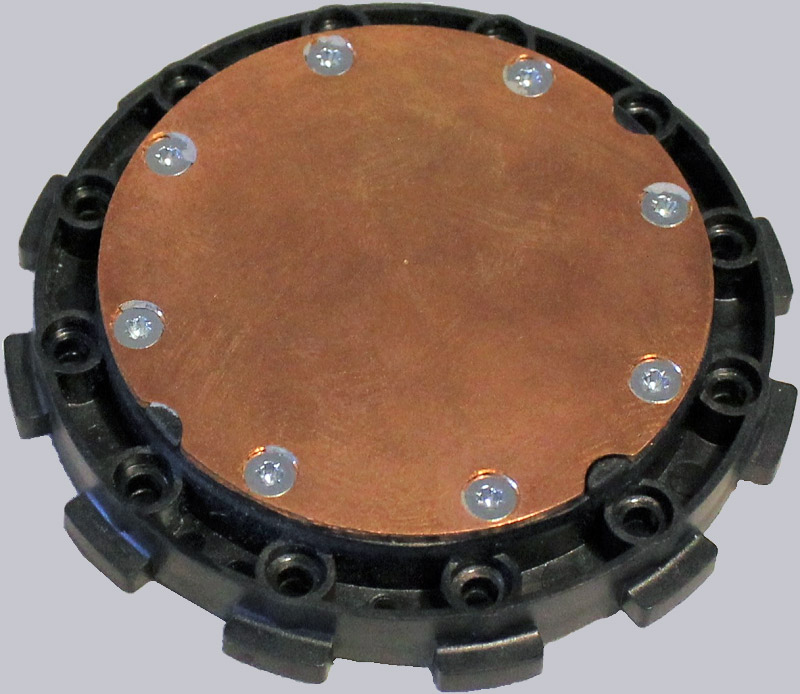
… for which the inner circle screws must be removed.
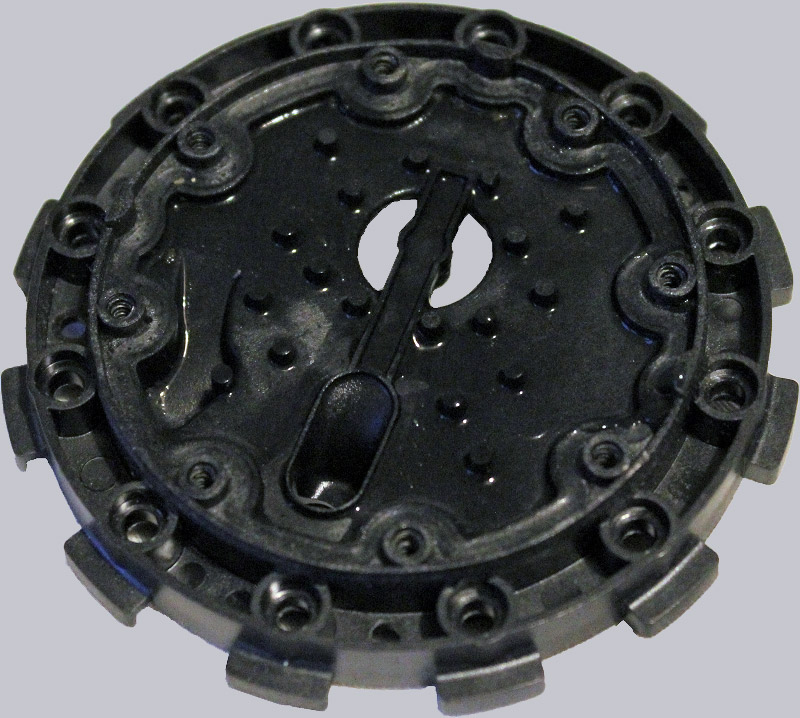
The effort is rewarded by the sight of the radiator plate. Here, too, there are isolated impurities and unintended deposits.
We see the small hole in the middle of the center where the pump pushes the “fresh” water through the very fine copper fins. Then it comes out heated at the side and leaves the radiator / pump unit in the direction to the radiator, which can dissipate the absorbed heat by the fan to the environment. The cooled water leaves the radiator in the direction of the pump, etc.
Unfortunately, we need to stop the disassembling at this point, as the black seal seemed glued. After some cautious attempts, we stopped to avoid damaging the AIO water cooling.
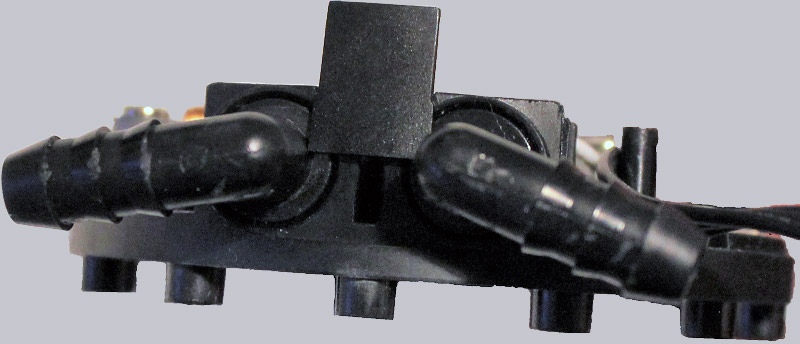
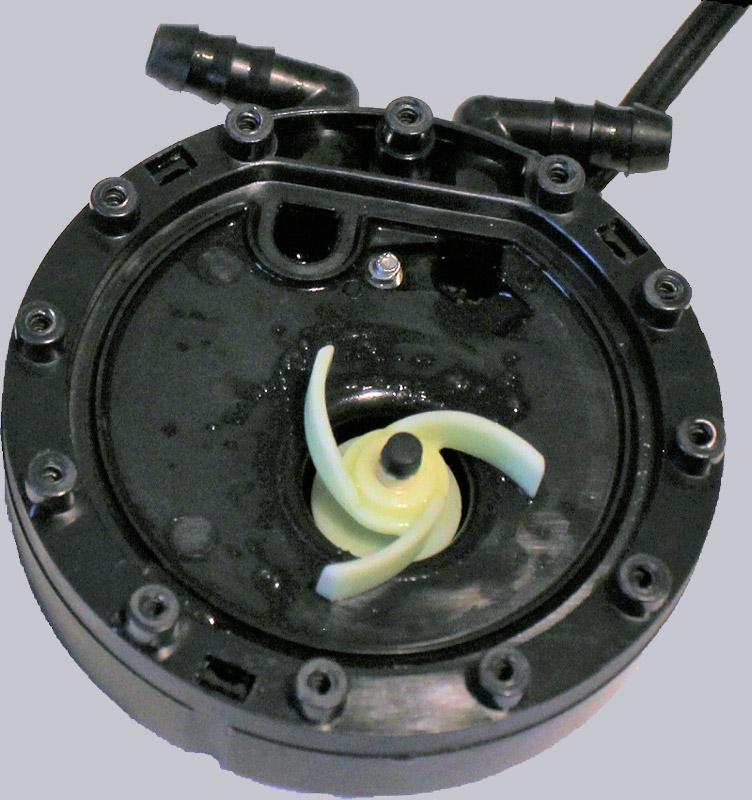
However, in contrast to the first two instructions this time we can also show a picture of the pump electronics, since we have also opened the top cover of the AIO water cooling system.
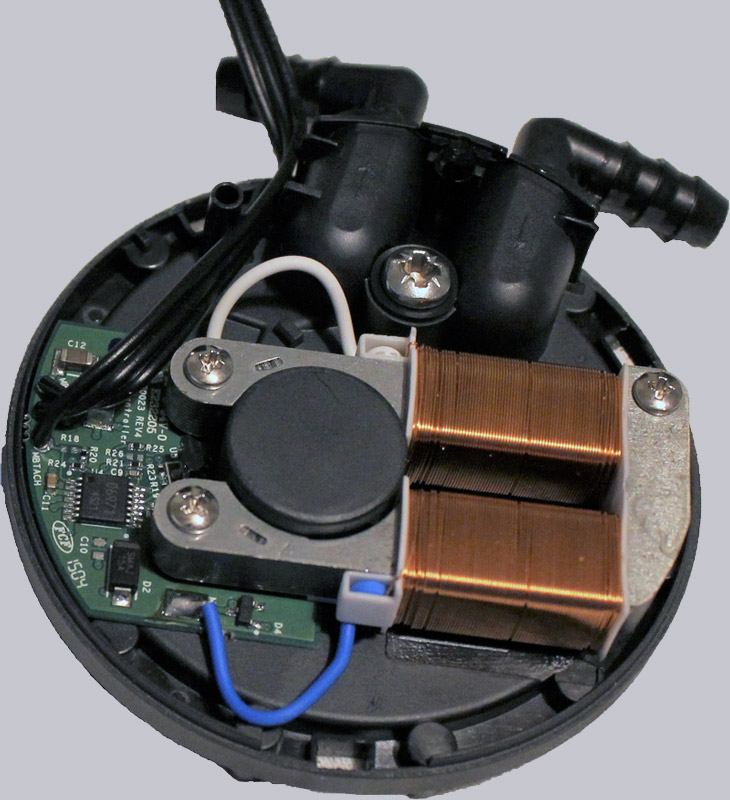
Basically, there is nothing to do here, since of course there is no water here. A small detail, however, is important for our reworking: There is a fuse for the connections, which can only be reached this way. If it is removed, the connections can be unplugged.